
Drilling a perfectly square hole sounds impossible at first. After all, drill bits spin in circles, so how can they produce sharp corners? The good news is that learning how to drill a square hole in metal is far easier than you might think, and you don’t need to be a master machinist to do it. With the right tools and a clear plan, anyone can create clean, precise square openings for fasteners, brackets, and decorative work.
Square holes matter more than most people realize. They keep bolts from spinning, hold square nuts firmly in place, and give projects a polished, professional finish. Whether you’re building furniture, repairing machinery, or tackling a creative metalworking project, this skill opens up new possibilities.
In this guide, we’ll walk through every step in plain language. You’ll learn which tools work best, how to set up safely, and how to avoid common mistakes that beginners make. By the end, you’ll feel confident enough to try it yourself. Let’s turn that tricky round-to-square challenge into a simple, repeatable process you can master at any skill level.
Why Drilling Square Holes Matters
Square holes serve real, practical purposes that round holes simply can’t match. When you fit a square nut or carriage bolt into a square opening, it locks tightly and resists turning. This means stronger, safer joints that hold up under stress and vibration over time.
Beyond function, square holes give your work a clean, professional appearance. They’re essential in furniture making, metal fabrication, and machine assembly. Mastering this technique also expands your toolkit, letting you take on projects that demand precision and detail.
Learning this skill empowers you to solve problems other people avoid. You’ll spend less money outsourcing custom work and gain more control over your builds. Best of all, once you understand the method, you can repeat it reliably across countless projects, building confidence with every clean cut you make.
Step-by-Step Guide to How to Drill a Square Hole in Metal
Step 1: Gather Your Tools and Materials
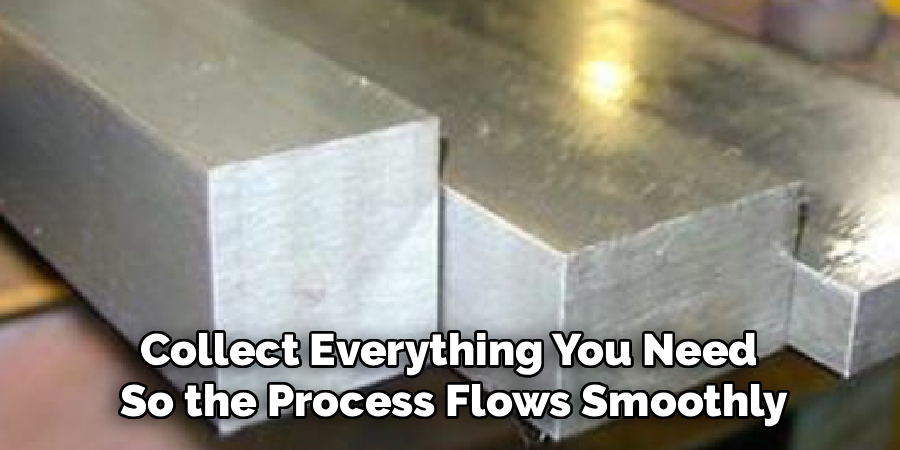
Before you start, collect everything you need so the process flows smoothly. You’ll want a drill press, a standard twist drill bit, a square broach or a Reuleaux-style rotary tool attachment, a center punch, a marker, a metal ruler, and clamps. Quality matters here, so choose sharp bits and a sturdy broach rated for the metal you’re cutting.
Good preparation prevents frustration later. Lay your tools out within easy reach and check that everything is in working order. Inspect your broach for chips and make sure your drill press table sits level. Taking five minutes now saves you from interruptions once the real work begins.
Step 2: Mark and Center Your Hole Location
Accuracy starts with careful marking. Use your marker and ruler to outline the exact square shape you want on the metal surface. Draw the diagonals to find the precise center point, which is where your initial round hole will go. Double-check your measurements, because even a small error here affects the final result.
Once you’ve marked the center, grab your center punch. Place the tip on the mark and give it a firm tap with a hammer. This creates a small dimple that keeps your drill bit from wandering. A well-placed punch mark is the foundation of a clean, perfectly positioned square hole.
Step 3: Secure the Metal Firmly
Never skip clamping, because loose metal is dangerous and ruins precision. Position your workpiece on the drill press table and lock it down with sturdy clamps or a machine vise. The metal should not shift, even slightly, when pressure is applied. Test it by trying to nudge the piece with your hand.
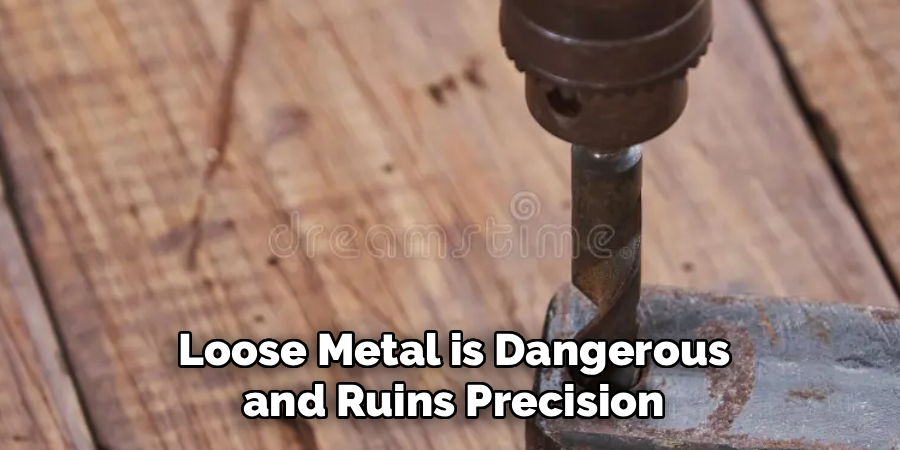
Proper clamping protects both your project and your fingers. When the metal stays put, your bit and broach cut exactly where you intend. Take a moment to confirm the clamps don’t block your cutting path. A secure setup is one of the simplest ways to guarantee professional results every single time.
Step 4: Drill the Initial Round Pilot Hole
Here’s where learning how to drill a square hole in metal truly begins. Start by drilling a round hole at your center mark using a twist bit slightly smaller than the width of your intended square. Apply steady, moderate pressure and let the bit do the work without forcing it. Use cutting oil to reduce heat and extend bit life.
This pilot hole creates the space your square broach needs to enter and cut the corners. Drill straight down, keeping the bit perpendicular to the surface. A clean, accurate round hole sets you up for a smooth transition to the square-shaping stage that follows.
Step 5: Set Up the Square Broach
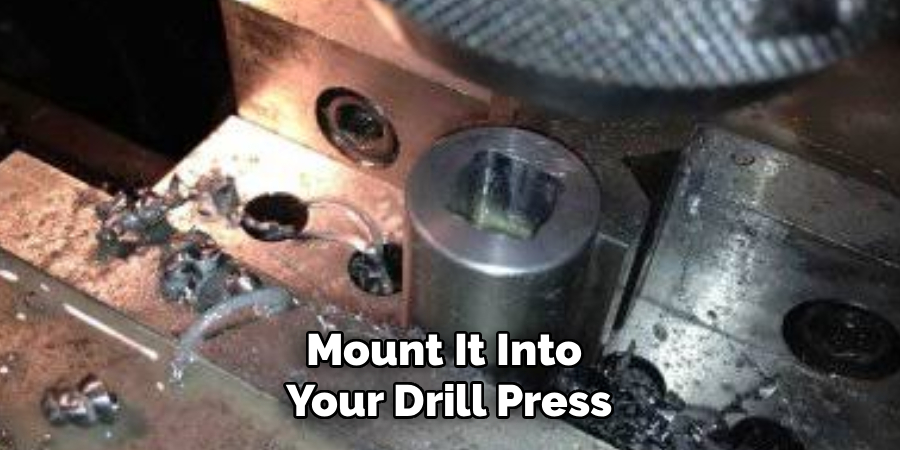
A square broach is the tool that transforms your round hole into a crisp square. Mount it into your drill press or broaching attachment, making sure it’s aligned directly over the pilot hole. The broach has sharp, square-edged cutting surfaces that shave away material as it presses downward.
Alignment is critical at this stage. If the broach sits even slightly off-center, your square will come out crooked. Lower it gently until the cutting edges just touch the metal, then pause to confirm everything lines up with your original marks. Patience now leads to clean, accurate corners later.
Step 6: Cut the Square Shape Gradually
Now comes the satisfying part. Apply slow, steady downward pressure to push the broach through the metal. Don’t rush it, because forcing the tool can damage both the broach and your workpiece. Let the cutting edges carve out the corners in controlled passes, backing off occasionally to clear away metal chips.
This is the heart of how to drill a square hole in metal, and going slow pays off. Add cutting oil as you progress to keep things cool and smooth. Continue pressing until the broach reaches your desired depth. You’ll watch your round hole gradually transform into clean, sharp-cornered square.
Step 7: Clean, Deburr, and Inspect
Once you’ve cut the full depth, raise the broach and remove your workpiece. The edges will likely have small burrs, which are rough metal bits left from cutting. Use a deburring tool or fine file to smooth these away, giving your hole a clean, finished look and removing any sharp hazards.
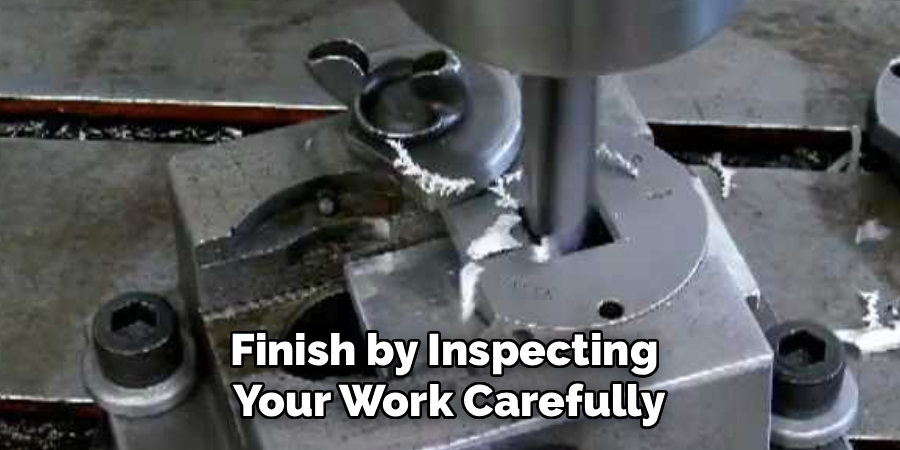
Finish by inspecting your work carefully. Check that the corners are sharp, the sides are straight, and the size matches your needs. Wipe away leftover oil and chips. If something looks slightly off, you now know exactly which step to refine next time. Congratulations, you’ve made a square hole.
Frequently Asked Questions
What Tools Do I Really Need to Get Started?
At minimum, you need a drill press, a twist drill bit for the pilot hole, and a square broach to shape the corners. A center punch, clamps, ruler, and cutting oil round out the essentials. While specialized rotary tools exist, beginners can achieve excellent results with a basic broach setup. Quality tools make the job easier and produce cleaner, more consistent results.
Can I Make a Square Hole Without a Broach?
Yes, though a broach is the easiest method. Alternatives include using a rotary broach attachment, filing corners by hand after drilling a round hole, or using a specialized rotary tool that traces a square path. Hand-filing works for soft metals and small projects but takes patience. For repeatable, precise results across harder metals, a dedicated broach remains the most reliable and efficient choice.
Why Does My Square Hole Come Out Crooked?
Crooked results usually trace back to poor alignment or loose clamping. If your broach isn’t centered directly over the pilot hole, the corners shift off-axis. Movement during cutting also throws off the shape. To fix this, double-check that your workpiece is locked tight and your broach lines up perfectly before applying pressure. Slow, steady cutting also helps maintain straight, accurate edges throughout.
What Metals Work Best for This Technique?
Softer metals like aluminum, brass, and mild steel are the most beginner-friendly because they cut smoothly with less effort. Harder metals such as stainless steel and hardened alloys require sharper broaches, slower speeds, and plenty of cutting oil. Always match your tool’s rating to your material. Starting with softer metals helps you build confidence and skill before tackling tougher, more demanding projects.
How Do I Keep My Tools From Overheating?
Heat is the enemy of clean cuts and tool longevity. The simplest solution is applying cutting oil generously throughout the process, which lubricates and cools the cutting edges. Use moderate speeds rather than high RPMs, and take breaks to clear metal chips that trap heat. Letting your bit and broach cool between passes prevents dulling and keeps your equipment performing well for years.
Conclusion
Creating clean, precise square holes is a genuinely rewarding skill, and now you have everything you need to start. We covered gathering the right tools, marking accurately, securing your metal, drilling a pilot hole, setting up your broach, cutting gradually, and finishing with a careful deburr. Each step builds on the last, turning a tricky challenge into a smooth, repeatable process.
Remember that patience and preparation make all the difference. Take your time, use plenty of cutting oil, and double-check your alignment before every cut. With practice, knowing how to drill a square hole in metal becomes second nature, opening up new project possibilities and giving your work a polished, professional edge.
So grab your tools, pick a practice piece, and give it a try. Start with a soft metal, follow these steps, and watch your confidence grow with every clean square you cut. You’ve got this, and your next project is waiting.

About
Stuart Rich is a distinguished figure in the world of metalworking and fabrication, with a decade of expertise creating innovative and sustainable metal projects. His professional focus lies in merging traditional blacksmithing and machining with modern manufacturing techniques, fostering designs that are both practical and durable. As the author of Metalenify, Stuart Rich delves into the art and science of metallurgy and DIY metal creation, inspiring artisans, hobbyists, and industry professionals alike.
Education
RMIT University
(Melbourne, Australia)
Associate Degree in Engineering Technology (Mechanical / Manufacturing)
Focus on metallurgical properties, industry-driven projects, and practical metal craftsmanship. Gained hands-on experience with traditional machining and digital manufacturing tools, such as CAD, CNC software, and precision welding equipment.
Nottingham Trent University
(United Kingdom)
Bachelor’s in Product Design and Materials Engineering (Honors)
Specialized in product design with a heavy focus on blending creativity with metal production and fabrication techniques. Participated in real-world industry projects, collaborating with architectural and hardware manufacturing companies to optimize material efficiency.
Publications and Impact
In Metalenify, Stuart Rich shares his insights on structural metal design processes, material grades, and strategies for efficient shop production. His writing bridges the gap between raw artisan knowledge and modern industrial needs, making it a must-read for both budding DIY metalworkers and seasoned fabrication professionals.





