
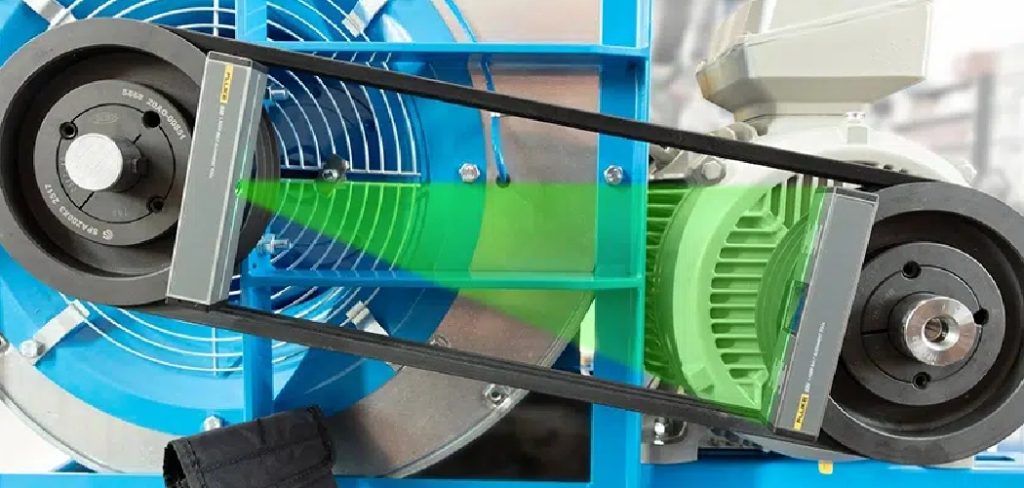
A belt squeals. It wears thin on one edge for no obvious reason, or worse, it flips off the pulley entirely and leaves your machine sitting dead. The real culprit usually hides in plain sight.
Misaligned pulleys cause more belt trouble than just about anything else. The good news is they’re also one of the easiest problems to fix.
Learning how to align pulleys protects your belts, trims your energy bills, quiets down a noisy drive, and adds years to equipment that isn’t cheap to replace. None of it takes a specialist’s touch.
You need a couple of simple tools, a careful eye, and a little patience. This guide walks through what alignment really means, the gear that helps, and a step-by-step method you can lean on. By the end, that belt-eating headache becomes a routine you can handle.
What Pulley Alignment Actually Means
Before you start sliding pulleys around, it helps to understand what you’re actually chasing. A few seconds of context here saves real frustration later.
How Belts and Pulleys Work Together
Two or more pulleys have to sit in the same plane for a belt to ride true between them. When they do, the belt tracks smoothly, transferring power without rubbing, slipping, or straining.
Picture even a small offset. The belt has to twist or pull sideways with every single rotation, fighting against itself thousands of times an hour.
That constant struggle is where the wear comes from. A belt forced to work at an angle doesn’t last, and it tends to take bearings down with it over time.
Why Alignment Protects Your Equipment
Proper alignment cuts friction, which means less heat and less vibration traveling through the whole assembly. The belt runs cooler, and the bearings stay happier.
Poor alignment does the opposite. It chews through belts, overloads bearings, and quietly wastes power that you’re paying for.
A few minutes of careful work pays back in real savings. Fewer breakdowns, fewer replacement belts, and a drive that runs the way it was meant to. That return tends to surprise people the first time they measure it.
Types of Pulley Misalignment
Before you can correct a problem, you have to recognize which one you’ve got. Misalignment shows up in a few distinct flavors, and naming yours makes the fix far clearer.
Angular Misalignment
Angular misalignment happens when the two shafts sit at an angle to each other. The pulley faces end up tilted rather than parallel, as the two doors hung slightly out of square.
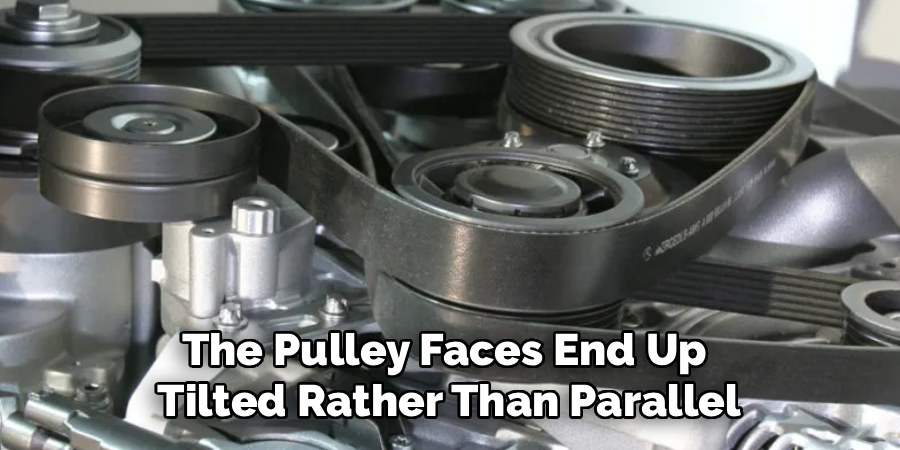
This one twists the belt as it travels. You’ll often see uneven wear along the belt’s edges, since one side is doing more work than the other.
Parallel Misalignment
Parallel misalignment is different. Here, the pulleys stay parallel to each other but sit in different planes, with one offset forward or back from the other.
The belt gets dragged sideways as a result. It rides toward one side of the groove, and that lateral pull accelerates wear in a hurry.
Combined and Twisted Misalignment
Real-world drives rarely keep things tidy. More often, you’ll find a mix of angular and parallel offset, sometimes with shafts that aren’t even level to begin with.
That sounds intimidating, but it shouldn’t. The same careful method handles all of it once you know what to look for, and you’ll be checking for each type as you work through the alignment anyway.
Tools You Need to Align Pulleys
The right gear turns guesswork into something you can trust. You don’t need a metrology lab here, just a few reliable items within reach before you start.
Basic Alignment Tools
A quality straightedge does most of the work on smaller drives. Pair it with a string line, a steel ruler or tape, and a spirit level, and you’ve got everything needed to catch the majority of alignment problems.
These simple tools may seem old-fashioned next to anything digital. They’re also fast, dependable, and accurate enough for most jobs you’ll encounter.
Precision and Laser Alignment Tools
When the stakes climb, so should your tools. Feeler gauges and a machinist’s square sharpen up your readings, and a laser pulley alignment kit takes things to another level.
Laser tools speed the job considerably and reach a precision that protects high-value or high-speed equipment. They cost more, naturally, but on the right drive, that accuracy earns its keep quickly.
Preparing the Drive Before You Begin
Rushing straight to the adjustment tends to backfire. A short setup phase shifts the odds in your favor, and it’s worth the few minutes it takes.
Shutting Down and Securing the Machine
Power off first. Lock out the drive and confirm it can’t start, because alignment work means your hands will be close to belts and pulleys.
This isn’t a step to skip when you’re in a hurry. A drive that springs to life unexpectedly is the kind of thing that ends afternoons early, so safety comes before speed every single time.
Inspecting Pulleys, Belts, and Shafts
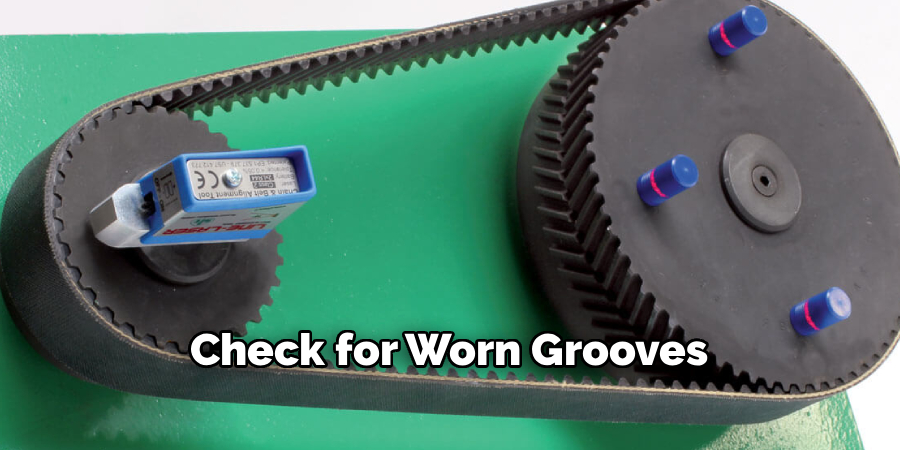
With the machine secured, look everything over. Check for worn grooves, cracked belts, loose hubs, and any sign of a bent shaft.
Aligning around a damaged part only masks the real problem. If a pulley groove is worn unevenly or a belt is already shot, sort that out first. Otherwise, you’ll dial in a perfect alignment on top of a fault that undoes all your work.
How to Align Pulleys: Step-by-Step Guide
This is the heart of it. Knowing how to align pulleys really comes down to a clean sequence, where each step sets up the next, and small wins build into a drive that runs true.
Don’t rush ahead. Each step matters, and the early ones make the later corrections easier. Let the process carry you.
Step 1: Clean the Pulley Faces and Grooves
Start by wiping away grease, dust, and rust from the pulley faces and the belt grooves. Debris throws off every reading that follows.
A straightedge resting against a grimy face gives you a false gap. Clean metal gives you the truth, so don’t shortcut this one.
Step 2: Check That Both Shafts Are Level
Set a spirit level across each shaft in turn. If either one isn’t sitting truly horizontal, adjust the mounting feet until it is.
A shaft that’s off-level is a hidden source of misalignment that’s easy to miss. Catching it now removes a variable you’d otherwise be chasing later, possibly without ever figuring out why nothing lined up.

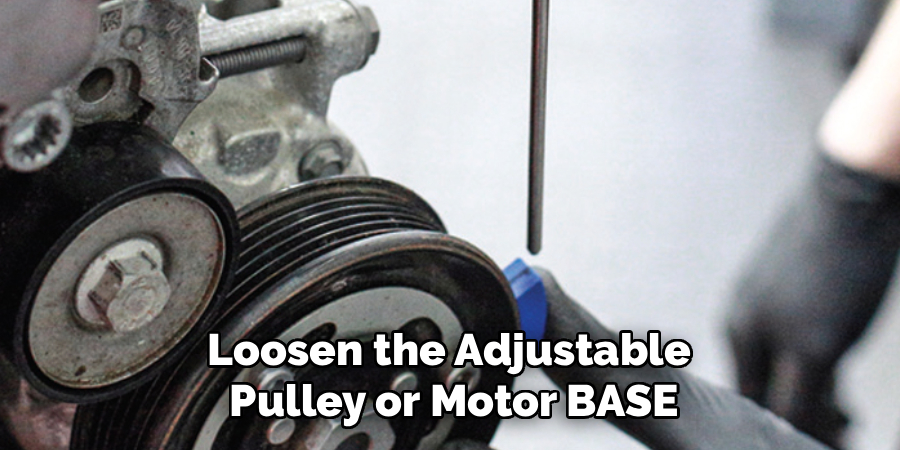
Step 3: Loosen the Adjustable Pulley or Motor Base
Back off the mounting bolts just enough to let one pulley shift. You want movement, not a free-floating part flopping around.
Keep the other pulley as your fixed reference point. One stays put, the other moves to meet it. That simple discipline keeps the whole job from turning into a guessing game.
Step 4: Lay a Straightedge Across the Pulley Faces
Hold a straightedge, or pull a taut string line, across the outer faces of both pulleys. Then look closely at where it touches and where it doesn’t.
Any gap tells a story. A wedge-shaped gap points to angular misalignment, while an even gap on one side suggests a parallel offset. This reading is what guides the corrections to come.
Step 5: Correct Parallel Misalignment
To fix a parallel offset, slide the adjustable pulley along its shaft or shift the motor base until both pulleys sit in the same plane. The goal is a straightedge that touches all four contact points cleanly.
Work in small movements and recheck often. It’s easy to overshoot, so a nudge-and-check rhythm tends to land you on target faster than big confident shoves.
Step 6: Correct Angular Misalignment
Now address any tilt. Swivel the motor or adjust the mounting feet until the pulley faces sit truly parallel, closing the wedge-shaped gap you spotted earlier.
These two corrections often interact a little. Fixing the angle can shift the parallel reading slightly, so expect to bounce between Steps 5 and 6 once or twice before everything sits right.
Step 7: Set the Correct Belt Tension
With alignment dialed in, turn to tension. Adjust the belt so it feels firm with a small, even deflection when you press it at the midpoint.
Tension matters more than people expect. A belt that’s too tight or too loose can undo good alignment fast, dragging the pulleys back out of true or letting the belt wander, so get this in the right range.
Step 8: Tighten Everything and Recheck
Torque the bolts back down in stages rather than all at once. Snug them gradually, working around the pattern.
Here’s the part that catches everyone eventually. Tightening can pull a perfectly aligned pulley slightly out of true, so recheck with your straightedge after the bolts are home. If it drifted, nudge it back and tighten again.
How to Check Pulley Alignment for Accuracy
Setting the alignment is one thing. Confirming it is held is what gives you confidence that the job is actually done.
The Straightedge and String Method
Hold your straightedge or string against the front and back edges of both pulleys. It should touch evenly, with no rocking and no gaps.
Run your eye along the full contact line. Even a small daylight gap at one corner betrays a lingering offset, and now’s the time to catch it rather than after the belt is back to wearing oddly.
Running and Observing the Belt
Once everything’s secured, power up briefly and watch the belt track. A belt that rides centered and quietly is telling you the alignment is good.
A belt that drifts to one side, squeals, or flutters is telling you something else. That behavior points you straight back to the source, so don’t ignore it just because the straightedge looked fine.
Common Mistakes That Ruin Pulley Alignment
A few predictable slips quietly waste all your effort. Most are easy to dodge once you know they exist.
Measuring Across Worn or Dirty Pulleys
Grime, rust, and worn grooves give false readings every time. You end up chasing an alignment that was never really off, adjusting away a problem that lived on the surface of the pulley rather than in its position.
Clean first, inspect for wear, and only then measure. It feels like extra steps, but it’s the difference between fixing the drive and fooling yourself.
Forgetting to Recheck After Tightening
This is the single most common slip, and it’s a frustrating one. You align everything perfectly, tighten the bolts, and walk away, never realizing the act of tightening nudged it all back out.
The recheck takes thirty seconds. Skipping it can cost you a belt and another afternoon, so make it a habit you don’t negotiate.
Tips to Keep Pulleys Aligned Longer
A bit of foresight builds reliability into the routine. These small habits keep trouble away before it starts.
Scheduling Regular Inspections
Quick periodic checks of belts, tension, and alignment catch small drifts early. A pulley rarely jumps wildly out of line overnight; it creeps, and a glance now and then catches that creep before it does damage.
Build it into your maintenance rounds. A two-minute look every so often beats an emergency repair when a belt finally gives up.
Choosing Quality Belts and Mounts
Matched belt sets and solid, rigid mounting hardware hold alignment far better than the cheap alternatives. A flimsy base flexes under load, and mismatched belts share the work unevenly.
Both let misalignment creep right back in after you’ve done the work. Spending a little more on the right components tends to pay for itself in belts you don’t have to replace.
When to Call a Professional
Knowing your limits is its own kind of skill. There’s no shame in stepping back when the stakes climb higher than a quick alignment is worth.
Some situations carry more risk than the job justifies. High-speed drives, large industrial systems, persistent misalignment that resists every correction, or shafts that may be bent or worn, all fall into that territory.
If you find yourself there, bringing in a specialist with laser alignment gear may be the smart move. The cost of expert help often beats the cost of a wrecked drive, and asking for backup is a confident decision rather than a failure.
Conclusion
So there it is. Knowing how to align pulleys turns a noisy, belt-eating headache into a quick task you can handle anytime a drive needs attention.
The pattern is easy to hold onto. Clean the pulleys first, level the shafts, correct the parallel and angular offset patiently, set proper tension, and always recheck after tightening.
You’ve got the full roadmap now, from spotting the type of misalignment to confirming the belt tracks true once everything’s tightened down. The next time a belt squeals or wanders off its groove, you won’t be guessing at the cause.
You’ll know exactly where to look. Grab your straightedge, trust the process, and dial that drive in so it runs smooth and quiet for the long haul.

About
Stuart Rich is a distinguished figure in the world of metalworking and fabrication, with a decade of expertise creating innovative and sustainable metal projects. His professional focus lies in merging traditional blacksmithing and machining with modern manufacturing techniques, fostering designs that are both practical and durable. As the author of Metalenify, Stuart Rich delves into the art and science of metallurgy and DIY metal creation, inspiring artisans, hobbyists, and industry professionals alike.
Education
RMIT University
(Melbourne, Australia)
Associate Degree in Engineering Technology (Mechanical / Manufacturing)
Focus on metallurgical properties, industry-driven projects, and practical metal craftsmanship. Gained hands-on experience with traditional machining and digital manufacturing tools, such as CAD, CNC software, and precision welding equipment.
Nottingham Trent University
(United Kingdom)
Bachelor’s in Product Design and Materials Engineering (Honors)
Specialized in product design with a heavy focus on blending creativity with metal production and fabrication techniques. Participated in real-world industry projects, collaborating with architectural and hardware manufacturing companies to optimize material efficiency.
Publications and Impact
In Metalenify, Stuart Rich shares his insights on structural metal design processes, material grades, and strategies for efficient shop production. His writing bridges the gap between raw artisan knowledge and modern industrial needs, making it a must-read for both budding DIY metalworkers and seasoned fabrication professionals.





