
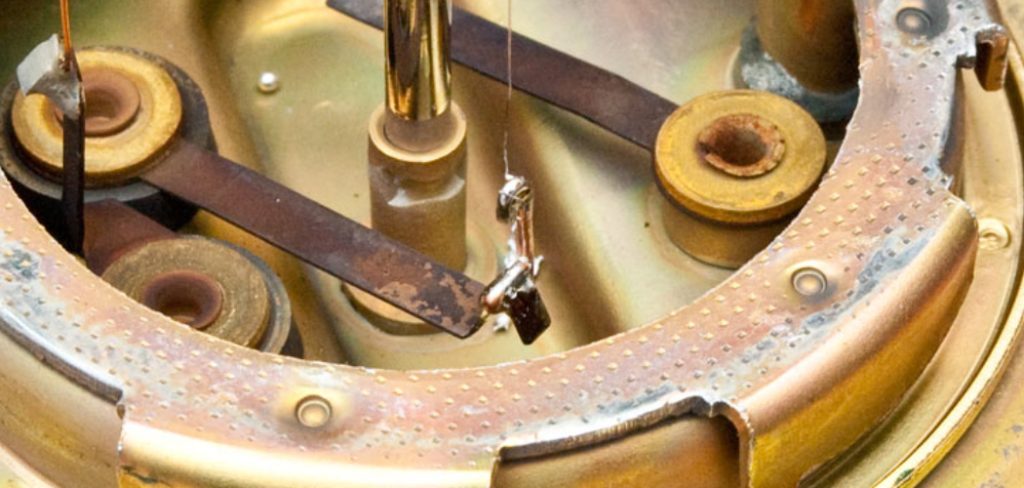
You’ve got a part ready to slide free, the assembly almost open, and then you spot it. A tiny ring of spring steel, sitting in its groove, quietly holding everything together.
I remember underestimating one of these early on. I figured a flathead and some patience would do it, right up until the clip launched across the room and disappeared under the bench.
Here’s the reassuring part. Learning how to remove circlips is far simpler than that first humbling moment suggests, and the right tool makes the whole thing feel almost trivial.
This guide walks through what circlips actually are, the tools that help, and a step-by-step method you can lean on. By the end, that little spring-steel guard won’t faze you in the slightest.
What Are Circlips and Why Do They Matter?
Before you start prying, it helps to know what you’re dealing with. A few seconds of context here saves a slipped tool and a lost clip later.
The Job a Circlip Does
A circlip is a curved ring of spring steel that snaps into a machined groove. Its job sounds modest, but it punches well above its weight.
It holds bearings, gears, pins, and shafts firmly in place, stopping them from sliding apart under load. Something so small, keeping an entire assembly together, still strikes me as a small marvel of design.
Internal vs. External Circlips
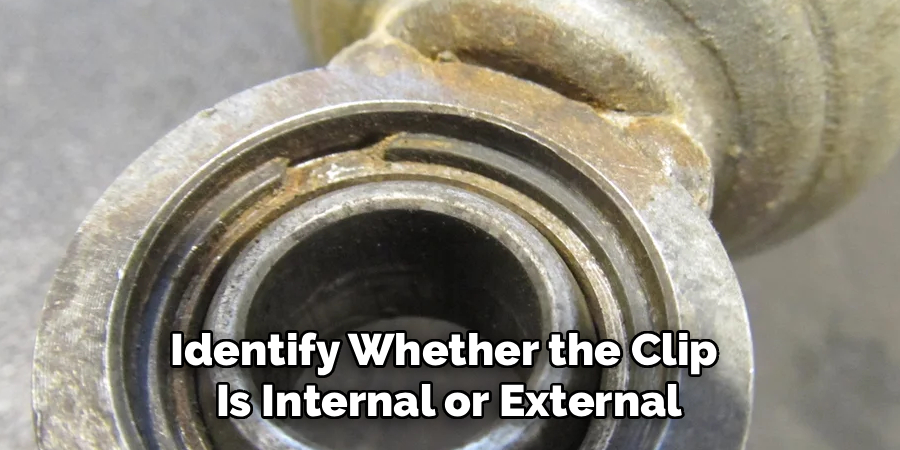
This distinction decides almost everything about your approach. An internal circlip sits inside a bore, pressing outward against the walls.
An external circlip wraps around a shaft, squeezing inward to grip it. The difference matters because it determines which pliers you reach for and which way the tool needs to open. Get that backward, and you’ll fight the ring instead of freeing it.
Common Types of Circlips You Will Meet
Once you start noticing these rings, you find them everywhere, in more shapes than you might expect. Recognizing the variety prepares you for whatever the assembly hides.
Standard Retaining Rings
The everyday version is a spring-steel ring with two small holes near its open ends. Those holes are where your plier tips sit.
You’ll find these in gearboxes, wheel hubs, and bearing housings, doing the quiet work of keeping parts seated. They’re the kind most people picture when they hear the word circlip.
E-Clips and Specialty Styles
Not every clip plays by the same rules. E-clips, C-clips, and rings without holes call for a different touch, usually a flathead screwdriver rather than dedicated pliers.
It pays to expect surprises here. A clip with no plier holes isn’t a defect; it’s just a style that wants a slightly different removal move, and knowing that ahead of time keeps you from forcing the wrong tool.
Tools and Materials You Will Need
The right gear turns a fiddly standoff into a satisfying release. Nothing here is exotic, but having it ready before you start makes a real difference.
Choosing the Right Circlip Pliers
Pliers are the heart of this job. Internal pliers open as you squeeze, external pliers close, and convertible sets with swappable tips handle both.
Matching the plier type to the clip protects everything involved. The wrong tool slips out of the holes, scratches the part, and tests your patience, while the right one seats firmly and does the work with almost no drama.
Helpful Extras and Safety Gear
A few additions smooth out the awkward moments. A flathead screwdriver handles clips without holes, a pick set reaches the stubborn ones, and needle-nose pliers help when space gets tight. Penetrating oil loosens anything rust has gripped.
Then there’s the gear that matters most. Safety glasses are not optional, because a circlip under tension genuinely loves to launch across the room toward whatever face is nearest.
Preparing the Workpiece and Work Area
Rushing straight to the prying tends to backfire. A short setup phase shifts the odds in your favor, and it only costs a minute or two.
Cleaning and Inspecting the Circlip
Start by wiping away the grease and grime. You want to see the clip’s holes, its edges, and which way it faces in the groove.
While you’re at it, look for rust. Corrosion may suggest the clip will resist, which tells you to reach for penetrating oil early rather than after you’ve already strained it.
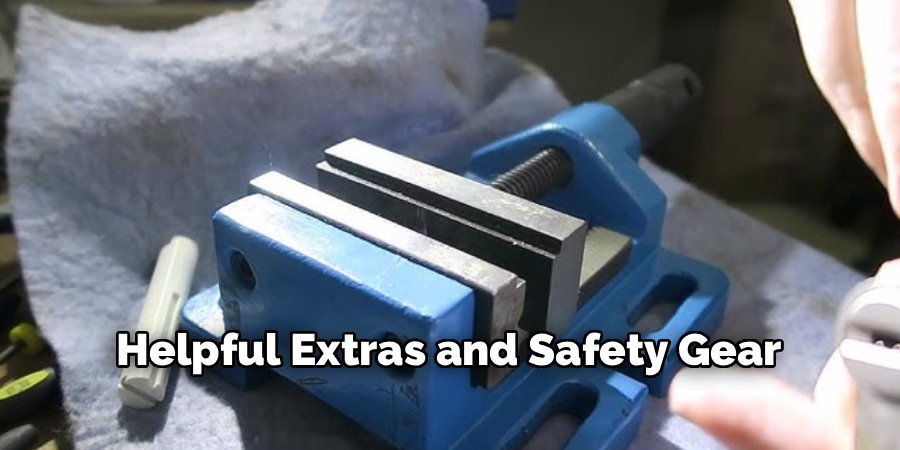
Securing the Part and Protecting Your Eyes
Here’s where a little caution earns its keep. Clamp the workpiece so it can’t shift, then drape a rag loosely over the clip as you work.
That rag does something clever. If the circlip slips free under tension, the cloth catches it instead of letting it fly, turning a potential hazard into a non-event. Pair that with safety glasses, and you’ve taken the real risk out of the job.
How to Remove Circlips: Step-by-Step Guide
This is the heart of it. Knowing how to remove circlips really comes down to a calm sequence, where the right tool does most of the work and control beats force at every turn.
Don’t rush these steps. Slow, steady pressure keeps the clip intact and your eyes safe, which is the whole point. Let each small success carry you to the next.
Step 1: Identify Whether the Clip Is Internal or External
First, look at where the clip sits. Inside a bore means internal; around a shaft means external.
This single observation decides which pliers you grab and which way the tool needs to open. Getting it right from the start saves you from wrestling the ring in the wrong direction, which never ends well.
Step 2: Select and Set Up the Right Pliers
Now match the tool to the clip. Choose internal or external pliers, then pick a tip size that fits the holes snugly.
Test the seat before you apply any force. The tips should sit firmly in the clip holes without wobbling, since a loose fit is exactly what sends the ring flying. A few seconds of checking here pays off.
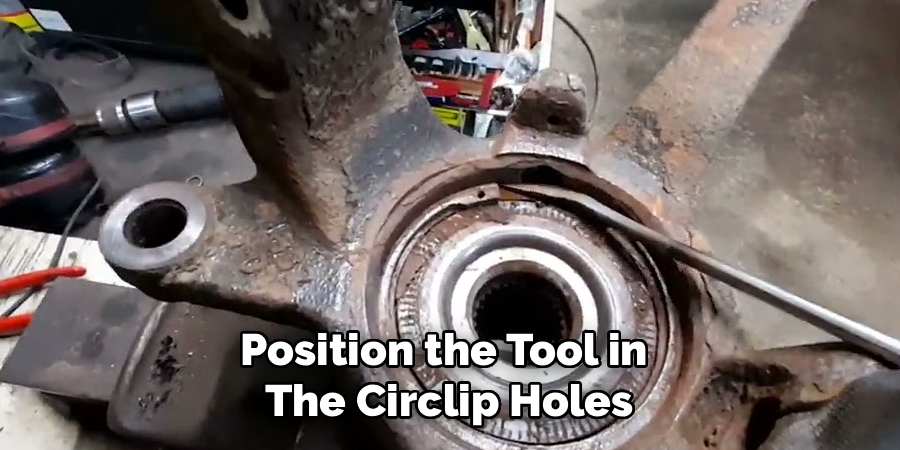
Step 3: Position the Tool in the Circlip Holes
Insert both plier tips squarely into the small holes. Keep the tool straight rather than cocked at an angle.
Straight tips spread the force evenly across the ring as it opens. Tilt them and the pressure lands unevenly, which strains one side of the clip and raises the odds of a slip.
Step 4: Squeeze or Spread to Open the Clip
Now open the ring just enough to clear its groove. Internal clips compress inward; external clips expand outward.
The keyword is enough. A slow, measured squeeze opens the clip without overstressing it, while a hard yank risks bending the steel or losing your grip entirely. Ease into it.
Step 5: Ease the Clip Out of the Groove
With the ring opened, lift or slide it free while keeping that tension controlled. Don’t let the pliers snap shut on their own.
Never force the clip past its natural flex. If it resists, open it a touch more rather than dragging it across the groove edge, which can gouge the part and weaken the ring.
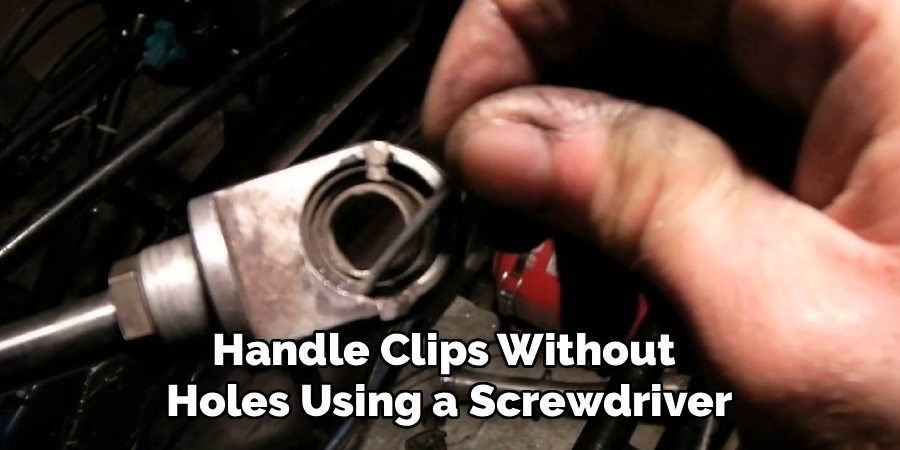
Step 6: Handle Clips Without Holes Using a Screwdriver
Some clips, like E-clips, have no holes for pliers. Here, a flathead screwdriver becomes your tool of choice.
Slip the tip under the edge of the clip and lever it out gently. Keep that rag draped over the area as you do, because grooveless clips are the ones most likely to launch away the instant they break free.
Step 7: Inspect the Clip and Groove
Once the clip is out, take a moment to look it over. Check for bending, stretching, or signs of fatigue in the steel.
Then examine the groove itself. Burrs or wear in the groove can affect how the next clip seats, and catching that now is far easier than discovering it during reassembly.
Step 8: Store or Replace the Circlip
Finish by deciding the clip’s fate. Set a reusable ring somewhere safe, or grab a fresh one if it looks tired.
An overstretched circlip rarely grips as well the second time around. When in doubt, replacing it is cheap insurance against a clip that lets go when you least want it to.
Dealing With Stuck or Damaged Circlips
Sometimes a clip simply won’t cooperate. Rust has seized it, or a previous attempt left it bent. You haven’t hit a dead end.
Take a breath. A stuck or mangled clip is a solvable problem, not a lost cause, and a slightly different approach usually does the trick.
Freeing a Rusted or Seized Clip
A clip frozen into its groove by corrosion asks for patience. Soak it with penetrating oil, walk away, and come back to soak it again.
Then work it gently. A little wiggling, paired with the oil that’s crept into the groove, often loosens a clip that seemed welded in place. Time does more here than muscle ever could.
Removing a Bent or Broken Clip
When a clip deforms or snaps, the goal shifts to extraction. A pair of pick or needle-nose pliers can catch the damaged edge.
Work it carefully, easing the piece up bit by bit. The groove is what you’re protecting, so deliberate movements beat any attempt to muscle the fragment out in one go.
Common Mistakes That Make Removal Harder
Plenty of clips get harder to remove, not from the original problem, but from a rushed response to it. Knowing the common traps helps you avoid them.
I’ve made most of these myself, usually more than once. Learning them the easy way beats chasing a launched clip across the floor.
Using the Wrong Pliers or Worn Tips
This is the usual culprit. Mismatched or rounded tips slip out of the clip holes, scratch the part, and send the ring sailing.
Sharp, correctly sized tips seat firmly and stay put. It’s a small detail that separates a clean removal from a frustrating one, so it’s worth checking your pliers before you blame the clip.
Over-Spreading and Forcing the Clip
Spring steel only flexes so far. Stretch a circlip past its limit, and you permanently weaken it, leaving a ring that no longer grips the way it should.
Open the clip just enough to clear the groove, no more. Restraint here keeps the clip reusable and spares you the cost of replacing a part you damaged through impatience.
Prevention Tips for Easier Removal Next Time
A bit of foresight today makes the next job smoother. These small habits build ease into your routine.
Choosing Quality Clips and Keeping Spares
Cheap clips fatigue faster and fight harder. Stocking quality rings in the sizes you use means you can reach for a fresh one whenever the old one looks tired.
A tired ring quietly compromises an assembly. Having spares on hand removes the temptation to reinstall a clip that’s already given its best years to the job.
Reinstalling Without Overstressing the Ring
Removal habits apply to installation, too. Seat new clips with the same gentle, even pressure you used to take the old ones out.
That care protects both the groove and the clip for the long haul. Cram a ring in carelessly and you set up the very stuck-clip problem you just solved, so it pays to slow down on the way back together.
When to Call a Professional
Knowing your limits is a skill of its own. There’s no shame in stepping back when the stakes climb higher than a DIY fix is worth.
Some situations carry more risk than the job justifies. A deeply seized clip, a precision assembly, or a tight space where a slipping ring could injure you or damage something costly all fall into that territory.
If you find yourself there, bringing in someone with the right tools and experience may be the smart move. The cost of expert help often beats the cost of a ruined part, and asking for backup is a confident decision rather than a failure.
Conclusion
So there it is. Knowing how to remove circlips turns a small, springy obstacle into a quick task you can handle with confidence.
The pattern is easy to hold onto. Identify the clip type first, match the right pliers, protect your eyes, and open the ring with slow, steady control rather than brute force.
You’ve got the full roadmap now, from a careful inspection to freeing the rusted and broken ones without harming the groove. The next time a little spring-steel ring stands between you and the part you need, you won’t feel stuck.
You’ll feel ready. Grab your pliers, drape that rag, and ease the clip free, knowing exactly what you’re doing.

About
Stuart Rich is a distinguished figure in the world of metalworking and fabrication, with a decade of expertise creating innovative and sustainable metal projects. His professional focus lies in merging traditional blacksmithing and machining with modern manufacturing techniques, fostering designs that are both practical and durable. As the author of Metalenify, Stuart Rich delves into the art and science of metallurgy and DIY metal creation, inspiring artisans, hobbyists, and industry professionals alike.
Education
RMIT University
(Melbourne, Australia)
Associate Degree in Engineering Technology (Mechanical / Manufacturing)
Focus on metallurgical properties, industry-driven projects, and practical metal craftsmanship. Gained hands-on experience with traditional machining and digital manufacturing tools, such as CAD, CNC software, and precision welding equipment.
Nottingham Trent University
(United Kingdom)
Bachelor’s in Product Design and Materials Engineering (Honors)
Specialized in product design with a heavy focus on blending creativity with metal production and fabrication techniques. Participated in real-world industry projects, collaborating with architectural and hardware manufacturing companies to optimize material efficiency.
Publications and Impact
In Metalenify, Stuart Rich shares his insights on structural metal design processes, material grades, and strategies for efficient shop production. His writing bridges the gap between raw artisan knowledge and modern industrial needs, making it a must-read for both budding DIY metalworkers and seasoned fabrication professionals.





