
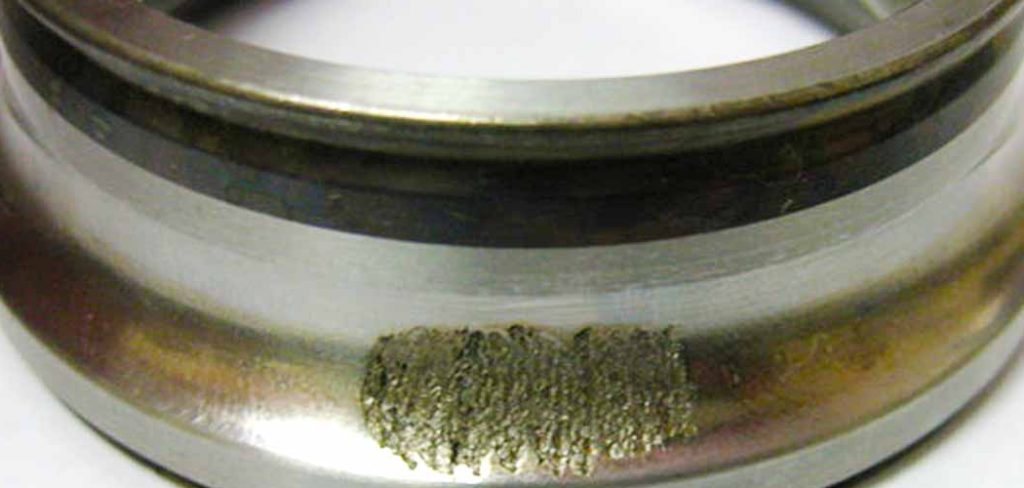
You’re holding a worn pulley, maybe a tired bearing, and you need the right replacement. But the shaft staring back at you offers no clues. No stamped number, no label, nothing.
I’ve stood in that exact spot, parts catalog open, completely unsure what to order. It feels like the machine is keeping a secret on purpose.
Here’s the reassuring part. Figuring out how to identify shaft size is far easier than that frustration suggests. With a tool or two you probably already own, you can pin down the number and stop guessing.
This guide walks through what shaft size actually means, the tools that help, and a step-by-step method you can lean on. By the end, you’ll order with confidence instead of crossing your fingers.
What Shaft Size Actually Means
Before you grab a caliper, it helps to know what you’re chasing. The phrase “shaft size” gets used loosely, and that vagueness trips people up more than the measuring ever does.
So let’s slow down and get specific. A few seconds of context here saves a wrong order later.
Diameter, Length, and Why They Matter
When people say shaft size, they almost always mean diameter. That single number decides whether a bearing, pulley, or coupling will slide on and grip the way it should.
Length matters too, just for different reasons. It affects clearance and where parts sit along the shaft, but it rarely determines fit the way diameter does.
Picture how each dimension shapes the parts riding on the shaft. Diameter is the make-or-break figure. Length is the one that keeps everything spaced and clear of trouble.
Imperial vs. Metric Shafts
This is where a lot of near-misses happen. Some shafts follow inch-based sizing, others use millimeters, and the two systems love to masquerade as each other.
A 19mm shaft, for instance, sits maddeningly close to three-quarters of an inch. Close enough to fool you, not close enough to fit.
Before you measure anything, try to confirm which standard the machine follows. The manufacturer, the country of origin, or the rest of the hardware often gives it away.
Tools You Need to Measure Shaft Size
The right gear turns guesswork into a number you can trust. You don’t need a metrology lab, just a couple of reliable instruments within reach.
Calipers and Micrometers
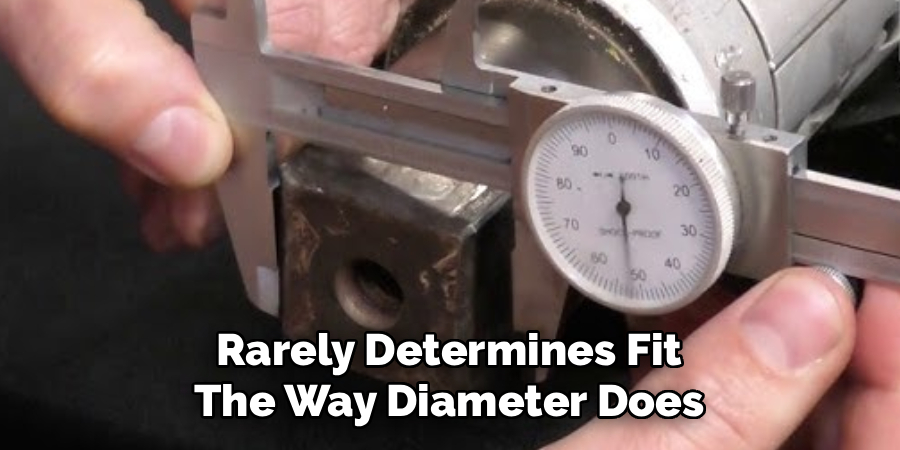
Calipers do the bulk of this work. A digital or dial caliper gives you a quick, dependable diameter reading on most shafts, and that covers the majority of jobs.
When tolerances get tight, a micrometer earns its place. It reads down to a thousandth of an inch, which matters on precision fits where a hair of difference changes everything.
Backup Tools and Reference Aids
A few extras keep you honest. A steel ruler or tape handles the length, and a thread gauge sorts out any threaded sections.
Then there’s the paperwork. A manufacturer’s spec sheet or parts diagram can confirm what your tools suggest. When a reading looks slightly off, that backup reference is what stops you from ordering the wrong thing twice.
How to Identify Shaft Size: Step-by-Step Guide
This is the heart of it. Knowing how to identify shaft size really comes down to a careful sequence, where each step builds on the last and the numbers gradually earn your trust.
Don’t rush the early steps. A clean shaft and the right tool do more for accuracy than any clever trick, and they spare you the headache of a part that almost fits.
Step 1: Clean and Inspect the Shaft
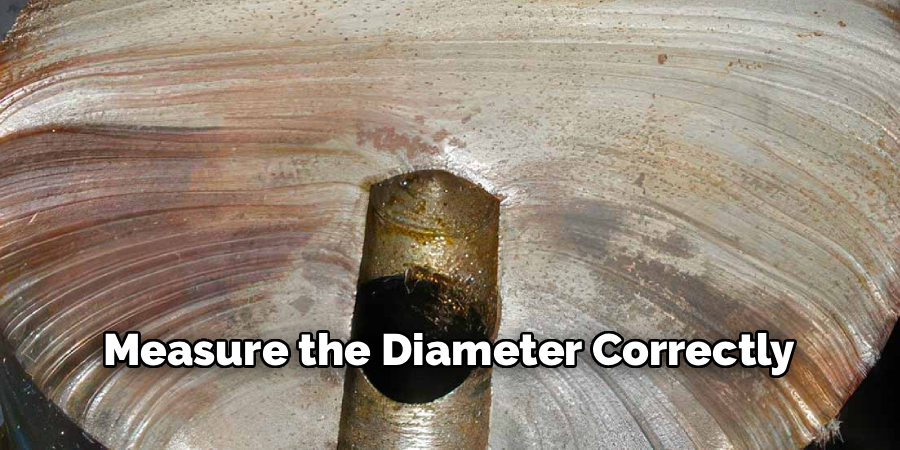
Start by wiping away grease, rust, and grime. A dirty shaft hands you a false reading, and false readings lead straight to wrong parts.
Once it’s clean, look closely. You want bare metal under your caliper jaws, not a layer of buildup quietly inflating the diameter.
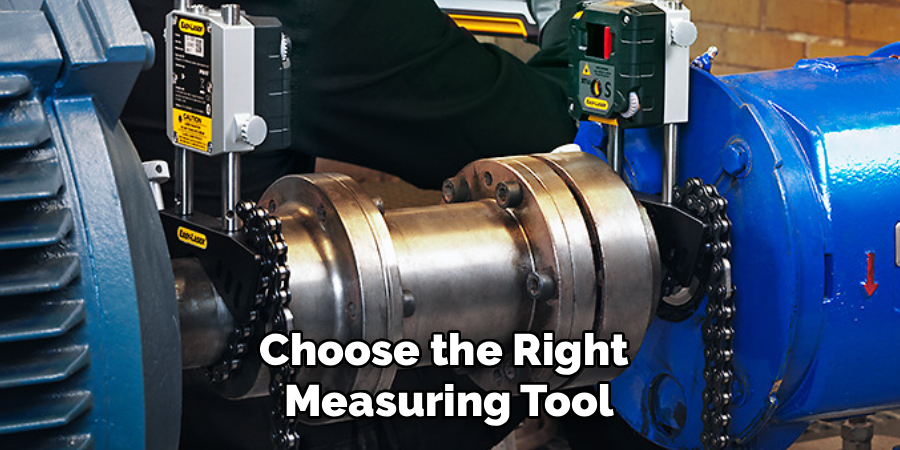
Step 2: Choose the Right Measuring Tool
Match the tool to the job. For most shafts, calipers give you everything you need quickly and reliably.
Reach for a micrometer only when the fit demands real precision. Bearings and tight tolerances justify the extra step, while a general pulley shaft usually does not.
Step 3: Measure the Diameter Correctly
Place the caliper jaws squarely across the widest point of the shaft. Keep them perpendicular to the length, not tilted at an angle.
A tilted caliper reads larger than the true diameter, and that small error can cost you a part. Square contact gives you the real number, every time.
Step 4: Take Multiple Readings
One measurement isn’t enough to bet on. Rotate the shaft and measure again in two or three spots around it.
This catches problems a single reading hides. Wear, ovaling, or a slight taper all show up when your numbers don’t quite agree, and that disagreement tells you something worth knowing.
Step 5: Measure the Length and Keyway
Now run a ruler or tape along the full usable length of the shaft. Note where parts need to sit and how much room they have.
If the shaft has a keyway, measure its width and depth too. Those dimensions affect fit just as much as diameter, and they’re easy to overlook until a part won’t seat right.
Step 6: Check for Threads or Tapers
Some shafts hide complications. A threaded end calls for a thread gauge to nail down the pitch, since eyeballing threads rarely ends well.
Tapers are sneakier. On a tapered shaft, the diameter changes along its length, so a single reading tells you almost nothing. Measure at several points and note how the number shifts.
Step 7: Compare Against Standard Sizes
Real-world readings rarely land on a perfect round number. A measurement of 0.748 inches probably points to a standard 0.750-inch shaft, worn down a touch by years of service.
So compare your figures to common shaft dimensions. Recognizing that the small gap between your reading and the standard size is often the key to ordering correctly.
Step 8: Record and Confirm Your Findings
Finish by writing everything down. Note the diameter, the length, the keyway, and which unit system you used, since a forgotten “mm” can undo all your care.
Then double-check against a spec sheet or the replacement part before you order. This last step feels unnecessary right up until it saves you from a costly mistake.
How to Read and Interpret Your Measurements
The raw numbers only matter once you know how to read them. A caliper gives you data; interpretation turns that data into the right part.
Rounding to the Nearest Standard Size
Manufactured shafts come in standard sizes, but the one in front of you has lived a life. Wear, plating, and tolerance all nudge the reading away from a clean number.
So you round toward the nearest manufactured size, not away from it. A reading of 0.623 inches likely means a 0.625-inch shaft, slightly worn. Trust the standard, not the decimal.
Spotting Wear and Out-of-Round Shafts
This is where those multiple readings pay off. If the diameter changes depending on where you measure, the shaft is worn or out of round.
That detail matters more than it seems. An out-of-round shaft may suggest a deeper problem, and it changes which replacement part will actually fit and last.
Common Shaft Sizes You Will Encounter
Over time, you start to recognize the sizes that show up again and again. Building that mental library speeds up every future job.
Standard Imperial Shaft Sizes
Inch-based shafts cluster around familiar fractions. Half inch, five eighths, three quarters, and one inch cover an enormous range of motors, pulleys, and gearboxes.
Once these become second nature, a reading near any of them tells you instantly where to look. You stop measuring blindly and start measuring with a hunch worth testing.
Standard Metric Shaft Sizes
Metric shafts have their own regulars. Sizes like 10, 12, 19, and 25 millimeters appear constantly, especially on imported equipment.
The 19mm size deserves extra attention. It sits so close to three-quarters of an inch that it fools people daily, so a metric machine with a “three-quarter inch” shaft probably isn’t one at all.
Mistakes to Avoid When Measuring
A few common slips lead to wrong parts and wasted afternoons. Most of them are easy to dodge once you know they exist.
Measuring at an Angle or Over Debris
A tilted caliper inflates the reading, and so does a stray layer of grime. Either one sends you ordering a size that was never really there.
The fix is simple. Clean the shaft first, then keep your tool square. Two small habits, and the problem mostly disappears.
Mixing Up Metric and Imperial Numbers
This is the classic trap. Confuse 19 millimeters with three-quarters of an inch, and you’ve got a part that almost seats but never quite does.
That near-fit is the worst kind, because it tempts you to force it. Confirm the unit system early, and you’ll avoid the maddening guesswork entirely.
When to Trust the Manufacturer Specs
Sometimes the smart move is to set the calipers down. Field measurements are excellent, but they aren’t always the final word.
On a heavily worn shaft, your reading reflects the damage, not the original size. The same goes for precision equipment or sealed assemblies, where the spec sheet may tell you more than a measurement ever could.
Checking documentation isn’t a shortcut or a cop-out. It’s a confident way to confirm what your tools suggest, especially when the cost of a wrong part outweighs the few minutes it takes to look it up.
Conclusion
So there it is. Knowing how to identify shaft size turns a guessing game into a quick, repeatable task you can handle anytime a worn part needs replacing.
The pattern is easy to hold onto. Clean the shaft first, measure carefully in more than one spot, confirm the unit system, and round toward the nearest standard size.
You’ve got the full roadmap now, from a clean inspection to spotting wear and trusting the specs when they matter. The next time a bare shaft refuses to give up its secret, you won’t feel stuck.
You’ll feel ready. Grab your calipers, trust the process, and measure with the quiet assurance that you’ll nail the right size every time.

About
Stuart Rich is a distinguished figure in the world of metalworking and fabrication, with a decade of expertise creating innovative and sustainable metal projects. His professional focus lies in merging traditional blacksmithing and machining with modern manufacturing techniques, fostering designs that are both practical and durable. As the author of Metalenify, Stuart Rich delves into the art and science of metallurgy and DIY metal creation, inspiring artisans, hobbyists, and industry professionals alike.
Education
RMIT University
(Melbourne, Australia)
Associate Degree in Engineering Technology (Mechanical / Manufacturing)
Focus on metallurgical properties, industry-driven projects, and practical metal craftsmanship. Gained hands-on experience with traditional machining and digital manufacturing tools, such as CAD, CNC software, and precision welding equipment.
Nottingham Trent University
(United Kingdom)
Bachelor’s in Product Design and Materials Engineering (Honors)
Specialized in product design with a heavy focus on blending creativity with metal production and fabrication techniques. Participated in real-world industry projects, collaborating with architectural and hardware manufacturing companies to optimize material efficiency.
Publications and Impact
In Metalenify, Stuart Rich shares his insights on structural metal design processes, material grades, and strategies for efficient shop production. His writing bridges the gap between raw artisan knowledge and modern industrial needs, making it a must-read for both budding DIY metalworkers and seasoned fabrication professionals.





