To successfully paint over powder-coated metal, clean the surface thoroughly with a degreaser, lightly scuff it using fine-grit sandpaper to create a bonding profile, wipe away dust, apply a high-quality bonding primer, and finish with an epoxy or enamel paint suited for metal surfaces.
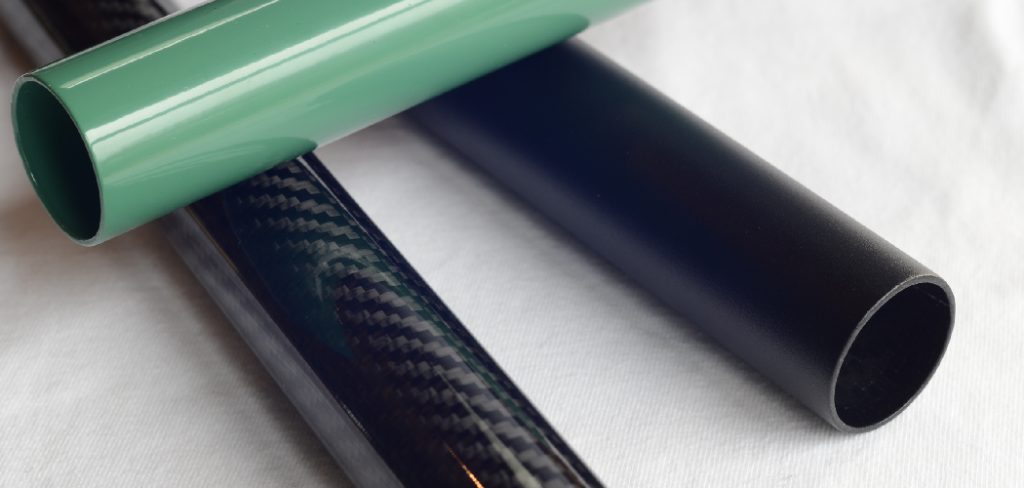
Many homeowners assume powder-coated surfaces can’t be repainted. That assumption is understandable — the finish is tough, baked-on, and engineered to resist exactly the kind of abuse that wears ordinary paint down. But updating these surfaces is entirely possible. The catch is preparation. Without it, new liquid paint has nothing to grip, and the job fails within weeks.
This guide on how to paint over powder coated metal walks you through each step in the correct order, flags the mistakes most people make, and explains what to buy without overspending.
Tools and Materials You’ll Need
Before you begin, gather everything in one place. Stopping mid-project to find a missing supply often leads to rushed steps and poor bonding between layers.
- Heavy-duty degreaser or trisodium phosphate (TSP)
- Clean, lint-free microfiber cloths
- Fine-grit sandpaper (120-grit and 220-grit) or a sanding sponge
- Tack cloth
- Painter’s tape and drop cloths
- High-quality bonding primer designed for metal
- Epoxy-based or rust-preventative enamel topcoat paint
- Respirator mask and protective gloves
7 Simple Step-By-Step Guidelines on How to Paint Over Powder Coated Metal
Step 1: Clean the Powder Coated Surface Thoroughly
Start here, and don’t rush it. Powder-coated surfaces collect oils from hands, airborne pollutants, and outdoor residue that will block new paint from bonding — even if the surface looks clean to the eye. Use a strong degreaser or a TSP solution mixed with warm water and scrub the entire piece top to bottom.
Work the cleaning solution into tight corners, crevices, and any decorative metalwork where contaminants tend to sit undisturbed. Once you’ve scrubbed everything, rinse thoroughly with fresh water to flush out any soapy film. Then let the metal dry completely. Any moisture trapped beneath the primer will compromise adhesion before the paint even dries.
Step 2: Sand the Metal to Create a Profile
Powder coating is smooth by design, which is exactly what makes it difficult to paint over. Liquid paint can’t simply stick to a slick, non-porous surface — it needs texture. Using 120-grit sandpaper or a medium sanding block, scuff the entire surface with firm, circular motions until the glossy finish dulls to a matte appearance.
You’re not trying to strip the coating down to bare metal. The existing powder coat is actually a useful base; you just need to remove its sheen so primer has something to grip. Pay close attention to edges and detailed sections, since these spots are easy to skim over and equally easy to regret skipping.
Step 3: Remove All Residual Dust and Debris
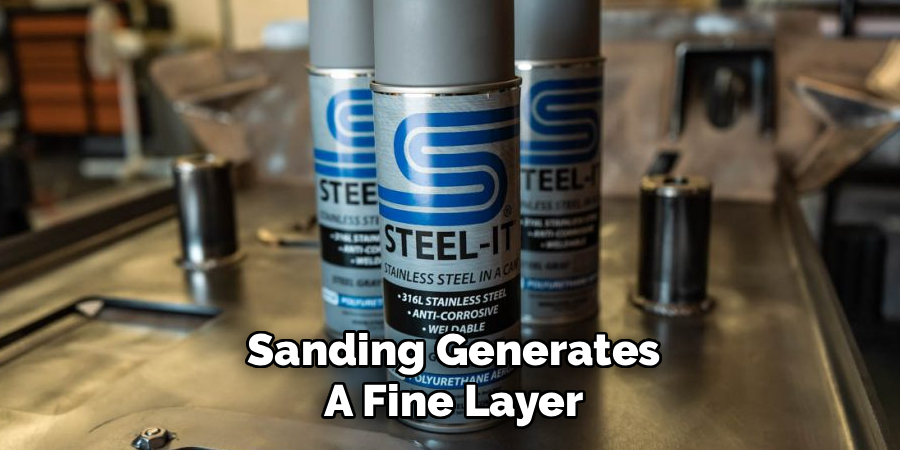
Sanding generates a fine layer of dust across the whole surface — more than it looks like. If you prime over that dust, the paint bonds to loose particles instead of the metal itself, and peeling follows quickly. Start with a shop vacuum and brush attachment, or a dry microfiber cloth, to remove the bulk of the material.
After that initial wipe-down, run a tack cloth over every inch of the piece. Tack cloths are lightly treated with a sticky compound that captures the microscopic particles ordinary rags miss entirely. Keep wiping until the cloth picks up nothing visible. That’s when the surface is genuinely ready.
Step 4: Apply a High-Quality Bonding Primer
Primer selection may matter more than paint selection on this particular project. Standard wood or drywall primers aren’t formulated for slick metal and will fail — not gradually, but decisively. Purchase a bonding primer explicitly rated for metal surfaces. Shake the can vigorously for at least two minutes before use to ensure the chemical components are properly mixed.
Hold the spray can or paint gun roughly eight to twelve inches from the surface and apply the primer in light, sweeping strokes, overlapping each pass slightly to avoid uneven buildup. Two thin coats will outperform one heavy coat every time. Let the first layer dry according to the manufacturer’s recommended timeframe before applying the second — that interval exists for a reason.
Step 5: Lightly Sand the Primer Layer
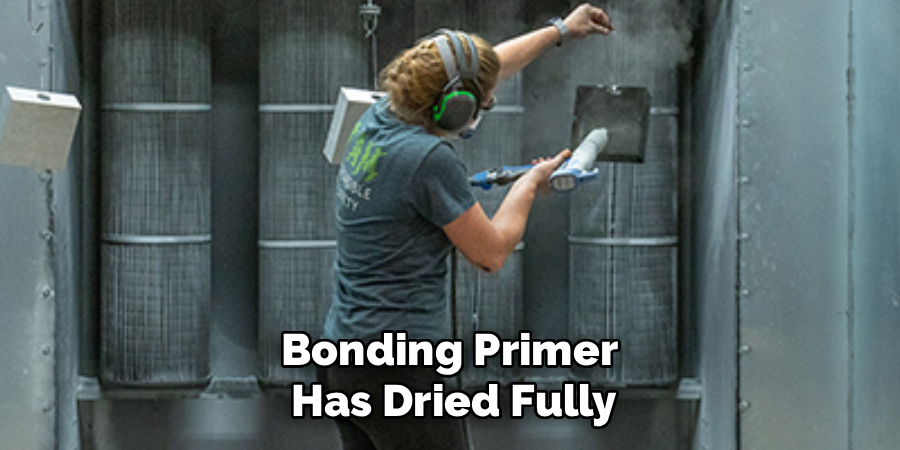
Once the bonding primer has dried fully, inspect the surface in good lighting. Small dust particles occasionally settle into wet primer, and minor uneven spots can form during application. Addressing these now takes only a few minutes and makes a noticeable difference in the final finish.
Using 220-grit sandpaper, lightly scuff the primed surface to knock down any bumps or raised particles. Use minimal pressure — the goal is smoothing, not removing. After this pass, wipe the surface again with a fresh tack cloth to clear the new dust before moving on.
Step 6: Apply Your Chosen Topcoat Paint
With the surface properly primed, you can apply the final color. For durability, choose an epoxy-based paint or a metal-grade enamel — these products cure into a hard shell that holds up comparably well to the original powder coat. Shake the paint thoroughly and test the spray pattern on a scrap piece of cardboard before approaching the actual piece.
Apply the topcoat using the same technique as the primer: consistent distance, smooth overlapping motions, and multiple thin layers rather than one heavy pass. A thick coat may look faster, but it risks running or sagging and takes far longer to cure evenly. Waiting roughly fifteen to thirty minutes between coats — until each layer feels tacky but not wet — tends to produce the cleanest results.
Step 7: Allow the Painted Metal to Cure Completely
This step is where patience genuinely matters. Drying and curing are not the same process. Paint may feel dry to the touch within a few hours, but the chemical cross-linking that gives it real hardness and scratch resistance takes considerably longer. Putting the piece back into use too soon can leave permanent indentations or cause sections to peel.
Set the painted item in a well-ventilated, dry area away from direct sunlight, high humidity, and dust. Most metal enamels and epoxies need anywhere from three to seven days to fully cure, though the back of your specific paint can will give you the most reliable timeline. Following these steps on how to paint over powder coated metal carefully should result in a finish that holds up well against daily use and the elements.
Common Mistakes to Avoid
Skipping the sanding phase is the most common error, and the consequences are immediate — paint peels away in sheets rather than failing gradually. Equally damaging is incomplete degreasing or reaching for a primer not rated for slick surfaces. Both of these issues could be described as preparation failures, and they account for the majority of cases where this process goes wrong.
Rushing the drying times between coats is another frequent misstep. Trapped solvents beneath an insufficiently dried layer cause bubbling and early failure — the kind of result that’s frustrating to diagnose after the fact. Building in adequate drying time costs nothing.
How Much Will It Cost?
Repainting powder-coated metal yourself is considerably more cost-effective than professional stripping and recoating. A heavy-duty degreaser runs roughly $10, while assorted sandpaper costs around $5 to $8.
A premium can of metal bonding primer typically falls between $10 and $15, and a quality enamel topcoat is similarly priced. For a medium-sized project — a patio chair, a bicycle frame — expect to spend somewhere between $35 and $50 in total materials.
Frequently Asked Questions
Q1: Can I Use Acrylic Paint Over Powder Coated Metal?
Standard acrylic craft or house paint isn’t well-suited for this application. It lacks the chemical hardeners needed to withstand daily wear, and on a metal surface exposed to moisture or temperature changes, it may scratch, chip, or wash away faster than expected. An enamel, epoxy, or urethane-based paint formulated for metal will perform significantly better over time.
Q2: Do I Have To Strip The Old Powder Coat Before Painting?
Not in most cases. Chemical stripping or sandblasting is only worth considering when the existing finish is actively flaking, bubbling, or shows signs of serious corrosion beneath it. An intact powder coat actually serves as a durable protective base for the raw metal underneath. Thorough cleaning and scuffing to remove the gloss is typically sufficient for new primer and paint to bond properly.
Q3: How Long Will New Paint Last On A Powder Coated Surface?
With correct preparation and priming, a quality enamel or epoxy topcoat can reasonably last five to ten years, depending on the environment. Items stored indoors or under covered patios will hold up longer than those exposed to direct sun, rain, and freezing temperatures. Routine gentle cleaning and avoiding abrasive scrubbing pads will help preserve the finish over that time.
Bringing Your Metal Pieces Back to Life
Refreshing powder-coated metal with a new color is a genuinely satisfying weekend project — one that can transform dated or worn fixtures without replacing them. The process itself isn’t complicated, but it does depend on doing the unglamorous parts well: cleaning thoroughly, scuffing consistently, and giving primer and paint the time they need between coats.
Get those fundamentals right, and the finishing steps largely take care of themselves. Take your time, work in thin layers, and let the piece cure fully before putting it back into use. The result should hold up far longer than most people expect from a DIY repaint. Thanks for reading this guide on how to paint over powder coated metal.
About
Stuart Rich is a distinguished figure in the world of metalworking and fabrication, with a decade of expertise creating innovative and sustainable metal projects. His professional focus lies in merging traditional blacksmithing and machining with modern manufacturing techniques, fostering designs that are both practical and durable. As the author of Metalenify, Stuart Rich delves into the art and science of metallurgy and DIY metal creation, inspiring artisans, hobbyists, and industry professionals alike.
Education
RMIT University
(Melbourne, Australia)
Associate Degree in Engineering Technology (Mechanical / Manufacturing)
Focus on metallurgical properties, industry-driven projects, and practical metal craftsmanship. Gained hands-on experience with traditional machining and digital manufacturing tools, such as CAD, CNC software, and precision welding equipment.
Nottingham Trent University
(United Kingdom)
Bachelor’s in Product Design and Materials Engineering (Honors)
Specialized in product design with a heavy focus on blending creativity with metal production and fabrication techniques. Participated in real-world industry projects, collaborating with architectural and hardware manufacturing companies to optimize material efficiency.
Publications and Impact
In Metalenify, Stuart Rich shares his insights on structural metal design processes, material grades, and strategies for efficient shop production. His writing bridges the gap between raw artisan knowledge and modern industrial needs, making it a must-read for both budding DIY metalworkers and seasoned fabrication professionals.


