
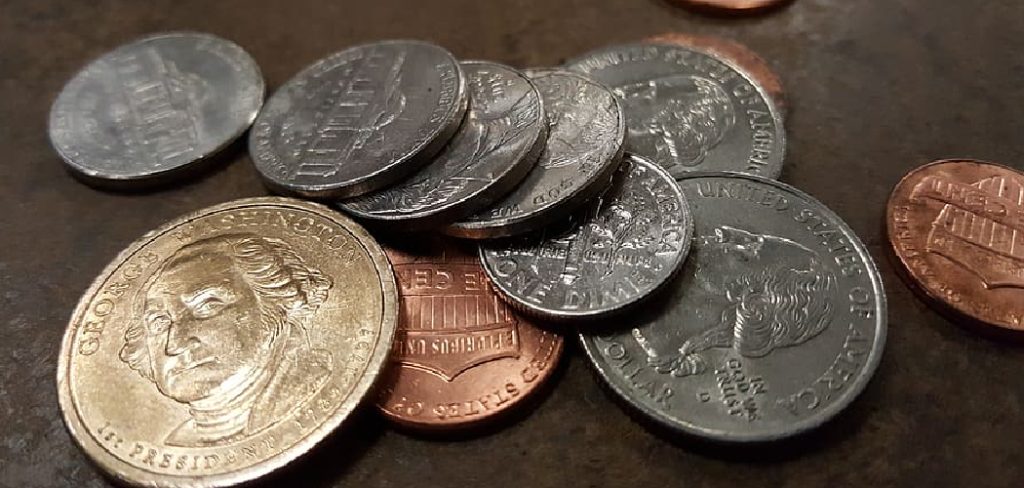
You’ve got a bright penny in your hand and an idea taking shape. Maybe a pendant, a keychain charm, a guitar pick, or some small piece of jewelry that needs a hole to come together.
The worry is cracking the coin or wrecking a drill bit. That fear stops a lot of people before they start.
Learning how to drill a hole in a penny is far more achievable than it looks, once you pick the right bit, secure the coin properly, and let the tool do the work. With steady hands and a bit of patience, a smooth, professional-looking hole sits well within reach at home.
This guide covers the whole arc. The reasons, the legality, the tools, the safety prep, bit choice, the drilling technique, finishing, and the mistakes that ruin good coins.
Stick with it, and a clean, centered hole is absolutely within reach.
Why Drill a Hole in a Penny?
Before you reach for a drill, it helps to know what that little hole unlocks. A penny is cheap, familiar, and surprisingly versatile once you put a hole in it.
Crafts, Jewelry, and Keepsakes
A drilled penny becomes a pendant, a zipper pull, a charm, or a piece of a wind chime. The copper color and that familiar design give handmade jewelry a warmth you don’t get from blank stock.
There’s something personal about it, too. A penny from a meaningful year turns into a keepsake or a gift that carries a quiet story.
For crafters, that’s the real draw. The coin already has character; you’re just giving it a way to hang.
Practical and Decorative Uses
The uses run beyond jewelry. Drilled pennies work as makeshift washers, small weights, conductive contacts, leather rivets, and decorative inlays.
Their low cost is what makes them so handy. You can experiment freely, since a ruined penny costs you, well, a penny.
That cheapness invites tinkering. It’s a forgiving material for repairs and little creative projects where you’d hesitate to risk something pricier.
Legality Considerations Before You Start
This part trips people up, so it’s worth a moment before any drilling begins. The rules are friendlier than most assume.
What the Law Actually Says
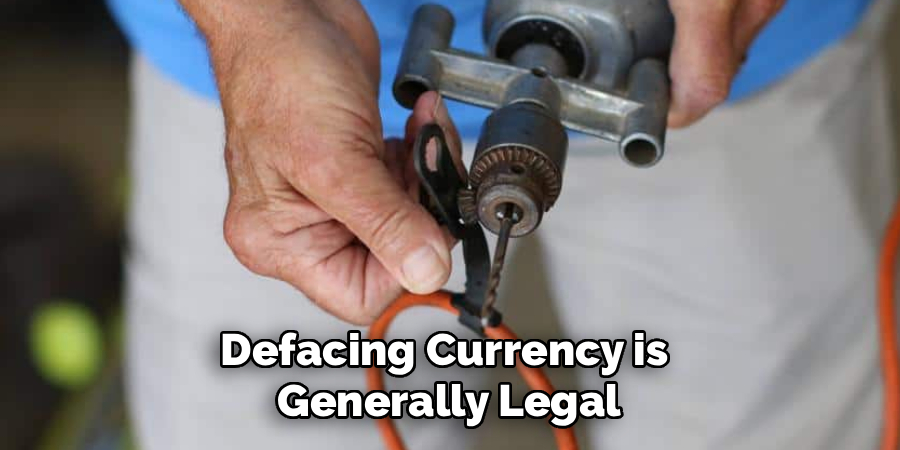
Defacing currency is generally legal, as long as you aren’t doing it fraudulently. The line lands on intent: you can’t alter a coin to pass it off for more than its real value.
Drilling a penny for art, jewelry, or hobby use sits comfortably within personal, non-fraudulent use in most places. You’re making a charm, not running a scam.
So for the vast majority of crafters, this is a non-issue. Drill away with a clear conscience.
When to Check Local Rules
That said, rules vary by country and region. If you plan to sell altered coins, it may be worth confirming your local laws first.
The same goes for foreign currency, which some countries protect more strictly than others. A quick check could save you a headache down the line.
And spare a thought for older pennies. Some hold collector value worth preserving, so an antique coin might deserve a closer look before it meets the bit.
Tools and Materials You’ll Need
Gathering everything first keeps the work flowing. There’s nothing worse than pausing with a clamped coin to hunt for a center punch.
Essential Tools
The heart of the job is a power drill, though a drill press offers far more control than a handheld one. You’ll also want sharp twist bits sized for the hole you have in mind.
Add a center punch to mark your spot and a clamp or vise to hold the coin still. Safety glasses round out the essentials, and they aren’t optional.
Keep the kit simple. These few items handle the whole task comfortably.
Helpful Extras and Supplies
A scrap wood backing board does quiet, important work here, supporting the coin and protecting your surface. Cutting oil or a little lubricant helps the bit cut cleanly.
Keep a marker, a metal file, and fine sandpaper nearby for marking and cleanup. Rust-free storage protects your finished pieces afterward.
A small wood block to clamp against is the unsung hero. It keeps the penny steady and saves your bench from stray drill marks.
Safety Preparation Before You Begin
Even on a job this small, drilling metal throws hot chips and demands a secure setup. A few habits keep it injury-free.
Personal Protective Gear
Wear safety glasses, every time. A flying copper shaving heads exactly where you don’t want it, and your eyes are no place to find out.
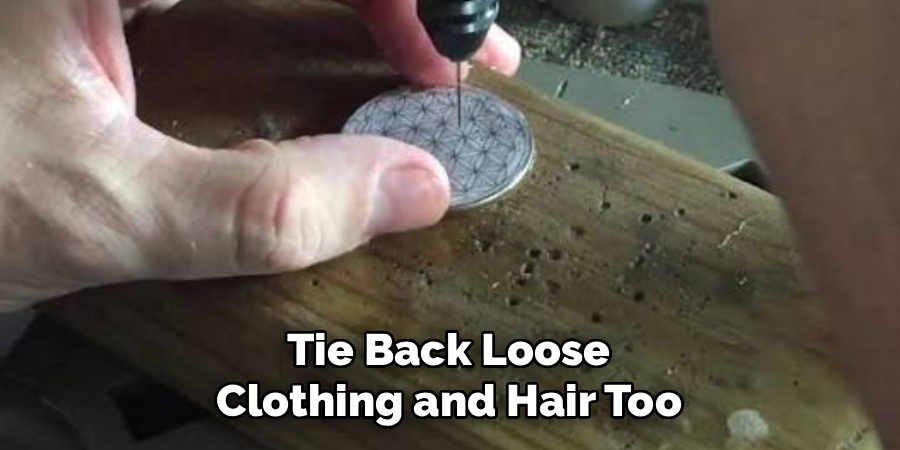
Keep your hands well clear of the spinning bit. Tie back loose clothing and hair too, since a drill grabs anything that drifts close.
It feels like overkill for a penny. It isn’t, and the moment something catches, you’ll be glad you bothered.
Securing the Workspace
Work on a stable surface with good lighting so you can see your mark clearly. Clear away clutter that might snag or distract you.
Here’s the one that matters most: never hold the coin with bare fingers. A penny can spin violently if the bit grabs it, turning a quick task into a painful accident.
That spinning coin becomes a small blade. Clamping isn’t fussiness; it’s what keeps your fingers intact.
Choosing the Right Drill Bit
Of every choice you’ll make, the bit matters most. It decides whether the hole comes out clean or torn, and whether the job feels easy or frustrating.
Bit Material and Type
A sharp high-speed steel or titanium-coated twist bit cuts copper and zinc cleanly. A dull bit, by contrast, grabs, wanders, and tears the metal into a ragged mess.
For repeat work, cobalt bits hold their edge longer and shrug off the heat. They cost a bit more, but they earn it across many coins.
One rule stands out: a bit made for metal beats one meant for wood every time. Wood bits simply aren’t built for this.
Matching Bit Size to Your Project
Pick a bit that matches whatever you’ll thread through the hole, whether that’s a jump ring, a cord, or a bit of hardware. Measure the hardware first, then choose the bit.
Start small, though. A pilot bit before the final size keeps the hole round and centered, which is harder to guarantee if you charge straight in with a large bit.
Gradual drilling is your friend here. Each step guides the next, and the finished hole lands where you planned.
Securing the Coin Properly
This is where a clean job is won or lost. A penny that can spin, slip, or fly loose is both a ruined craft and a real hazard.
Clamping in a Vise or Drill Press
Position the penny against a scrap wood backer, then clamp it firmly in a vise or under a drill press clamp. Check that it cannot rotate before you go any further.
A coin gripped by the bit alone is the problem you’re avoiding. Without a clamp, that penny becomes a spinning blade the instant the bit bites.
Take the extra thirty seconds. It’s the single best thing you can do for safety.
Marking and Centering the Hole
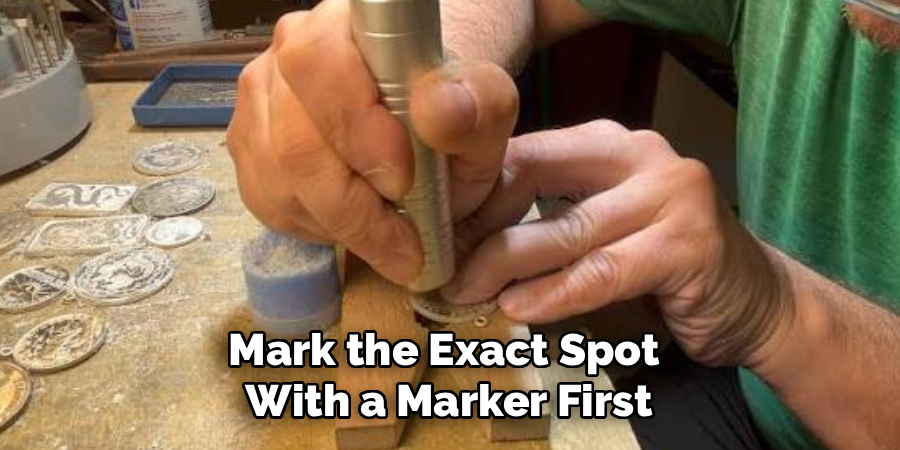
Mark the exact spot with a marker first. Then tap a center punch into the mark to create a small dimple.
That little dent does real work. It keeps the bit from wandering across the smooth coin and helps the hole land precisely where you intended.
Skip it, and the bit may skate. The punch is quick insurance against a hole that drifts off-center.
How to Drill a Hole in a Penny: Step-by-Step Guide
Here’s the heart of it. Each step builds on the one before, and a slow, steady approach beats forcing the bit every time.
Step 1: Mark and Punch the Drill Point
Mark your desired hole location with a fine marker. Then set the center punch on that mark and tap it once with a light hammer.
The small dimple this leaves guides the bit and prevents wandering. It’s what ensures the hole ends up exactly where you want it on the coin, rather than a few millimeters adrift.
Step 2: Set Up a Backing Board
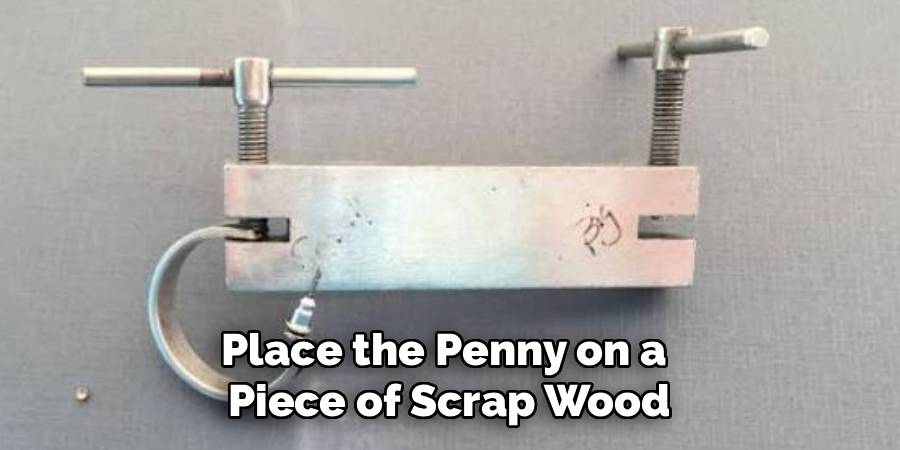
Place the penny on a piece of scrap wood. This supports the coin from below and protects your work surface from the bit.
It also gives the bit somewhere safe to exit. As it punches through the back, the wood keeps the rear edge of the hole from tearing.
Step 3: Clamp the Penny Securely
Clamp the coin and backing board firmly in a vise, or under a drill press clamp. Then test that nothing can shift or spin.
I’ll say it once more because it counts: a securely held penny is the single biggest factor in a safe, clean job. Give it a nudge, and if it moves, tighten further.
Step 4: Add a Drop of Lubricant
Place a small drop of cutting oil or lubricant on the punch mark. It cools the bit and reduces friction as it cuts.
The payoff is a smoother hole and a longer bit life. This simple step also keeps the metal from overheating, which is what causes that ugly smeared edge.
Step 5: Drill a Pilot Hole
Start with your small bit at a moderate speed. Apply light, steady pressure straight down, and let the bit cut at its own pace.
Don’t lean into it. The pilot hole guides the larger bit that follows, keeps the final hole centered, and stops the bit from skating across the coin’s surface.
This first hole does a lot of quiet work. Rush it, and the rest of the job gets harder.
Step 6: Step Up to the Final Size
Swap to your final bit size and drill through the pilot hole. Keep the same light, steady pressure you used before.
As the bit nears the back, ease off. Easing through the breakthrough keeps the exit edge clean and stops the coin from grabbing and spinning at the last second.
That final moment is where people get careless. Stay gentle, and the hole finishes neat.
Step 7: Stop, Inspect, and Clear Chips
Power down and let the bit and coin cool before you touch anything. Both run hotter than they look.
Unclamp the penny carefully, then brush away the copper chips. Inspect the hole for roundness and confirm it’s the right size before you move on to finishing.
A quick check now saves a redo later. If it’s clean and round, you’re nearly done.
Finishing and Smoothing the Hole
The hole is drilled, but it isn’t ready yet. A fresh hole leaves sharp burrs that snag, scratch, and feel unpleasant to handle.
Deburring the Edges
Run a small file, a larger bit turned by hand, or a deburring tool lightly around both sides of the hole. You’re knocking down the raised burrs the drilling left behind.
This makes the penny safer to handle and far nicer to wear. It also readies the hole to accept a jump ring or cord without catching on the rough edge.
Polishing the Finished Penny
Smooth the edge with fine sandpaper, then buff the coin with a polishing cloth or a little compound. The shine returns quickly.
A quick polish lifts away scuffs and fingerprints from all that handling. What’s left is a clean, finished piece ready for jewelry or display.
Common Mistakes to Avoid
A couple of predictable errors crack coins, snap bits, or cause injury. Knowing them ahead of time costs nothing.
Holding the Coin by Hand
Gripping a penny with your fingers, or even pliers, instead of clamping it is the number one cause of accidents. The bit can catch and send that hot, sharp coin spinning into your hand at high speed.
It happens fast, and it hurts. Clamp the coin every single time, no exceptions, no matter how quick the job seems.
Drilling Too Fast or Without Lubricant
High speeds and dry drilling overheat the bit. The metal melts and smears, leaving a rough, discolored hole that no amount of polishing fully fixes.
The cure is gentle. Moderate speed, light pressure, and a single drop of oil deliver a clean cut nearly every time.
When to Call a Professional
Most penny drilling sits happily in DIY range. Still, some situations call for an expert, and recognizing that is good judgment rather than giving up.
Rare or collectible coins are one case, where the value at stake may outweigh the fun of doing it yourself. Large batches of identical pieces are another, since consistency by hand gets tedious fast.
Very hard coins, or jewelry that demands tight tolerances, also lean toward the pros. A jeweler or machine shop with a drill press, proper bits, and steady fixturing can deliver perfectly centered, burr-free holes, often saving you a stack of ruined coins on demanding work.
Conclusion
So that’s the full picture of how to drill a hole in a penny, from the first marker dot to a polished, finished charm. What looks risky at first turns into a quick, satisfying skill once you take it step by step.
Look back at the path. You weigh the reasons and the legality, gather your tools, choose the right bit, secure the coin safely, drill with slow and steady control, then finish the edges smooth.
Start with a spare penny. Respect the bit and the chips, and let patience do the work rather than force.
A securely clamped coin and a sharp, well-lubricated bit are what separate a cracked, jagged attempt from a clean, centered hole. So gather your tools, clamp that first penny, and enjoy the small thrill when the bit breaks through to reveal a perfect little hole.

About
Stuart Rich is a distinguished figure in the world of metalworking and fabrication, with a decade of expertise creating innovative and sustainable metal projects. His professional focus lies in merging traditional blacksmithing and machining with modern manufacturing techniques, fostering designs that are both practical and durable. As the author of Metalenify, Stuart Rich delves into the art and science of metallurgy and DIY metal creation, inspiring artisans, hobbyists, and industry professionals alike.
Education
RMIT University
(Melbourne, Australia)
Associate Degree in Engineering Technology (Mechanical / Manufacturing)
Focus on metallurgical properties, industry-driven projects, and practical metal craftsmanship. Gained hands-on experience with traditional machining and digital manufacturing tools, such as CAD, CNC software, and precision welding equipment.
Nottingham Trent University
(United Kingdom)
Bachelor’s in Product Design and Materials Engineering (Honors)
Specialized in product design with a heavy focus on blending creativity with metal production and fabrication techniques. Participated in real-world industry projects, collaborating with architectural and hardware manufacturing companies to optimize material efficiency.
Publications and Impact
In Metalenify, Stuart Rich shares his insights on structural metal design processes, material grades, and strategies for efficient shop production. His writing bridges the gap between raw artisan knowledge and modern industrial needs, making it a must-read for both budding DIY metalworkers and seasoned fabrication professionals.





