
Imagine a dull, golden brass handle slowly shifting into something deeper. A surface the color of ocean water, dusted with hints of teal and green, looking like it spent a century in a sunken chest.
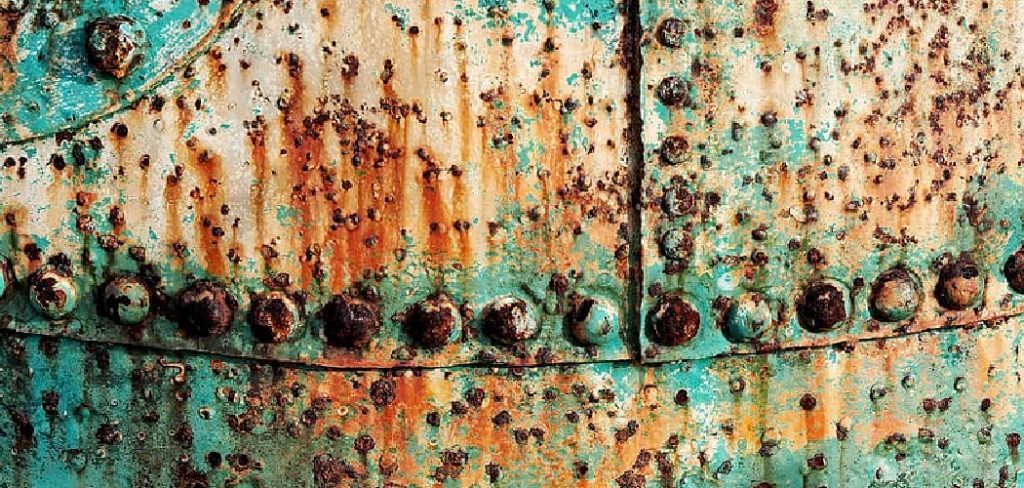
That look isn’t reserved for antiques. You can create it yourself, on your own bench, in a fraction of the time nature would take.
Learning how to patina brass blue is far more achievable than it appears, once you understand how a few simple chemicals react with the metal. With basic solutions, careful timing, and a little patience, a rich blue finish sits well within reach at home.
This guide covers the methods, the tools, the safety prep, surface preparation, a full step-by-step process, sealing, and the mistakes that trip people up. By the end, that beautiful blue is something you’ll know how to summon at will.
Why Patina Brass Blue?
Before mixing anything, it helps to know what the color actually does for a piece. The appeal runs deeper than novelty.
Adding Color, Depth, and Character
A blue patina takes plain, shiny brass and gives it a story. Suddenly, the piece carries vintage charm and a kind of artistic depth that polished metal never manages.
The color is also genuinely one of a kind. No two patinas form exactly alike, which makes the method perfect for jewelry, decor, and statement pieces meant to stand apart.
Speeding Up a Natural Look
Brass does eventually weather on its own. But “eventually” can mean decades, and few of us want to wait that long.
Forcing a patina compresses all that aging into hours or days. You get the antique feel on demand, rather than hoping time and air cooperate.
Understanding How Blue Patina Forms
The methods make far more sense once you grasp the basic chemistry. A few minutes here saves a lot of guessing later.
The Chemistry Behind the Color
At its heart, the process is a reaction. Brass meets ammonia, salts, and oxygen, and the surface begins forming blue and green copper compounds.
The copper content in brass is what drives the whole thing. Those copper atoms react and bloom into color, which is why brass takes a blue patina the way it does.
Small changes shift the result, too. Different chemicals and exposure times may nudge the hue toward blue, teal, or a leafy green, so the finish you get depends partly on the choices you make along the way.
Why Brass Composition Matters
Not all brass behaves the same under these solutions. The ratio of copper to zinc varies between alloys, and that ratio affects how readily and how vividly the blue develops.
A high-copper brass tends to patina more eagerly. A zinc-heavy one may resist a little, or land on a slightly different shade.
This is why testing a small, hidden spot first is worth the trouble. A quick patch test could suggest how your particular piece will respond before you commit the whole thing.
Methods to Patina Brass Blue
Three core approaches cover most projects. Matching one to your piece before gathering supplies keeps the work simple.
Ammonia Fuming
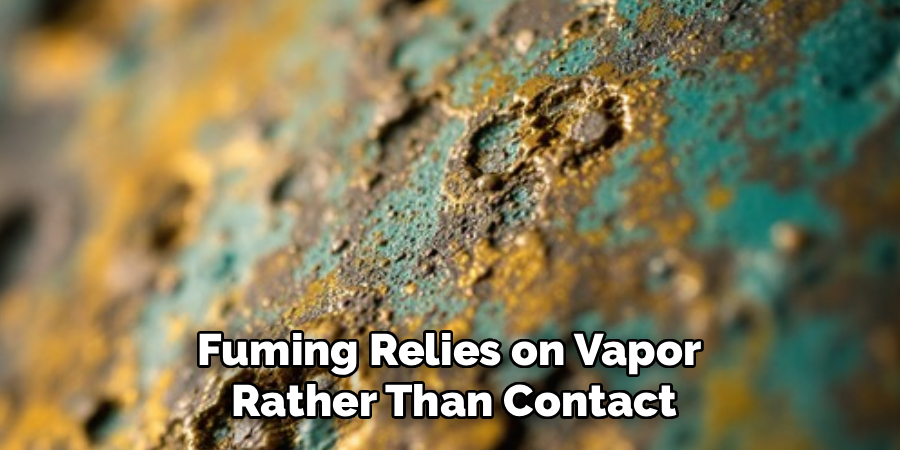
Fuming relies on vapor rather than contact. You seal the brass in a container alongside ammonia, and the fumes do the work over time.
The result tends to be soft and even, with gentle blue and green tones. It’s a controllable method, which makes it a favorite for delicate decorative pieces where harsh blotting would ruin the effect.
Salt and Vinegar Solutions
For something bolder, a mix of salt, vinegar, and ammonia applied straight to the surface speeds everything up. You can brush it on or mist it.
This produces richer, more textured patinas, the kind that suit rustic, heavily aged looks. There’s less subtlety here and more drama, which is exactly the point for certain pieces.
Commercial Patina Solutions
If mixing your own chemistry feels daunting, ready-made blue patina products exist for good reason. They offer predictable color and come with clear instructions.
For beginners, especially, that consistency is reassuring. You trade a bit of experimentation for a reliable shortcut to even results.
Tools and Materials You’ll Need
Gathering everything first keeps the work flowing without frustrating stops mid-reaction. You won’t need all of it, but knowing your options helps.
Essential Supplies
The core kit is refreshingly humble. Household ammonia, white vinegar, and ordinary table salt form the chemical base for most homemade approaches.
You’ll also want a sealable container or plastic tub for fuming, plus spray bottles, soft brushes, and cotton swabs for applying the solution and reaching into detailed areas.
Finishing and Safety Materials
Beyond the chemicals, a few protective and finishing items round things out. Chemical-resistant gloves and safety goggles guard you, while a degreaser preps the metal.
Keep fine steel wool or sandpaper on hand for surface work, a clear sealant or wax for the finish, and plenty of paper towels for managing drips and excess solution.
Safety Preparation Before You Begin
Ammonia and acids aren’t dangerous when handled with sense, but they do demand respect and good airflow. A little caution here prevents a miserable afternoon.
Protective Gear and Ventilation
Wear chemical-resistant gloves and safety goggles every time, along with old clothing you won’t mind staining. Splashes happen.
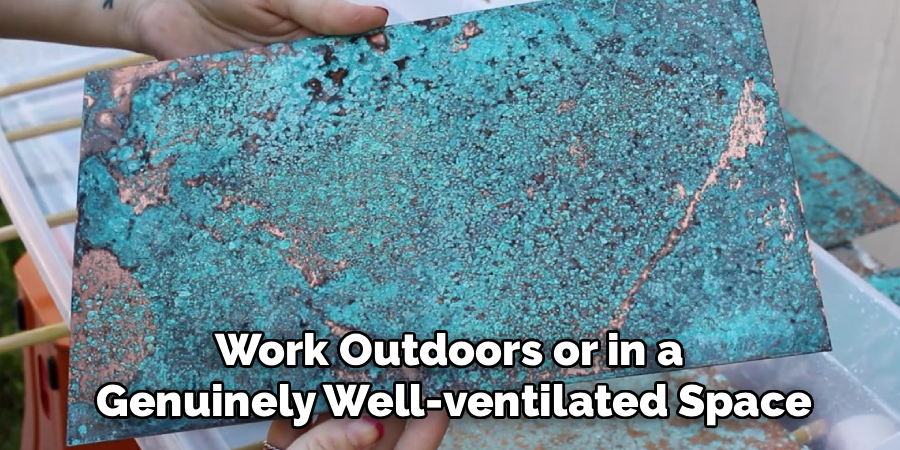
Work outdoors or in a genuinely well-ventilated space. Ammonia fumes are strong, and they can irritate your eyes and lungs quickly in a closed room, so airflow isn’t optional.
Safe Handling and Storage
One rule matters above the rest: never mix ammonia with bleach. The combination releases toxic gas, and it’s a mistake with serious consequences.
Keep your solutions clearly labeled and store chemicals away from children and pets. And keep water nearby, so you can rinse off any accidental splash the moment it lands.
Preparing the Brass Surface
Here’s the part people rush, and it’s the part that decides everything. A great patina starts on a clean, bare surface, full stop.
Cleaning and Degreasing
Brass picks up oils and fingerprints you can’t always see. Scrub the piece with a degreaser or soapy water to lift away dirt and grime, then rinse it thoroughly.
Any residue left behind blocks the chemicals from reacting evenly. That’s how you end up with patchy, frustrating color instead of a smooth wash of blue.
Removing Lacquer and Old Coatings
Many brass items arrive wearing a clear lacquer meant to keep them shiny. That coating also stops any patina dead in its tracks.
You’ll need to strip it off first. Acetone or fine sanding usually does the job, exposing the bare metal so it can react freely with whatever solution you choose.
How to Patina Brass Blue: Step-by-Step Guide
Now to the heart of it. Each step builds naturally on the last, and patience paired with even application is what produces a rich, lasting blue. Take them in order.
Step 1: Clean and Prep the Brass
Start by washing the piece with degreaser and removing any lacquer that’s hiding the metal. Rinse it fully afterward.
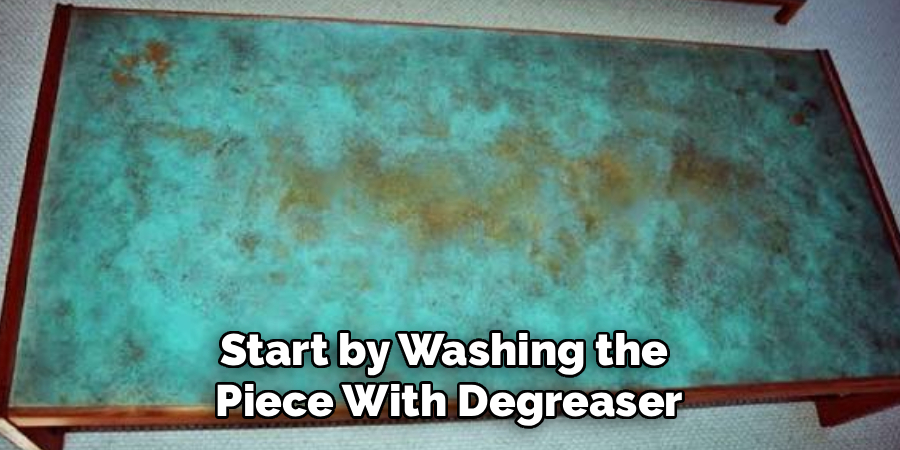
Then dry it with a clean cloth. You want a spotless, bare surface that will react evenly across every inch, with no greasy patches to interrupt the color.
Step 2: Mix Your Patina Solution
Combine ammonia, salt, and a splash of vinegar in your chosen ratio, or prepare a commercial solution according to its label. Either path works.
Mix carefully and in a ventilated space. The fumes rise fast, and there’s no reason to breathe them when an open window or an outdoor table solves the problem.
Step 3: Apply or Expose the Brass
Now choose your approach. For fuming, suspend the brass inside a sealed container above the solution and let the vapor do the work.
For a more direct effect, mist or brush the mixture straight onto the surface. The look you’re after decides which route to take, so let your goal guide the choice.
Step 4: Control the Reaction Time
This is where the magic and the patience come in. Check the brass regularly as the blue and green tones begin to develop.
Timing controls the depth of color almost entirely. Longer exposure deepens the patina toward something dramatic, while shorter spells keep it subtle and soft.
Step 5: Build Up the Color in Layers
Resist the urge to drench the piece all at once. Instead, reapply the solution in thin layers to intensify the blue gradually.
Let each layer react before adding the next. This patient buildup creates richer, more even color, and it avoids the harsh, blotchy patches that a single heavy coat tends to leave.
Step 6: Rinse and Stop the Reaction
Once you reach the color you want, rinse the piece gently with clean water. This halts the chemical reaction in its tracks.
Without that rinse, the patina keeps creeping. It may darken or shift past your target shade, so stopping it deliberately is what locks in the look you worked toward.
Step 7: Dry and Inspect the Finish
Pat the brass dry with a soft cloth, then let it air dry completely. Don’t rush this part.
Inspect the surface under good light, turning it to catch the color from several angles. If you spot a thin or missed area, a light touch-up brings it into line before you seal.
Sealing and Protecting Your Blue Patina
The color looks finished, but it isn’t safe yet. Sealing locks in that blue and keeps it from changing or rubbing away with handling.
Choosing the Right Sealant
You have a few options, and each changes the final feel. A clear lacquer, a wax, or a matte sealant all protect the patina from moisture, oxidation, and the wear of being touched.
The difference shows up in the sheen. Lacquer reads glossy and bright, while wax and matte products leave a softer, more natural finish, so pick the one that suits the piece.
Applying the Protective Layer
Wait until the brass is completely dry, then apply a thin, even coat of your chosen sealant. Thin beats thick here.
Let it cure fully according to the product instructions. For pieces that get handled often, a second light layer adds durability where it counts, guarding the color against daily contact.
Common Mistakes to Avoid
A couple of predictable errors lead to dull, uneven, or short-lived results. Knowing them in advance costs you nothing.
Skipping Surface Prep
A leftover grease, stray fingerprints, or unremoved lacquer are the number one cause of weak, patchy patina. I’d argue it’s the single biggest difference between a good result and a disappointing one.
Thorough cleaning and proper lacquer removal set the stage for rich, even color. Skip them, and no amount of solution will save the finish.
Rushing the Reaction or Skipping the Seal
The other common slip is impatience. Forcing the process too fast produces blotchy, inconsistent color rather than the smooth blue you pictured.
Leaving the patina unsealed is just as costly. The finish wears away or keeps shifting over time, quietly undoing all the careful work you put into building that color.
When to Call a Professional
Plenty of brass projects sit happily in the DIY range. Still, some pieces call for an expert, and recognizing that is sound judgment rather than giving up.
Valuable antiques, heirloom brass, and large architectural pieces raise the stakes considerably. So does any project that demands a flawless, perfectly even finish for display or sale.
A professional metal finisher or conservator brings controlled chemistry, real experience, and proper equipment to the table. For treasured or high-end pieces, that expertise protects both the value and the integrity in ways a home setup can’t always match.
Conclusion
So that’s the full picture of how to patina brass blue, from the chemistry beneath the color to the sealant that locks it in. What starts as plain, ordinary metal becomes a striking, artful piece full of character you made with your own hands.
Look back at the path. You understand the reaction, choose a method, prep the surface carefully, apply the solution, build the color in patient layers, then rinse, dry, and seal that beautiful blue.
Start with a small practice piece. Respect the chemicals and the timing, and let each layer develop before you reach for the next, because careful prep and patience are what separate a dull, blotchy attempt from a deep, even, eye-catching patina.
Now gather your supplies, test on a spare bit of brass, and enjoy that quiet thrill when the first wash of blue blooms across the metal.

About
Stuart Rich is a distinguished figure in the world of metalworking and fabrication, with a decade of expertise creating innovative and sustainable metal projects. His professional focus lies in merging traditional blacksmithing and machining with modern manufacturing techniques, fostering designs that are both practical and durable. As the author of Metalenify, Stuart Rich delves into the art and science of metallurgy and DIY metal creation, inspiring artisans, hobbyists, and industry professionals alike.
Education
RMIT University
(Melbourne, Australia)
Associate Degree in Engineering Technology (Mechanical / Manufacturing)
Focus on metallurgical properties, industry-driven projects, and practical metal craftsmanship. Gained hands-on experience with traditional machining and digital manufacturing tools, such as CAD, CNC software, and precision welding equipment.
Nottingham Trent University
(United Kingdom)
Bachelor’s in Product Design and Materials Engineering (Honors)
Specialized in product design with a heavy focus on blending creativity with metal production and fabrication techniques. Participated in real-world industry projects, collaborating with architectural and hardware manufacturing companies to optimize material efficiency.
Publications and Impact
In Metalenify, Stuart Rich shares his insights on structural metal design processes, material grades, and strategies for efficient shop production. His writing bridges the gap between raw artisan knowledge and modern industrial needs, making it a must-read for both budding DIY metalworkers and seasoned fabrication professionals.





