
Quick answer: You can repair cracked cast iron by cleaning the damaged area, drilling stop holes at each end of the crack, then filling the gap with the right material. Small cracks often respond well to a quality metal epoxy. For pieces that carry weight or take real heat, brazing or cast iron welding rods tend to hold up far better over time.
A good cast iron skillet can outlive the person who bought it. Then one day a crack shows up. Maybe it clattered against the bottom of the sink. Maybe you set a cold pan on a screaming-hot burner and the metal protested in the worst way. Either way, that thin line feels like a quiet betrayal.
Here’s the part worth knowing: plenty of cracks can be fixed at the kitchen table or out in the garage, without any special training. You mostly need patience and the correct materials. What follows is a seven-step walkthrough on how to fix cracked cast iron, along with the slip-ups that trip people up and the moments when handing the job to a pro really is the smarter call.
Tools and Materials You’ll Need
Pull everything together before you touch the pan. Hunting for a missing bit halfway through can wreck your timing, and timing matters a lot once epoxy starts setting or heat enters the picture.
Here’s what to have on hand:
- Wire brush or angle grinder for cleaning the cracked area
- Drill fitted with a small metal bit for the stop holes
- Degreaser or acetone to strip away grease and residue
- High-temperature metal epoxy, for non-structural repairs
- Cast iron welding rods or brazing rods, for structural repairs
- A MAPP gas torch or welder if you go the brazing or welding route
- Clamps to keep everything still
- Safety gear—gloves, goggles, a respirator mask
- Sandpaper or a file for cleanup
- A few clean rags
One thing I’d push back on if you’re tempted to cut corners: material quality really does decide the outcome here. Bargain-bin epoxy tends to give up under high heat, and the wrong rods can leave you with a join that looks fine but fails the first time you stress it.
7 Simple Step-by-Step Guidelines on How to Fix Cracked Cast Iron
Work through these in order. Don’t skip ahead. A rushed repair is the failure mode I see most often, and it usually traces back to skipping or hurrying one of these stages.
Step 1: Inspect and Assess the Crack
Look closely first. Cracks aren’t all the same, and the kind you have in front of you shapes everything that comes after. Drag a fingertip along the line. Does it cut clean through the metal, or does it just ride along the surface?
A surface crack is often cosmetic, and those are the forgiving ones. A crack that runs all the way through is structural, and that means brazing or welding rather than a dab of filler. Hold the piece up against a window or lamp. If light leaks through the line, you’re looking at a full break.
Note where the crack sits, too. One near a handle or rim takes more punishment in daily use than one parked in the middle of the pan, so it may want extra reinforcement later on.
Step 2: Clean the Damaged Area Thoroughly
Repairs only grip clean metal. Grease, rust, baked-on food—any of it will sabotage the bond and your fix may quietly fail weeks later. This stage is tedious. Do it anyway.
Take your wire brush or angle grinder to the rust and old seasoning around the crack. Work out roughly an inch on either side. When the surface reads bare and metallic, wipe it down with acetone or a strong degreaser.
Then let it dry. Fully. A trace of moisture caught in the crack can cause trouble down the line, and it becomes a real problem the moment heat enters the equation.
Step 3: Drill Stop Holes at Each End of the Crack
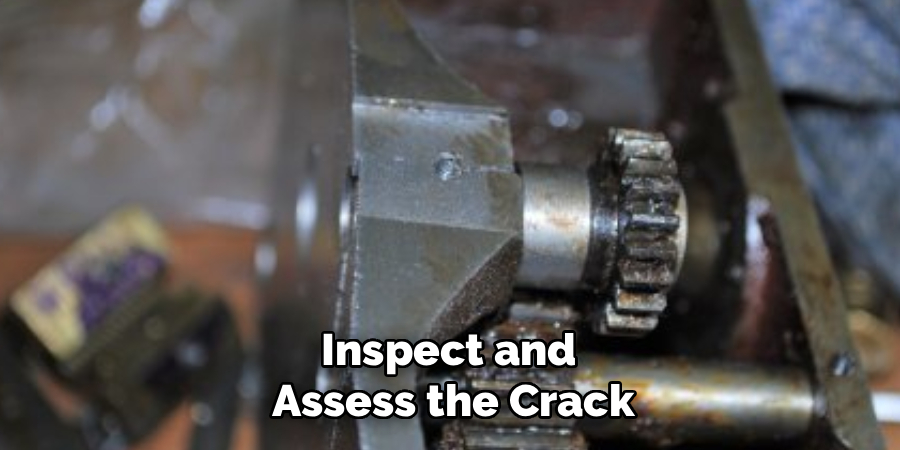
This one catches people off guard, but it might be the single most useful trick in the whole process. Cracks want to travel. Drilling a small hole at each tip gives that movement somewhere to die. Think of it as a period at the end of a sentence.
With your drill and a small metal bit, put a tiny hole right at the very end of the crack on both sides. The hole bleeds off the stress that pushes the crack outward. Skip it, and your repair could hold for a while before the crack creeps past your patch and splits again.
Keep the holes small and exact. You’re not carving out material—you’re just telling the crack to stop. The technique comes straight from working welders, which is reason enough to trust it.
Step 4: Create a Groove Along the Crack
Now widen the crack slightly into a shallow V. This feels backward. Why open up the very thing you’re trying to close? Because it gives the filler something to bite into, and that appears to make a noticeable difference in how the repair holds.
Run an angle grinder or rotary tool gently along the crack. You want a shallow V that opens the gap a touch, handing your epoxy or rod more surface to grab. More contact area, stronger joint.
Move slowly and watch your depth. Grinding through a thin pan is an easy mistake. Thicker cast iron can take a deeper groove, and there it actually works in your favor.
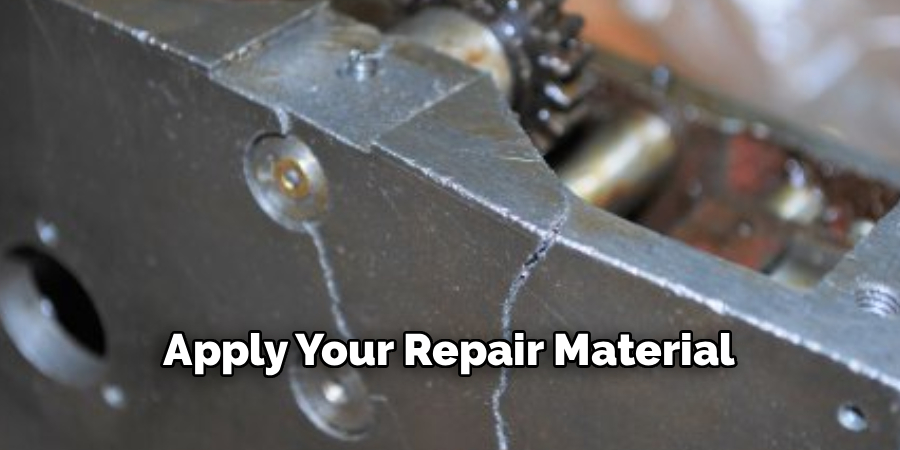
Step 5: Apply Your Repair Material
This is the part that counts. What you do here loops back to your call in Step 1. For cosmetic work or anything that won’t see much heat, mix your high-temperature metal epoxy exactly as the package says and press it firmly into the groove.
Structural cracks, or cookware that lives over a flame, ask for brazing instead. Warm the cast iron evenly with the torch, then feed the brazing rod into the prepared groove. You want the filler to flow down into the gap, not perch on top of it.
Welding? Use rods made specifically for cast iron and work in short passes. Let each pass cool a little before the next. Pour on too much heat too fast and you may simply crack the metal somewhere new—which rather defeats the point.
Step 6: Clamp and Let It Cure
With the material in place, hold everything dead still. Clamp the pieces firmly while the bond sets. Movement during curing is how you end up with weak spots and a poor seal.
For epoxy, go by the cure time printed on the label. Some take a few hours, some a full day. Don’t poke at it early. The bond only reaches full strength once it’s completely cured, and that early curiosity has ruined more repairs than I’d care to count.
For brazed or welded work, let the cast iron cool on its own, slowly. Never drop hot cast iron into water to hurry it along. That rapid cooling triggers thermal shock—the same thing that probably cracked the piece to begin with.
Step 7: Sand, Smooth, and Re-Season
The last step ties it all together. Once the repair has fully cured or cooled, take sandpaper or a file to any rough edges and excess material. You’re aiming for a finish that sits flush with the metal around it.
If you’ve fixed cookware, it needs re-seasoning before it touches food again. Wash the piece, dry it completely, then rub on a thin coat of cooking oil. Bake it upside down at around 450°F for an hour to rebuild that protective layer.
Give it one final look. A solid repair feels firm, looks tidy, and shows no sign of movement at the crack line. That’s a piece saved. Following these steps on how to fix cracked cast iron can save you money on replacements and help you keep your favorite cookware in use for years to come.
Common Mistakes to Avoid
A handful of small errors can undo good work. Skipping the cleaning step tops the list—filler simply won’t bond to greasy or rusty metal. Forgetting the stop holes runs a close second, since that lets the crack march right past your patch.
Reaching for ordinary epoxy when the job calls for a high-temperature version is another regular stumble, particularly with cookware. And cooling hot cast iron too fast invites thermal shock and a brand-new crack. Let it cool on its own schedule.
Do You Need To Use Professionals?
Some jobs really do belong to the experts. If your piece is a valuable antique, shows several cracks, or bears a heavy structural load, a professional welder will give you a stronger and safer result. The same logic applies to big items—cast iron pipes, radiators, machinery parts.
Pros bring specialized welders, preheating gear, and hard-won experience with cast iron’s habit of cracking under heat. For a treasured heirloom, or anything holding weight or pressure, paying for that expertise usually buys real peace of mind. Small skillets and decorative odds and ends, though? Those are ideal DIY territory.
How Much Will It Cost?
The cost swings quite a bit depending on your method. DIY is the cheapest path: metal epoxy kits tend to run somewhere around $10 to $25, and brazing rods land in the $15 to $40 range. If a torch or welder already lives in your garage, the filler material may be your only real outlay.
Bringing in a professional welder costs more, though it’s often justified for valuable or structural pieces. Plan on roughly $50 to $200 or beyond, depending on the size of the job and where you live. Antiques and complicated repairs can push specialists into premium rates. Always weigh the cost against what the item is worth—now and then, replacing a cheap pan simply makes more sense than saving it.
Frequently Asked Questions
Can You Fix Cracked Cast Iron Cookware Safely?
Yes, though the method matters for safety. For anything that contacts food and heat, use a food-safe, high-temperature filler or have the piece professionally welded. Steer clear of standard epoxies that aren’t rated for cooking temperatures—they can break down and release fumes. After any repair, re-season the piece properly before cooking with it again to restore the protective surface.
Is It Worth Repairing Cracked Cast Iron Or Should I Replace It?
That depends on the item’s value and how bad the crack is. Antiques, vintage cookware, and quality brand-name pieces are usually worth fixing for their durability and character. A cheap, mass-produced pan with a serious crack might cost more to repair than to replace. Sentimental value counts too—a family heirloom is often worth saving regardless of the math.
Why Does Cast Iron Crack In The First Place?
Thermal shock is the main culprit, which happens when the metal heats or cools too fast. Pouring cold water into a hot skillet or setting a cold pan over high heat are classic triggers. Drops, impacts, and the occasional manufacturing flaw can do it too. Cast iron is hard but brittle, so sudden stress makes it split rather than flex the way softer metals do.
Bringing Your Cast Iron Back to Life
A cracked piece of cast iron doesn’t have to end up in the bin. With the right tools, a clean work surface, and these seven steps, you can repair most cracks at home and pull years more use out of something you’d hate to lose. Keep the essentials in mind: clean down to bare metal, drill those stop holes, match the filler to the job, and never rush the cooling.
For prized antiques or anything load-bearing, don’t talk yourself out of calling a professional—that sturdier fix earns its cost. Whichever way you go, you now have enough to make a sound decision and keep your cast iron in service for a long time yet. Thanks for reading this guide on how to fix cracked cast iron.

About
Stuart Rich is a distinguished figure in the world of metalworking and fabrication, with a decade of expertise creating innovative and sustainable metal projects. His professional focus lies in merging traditional blacksmithing and machining with modern manufacturing techniques, fostering designs that are both practical and durable. As the author of Metalenify, Stuart Rich delves into the art and science of metallurgy and DIY metal creation, inspiring artisans, hobbyists, and industry professionals alike.
Education
RMIT University
(Melbourne, Australia)
Associate Degree in Engineering Technology (Mechanical / Manufacturing)
Focus on metallurgical properties, industry-driven projects, and practical metal craftsmanship. Gained hands-on experience with traditional machining and digital manufacturing tools, such as CAD, CNC software, and precision welding equipment.
Nottingham Trent University
(United Kingdom)
Bachelor’s in Product Design and Materials Engineering (Honors)
Specialized in product design with a heavy focus on blending creativity with metal production and fabrication techniques. Participated in real-world industry projects, collaborating with architectural and hardware manufacturing companies to optimize material efficiency.
Publications and Impact
In Metalenify, Stuart Rich shares his insights on structural metal design processes, material grades, and strategies for efficient shop production. His writing bridges the gap between raw artisan knowledge and modern industrial needs, making it a must-read for both budding DIY metalworkers and seasoned fabrication professionals.





