Black oxidizing steel involves cleaning the metal, applying a cold blackening solution, and sealing it with oil to prevent rust and improve appearance. You will need a heavy-duty degreaser, a commercial black oxide chemical solution, distilled water, and a water-displacing oil to complete the chemical conversion process at home.
Applying a black oxide finish to steel parts gives them a clean, professional look while offering mild corrosion resistance. Unlike coatings that add measurable thickness, this chemical conversion process works directly at the surface level—meaning dimensional tolerances stay intact. That makes it particularly well-suited for precision tools, fasteners, and custom machine parts where fit matters.
With the right preparation and a careful approach to chemical handling, a factory-quality finish is achievable in a standard workshop. This guide on how to black oxide steel covers the materials you’ll need, the exact steps to follow, and the common pitfalls worth knowing before you start.
Tools and Materials You’ll Need
Before starting the black oxide process, gather the following items in a well-ventilated workspace:
- Heavy-duty alkaline degreaser or mineral spirits
- Cold black oxide solution (commercially available from industrial suppliers)
- Distilled water for rinsing
- Water-displacing penetrating oil or dedicated black oxide sealer
- Plastic or glass containers (do not use metal containers for the chemicals)
- Safety goggles, heavy rubber gloves, and a shop apron
- A soft wire brush or abrasive pad for surface preparation
7 Simple Step-By-Step Guidelines on How to Black Oxide Steel
Step 1: Preparing and Degreasing the Steel Surface
Surface preparation is, without question, the most consequential part of the entire process. Any dirt, oil, or residual rust left on the metal will prevent the blackening solution from reacting evenly—and the result tends to be a splotchy, inconsistent finish that no amount of sealing can fix. Start by scrubbing the part with a wire brush or abrasive pad to knock off loose debris and any light surface rust.
Once the surface looks physically clean, submerge the part in a heavy-duty alkaline degreaser and let it soak for several minutes. Scrub gently with a dedicated brush to break down machining oils and fingerprints. From this point forward, handle the part only with clean rubber gloves. The natural oils from your skin may seem harmless, but even a brief, bare-handed touch can leave enough residue to ruin an otherwise perfect finish.
Step 2: Rinsing the Steel Thoroughly
After the degreasing bath, all traces of the cleaning solution need to come off the steel. Transfer the part into a container of clean distilled water—not tap water. Tap water carries dissolved minerals like calcium and iron that can interfere with the chemical reaction at the next stage, so this distinction matters more than it might seem.
Agitate the part gently in the distilled water for at least two minutes. Pay attention to how the water behaves on the surface: it should sheet off smoothly. If it beads up instead, oil is still present and the degreasing step needs to be repeated. A uniformly clean surface appears to be the single most reliable predictor of an even, deep-black result.
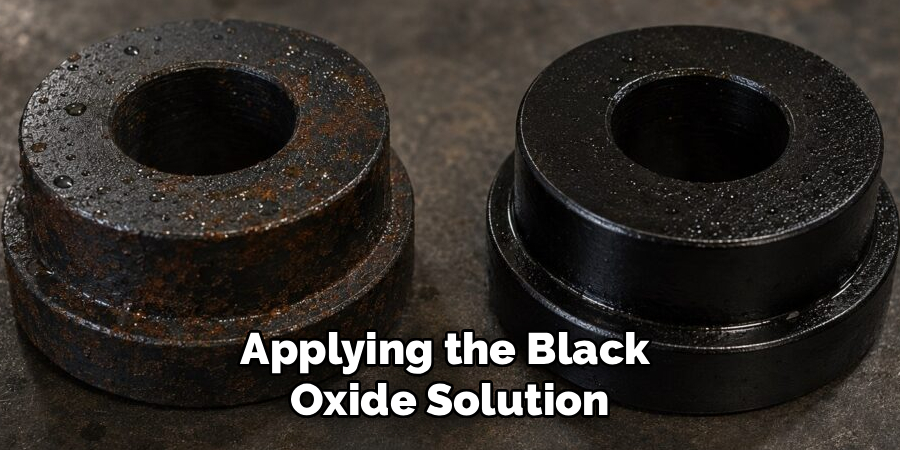
Step 3: Applying the Black Oxide Solution

Pour the cold black oxide solution into a clean plastic or glass container—enough to fully submerge the part. Lower the rinsed piece in slowly to avoid splashing. The chemical conversion starts immediately on contact; within seconds, you can watch the metal darken as the copper selenium compounds bond to the steel surface.
Leave the part submerged for the time recommended by the chemical manufacturer, which is typically somewhere between one and five minutes. It’s worth noting that longer immersion does not produce a darker finish. Overexposure can actually cause the black layer to become powdery and prone to flaking—the opposite of what you want. Use plastic tongs to turn the part occasionally so the solution reaches threads, crevices, and any blind holes.
Step 4: Second Rinsing Phase
Once the steel has taken on a deep, uniform black color, remove it from the solution with plastic tongs and transfer it immediately into a fresh bath of distilled water. This halts the chemical reaction and washes away acidic residue that would otherwise continue working on the surface.
Move the part around in the rinse water for a minute or two. Some black residue washing off into the water at this stage is completely normal—don’t be alarmed by it. What requires attention are threaded holes and recessed areas, where trapped chemicals tend to linger. A cotton swab works well for clearing those out. Leftover acid in enclosed spaces will eventually corrode the metal from within, so this step is worth taking seriously.
Step 5: Sealing with a Water-Displacing Oil
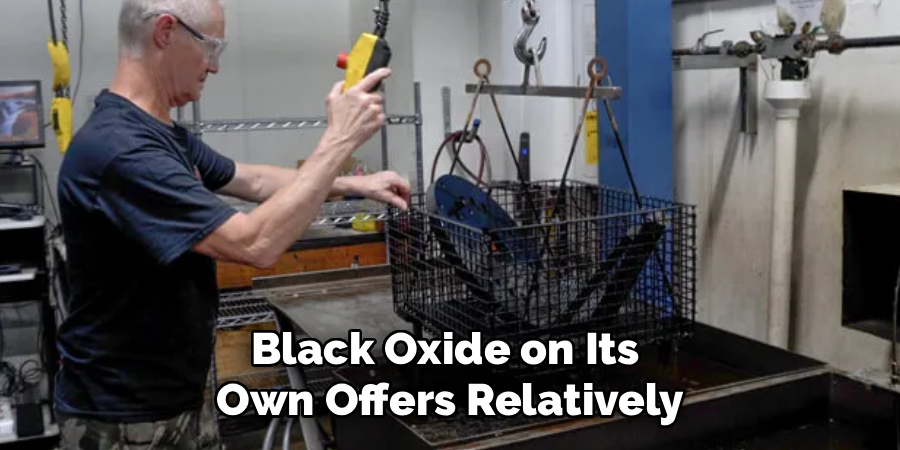
Black oxide on its own offers relatively little rust protection. What the conversion layer actually does is create a porous surface that holds oil effectively—and it’s the oil that does the protective work. Immediately after the rinse, submerge the wet part in a bath of water-displacing penetrating oil or a dedicated black oxide sealer. The oil drives moisture out of the microscopic pores and replaces it with a thin, stable barrier.
Let the part soak for at least ten to fifteen minutes. The longer it remains in the sealer, the deeper the oil may penetrate the converted layer. Skipping or rushing this step leaves the finish looking dull and fragile. Done properly, it’s what gives the coating that rich, dark appearance and the durability that makes the whole process worthwhile.
Step 6: Curing the Finish
After soaking, remove the part and set it on a clean shop towel or wire rack to drain. Don’t wipe it aggressively at this stage—let the excess oil drip off naturally in a warm, dry space. The curing phase allows the oil to settle fully into the pores of the finish rather than sitting on top of it.
Leave the part undisturbed for at least 24 hours. Over that time, the oil oxidizes slightly and forms a stable protective film over the blackened steel. In humid environments, applying a second, lighter coat of oil at around the halfway point could help ensure thorough moisture displacement. It’s a small extra step that tends to pay off.
Step 7: Final Inspection and Maintenance
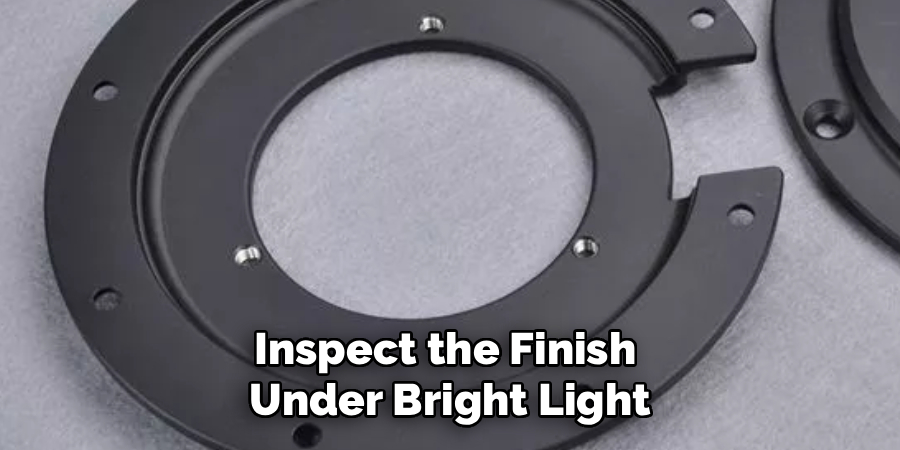
Once curing is complete, use a soft, lint-free microfiber cloth to gently remove any pooled oil from the surface. Inspect the finish under bright light for consistent color—a good result should look uniformly deep black with no gray patches or bare spots. If bare areas are visible, the part was likely contaminated before the blackening bath, and the process will need to start over from step one.
Ongoing maintenance is straightforward. After heavy use or moisture exposure, wipe the steel down with a lightly oiled cloth. Because the finish sits at the microscopic level, it handles normal handling well but can be scratched by hard abrasives. Following these steps consistently should keep your components looking sharp and reasonably protected against ambient humidity and light wear.
Following these steps on how to black oxide steel can help prevent rust and corrosion, while also providing a sleek, black finish.
Common Mistakes to Avoid
Inadequate degreasing remains the most frequent cause of a patchy, failed finish—it’s also the easiest mistake to avoid with a bit of patience. Using tap water instead of distilled water for rinsing is another common error, since the dissolved minerals in tap water can block the chemical reaction in ways that aren’t always obvious until the finish is already ruined.
Leaving the part in the blackening solution beyond the recommended time tends to produce a weak, powdery coating rather than a darker one. And skipping the oil sealing step will cause the steel to flash-rust almost as soon as it dries. Throughout all of this, proper safety gear isn’t optional—these industrial chemicals can cause serious skin and eye irritation.
Do You Need To Use Professionals?
Cold black oxidizing is well within reach for home workshops using standard supplies. Hot black oxidizing is a different matter. That process involves boiling caustic soda and sodium nitrate at temperatures above 285°F (140°C), producing toxic fumes and carrying a real risk of severe chemical burns.
For critical applications—firearms components, aerospace parts, or high-wear automotive gears—a professional metal finishing service is the more sensible choice. For decorative hardware, hand tools, and light-duty brackets, the DIY cold chemical method described here is perfectly adequate and considerably more cost-effective.
Frequently Asked Questions
Q1: Can I Use Black Oxide On Stainless Steel?
Standard cold black oxide solutions are formulated for mild carbon steel and will not work on stainless steel or aluminum. Stainless steel has a passivated chromium layer that requires a specialized, highly acidic chemical mixture to penetrate. If you need to blacken stainless steel parts, a dedicated stainless steel blackener is necessary—and because those acids are significantly more corrosive, strict safety protocols apply.
Q2: How Durable Is A Cold Black Oxide Finish?
Cold black oxide is a relatively thin conversion coating, and it isn’t designed to withstand heavy mechanical abrasion or prolonged outdoor exposure. It does offer solid resistance against indoor humidity and reduces glare, which is why it’s commonly used on hand tools and optical equipment. The finish needs periodic re-oiling to stay effective, since the oil itself is what keeps moisture at bay.
Q3: How Can I Remove An Old Black Oxide Coating?
Stripping an old or failed finish is straightforward. Submerging the part in a mild acid solution—white vinegar or a commercial rust remover both work—for twenty to thirty minutes, followed by scrubbing with a wire brush or steel wool, should expose the bare metal. Once the coating is gone, neutralize the acid with a baking soda wash before attempting to recoat.
Enhancing Your Metalworking Capabilities
Black oxidizing is a genuinely satisfying process for makers, machinists, and hobbyists who want their fabrications to look and perform at a higher level.
Careful surface preparation and attention to chemical safety are what separate a clean, durable result from a frustrating redo. Keep your workspace organized, respect what these chemicals can do, and the finished parts should serve you well for years. Thanks for reading this guide on how to black oxide steel.
About
Stuart Rich is a distinguished figure in the world of metalworking and fabrication, with a decade of expertise creating innovative and sustainable metal projects. His professional focus lies in merging traditional blacksmithing and machining with modern manufacturing techniques, fostering designs that are both practical and durable. As the author of Metalenify, Stuart Rich delves into the art and science of metallurgy and DIY metal creation, inspiring artisans, hobbyists, and industry professionals alike.
Education
RMIT University
(Melbourne, Australia)
Associate Degree in Engineering Technology (Mechanical / Manufacturing)
Focus on metallurgical properties, industry-driven projects, and practical metal craftsmanship. Gained hands-on experience with traditional machining and digital manufacturing tools, such as CAD, CNC software, and precision welding equipment.
Nottingham Trent University
(United Kingdom)
Bachelor’s in Product Design and Materials Engineering (Honors)
Specialized in product design with a heavy focus on blending creativity with metal production and fabrication techniques. Participated in real-world industry projects, collaborating with architectural and hardware manufacturing companies to optimize material efficiency.
Publications and Impact
In Metalenify, Stuart Rich shares his insights on structural metal design processes, material grades, and strategies for efficient shop production. His writing bridges the gap between raw artisan knowledge and modern industrial needs, making it a must-read for both budding DIY metalworkers and seasoned fabrication professionals.


