
Building a welding table means sourcing steel square tubing and a thick steel plate, cutting everything to size, welding up the base frame, and securing the top plate. The result is a heat-resistant, grounded workspace built specifically for metal fabrication and repair.
A dedicated welding surface is one of those shop investments that tends to pay off immediately. Without one, you’re either damaging your garage floor or improvising on something that wasn’t designed for arc heat, neither of which does your work any favors. Building your own means you can dial in the height, footprint, and accessory mounts to match how you actually work, not how some catalog assumes you do. This guide on how to build a welding table walks through the full process, from planning to final weld.
Tools and Materials You’ll Need
Before diving into the process of building a welding table, it’s important to gather all the necessary tools and materials. You’ll need:
- Welding equipment (welder, helmet, gloves)
- Clamps
- Angle grinder or other cutting tool
- Measuring tape and ruler
- Weldable steel (sheets and tubes)
- Welding rod or wire
- Square tubing for legs and braces
- Drill press or handheld drill
- Bolts, nuts, and washers for assembly
7 Simple Step-by-step Guidelines on How to Build a Welding Table
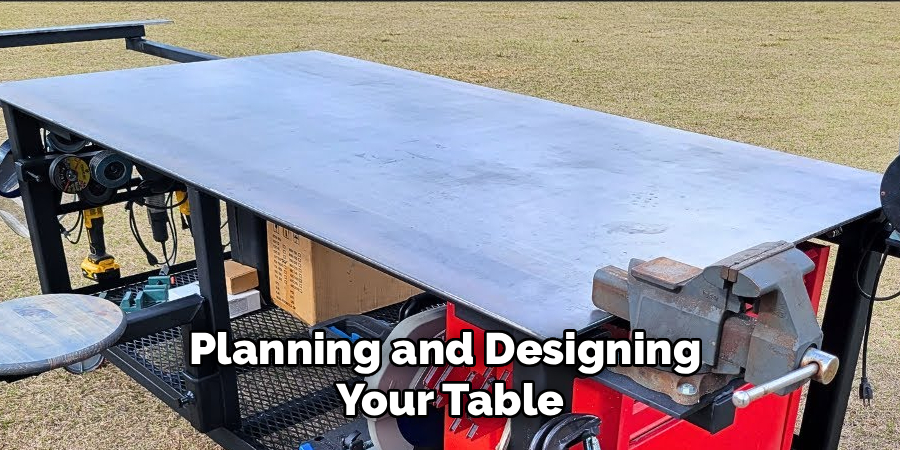
Step 1: Planning and Designing Your Table
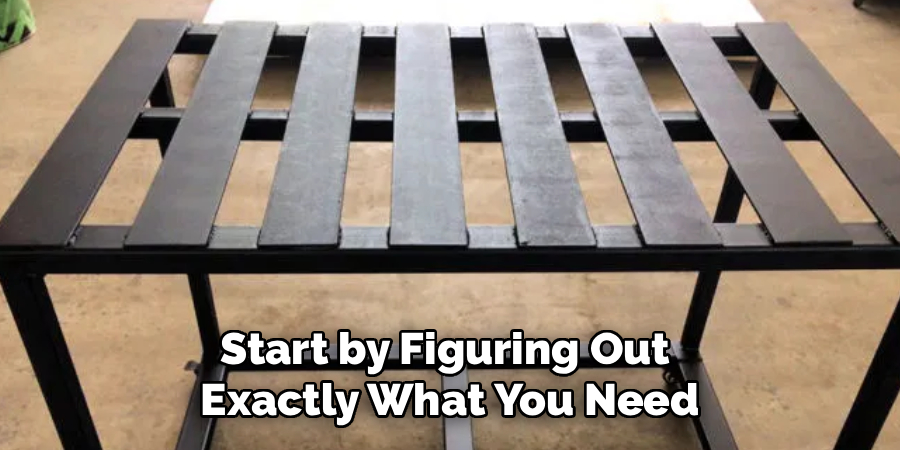
Start by figuring out exactly what you need this table to do. Measure your available floor space, then settle on a working height. For most people, somewhere between 34 and 36 inches feels right when standing, though your build and the type of work you do may shift that number slightly. Sketch out the design on paper, noting every tube length for the top frame, bottom supports, and legs.
This upfront work matters more than it might seem. A detailed layout prevents material waste, helps you catch alignment issues before they’re cut in steel, and gives you a reference to check against during assembly. Calculate the total steel weight so you know what your floor will be holding. Double-check dimensions before you go to the supplier, because a second trip for a miscalculated piece is exactly the kind of thing a good plan eliminates.
Step 2: Cutting the Steel Tubing
With your blueprint in hand, mark the 2×2 tubing using your tape measure and framing square. An abrasive chop saw or a metal-cutting bandsaw will give you the clean, square cuts you need. How accurate you are here directly affects how square and level the finished table ends up, so take your time.
After cutting, run an angle grinder with a flap disc over every cut edge. You’re removing burrs, rust, and mill scale from anywhere you plan to weld. Clean metal isn’t optional; it’s what separates a structurally sound joint from a porous one that looks fine until it isn’t. Prepping the joints properly also makes positioning pieces during assembly much less frustrating.
Step 3: Assembling the Outer Frame
Lay out the four pieces that form the outer perimeter of the top frame on a flat, level surface. Set a framing square at each corner to hit exactly 90 degrees, then clamp everything down firmly before you strike an arc. Here’s the check most people skip: measure diagonally from corner to corner in both directions. If those two numbers match, the frame is square.
Once confirmed, place small tack welds on the top, bottom, and sides of each corner joint. Measure the diagonals again, because heat can pull things out of alignment even from tacks. If it’s still square, move to full welds, alternating corners to spread the heat and keep warpage to a minimum. Grind the top surface of those corner welds flat so the steel plate can sit flush when you get to that step.
Step 4: Welding the Support Braces
A 3/8-inch steel plate is heavy. The outer frame alone won’t support it long-term without internal cross-bracing. Slide the precut support tubes into the frame, space them evenly, and clamp them perpendicular to the outer rails before touching them with the welder.
Tack each support piece in place, alternating ends as you go to keep everything aligned. After tacking, run full welds along all intersecting joints, aiming for solid penetration into both pieces of tubing. One thing to avoid here: quenching the assembly with water to speed cooling. It can introduce stress fractures and cause the frame to bow. Let it cool naturally. The structure you end up with is what your tabletop will sit on permanently.
Step 5: Attaching the Table Legs

Flip the top frame upside down to work on the legs. Position the first leg flush with the outside corner edges and use a magnetic square to hold it at 90 degrees to the frame. Tack all four sides, then move to the next leg and repeat. Getting each leg tacked before fully welding any of them gives you a chance to catch alignment problems while they’re still easy to fix.
Once all four are tacked, add a lower perimeter frame or individual cross braces about 6 to 8 inches up from the bottom of the legs. This lower tier keeps the legs from splaying under load and gives you a convenient shelf for tools or material offcuts. Fully weld the leg joints and the lower bracing, moving around the structure to distribute heat. A leg structure that’s done right means no wobble during grinding or precise fitting work.
Step 6: Adding Caster Wheels for Mobility
If mobility matters to you, handle the casters before flipping the table upright. Cut small squares of 1/4-inch steel plate to cap the open bottoms of the legs, then weld them completely over the tubing. Drill holes in these base plates to match your caster bolt pattern and tap them for heavy-duty fasteners.
If you don’t anticipate swapping casters out, welding the mounting brackets directly to the base plates is a cleaner approach. Either way, make sure the casters you buy are rated for at least 400 pounds each. The table itself is substantial, and that’s before any workpiece or tooling gets set on top of it. Lock them before flipping the structure upright.
Step 7: Mounting the Heavy Steel Top Plate
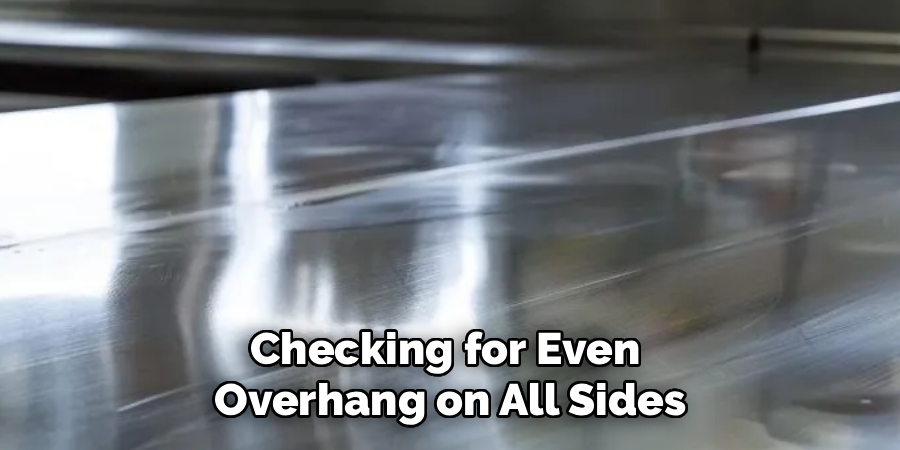
Set the base upright on its casters and lower the steel plate onto the frame, checking for even overhang on all sides. Use heavy C-clamps to pull the plate flat against the frame, closing any small gaps left by minor tube warpage. Now, a word of caution: do not run a continuous weld around the perimeter. That much heat in one go will warp the top surface, which defeats the point of building this thing in the first place.
Instead, run 2-inch stitch welds every 8 to 10 inches along the underside where the frame contacts the plate. Jump to opposite sides between welds and let the metal cool between passes. Once the plate is secured, clean the surface with a wire wheel to remove any remaining mill scale. What you’re left with is a bare steel surface that grounds the electrical circuit cleanly for arc welding.
Following these steps on how to build a welding table, you can now begin using it for your welding projects.
Common Mistakes to Avoid
- Skipping mill scale removal before welding produces weak, porous joints that may look fine on the surface.
- Running long, continuous welds on the top plate almost always causes thermal distortion that’s difficult or impossible to correct.
- Choosing a top plate thinner than 3/8-inch tends to result in warping from the heat of normal use over time.
- Forgetting to account for caster wheel height when setting leg length leaves you with a station that sits noticeably too tall.
- Failing to square the initial frame throws off every cut, joint, and measurement that follows.
Do You Need To Use Professionals?
For most home hobbyists and general repair shops, this falls squarely in the beginner-to-intermediate range. If you’re comfortable with MIG or TIG processes, can read a tape measure accurately, and take safety seriously, there’s no particular reason to bring in outside help.
That said, there are cases where buying a manufactured system makes more sense. If your work requires a Blanchard-ground modular fixture table with CNC-machined hole patterns for aerospace or precision automotive chassis work, a commercial unit will likely outperform anything shop-built. For everyone else, building it yourself produces a durable, capable result and gives you real hands-on experience with heat management and material prep that carries over to future work.
How Much Will It Cost?
Cost depends primarily on current steel prices and how thick a top plate you go with. New steel from a local supplier for a standard 3×4 foot table tends to run somewhere between $300 and $600. Sourcing offcuts or scrap from a local fabrication yard can bring that number down considerably. Quality locking casters add roughly $50 to $100 on top of that.
Compared to buying a pre-built commercial table of similar thickness and construction, the DIY approach can save somewhere between 40% and 60% of the retail price. That gap tends to narrow if your time has high value, but for most builders, the savings and the learning are both worth it.
Frequently Asked Questions
Q1: What Is The Best Material For A Welding Table Top?
Mild carbon steel is the practical choice for a general-purpose surface. It grounds the electrical circuit well, holds up against heat and hammer blows, and is far easier to source locally than stainless or aluminum. Stainless and aluminum are softer or more reactive in ways that make them less suitable for everyday fabrication use, and both cost considerably more.
Q2: How Thick Should A Welding Table Top Be?
A 3/8-inch plate is the recommended minimum for general use. It’s thick enough to resist warping under torch heat without becoming impractically heavy for a shop-built frame. Heavier industrial environments sometimes specify 1/2-inch to 1-inch plate to handle large structural assemblies and repeated hammering. Anything thinner than 1/4-inch will likely bow and distort under normal thermal stress within a short time.
Q3: What Is The Ideal Height For A Welding Table?
Industry convention puts the range at 34 to 36 inches from floor to surface, which allows most people to stand without straining the lower back or to pull up a shop stool for seated TIG work. Your actual ideal height may sit slightly outside that range depending on your build. The ability to customize this dimension is, arguably, one of the better arguments for building rather than buying.
Final Thoughts on Your Fabrication Project
There’s a certain satisfaction in fabricating the tool that builds everything else. Getting the table right, selecting material with appropriate thickness, prepping joints carefully, and managing heat throughout assembly means everything you build on it starts from a level, stable, well-grounded surface.
The measuring and squaring phases are where most errors get made, often because builders rush to get to the welding. Don’t. Accuracy at the foundation determines the accuracy of everything that follows. Take your time on those early steps on how to build a welding table, and the rest of the build tends to go smoothly.
About
Stuart Rich is a distinguished figure in the world of metalworking and fabrication, with a decade of expertise creating innovative and sustainable metal projects. His professional focus lies in merging traditional blacksmithing and machining with modern manufacturing techniques, fostering designs that are both practical and durable. As the author of Metalenify, Stuart Rich delves into the art and science of metallurgy and DIY metal creation, inspiring artisans, hobbyists, and industry professionals alike.
Education
RMIT University
(Melbourne, Australia)
Associate Degree in Engineering Technology (Mechanical / Manufacturing)
Focus on metallurgical properties, industry-driven projects, and practical metal craftsmanship. Gained hands-on experience with traditional machining and digital manufacturing tools, such as CAD, CNC software, and precision welding equipment.
Nottingham Trent University
(United Kingdom)
Bachelor’s in Product Design and Materials Engineering (Honors)
Specialized in product design with a heavy focus on blending creativity with metal production and fabrication techniques. Participated in real-world industry projects, collaborating with architectural and hardware manufacturing companies to optimize material efficiency.
Publications and Impact
In Metalenify, Stuart Rich shares his insights on structural metal design processes, material grades, and strategies for efficient shop production. His writing bridges the gap between raw artisan knowledge and modern industrial needs, making it a must-read for both budding DIY metalworkers and seasoned fabrication professionals.


