
Aluminum is everywhere, from kitchen pans and bike frames to boat hulls and aircraft parts. It looks bright and clean when new, but over time it reacts with air and forms a dull, chalky layer on the surface. That layer is aluminum oxide, and while it actually protects the metal underneath, it also blocks paint, primer, welds, and polish from sticking properly. If you want a smooth finish or a strong bond, that oxide has to go first.
Learning how to deoxidize aluminum gives you the power to restore that fresh, reactive surface and prep your metal for whatever comes next. The process is simpler than most beginners expect, and you do not need a workshop full of fancy gear to get great results. With a few common supplies, some safety basics, and a clear plan, you can tackle this job at home with confidence. This guide walks you through everything step by step, so you finish with metal that is clean, bright, and ready to work.
Why Deoxidizing Aluminum Matters
Removing the oxide layer is about more than looks. When you strip away that dull coating, you expose fresh metal that bonds far better with primers, adhesives, anodizing solutions, and paint. Skip this step and your finish may peel, bubble, or flake within weeks. For welders, a clean surface means stronger, cleaner joints with fewer defects.
There are real practical wins too. Deoxidizing reduces corrosion problems down the road, improves the look of polished pieces, and helps coatings last much longer. Whether you are restoring an old part or prepping a brand new one, this step sets the foundation for quality results. Think of it as the difference between a finish that lasts years and one that fails almost immediately. A little effort here saves frustration and rework later.
Step-by-Step Guide To How to Deoxidize Aluminum
Step 1: Gather Your Tools And Materials
Before you start, collect everything you need so the job runs smoothly. You will want a commercial aluminum deoxidizer or acid-based cleaner, protective gloves, safety glasses, a respirator or mask, a stiff non-metallic brush, clean rags, and plenty of fresh water for rinsing. A plastic or acid-safe container helps if you plan to soak smaller parts.
Choosing the right product matters, since some cleaners are gentle and others are highly acidic. Read the label and match the strength to your project. Having clean water nearby is essential too, because rinsing quickly stops the chemical action. Good preparation keeps you safe and makes the whole process easier from start to finish.
Step 2: Set Up A Safe Work Area
Safety comes first whenever you handle acids and chemicals. Work outdoors or in a space with strong airflow, since fumes can be harsh and irritating. Lay down a chemical-resistant surface to protect your workbench, and keep a hose or water source within easy reach in case of spills or splashes.
Put on your gloves, glasses, and respirator before opening any product. Keep children and pets well away from the area, and never mix different cleaning chemicals together. A calm, organized setup reduces the chance of accidents and lets you focus on doing the job right. Taking five minutes to prepare your space protects both you and your finished work.
Step 3: Clean Off Dirt And Grease
Deoxidizers work best on a surface that is already free of grime, so start with a basic cleaning. Use warm water, a little dish soap, and a sponge to scrub away dirt, oil, grease, and old residue. Pay attention to corners and grooves where buildup tends to hide.
Once the surface looks clean, rinse it thoroughly and dry it with a lint-free cloth. This step might feel minor, but skipping it leads to patchy results. Grease and oil block the deoxidizer from reaching the metal, leaving uneven spots behind. A clean starting point ensures the chemical treatment can do its job evenly across the entire piece.
Step 4: Apply The Deoxidizing Solution
Now comes the main event. Knowing how to deoxidize aluminum properly means applying your chosen product evenly and giving it time to work. Brush, wipe, or spray the solution across the surface, following the directions on the label. Make sure you cover every area completely, since missed spots will stay dull and oxidized.
Let the product sit for the recommended dwell time, usually a few minutes. You may notice the surface fizzing or changing color slightly, which shows the chemical is reacting with the oxide layer. Do not let it dry out on the metal. If needed, reapply to keep the surface wet and active until the time is up.
Step 5: Agitate And Scrub The Surface
While the solution is working, gentle scrubbing helps lift stubborn oxide and grime. Use your non-metallic brush or an abrasive pad to work the product into the surface using small, even strokes. This mechanical action breaks up the toughest spots that the chemical alone might leave behind.
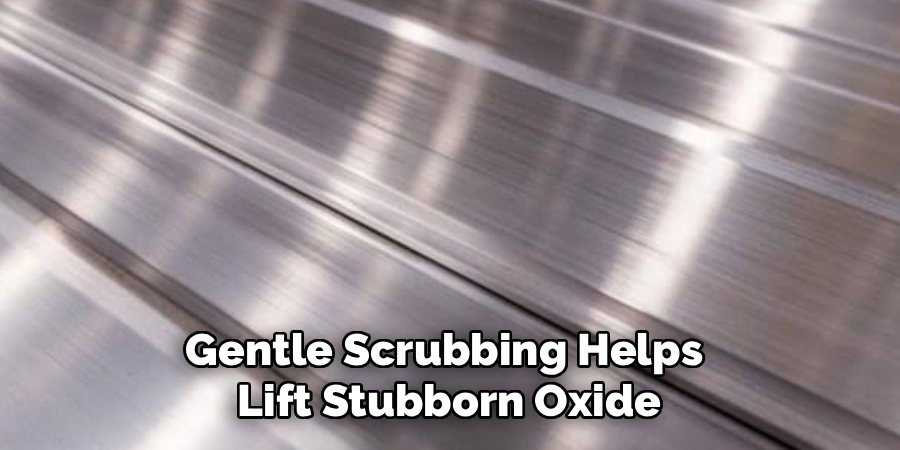
Focus on areas with heavy buildup or staining, but avoid pressing so hard that you scratch the metal deeply. The goal is to loosen the oxide, not gouge the aluminum. This guide walks you through everything step by step, so you finish with metal that is clean, bright, and ready to work As you scrub, the surface should start to look brighter and more uniform. Keep the area wet with solution as you go, and work steadily until the whole piece appears clean and consistent.
Step 6: Rinse Thoroughly With Water
Once the dwell time is complete and you have scrubbed the surface, rinsing is critical. Use plenty of clean water to wash away every trace of the deoxidizer. Leftover chemical residue can keep reacting with the metal, causing stains, streaks, or even fresh corrosion if it sits too long.
Rinse from top to bottom and make sure water flows into every crevice and corner. For soaked parts, dunk them in a clean water bath and swish them around. A complete rinse stops the chemical action instantly and leaves a neutral surface behind. Take your time here, because rushing this stage can undo all the careful work you just finished.
Step 7: Dry And Inspect The Results
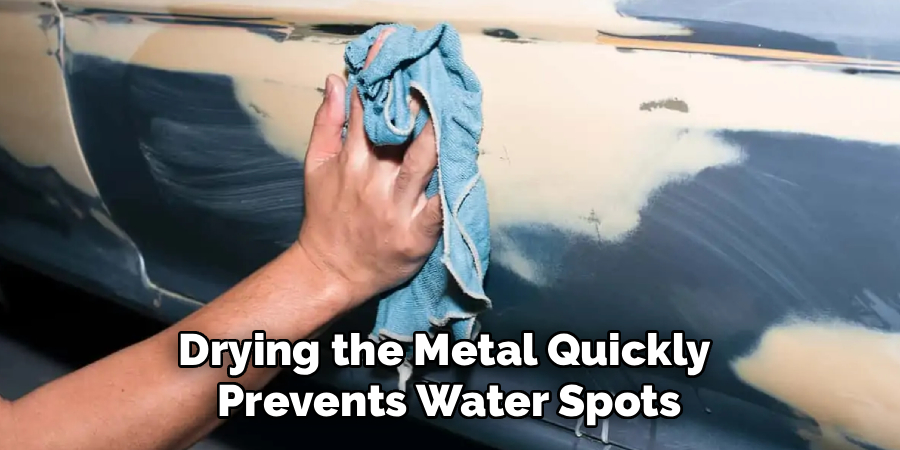
Drying the metal quickly prevents water spots and new oxidation from forming. Use clean, lint-free rags or compressed air to remove all moisture, paying attention to seams and tight spaces where water hides. The faster you dry, the brighter and cleaner your finish stays.
Once dry, inspect the surface closely under good light. Knowing how to deoxidize aluminum well means checking for any dull patches or uneven areas that need another pass. The metal should look bright, matte, and uniform, ready for paint, primer, anodizing, or polishing. If you spot trouble areas, treat them again before moving on. A careful inspection now guarantees a strong, lasting result later.
Frequently Asked Questions
What Is The Difference Between Cleaning And Deoxidizing?
Cleaning removes surface dirt, grease, and grime, while deoxidizing strips away the invisible oxide layer that forms on bare metal. You usually clean first, then deoxidize. Cleaning prepares the surface so the deoxidizer can reach the metal evenly. Both steps matter, but only deoxidizing exposes the fresh, reactive aluminum needed for strong paint adhesion, anodizing, or welding results.
Can I Use Household Products Instead Of Commercial Deoxidizers?
Some people try vinegar, lemon juice, or cream of tartar for light oxidation, and these mild acids can work on small jobs. However, they act slowly and struggle with heavy buildup. Commercial deoxidizers are formulated for stronger, faster, and more reliable results. For important projects or large surfaces, a dedicated product gives you cleaner, more consistent outcomes and saves a lot of scrubbing time.
Is The Process Dangerous To Perform At Home?
It can be safe at home when you take proper precautions. Most deoxidizers contain acids that irritate skin, eyes, and lungs, so gloves, eye protection, and a respirator are essential. Always work in a well-ventilated space and follow the product instructions closely. Keep water nearby for spills and never mix chemicals. With sensible safety habits, beginners can handle the job confidently.
How Long Does The Treated Surface Stay Reactive?
Freshly treated aluminum begins forming a new oxide layer almost immediately, often within hours. For the best bond, apply your paint, primer, adhesive, or coating soon after rinsing and drying. If you wait too long, you may need to repeat the process. Plan your project so the next step follows quickly, keeping the surface clean and reactive for the strongest possible results.
Do I Need To Deoxidize Before Painting Or Anodizing?
Yes, this step is strongly recommended for both. Paint and primer bond far better to a fresh surface, reducing peeling and bubbling over time. Anodizing requires clean, oxide-free metal to produce an even, durable finish. Skipping deoxidizing often leads to poor adhesion and disappointing results. A few extra minutes of prep work makes a huge difference in how long your finish lasts.
Conclusion
Restoring bright, clean aluminum does not require advanced skills or expensive equipment. With the right supplies, a safe workspace, and a careful approach, you can strip away that dull oxide layer and reveal fresh metal underneath. The seven steps in this guide take you from gathering tools all the way through rinsing, drying, and inspecting, so nothing important gets missed along the way.
Mastering how to deoxidize aluminum opens the door to better paint adhesion, stronger welds, smoother polishing, and longer-lasting finishes on every project. Take your time with each step, follow the safety basics, and double-check your results before moving forward. Now that you understand the full process, gather your materials and give it a try. Your next aluminum project deserves a clean, professional foundation, and you now have the knowledge to deliver exactly that.

About
Stuart Rich is a distinguished figure in the world of metalworking and fabrication, with a decade of expertise creating innovative and sustainable metal projects. His professional focus lies in merging traditional blacksmithing and machining with modern manufacturing techniques, fostering designs that are both practical and durable. As the author of Metalenify, Stuart Rich delves into the art and science of metallurgy and DIY metal creation, inspiring artisans, hobbyists, and industry professionals alike.
Education
RMIT University
(Melbourne, Australia)
Associate Degree in Engineering Technology (Mechanical / Manufacturing)
Focus on metallurgical properties, industry-driven projects, and practical metal craftsmanship. Gained hands-on experience with traditional machining and digital manufacturing tools, such as CAD, CNC software, and precision welding equipment.
Nottingham Trent University
(United Kingdom)
Bachelor’s in Product Design and Materials Engineering (Honors)
Specialized in product design with a heavy focus on blending creativity with metal production and fabrication techniques. Participated in real-world industry projects, collaborating with architectural and hardware manufacturing companies to optimize material efficiency.
Publications and Impact
In Metalenify, Stuart Rich shares his insights on structural metal design processes, material grades, and strategies for efficient shop production. His writing bridges the gap between raw artisan knowledge and modern industrial needs, making it a must-read for both budding DIY metalworkers and seasoned fabrication professionals.





