Making metal powder comes down to mechanical reduction — filing, grinding, or ball milling a solid piece of metal until it breaks into fine particles. For small-scale work, you’ll need appropriate safety gear, a quality source of metal, and either a reliable ball mill or a good metal file to produce usable powder without cutting corners on safety.

Metal powder turns up in a surprising range of applications: additive manufacturing, powder metallurgy, resin casting, pyrotechnic chemistry, and hobbyist metalworking, to name a few. What those use cases share is a need for particles at a specific size and purity — which means the process matters as much as the end product.
Doing this at home is genuinely achievable, but it asks for patience. You’re converting a dense, rigid solid into particles fine enough to pass through a mesh screen, using equipment that ranges from a basic hand file to a motorized ball mill. Get the fundamentals right and the process becomes repeatable. Skip steps on how to make metal powder, and you’ll either damage your equipment or, more seriously, put yourself at risk.
What Tools and Materials Do You Need to Make Metal Powder?
To make metal powder, you will need a variety of tools and materials that are essential for the process. These include:
Metal
- The type of metal used will determine the properties and characteristics of the resulting powder. Common metals used to make metal powder include iron, aluminum, copper, titanium, and nickel.
Equipment for Powder Production
- The equipment needed depends on the specific method being used to produce the powder. Some common equipment includes ball mills, atomizers, reduction furnaces, electrolysis cells, and water atomizers.
Safety Gear
- Making metal powder can be a hazardous process due to high temperatures and potential exposure to toxic substances. It is important to wear proper safety gear, such as heat-resistant gloves, goggles, and a mask, when working with metal powder.
Handling and Storage
- Metal powder should be handled carefully to avoid any accidents or spills. It should also be stored in a cool, dry place to prevent moisture from affecting its quality.
Quality Control
- Quality control is an essential part of the metal powder production process. This involves testing the particle size distribution, chemical composition, and purity of the powder to ensure it meets industry standards.
Applications of Metal Powder
- Metal powder has a wide range of applications across various industries such as automotive, aerospace, electronics, and healthcare. Some common uses include 3D printing, metal injection molding, and thermal spray coatings.
7 Simple Step-By-Step Guidelines on How to Make Metal Powder
Step 1: How Do You Choose the Right Type of Metal?
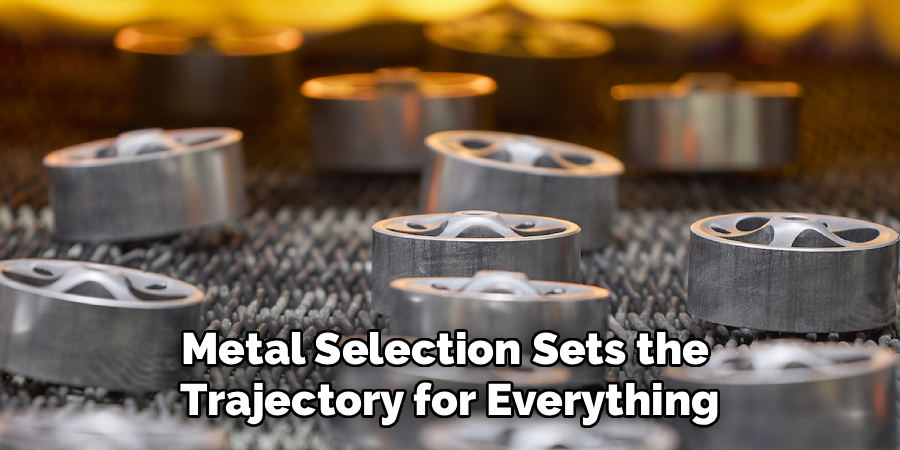
Metal selection sets the trajectory for everything downstream. Softer metals — aluminum, copper, zinc — respond well to hand filing and standard ball milling, which makes them the sensible entry point for anyone working without industrial equipment. Harder metals like titanium or high-carbon steel tend to outlast consumer-grade grinding media and can cause premature wear or outright damage to the barrel.
Chemical reactivity deserves equal attention. When aluminum or magnesium is reduced to fine particles, its surface area expands dramatically, and that surface reacts readily with atmospheric oxygen. The result is a significantly higher flammability risk than you’d associate with the same metal in bulk form. It’s worth researching the oxidation profile of whatever metal you’re planning to process before making the first cut, not after. Starting with something like aluminum or copper gives you a chance to build technique before moving toward materials that carry more inherent risk.
Step 2: How Should You Prepare Your Workspace and Safety Gear?
The grinding process generates airborne metallic particles that are, in practical terms, invisible to the naked eye and capable of causing lasting respiratory damage with repeated exposure. Outdoor work or a well-ventilated garage with exhaust fans running tends to be the better choice over an enclosed indoor space. Clear the area of flammable materials and chemicals, particularly if your chosen metal produces sparks or oxidizes aggressively during grinding.
Put your PPE on before you pick up any tool — not as a formality, but because once you start filing, your attention will be on the work. The P100 respirator goes on first. Safety goggles come next, not safety glasses — flying metal fragments don’t stay on a predictable trajectory. Thick leather gloves protect against cuts from sharp filings. The few minutes this takes are genuinely worthwhile.
Step 3: How Do You Prepare the Solid Metal for Processing?
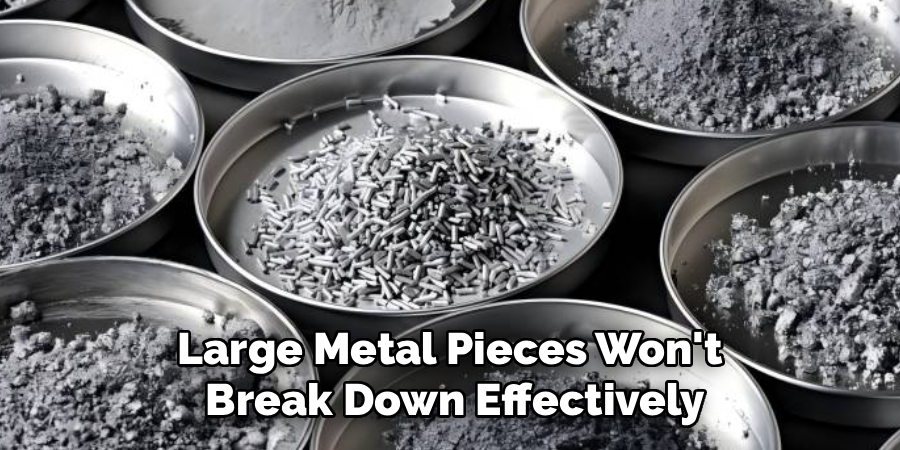
Large metal pieces won’t break down effectively inside a ball mill — the grinding media simply can’t get a purchase on them. The first step is physical reduction to something the mill can actually work with. Clamp your metal securely in a bench vise, applying enough pressure to hold it immobile without warping softer material like aluminum, which can deform under localized force.
Before you start filing, check the surface. Oils, oxidation, and surface contamination transfer directly into your powder and can interfere with downstream processes — sintering in particular is sensitive to impurities. A degreasing solvent and a wire brush pass over the surface is usually enough to get to clean metal. It’s a small step that noticeably affects the quality of the final product.
Step 4: How Do You Execute the Initial Mechanical Reduction?
With the metal clamped and cleaned, the work begins. Using a sharp, coarse file, draw long even strokes across the metal surface, letting the shavings fall onto a clean catch tray or a piece of heavy paper laid beneath the vise. This initial filing produces irregular chips and flakes rather than powder — that’s fine. The goal here is volume reduction, not fineness.
A bench grinder speeds this phase up considerably, pressing the metal against the wheel to generate filings faster than hand filing allows. The tradeoff is heat and sparks. Working in short intervals and letting the metal cool between passes prevents heat from altering the metal’s surface chemistry, which matters for reactive materials in particular. Don’t rush this stage — it’s less glamorous than running the mill, but the quality of what you put in directly affects what comes out.
Step 5: How Do You Utilize a Ball Mill for Fine Grinding?

Transfer your accumulated coarse filings into the ball mill’s tumbling barrel, then add the grinding media — hardened steel balls or ceramic cylinders work well, and the media-to-metal ratio by volume should be roughly equal. Leave about a third of the interior empty. That empty space is what allows the media to cascade and generate the impact force needed to fracture particles down to powder. An overfilled barrel just shuffles material around without doing much useful work.
Seal the barrel and run the mill continuously for several hours. The grinding cycle duration depends on the metal and your target particle size — for softer metals, you may see usable results within 12 to 24 hours. During longer runs, periodic stops to scrape down the barrel walls can help, since fine powder tends to cake against the interior and reduces grinding contact over time.
Step 6: How Do You Sieve the Milled Powder for Consistency?
Opening the barrel after a long milling run releases a cloud of fine metallic dust, so keep your respirator on throughout this step. Empty the barrel contents through a coarse screen first to pull the grinding media out cleanly. What remains is your raw milled powder, likely mixed with some larger fragments that didn’t fully break down.
Run that material through progressively finer mesh sieves — start at 40 mesh and work down toward 100 or 200 mesh depending on the application. The finer your sieve, the more consistent and fine your final powder. Set aside anything that doesn’t pass through for a second milling cycle rather than discarding it. The material that won’t sieve is still usable; it just needs more time in the barrel.
Step 7: How Do You Store the Metal Powder Properly?
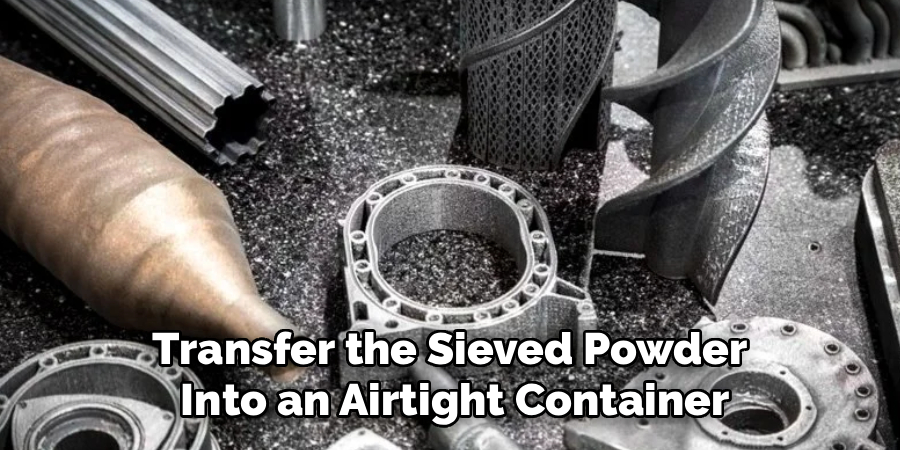
Fine metal powder stored carelessly is a quality problem at best and a safety hazard at worst. Transfer the sieved powder into an airtight container — glass or anti-static heavy-duty plastic both work — and include a silica gel packet to manage moisture. Even ambient humidity can cause oxidation in fine metal powders, degrading their performance in applications that require clean, reactive surfaces.
Label every container with the metal type, processing date, and mesh size. Store containers in a cool, dark space away from heat sources and chemicals that might be incompatible with your specific metal. These aren’t precautionary gestures — they’re the difference between a powder that performs consistently six months later and one that clumps or corrodes in the jar.
Following these steps on how to make metal powder, you can successfully create a high-quality powder that meets your specific needs.
What Are the Common Mistakes to Avoid?
Loading large metal chunks directly into the ball mill without pre-filing them first is probably the most common equipment-damaging mistake — the grinding media can’t break down solid mass effectively, and the barrel walls take the strain instead. Inadequate respiratory protection ranks higher in terms of long-term consequences; the damage from repeated metallic particulate exposure accumulates over time and doesn’t announce itself early.
Ignoring the reactivity of your chosen metal is another area where assumptions cause real problems. Magnesium powder in particular can ignite with relatively low provocation. Sealing damp powder in airtight containers sets off a corrosion process that may not be visible until you open the jar weeks later and find a ruined batch. And skipping the sieve step produces powder that clumps and varies in particle size — workable for some uses, but unreliable for anything where consistency matters.
Do You Need To Use Professionals?
The case for professional manufacturing comes down to specification requirements. If your project calls for spherical powder morphology, tight particle size distribution, or chemical purity above what mechanical milling can achieve, commercial facilities using gas atomization or plasma rotating electrode processes are the more appropriate route. Those techniques produce results that a home ball mill simply can’t replicate.
For smaller batches of elemental powder used in DIY resin casting, basic chemistry demonstrations, or hobbyist metalworking, the DIY approach is a reasonable and educational alternative. The exception is anything involving toxic heavy metals or highly reactive elements. Those materials require containment and handling infrastructure that goes well beyond a home workshop setup, regardless of experience level.
How Much Will It Cost?
Entry-level hobbyist ball mills typically run between $50 and $150, with hardened steel or ceramic grinding media adding roughly $30 to $50 on top of that. If you’re starting without any existing equipment, good hand files, a P100 respirator, leather gloves, and a bench vise could add around $100 to the setup cost. The raw metal is often the least expensive part — scrap aluminum or copper tubing purchased from a hardware store or salvaged locally tends to be inexpensive relative to the equipment.
A complete setup, purchased from scratch, usually lands somewhere between $150 and $300. For anyone producing custom metallic powders regularly, that cost amortizes quickly. If it’s a one-time project, it may be worth comparing that figure against the price of a small commercial batch.
Frequently Asked Questions
Q1: Is It Legal to Make Metal Powder at Home?
A1: In most jurisdictions, processing metal powder for personal or hobbyist use is legal. That said, some areas have specific regulations around the creation and storage of flammable metallic powders — aluminum and magnesium are sometimes classified as flammable solids under local fire codes. Checking your municipal hazardous material storage regulations before you start is a straightforward precaution.
Q2: Can You Make Metal Powder Using a Kitchen Blender?
A2: No. Kitchen blender blades are designed for soft organic material and will chip or shatter on contact with solid metal. Beyond the blade failure, the motors in domestic appliances aren’t sealed against metallic dust, which infiltrates the housing and creates a real risk of electrical short circuit. The equipment mismatch here isn’t just about effectiveness — it’s a safety issue.
Q3: How Long Does the Ball Milling Process Usually Take?
A3: Soft metals like aluminum or zinc may reach a 100-mesh fineness after 12 to 24 hours of continuous tumbling. Harder metals can require several days of processing, with periodic checks on the media condition and barrel walls along the way. Variables like media weight, barrel speed, and the ratio of material to media all affect how quickly the process converges on a target particle size.
Navigating Your Next Steps in Metal Processing
Making your own metal powder is genuinely achievable at a small scale, and the process itself builds intuition for how material properties translate into processing decisions. The core takeaway is straightforward: start with a suitable metal, reduce it mechanically in stages, mill it down to your target fineness, and store the result with care.
The safety piece warrants repetition not because it’s obligatory to say so, but because the risks — respiratory damage, fire, chemical contamination — are real and largely invisible in the moment. Reliable equipment and consistent habits make this work both productive and sustainable. Once you’ve worked through the process once, the variables become easier to manage and the results more predictable. Thanks for reading this guide on how to make metal powder.
About
Stuart Rich is a distinguished figure in the world of metalworking and fabrication, with a decade of expertise creating innovative and sustainable metal projects. His professional focus lies in merging traditional blacksmithing and machining with modern manufacturing techniques, fostering designs that are both practical and durable. As the author of Metalenify, Stuart Rich delves into the art and science of metallurgy and DIY metal creation, inspiring artisans, hobbyists, and industry professionals alike.
Education
RMIT University
(Melbourne, Australia)
Associate Degree in Engineering Technology (Mechanical / Manufacturing)
Focus on metallurgical properties, industry-driven projects, and practical metal craftsmanship. Gained hands-on experience with traditional machining and digital manufacturing tools, such as CAD, CNC software, and precision welding equipment.
Nottingham Trent University
(United Kingdom)
Bachelor’s in Product Design and Materials Engineering (Honors)
Specialized in product design with a heavy focus on blending creativity with metal production and fabrication techniques. Participated in real-world industry projects, collaborating with architectural and hardware manufacturing companies to optimize material efficiency.
Publications and Impact
In Metalenify, Stuart Rich shares his insights on structural metal design processes, material grades, and strategies for efficient shop production. His writing bridges the gap between raw artisan knowledge and modern industrial needs, making it a must-read for both budding DIY metalworkers and seasoned fabrication professionals.


