
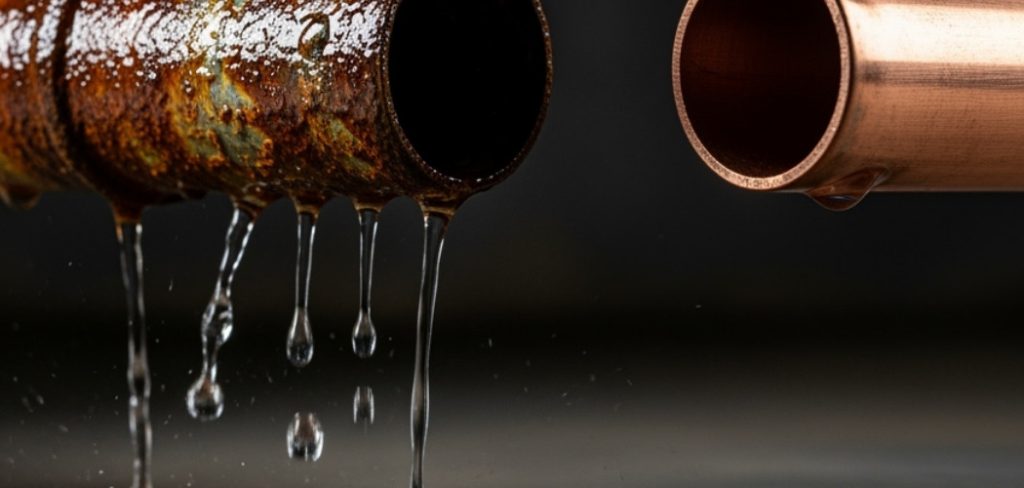
Yes, you can weld copper to stainless steel using TIG welding (Gas Tungsten Arc Welding) or brazing. Because these metals have vastly different melting points and thermal conductivities, you need a specialized filler metal—silicon bronze or a nickel-based alloy—along with precise heat control to produce a strong, crack-resistant joint.
Joining two dissimilar metals is one of the more demanding tasks a welder can face. Copper and stainless steel respond to intense heat in fundamentally different ways, and those differences can make the whole process go sideways fast if you walk in underprepared. That said, a solid bond between these two materials is entirely achievable once you understand why they behave the way they do under the arc. Get the metallurgy right, manage your heat carefully, and the results can be both structurally reliable and visually clean—qualities that matter across a surprising range of industrial and fabrication contexts. In this guide on how to weld copper to stainless steel, we’ll cover the basics of each material’s properties and how to overcome their unique challenges.
Understanding the Differences Between Copper and Stainless Steel
Before you strike an arc, it helps to understand exactly what you’re working against. Copper’s thermal conductivity is exceptionally high—it pulls heat away from the weld zone almost as fast as you can put it in. Its melting point sits at approximately 1,984°F (1,085°C), which sounds high in isolation but becomes complicated when you consider what’s sitting next to it.
Stainless steel behaves in almost the opposite way. Its low thermal conductivity means heat concentrates locally rather than spreading out, and it doesn’t melt until somewhere between 2,550°F and 2,790°F (1,400°C to 1,530°C), depending on the specific alloy. Apply equal heat to both sides of a copper-to-stainless joint, and the stainless will overheat and burn through long before the copper even approaches a workable puddle. That mismatch is the core problem—and everything else in this guide flows from it.
Can Copper Be Welded to Stainless Steel?
Yes, though not in the straightforward sense that applies when welding two pieces of the same alloy. Directly fusing these two base metals without a buffer tends to produce a brittle, crack-prone joint. The metallurgical incompatibility between copper and iron-based alloys means the resulting microstructure is often unreliable under stress.
The solution is a filler rod that acts as a metallurgical bridge between the two sides—one compatible with both. TIG welding (GTAW) is widely considered the most practical process here because it gives the operator fine, real-time control over heat input and filler placement. That level of control isn’t optional with this particular combination; it’s what makes the difference between a joint that holds and one that fails.
Choose the Best Joining Method
The decision generally comes down to TIG welding or brazing. TIG welding is the better choice when joint strength and structural integrity are the primary concerns—it’s well-suited to high-pressure systems and load-bearing applications. Brazing makes more sense when you’re working with thinner materials or when the risk of distortion outweighs the need for maximum strength.
TIG welding with a silicon bronze filler rod occupies an interesting middle ground. The base metals are only minimally melted, which means the process behaves somewhat like brazing in terms of thermal load, while still producing a weld-quality bond. This is why it tends to be the approach most fabricators default to for this application.
Tools and Materials You’ll Need
Gathering the right equipment before you start isn’t just good practice—with dissimilar metals, it’s the difference between a clean first pass and a frustrating rework. You will need:
- A TIG welding machine with precise amperage control
- 100% pure Argon shielding gas to protect the weld puddle from atmospheric contamination
- Silicon bronze (ERCuSi-A) or nickel-alloy filler rods
- A stainless steel wire brush dedicated strictly to cleaning the base metals
- Acetone or a specialized degreaser for removing oils
- A designated tungsten electrode (typically 2% thoriated or lanthanated)
- Standard welding safety gear, including a high-quality auto-darkening helmet, thick welding gloves, and a fire-resistant jacket
6 Simple Step-by-step Guidelines on How to Weld Copper to Stainless Steel
Step 1: Prepare the Base Materials
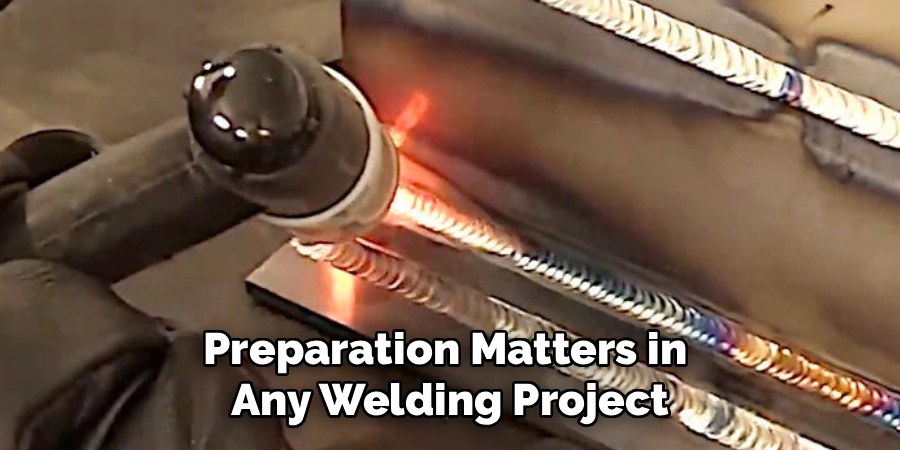
Preparation matters in any welding project, but it carries extra weight when you’re working with dissimilar metals. Both the copper and stainless steel surfaces need to be thoroughly cleaned—free of dirt, grease, oil, and oxidation. Even a small amount of surface contamination can introduce porosity into the weld pool, and porosity in a dissimilar-metal joint tends to compound other problems rather than sit quietly.
Scrub the joint area with a dedicated stainless steel wire brush until the base metal looks bright and clean. Then wipe everything down with a rag soaked in acetone to remove any residual oils left by handling or machining. If the material thickness exceeds about 1/8 inch, you may also need to bevel the edges to give the filler metal adequate room to penetrate.
Step 2: Select the Right Filler Metal
The filler rod choice has a direct bearing on whether the joint holds. Silicon bronze (ERCuSi-A) is the most widely used option for this application—it flows at a lower temperature than either base metal and produces a flexible, reasonably strong bond that accommodates the different expansion rates of copper and stainless steel.
For applications involving elevated temperatures, corrosive environments, or high mechanical stress, a nickel-based alloy filler may be more appropriate. The filler essentially absorbs the thermal and mechanical stress that would otherwise concentrate at the interface between two incompatible metals. Whatever rod you choose, make sure it’s clean and dry before you begin—moisture in the filler is another fast path to porosity.
Step 3: Set Up the TIG Welding Machine
Set your TIG welder to Direct Current Electrode Negative (DCEN) for the concentrated, directed heat this joint requires. Use 100% Argon as your shielding gas at a flow rate of roughly 15 to 20 cubic feet per hour (CFH)—enough to maintain consistent coverage without wasting gas or creating turbulence at the puddle.
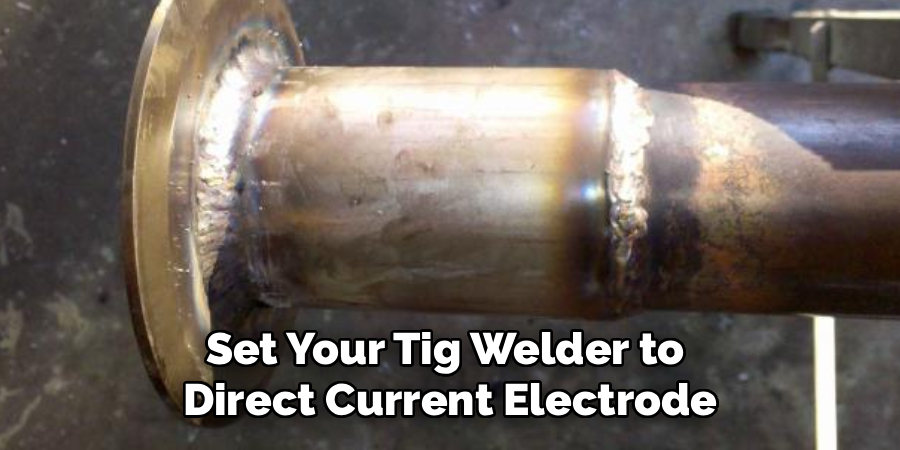
Amperage should be calibrated to the copper side of the joint, since copper’s high thermal conductivity means it demands more heat than the stainless steel. A useful starting point is to set the machine slightly higher than you would for standard steel, then use a foot pedal to modulate the heat in real time as you move along the joint. That variable control is particularly valuable near the end of the weld, where heat tends to accumulate and the stainless becomes more vulnerable to warping.
Step 4: Tack the Joint Together
Tacking before running a continuous bead keeps the geometry from drifting as thermal expansion moves the pieces around. Clamp the copper and stainless steel firmly in place using heavy-duty clamps or welding fixtures, and remember that the copper’s heat-sinking behavior will work against you here—you need to be deliberate about getting heat into the joint during these initial tacks.
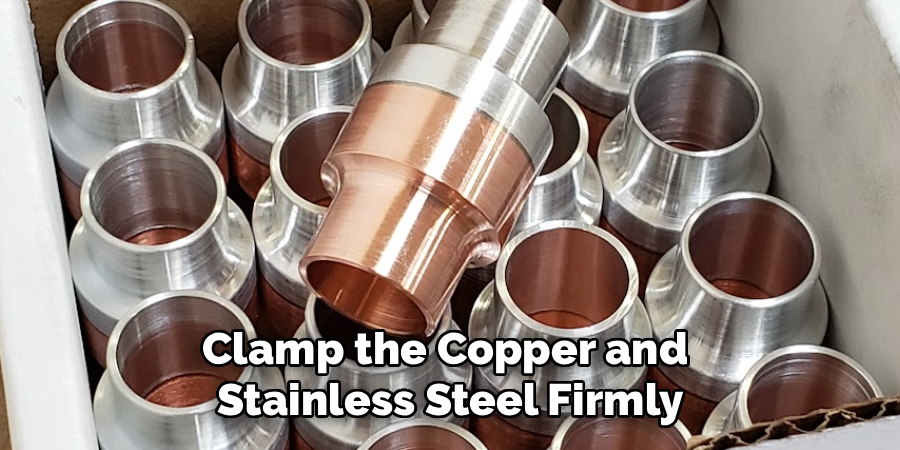
Focus the arc on the copper side first to build a small puddle, then wash the heat toward the stainless edge just enough to wet it, dabbing in the silicon bronze filler as you go. Space small tack welds every few inches along the joint. Let them cool slightly before moving to the main sequence—this stabilizes the overall temperature of the workpiece and reduces the chance of cumulative heat distortion.
Step 5: Execute the Welding Sequence
With the piece tacked and stable, direct approximately 70–80% of the arc’s heat toward the copper side. Copper acts as a heat sink throughout the weld, and this bias compensates for that. Wait for a fluid puddle to form on the copper, then gently wash the arc toward the stainless edge—just enough to wet it without driving it into a melt.
Keep the arc length tight to maintain focused heat and prevent the shielding gas from dispersing prematurely. Dab the filler rod consistently into the leading edge of the puddle as you travel. Travel speed matters here: moving too slowly overheats the stainless and risks burn-through; moving too quickly produces a shallow, poorly fused bead that won’t hold under stress.
Step 6: Post-Weld Cooling and Cleaning
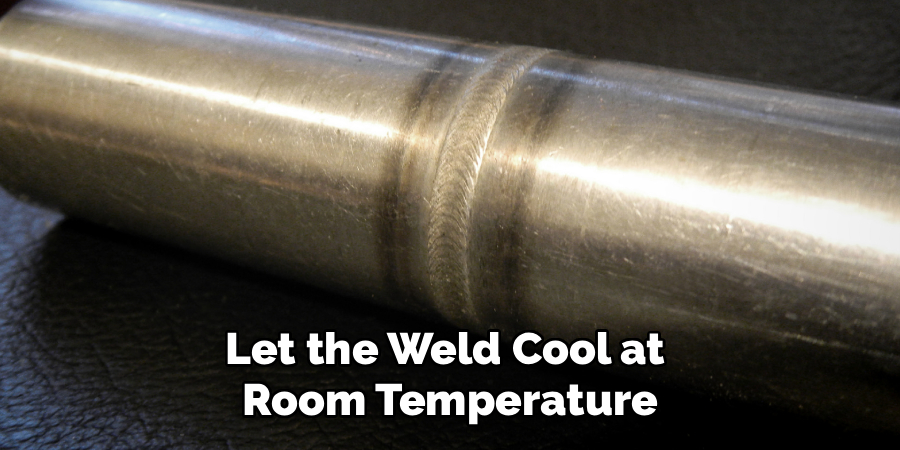
Once the arc is extinguished, let the weld cool at room temperature. Do not quench it in water. The thermal shock from rapid cooling can introduce significant stress into the joint—particularly at the interface between two metals with different expansion coefficients—and cracking can follow. Keep the torch over the end of the weld while the post-flow gas runs, protecting the final puddle from oxidation as it solidifies.
After the metal is fully cool, inspect the joint for porosity, undercutting, or incomplete fusion. A dedicated stainless steel wire brush will remove surface discoloration and light oxidation. A clean, well-executed joint at this stage should look consistent and show no visible voids or irregular edges.
Following these steps on how to weld copper to stainless steel can result in a strong and durable joint.
Common Problems and Troubleshooting
One of the most frequent issues is the stainless steel melting too quickly—almost always a sign that the arc is centered on the joint rather than biased toward the copper. Porosity, where small bubbles appear in the weld puddle, typically points to inadequate cleaning or insufficient shielding gas coverage.
Adjusting the torch angle and revisiting your pre-weld cleaning process will resolve most of these defects.
Safety Precautions
Welding produces hazardous fumes, intense ultraviolet radiation, and extreme heat—none of which should be taken casually. Wear an auto-darkening welding helmet, heavy leather gloves, and a fire-resistant jacket.
Ventilation is especially important when welding copper and certain filler metals, as the fumes can be genuinely toxic at even moderate exposure levels. Keep the work area clear of flammable materials, and have a fire extinguisher within reach before you start.
Applications of Copper-to-Stainless-Steel Joints
This joining technique appears across several demanding manufacturing sectors, often because no single metal can do what the combination achieves. Heat exchangers are a common application—copper’s thermal efficiency paired with stainless steel’s corrosion resistance produces a component that performs better than either metal could alone.
Similar logic applies to specialized chemical processing equipment, cryogenic cooling systems, and custom brewing setups. Aerospace and automotive engineers use these joints in electrical and fluid transfer components where both thermal performance and long-term durability are non-negotiable.
Frequently Asked Questions
Q1: What Is the Best Filler Metal For Welding Copper to Stainless Steel?
Silicon bronze (ERCuSi-A) is the most widely recommended filler for this application. Its lower melting point allows it to function similarly to a high-strength brazing alloy, bonding both sides without overmelting the base materials. In high-stress or high-temperature environments, a nickel-alloy rod may offer more reliable long-term performance.
Q2: Can You Use MIG Welding to Join Copper to Stainless Steel?
Technically, yes—a MIG welder equipped with silicon bronze wire can be used. In practice, MIG welding offers significantly less control over heat distribution, which makes it much easier to burn through the stainless steel or fail to achieve adequate penetration on the copper side. For anyone prioritizing a reliable, high-quality joint, TIG welding remains the more dependable process.
Q3: Why Does the Stainless Steel Keep Melting Too Quickly?
Stainless steel’s low thermal conductivity means heat builds up locally rather than spreading out. If the tungsten electrode is aimed at the center of the joint, the stainless side heats disproportionately fast and begins to melt before the copper is ready. Shifting roughly 80% of the arc’s heat toward the copper side corrects this imbalance and gives you better control over the puddle on both sides.
Achieving Mastery with Dissimilar Metals
Welding copper to stainless steel rewards patience and preparation more than most processes. Getting the material prep right, choosing a filler that bridges the two alloys, and managing heat with real precision—these aren’t shortcuts, but they are what separates a joint that holds from one that cracks under load.
Early attempts may fall short, and that’s normal. Practicing on scrap pieces lets you develop a feel for the thermal dynamics before committing to a final workpiece. The more time you spend at that stage, the more consistent your results will be when it counts. Thanks for reading this guide on how to weld copper to stainless steel.

About
Stuart Rich is a distinguished figure in the world of metalworking and fabrication, with a decade of expertise creating innovative and sustainable metal projects. His professional focus lies in merging traditional blacksmithing and machining with modern manufacturing techniques, fostering designs that are both practical and durable. As the author of Metalenify, Stuart Rich delves into the art and science of metallurgy and DIY metal creation, inspiring artisans, hobbyists, and industry professionals alike.
Education
RMIT University
(Melbourne, Australia)
Associate Degree in Engineering Technology (Mechanical / Manufacturing)
Focus on metallurgical properties, industry-driven projects, and practical metal craftsmanship. Gained hands-on experience with traditional machining and digital manufacturing tools, such as CAD, CNC software, and precision welding equipment.
Nottingham Trent University
(United Kingdom)
Bachelor’s in Product Design and Materials Engineering (Honors)
Specialized in product design with a heavy focus on blending creativity with metal production and fabrication techniques. Participated in real-world industry projects, collaborating with architectural and hardware manufacturing companies to optimize material efficiency.
Publications and Impact
In Metalenify, Stuart Rich shares his insights on structural metal design processes, material grades, and strategies for efficient shop production. His writing bridges the gap between raw artisan knowledge and modern industrial needs, making it a must-read for both budding DIY metalworkers and seasoned fabrication professionals.





