
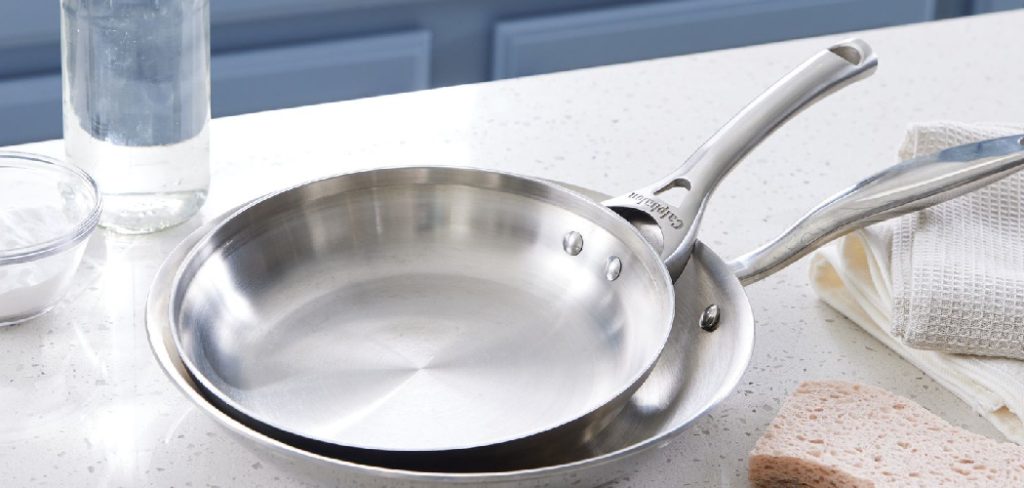
You reach for a trusted Calphalon pan, picturing that signature shine, and instead you find dull spots, faint water marks, and a hazy film clouding the surface. It’s a small letdown, especially with cookware built to last for years. Calphalon stainless steel is genuinely durable, yet it still shows discoloration, stuck-on food, and streaks faster than a lot of owners expect.
The reassuring part is that learning how to clean Calphalon stainless steel cookware is easier than that grimy pan suggests. Once you understand the right products and the gentle methods the brand tends to recommend, the whole thing becomes routine.
This guide covers why these pans stain and discolor, the safe supplies that bring back the shine, a clear step-by-step process, stronger methods for burnt-on messes, and the habits that protect the finish. Most of what you need is probably already in your kitchen.
What Makes Calphalon Stainless Steel Different
Before you start scrubbing, it helps to understand how these pans are built. The construction shapes how you should care for them.
The Impact-Bonded Base and Brushed Finish
Calphalon stainless steel typically pairs a stainless cooking surface with an aluminum or copper core bonded into the base. That core spreads heat evenly, which is part of why the cookware performs so well.
The exterior, whether polished or brushed, is part of the appeal too. Both finishes can scuff, so scratch-aware cleaning matters more here than with a cheap, expendable pan.
Why Calphalon Recommends Specific Care
Manufacturers don’t suggest care methods at random. Following Calphalon’s guidance helps protect the warranty and keeps the cookware performing the way it was designed to.
Harsh tools and abrasive cleaners can void coverage and damage the finish at the same time. Sticking to gentle methods tends to be the safer bet on both counts.
How It Compares to Other Stainless Pans
In day-to-day use, Calphalon cleans much like other quality stainless cookware. The differences are small but worth respecting.
The bonded base and finished exterior simply reward a little extra care. Treat the pan gently, and that investment holds its look and function far longer.
Why Calphalon Pans Stain and Discolor
Not every mark on a stainless pan is the same, and they don’t all need the same fix. Knowing the cause makes both cleaning and prevention easier.
Hard Water Spots and Mineral Film
Tap water carries dissolved minerals, mostly calcium and magnesium. When water dries on the pan, the water evaporates but those minerals stay behind.
What’s left is a chalky white film or scattered spots. They look like dirt, though they’re really just deposits sitting on top, which makes them fairly easy to remove.
Heat Tint and Rainbow Discoloration
That blue, gold, and purple sheen that sometimes appears inside a pan tends to alarm people. It looks like permanent damage, but it usually isn’t.
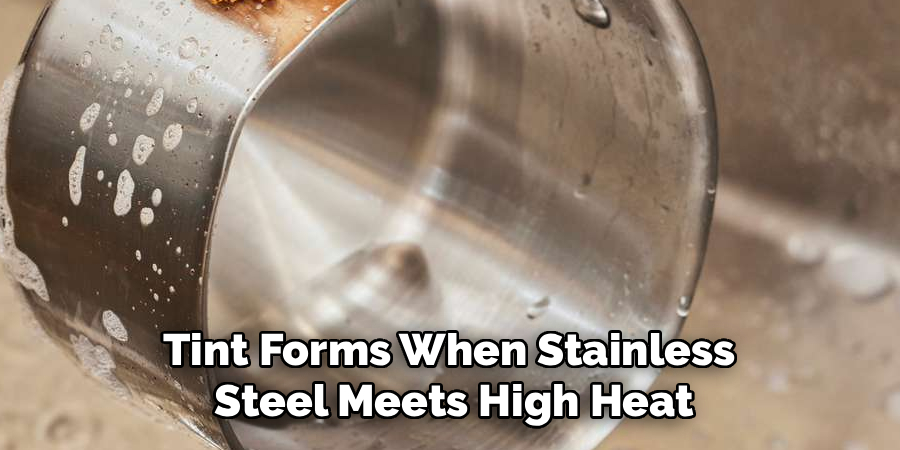
Heat tint forms when stainless steel meets high heat, which shifts the color of a thin oxide layer. It’s harmless and, as you’ll see, easy to lift. Many owners scrub at it far harder than necessary.
Burnt-On Food and Grease Layers
The toughest mess is the dark, sticky layer that builds up on the bottom. This happens when oil overheats or food sticks and bakes onto the surface over repeated use.
Once it carbonizes, it bonds tightly to the metal. Ordinary washing rarely shifts it, which is why this kind of residue needs its own approach rather than just elbow grease.
What You Need to Clean Calphalon Cookware
You don’t need a cabinet full of specialty products. A few affordable, gentle supplies handle almost everything without risking the finish.
Gentle Everyday Cleaners
Dish soap is the obvious starting point, since it cuts grease and handles daily cleaning easily. White vinegar and baking soda are the other two workhorses.
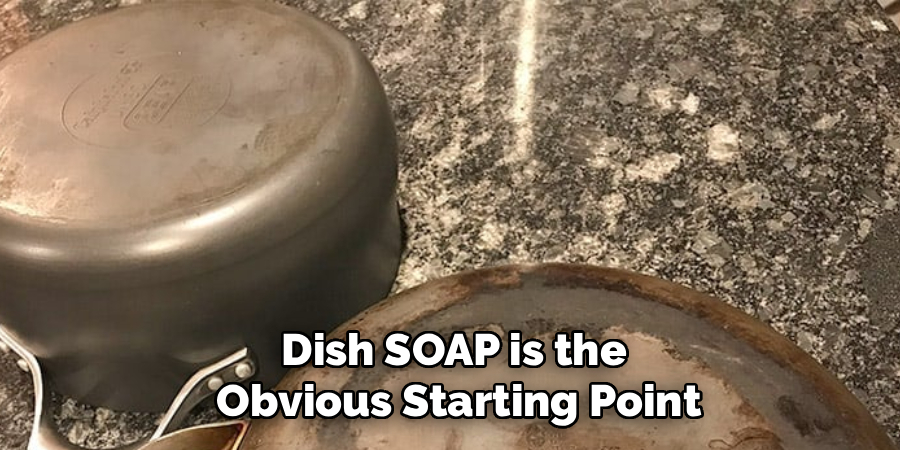
Vinegar dissolves mineral film and heat tint, while baking soda offers mild lifting power for stuck-on spots. Between these three, you can manage the large majority of cleaning jobs.
Soft Tools That Protect the Finish
The tools matter as much as the cleaners. Microfiber cloths, soft sponges, and nonabrasive scrub pads do the work without scratching.
That last point bears repeating. Scratches on stainless steel are permanent, and they tend to trap grime afterward, so anything rough stays out of the picture.
Specialty Helpers for Tough Jobs
For heavier messes, a couple of extras earn their keep. A dedicated stainless steel cleaner can restore shine, while a soft nylon brush reaches into edges and around rivets.
Neither is strictly required. Still, they’re handy when the basics fall a little short.
Preparing Your Cookware Before Cleaning
A minute of prep makes cleaning faster and protects the pan from accidental harm. It’s easy to skip, though it’s worth the small effort.
Letting Hot Pans Cool First
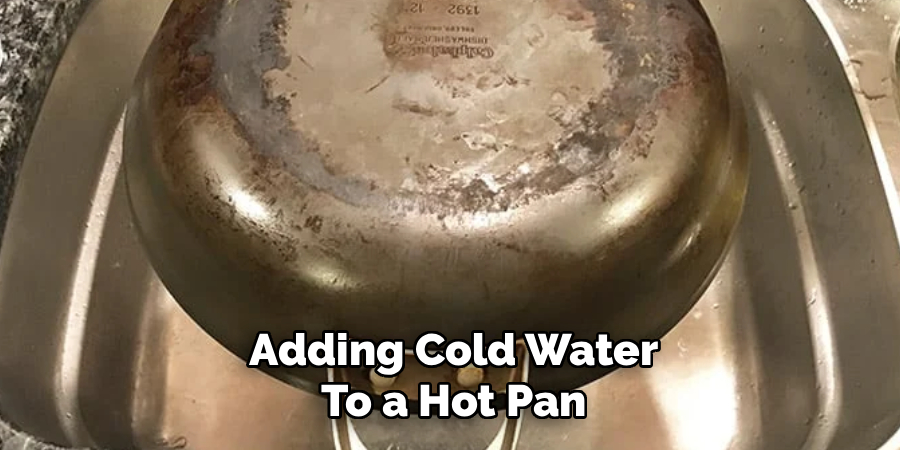
This one matters more than people realize. Adding cold water to a hot pan can warp the bonded base through sudden thermal shock, and a warped pan never sits flat again.
Let the pan cool before you wash it. Patience here protects both the cookware and its even heating.
Removing Loose Food and Debris
Before any real cleaning, scrape off loose food with a wooden or silicone spoon and give the pan a quick rinse. This clears the obvious debris so it doesn’t get smeared around later.
You’re not deep cleaning yet. You’re just clearing the way so the cleaner can reach what’s actually stuck.
Spot Testing a New Cleaner
If you’re trying an unfamiliar product, test it in a small, less visible spot first. The underside or a low edge works fine.
This quick check confirms the cleaner won’t dull or react with the finish. It costs you seconds and may save a visible surface from an unpleasant surprise.
How to Clean Calphalon Stainless Steel Cookware: Step-by-Step Guide
Here’s the core method, built around warm soapy water, baking soda, and a vinegar finish. The thing to remember throughout is that working gently and in stages restores shine without harming the cookware. Aggression rarely helps and often hurts.
Step 1: Rinse and Soak the Pan
Start by rinsing away loose residue, then fill the pan with warm, soapy water and let it soak. Fifteen or twenty minutes is usually enough.
Soaking does quiet work in the background, loosening stuck food so you barely have to scrub it later. For a pan with light residue, this step alone handles a surprising amount.
Step 2: Wash With Warm Water and Dish Soap
Once it’s soaked, use a soft sponge and a few drops of grease-cutting dish soap to clean the surface. Work in gentle circles across the cooking surface and up the sides.
This lifts everyday grease and food without any fuss. For most pans after a normal meal, washing is all that’s needed.
Step 3: Lift Stains With a Baking Soda Paste
For stains that resist the soap, mix baking soda with a little water into a soft paste. Spread it over the marked areas and rub gently.
The mild abrasiveness of baking soda lifts discoloration and light residue without scratching, as long as you keep the pressure light. Let it sit a few minutes on tougher spots before wiping.
Step 4: Remove Cloudiness and Tint With Vinegar
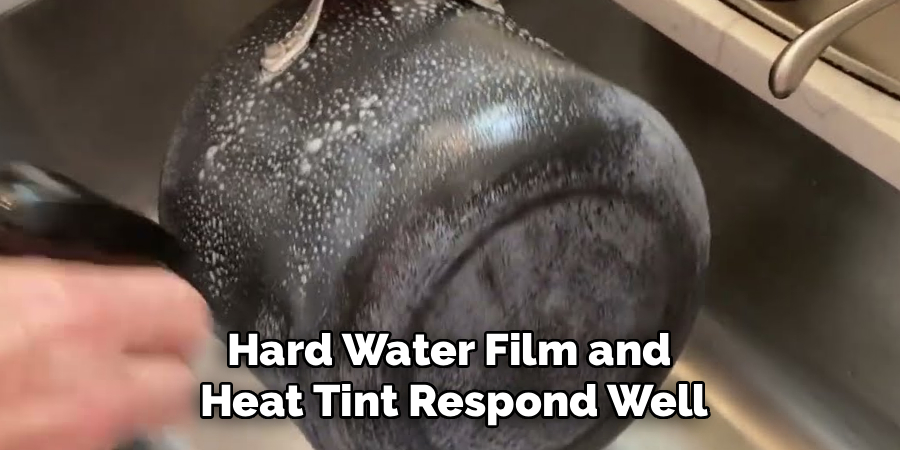
Hard water film and heat tint respond well to vinegar. Wipe the surface with a cloth dampened in a vinegar and water mix, or for stubborn cloudiness, simmer a solution of equal parts vinegar and water in the pan for a few minutes.
The acid dissolves mineral deposits and lifts that bluish tint. You’ll often see the surface clear and brighten as it works.
Step 5: Rinse Thoroughly With Clean Water
Once the pan looks clean, rinse it well under warm running water. You want every trace of soap, baking soda, and vinegar gone.
Don’t shortcut this. Leftover cleaner dries into a dull film or can leave a faint taste, which undoes the work you just did.
Step 6: Dry and Buff for Shine
Dry the pan right away with a clean microfiber cloth rather than letting it air-dry. This prevents new water spots from forming as it sits.
A final buff brings back that gleam. It’s the step that separates a pan that’s merely clean from one that genuinely looks cared for.
Step 7: Inspect and Repeat if Needed
Hold the pan to the light and check for missed spots or lingering haze. Some marks take a second pass, which is perfectly normal.
If you find a stubborn patch, simply repeat the targeted step rather than scrubbing harder everywhere. Localized attention beats brute force.
How to Remove Burnt-On Food and Heavy Grease
When basic washing won’t shift a dark, baked-on layer, you need a stronger approach. These methods loosen the bond rather than relying on scrubbing.
The Baking Soda and Water Boil
This is often the most effective trick for burnt bottoms. Fill the pan with enough water to cover the residue, add a few tablespoons of baking soda, and bring it to a gentle simmer.
Let it bubble for ten minutes or so. The combination of heat and mild alkalinity loosens the burnt layer, which then lifts away with a wooden spoon far more easily than it would dry.
The Vinegar Soak Method
Vinegar works on a different principle, breaking down stuck food and burnt deposits through acidity. Pour a layer of vinegar into the pan and heat it gently, or simply let it soak.
After the residue softens, wipe it away with a sponge. Some cooks combine this with the baking soda boil, doing one after the other for the most stubborn cases.
Using a Stainless-Safe Cleanser
For heavy buildup that resists both methods, a gentle powder cleanser can help. Made for stainless steel, it’s mildly abrasive but lifts grime without the deep scratching steel wool causes.
Make a paste with a little water, apply it, and rub softly along the surface. Rinse thoroughly afterward, since you don’t want any cleanser residue left behind.
Restoring Shine and Fixing Discoloration
Cleaning and restoring shine aren’t quite the same thing. Once a pan is clean, a few extra steps bring back the luster it had when new.
Removing Heat Tint With Vinegar
That rainbow tint is one of the simplest issues to fix, which surprises a lot of people. Dampen a cloth with vinegar and wipe the discolored area.
The tint usually fades with little effort. There’s no need to scrub, since the acid does the lifting for you.
Polishing With a Stainless Steel Cleaner
For a true mirror finish, a dedicated stainless steel cleaner or polish is worth the small outlay. Apply it sparingly and work in the direction of the grain, those fine brushed lines on the surface.
Buff it off with a clean cloth. Working with the grain rather than across it leaves a smoother, more even shine.
Smoothing Out Light Surface Marks
Faint surface marks and dull patches can sometimes be minimized, though deep scratches are usually permanent. A gentle polish worked along the grain may blend light marks into the surrounding finish.
Keep expectations realistic here. The goal is to soften the appearance of fine marks, not to erase genuine gouges.
Common Mistakes to Avoid
A few habits quietly damage cookware or undercut your results. Knowing them ahead of time saves both pans and frustration.
Using Steel Wool and Abrasive Pads
It’s the instinct almost everyone has when something won’t come off, and it’s the costliest one. Steel wool and rough scourers permanently scratch and dull the Calphalon finish.
Those scratches never go away, and they trap food more easily afterward. A baking soda paste or a stainless-safe cleanser handles tough buildup without that harm.
Shocking a Hot Pan With Cold Water
Reaching for cold water to cool a pan quickly feels efficient, but it risks warping the bonded base. The sudden temperature swing stresses the metal.
A warped pan rocks on the burner and heats unevenly from then on. Letting it cool first avoids the whole problem.
Letting Pans Air Dry
Skipping the dry-and-buff step is a small mistake with a visible cost. Air-drying leaves behind water spots and a faint film, especially in hard water areas.
A quick pass with a dry cloth prevents all of it. It’s the easiest step to skip and the one most worth keeping.
Caring for Calphalon Cookware Long Term
Cleaning is satisfying, but preventing the mess in the first place is easier still. A few habits keep cleaning quick rather than a recurring chore.
Drying Immediately After Washing
The single best habit is drying each pan right after washing. Most water spots and mineral film form when water sits and evaporates on the surface.
Remove the water before that happens, and the deposits never get a chance to form. A few seconds with a towel saves you a descaling job later.
Cooking at the Right Heat
A lot of discoloration and burnt residue traces back to heat that’s simply too high. Moderate heat cooks food well while sparing the pan the tint and scorching that come with cranked-up burners.
Calphalon’s bonded base conducts heat efficiently, so you often need less than you think. Easing off the dial protects the finish and your food alike.
Knowing When to Hand Wash
Even when a pan is labeled dishwasher safe, hand washing often protects the finish better over time. Harsh detergents and long hot cycles can dull the surface and encourage discoloration.
For cookware you want to keep looking new, the sink is the gentler choice. A quick hand wash usually takes less effort than people assume.
Frequently Asked Questions
A few questions come up again and again. Here are short, honest answers.
Is Calphalon Stainless Steel Dishwasher Safe?
Many Calphalon stainless pieces are dishwasher safe, so it’s worth checking the guidance for your specific set. That said, hand washing tends to protect the finish better.
Repeated dishwasher cycles can dull the surface and bring on discoloration faster. For pieces you care about, the sink is the safer long-term habit.
Why Does My Calphalon Pan Have Rainbow Stains?
That’s heat tint, and it’s harmless. It forms when the stainless steel meets high heat, creating a thin, colorful oxide layer.
It doesn’t affect cooking or safety in any way. A quick wipe with vinegar usually clears it right up.
Can I Use Bar Keepers Friend on Calphalon?
Generally, yes, in moderation. A gentle powder cleanser like Bar Keepers Friend can lift heavy buildup without harsh scratching when used carefully.
Make it into a paste, rub softly along the grain, and rinse well afterward. To be safe, check Calphalon’s care guidance first so you don’t risk the warranty.
Conclusion
For all the dull spots and stubborn residue a neglected pan can show, learning how to clean Calphalon stainless steel cookware really comes down to a handful of easy moves with supplies already in your kitchen. Understand why stains form, gather a few gentle cleaners, wash with soap and water, lift stains with a baking soda paste, clear cloudiness and tint with vinegar, and always dry and buff for shine.
The bigger payoff lies in the small daily habits. Gentle drying after washing and cooking at the right heat keep your Calphalon pans looking new far longer, so the heavy cleaning becomes rare.
So pick out your dullest pan and put this method to work. Once you see how cleanly the stains and tint lift away, fold a simple cleaning routine into your habits, and enjoy gleaming cookware that performs beautifully for years to come.

About
Stuart Rich is a distinguished figure in the world of metalworking and fabrication, with a decade of expertise creating innovative and sustainable metal projects. His professional focus lies in merging traditional blacksmithing and machining with modern manufacturing techniques, fostering designs that are both practical and durable. As the author of Metalenify, Stuart Rich delves into the art and science of metallurgy and DIY metal creation, inspiring artisans, hobbyists, and industry professionals alike.
Education
RMIT University
(Melbourne, Australia)
Associate Degree in Engineering Technology (Mechanical / Manufacturing)
Focus on metallurgical properties, industry-driven projects, and practical metal craftsmanship. Gained hands-on experience with traditional machining and digital manufacturing tools, such as CAD, CNC software, and precision welding equipment.
Nottingham Trent University
(United Kingdom)
Bachelor’s in Product Design and Materials Engineering (Honors)
Specialized in product design with a heavy focus on blending creativity with metal production and fabrication techniques. Participated in real-world industry projects, collaborating with architectural and hardware manufacturing companies to optimize material efficiency.
Publications and Impact
In Metalenify, Stuart Rich shares his insights on structural metal design processes, material grades, and strategies for efficient shop production. His writing bridges the gap between raw artisan knowledge and modern industrial needs, making it a must-read for both budding DIY metalworkers and seasoned fabrication professionals.





