
You crack an egg into the pan, picture it sliding around like in the commercials, and instead, it cements itself to the bottom within seconds. The sauce scorches. The fish leaves half of itself behind. By the time you’re scrubbing stuck-on food after another meal, reaching for a coated nonstick pan starts to feel less like giving up and more like common sense.
But here’s the part most people never discover. A few simple techniques unlock a natural nonstick surface on stainless steel, and learning how to make stainless steel cookware non stick is genuinely easy, cheap, and repeatable at home.
This guide covers why stainless steel sticks in the first place, the quiet role heat and oil play, a clear step-by-step process, the little water test that confirms you got it right, and the habits that keep food sliding. None of it is complicated. Most of it comes down to timing.
Why Stainless Steel Cookware Sticks
Before fixing the problem, it helps to understand what’s actually happening. Sticking isn’t a flaw in the pan so much as a misunderstanding between you and the surface.
The Microscopic Pores in the Metal
Stainless steel looks perfectly smooth, almost mirror-like. Under magnification, though, the surface is full of tiny ridges and pores.
When the pan is cold, those gaps sit open. Food settles into them and grips on as it cooks, which is exactly the bond you’re trying to avoid.
The Role of Temperature
Temperature does more here than almost anything else. A pan that’s too cold lets food sink into those open pores, while one that’s screaming hot can scorch food on contact and bond it just as stubbornly.
There’s a window in between where things work. Hitting that window is most of the battle, and it’s why so much of this guide circles back to heat.
Too Little Fat and Crowded Pans
Two other habits quietly cause sticking. Skimping on oil leaves food with nothing to glide on, so it meets bare metal directly.
Crowding the pan is the other culprit. Pile in too much at once, and the temperature drops, while trapped steam keeps food from searing. Instead of browning and releasing, it sits in its own moisture and clings.
The Science of a Non-Stick Stainless Surface
A little physics here makes the methods that follow easier to trust. You don’t need a chemistry degree, just a sense of what the heat and oil are doing.
How the Leidenfrost Effect Works
When a stainless steel pan reaches the right temperature, a drop of water behaves strangely. Rather than spreading out and steaming away, it pulls into a tight bead and skates across the surface.
That’s the Leidenfrost effect, and it’s a remarkably reliable signal. When water beads and glides, the pan has reached the zone where food tends to release rather than grip.
How Oil Fills the Surface Gaps
Oil is the second half of the equation. Added to a properly heated pan, it spreads into those microscopic pores and settles in.
What you end up with is a thin, slick barrier sitting between the food and the raw metal. Food rides on the oil layer instead of bonding to the steel beneath it.
Why Protein Release Takes Patience
Proteins are the trickiest, and they reward patience more than anything. When meat, fish, or eggs first hit the pan, they stick. That’s normal.
As a crust forms, the food naturally loosens its own grip. Wait for that moment, and it lifts cleanly. Rush it, and you tear the food apart while the rest stays welded down.
What You Need Before You Start
You don’t need special equipment, and you almost certainly own most of this already. Gathering it first keeps the process smooth.
Choosing the Right Cooking Oil
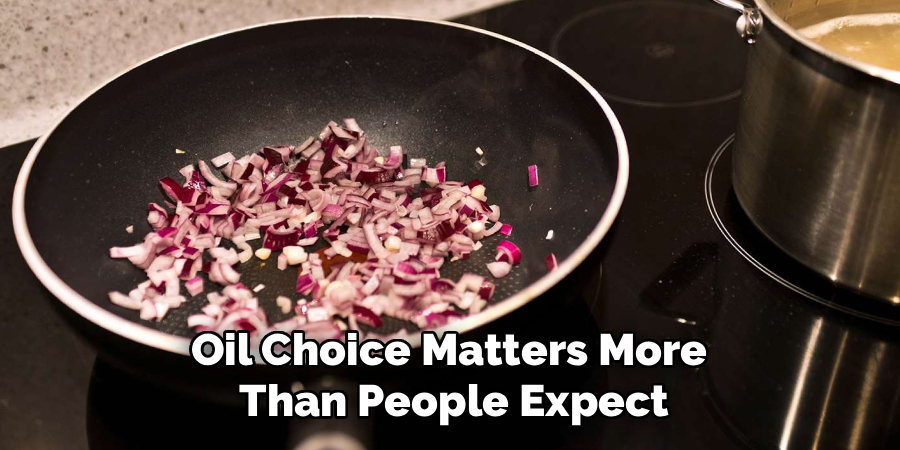
Oil choice matters more than people expect. You want a high smoke point oil, since the method relies on heating oil without burning it.
Avocado, grapeseed, and canola all handle the heat well and are easy to find. Butter, by contrast, smokes and burns early, which makes it a poor choice for the initial heating, even if you add a little later for flavor.
Heat and Timing Tools
The good news is that you need almost nothing here. A few drops of water and a watchful eye do the work of any gadget.
The water test tells you when the pan is ready, and your own attention handles the rest. No thermometer required, though one won’t hurt if you happen to own it.
Cleaning and Drying Supplies
A spotless starting surface is non-negotiable. Dish soap, a soft sponge, and a lint-free towel cover everything.
The towel earns its place more than people realize. Leftover moisture or lint can interfere with both the heat test and the oil, so a clean, dry start sets up the whole cook.
Preparing Your Pan for a Non Stick Cook
Good prep is where a clean release is actually won. It takes a minute, and skipping it tends to show.
Starting With a Clean, Dry Pan
Begin with a pan that’s both clean and completely dry. Leftover food residue creates spots for new food to grab onto, and stray water droplets make hot oil spit and sputter.
Wipe it down and check it over before any heat goes on. A bare, dry surface behaves far more predictably.
Removing Stubborn Buildup
If the pan carries a sticky film or discoloration from past meals, clear it first. A little vinegar or a baking soda paste usually lifts what soap alone leaves behind.
Wipe the surface clean and rinse well. You want even metal to work with, not a patchy one.
Bringing Food to Room Temperature
This step gets overlooked constantly. Cold food dropped into a hot pan sticks far more than food that’s had a few minutes to warm up.
A chilled steak or egg cools the surface on contact and clamps down. Letting food sit out briefly before cooking gives you a noticeably cleaner release.
How to Make Stainless Steel Cookware Non Stick: Step-by-Step Guide
Here’s the core method, built around preheating and oil. The single thing that decides success or failure is timing the heat correctly. Get that right, and a flawless release tends to follow on its own.
Step 1: Clean and Dry the Pan Completely
Wash the pan in warm, soapy water, rinse it well, and dry it fully. Nothing should remain on the surface that could block a smooth release.
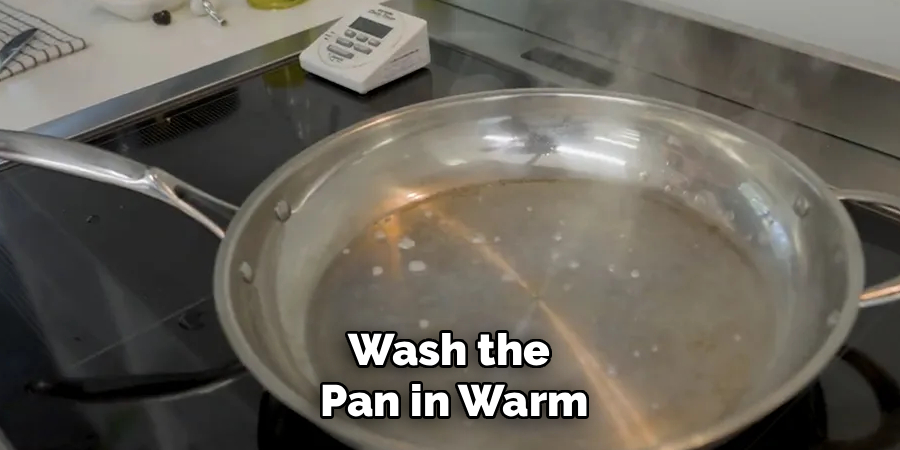
This repeats the prep stage for good reason. A clean, dry start genuinely is that important.
Step 2: Preheat the Empty Pan
Set the empty, dry pan over medium heat for a minute or two. Warming it gradually opens the metal slightly and drives off any lingering moisture.
Don’t add oil yet, and don’t blast the heat. You’re easing the pan toward the right temperature, not rushing it there.
Step 3: Run the Water Drop Test
Now check the heat. Flick a few drops of water into the pan and watch what they do.
If the drops bead up and roll across the surface like little marbles, the pan is ready. If they spread out and steam away flatly, give it more time. This test is the heart of the whole technique.
Step 4: Add Oil at the Right Moment
Only after the water test passes should the oil go in. Pour a thin layer of high smoke point oil and swirl it to coat the surface evenly.
Timing is everything here. Oil added to a cold pan soaks in and degrades, while oil added to a properly heated one slides and primes the surface as it should.
Step 5: Wait for the Oil to Shimmer
Give the oil a moment to come up to temperature. It will start to shimmer and move across the pan, almost like water when it’s ready.
That ripple is your cue. It means the surface is primed, and the moment to add food has arrived.
Step 6: Add Food and Let It Sear
Place your food gently into the pan and then, crucially, leave it alone. Resist every urge to poke, shuffle, or flip it early.
A crust needs time to form, and during that time, the food will seem stuck. That’s expected. The searing process is doing exactly what it should.
Step 7: Flip Once Food Lets Go Naturally
Test the food with a gentle nudge after a bit. If it resists, it isn’t ready, so wait a little longer.
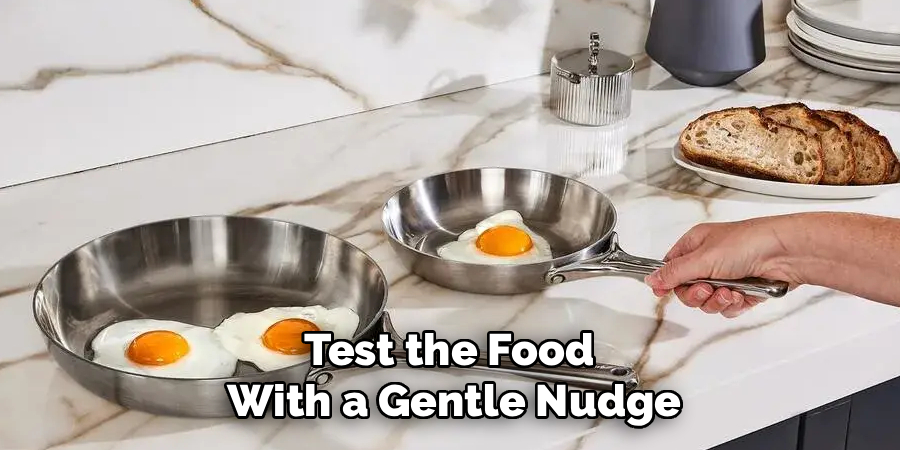
When the crust has formed, the food releases and slides freely. That’s your signal to flip. Never force it before that point, since forcing is the fastest route back to a stuck, torn mess.
Seasoning Stainless Steel for Lasting Slickness
Preheating works every time you cook, but you can also build a semi-permanent layer that improves things across many meals. It’s worth doing if you cook on stainless steel often.
Heating Oil to Build a Thin Layer
Warm a small amount of high smoke point oil in the clean pan until it just begins to lightly smoke. That faint wisp means the oil is bonding to the surface rather than merely sitting on it.
Keep the layer thin. The goal is a film that cures smoothly, not a puddle that turns gummy.
Wiping Out the Excess
Once the pan cools enough to handle safely, wipe it out with a folded paper towel. You want to remove the excess and leave only the barest protective film behind.
A thin coat cures into a slick surface. A thick one stays tacky and undermines the effect, so err on the side of wiping more away.
Repeating for a Stronger Finish
A single pass helps, but a few build something more durable. Run the oil-and-heat cycle two or three times, letting the pan cool between rounds.
Each layer reinforces the last. By the end, you’ll have a surface that releases food more readily, even before the pre-meal preheat.
Best Foods to Practice With
Building confidence matters as much as technique. Starting with forgiving foods lets you learn the timing without ruining dinner.
Eggs and Omelets
Eggs are the classic test, and for good reason. They stick to a poorly prepped pan instantly, which makes them an honest gauge of whether you nailed the heat and oil.
Get an egg to slide around freely, and you’ve proven the method works. It’s the small victory that convinces most skeptics.
Searing Meat and Fish
Proteins shine on a properly heated stainless steel pan. Once a crust develops, a steak or chicken thigh releases cleanly and gives you the browning that builds flavor.
Let the food do its thing. The crust tells you when it’s ready, and that natural release is deeply satisfying the first time you feel it.
Foods to Approach With Care
Some foods stay tricky no matter how well you prep. Delicate fish skin and melting cheese tend to cling more than most, so they call for a touch more fat and extra patience.
Don’t judge your skills by these. Master eggs and seared meat first, then work up to the stubborn stuff once your timing is dialed in.
Common Mistakes to Avoid
Most sticking problems trace back to a handful of predictable errors. Knowing them ahead of time saves a lot of frustration.
Adding Oil to a Cold Pan
This is the most common slip of all. Oil poured into a cold pan seeps into the open pores and starts breaking down before food ever arrives.
Heat the pan first, confirm with the water test, then add oil. Order matters more than people think.
Using Heat That Is Too High or Too Low
The wrong temperature sabotages you in opposite ways. Too low, and food sinks in and bonds. Too high, and the oil burns while food scorches on contact.
Aim for that medium sweet spot the water test reveals. Steady, moderate heat does the job that cranked burners can’t.
Moving Food Too Soon
If there’s one habit to break, it’s this one. Disturbing food before it releases is the number one cause of sticking, full stop.
Leave it be. When the crust forms, the food loosens on its own, and your patience gets rewarded with a clean lift.
How to Keep Your Cookware Non Stick
Getting a clean release once is great. Keeping the surface cooperative over time takes a little ongoing care.
Gentle Cleaning After Each Use
Wash the pan by hand with mild soap and a soft sponge. Gentle cleaning lifts food without stripping away any seasoning you’ve built up.
The dishwasher is best avoided when you can manage it. Harsh detergents and long cycles wear down both the seasoning and the finish faster.
Avoiding Abrasive Pads
Steel wool and rough scouring pads feel satisfying on stuck food, but they scratch the surface and erase your work. Those scratches also trap food more easily afterward.
If something’s stubbornly stuck, soak it loose instead. A little patience beats aggressive scrubbing every time.
Drying and Light Oiling for Storage
Dry the pan right after washing rather than letting it air-dry. Then wipe on a very thin film of oil before you put it away.
That light coat protects the surface between uses. It’s a quick habit that keeps the pan ready for next time.
Frequently Asked Questions
A few questions come up again and again. Here are short, honest answers.
Can Stainless Steel Ever Be Truly Non Stick?
It won’t match a coated pan exactly, but proper technique creates a genuine, natural nonstick effect without any synthetic coating. Heat, oil, and timing do the work.
For most cooking, that’s plenty. Eggs slide, proteins release, and cleanup gets easier, all without the worry of a coating wearing off.
Why Do Eggs Still Stick to My Pan?
Usually, it comes down to heat or oil. The pan may not have been preheated enough to pass the water test, or there wasn’t enough fat in play.
Run the water test before adding oil, and use a little more than you think you need. Nine times out of ten, that fixes it.
What Oil Works Best for a Non Stick Result?
High smoke point oils are the reliable choice, since the method involves heating oil close to that point. Avocado, grapeseed, and canola all perform well.
Butter and olive oil smoke too early to handle the initial heat. Save those for flavor later in the cook, not for priming the surface.
Conclusion
For all the scorched eggs and stuck-on messes that drive people toward coated pans, learning how to make stainless steel cookware non stick really comes down to heat, a little oil, and a touch of patience. Understand why food sticks. Start with a clean and dry pan, preheat until the water test passes, add oil at the right moment, and let food release on its own rather than forcing it.
Seasoning the pan and cooking with that same patience keeps the slick surface working meal after meal. The technique only feels fussy until the first time it just works.
So try the water drop test today, and start with a simple fried egg to see it in action. Once you watch that egg slide free, clean releases and easier cleanup at every meal start to feel like the natural way to cook on stainless steel.

About
Stuart Rich is a distinguished figure in the world of metalworking and fabrication, with a decade of expertise creating innovative and sustainable metal projects. His professional focus lies in merging traditional blacksmithing and machining with modern manufacturing techniques, fostering designs that are both practical and durable. As the author of Metalenify, Stuart Rich delves into the art and science of metallurgy and DIY metal creation, inspiring artisans, hobbyists, and industry professionals alike.
Education
RMIT University
(Melbourne, Australia)
Associate Degree in Engineering Technology (Mechanical / Manufacturing)
Focus on metallurgical properties, industry-driven projects, and practical metal craftsmanship. Gained hands-on experience with traditional machining and digital manufacturing tools, such as CAD, CNC software, and precision welding equipment.
Nottingham Trent University
(United Kingdom)
Bachelor’s in Product Design and Materials Engineering (Honors)
Specialized in product design with a heavy focus on blending creativity with metal production and fabrication techniques. Participated in real-world industry projects, collaborating with architectural and hardware manufacturing companies to optimize material efficiency.
Publications and Impact
In Metalenify, Stuart Rich shares his insights on structural metal design processes, material grades, and strategies for efficient shop production. His writing bridges the gap between raw artisan knowledge and modern industrial needs, making it a must-read for both budding DIY metalworkers and seasoned fabrication professionals.





