
Whether you’re repairing a piece of sheet metal, building a custom bracket, or putting together a light fabrication project, knowing how to install rivets in metal is one of the most practical skills you can add to your workshop toolkit. Rivets create permanent, reliable joints without the need for heat, flux, or welding equipment — making them accessible to beginners and experienced builders alike.
Unlike bolts or screws, a properly set rivet doesn’t loosen over time from vibration, which is exactly why they’re used in everything from aircraft panels to metal signs, tool boxes, and automotive bodywork. They’re clean, strong, and surprisingly straightforward once you understand the process. The tools are affordable, the materials are easy to find, and the technique becomes second nature after a few practice runs.
Why Riveting Matters
Riveting is one of the oldest and most dependable metal joining methods in existence, and it remains widely used today for good reason. A riveted joint doesn’t rely on threads that can strip or adhesives that can fail — it works by physically deforming the rivet to clamp two pieces of material together permanently.
For beginners, riveting is especially valuable because it requires no welding certification, no gas or electrical heat source, and minimal setup time. It’s also forgiving on thin materials that might warp or burn under a welder. Pop rivets in particular are a beginner’s best friend — they can be installed from one side of the workpiece with a simple hand tool, making them ideal for repairs and assemblies where you can’t reach the back of the joint. The strength-to-effort ratio is hard to beat.
Step-by-Step Guide to How to Install Rivets in Metal
Step 1: Choose the Right Rivet for Your Project
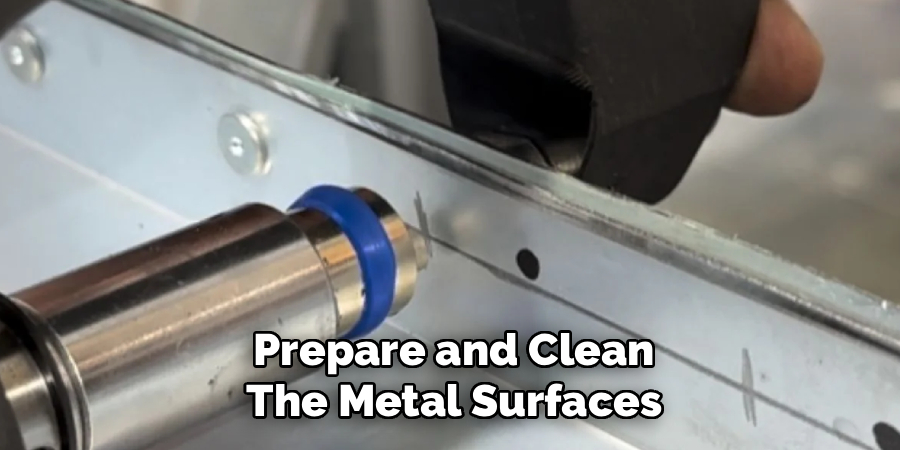
Before you touch a drill, you need to select the correct rivet type and size for the job. The most common choice for beginners is the blind pop rivet — a two-part fastener that installs from one side using a rivet gun. These come in aluminum, steel, and stainless steel, and in various diameters and grip ranges. Aluminum rivets work well for most light-duty applications, while steel rivets offer more shear strength when the joint will be under load.
Pay attention to the grip range listed on the rivet packaging. This tells you the total thickness of material the rivet is designed to clamp together. Using a rivet with a grip range that’s too short or too long for your stack of metal will result in a weak, improperly formed joint. Match the rivet’s grip range to the combined thickness of your two metal pieces, and you’re already set up for success.
Step 2: Select the Correct Drill Bit Size
Every rivet has a body diameter, and the hole you drill needs to match it closely — not loosely. A hole that’s too large allows the rivet to shift before it sets, which compromises joint strength. Most pop rivets specify their recommended hole diameter on the packaging, and this is one specification you should follow exactly rather than estimate.
Common rivet diameters run from 3/32 inch up to 3/16 inch for general sheet metal work, with corresponding drill bit sizes that typically allow just a few thousandths of an inch of clearance. If you’re unsure, drill a test hole in a scrap piece of metal and check that the rivet body slides through with minimal play. A snug fit — where you can push the rivet in without forcing it — is exactly what you’re aiming for.
Step 3: Prepare and Clean the Metal Surfaces
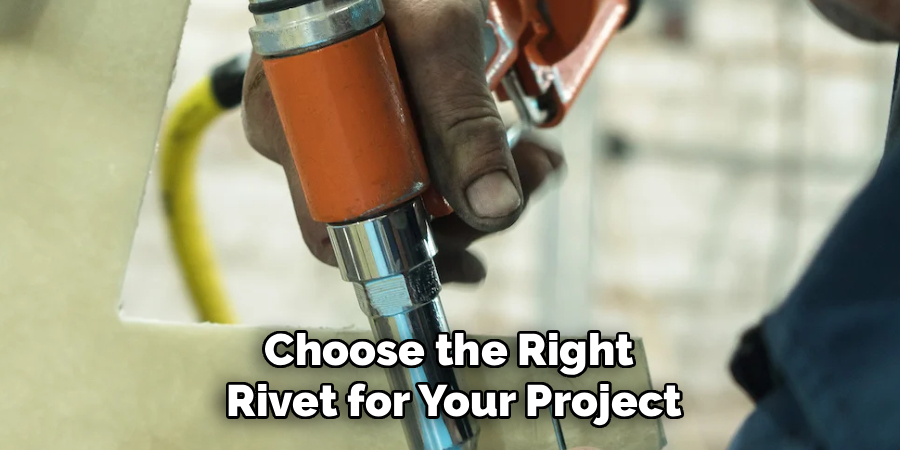
Clean metal surfaces produce stronger joints. Before drilling, remove any rust, paint, grease, or loose debris from the area where the rivet will sit. Oil and surface contamination prevent the rivet flange from seating flush against the metal, which can leave a gap in the clamped joint. Use a wire brush, sandpaper, or a degreasing solvent depending on what the surface needs.
If you’re working on painted sheet metal, it’s also worth scuffing the area around the hole slightly so the rivet head makes solid contact with bare or keyed metal rather than sliding on a slick painted surface. This isn’t always possible on finished panels where appearance matters, but for structural or functional riveting, surface prep is worth the extra two minutes it takes.
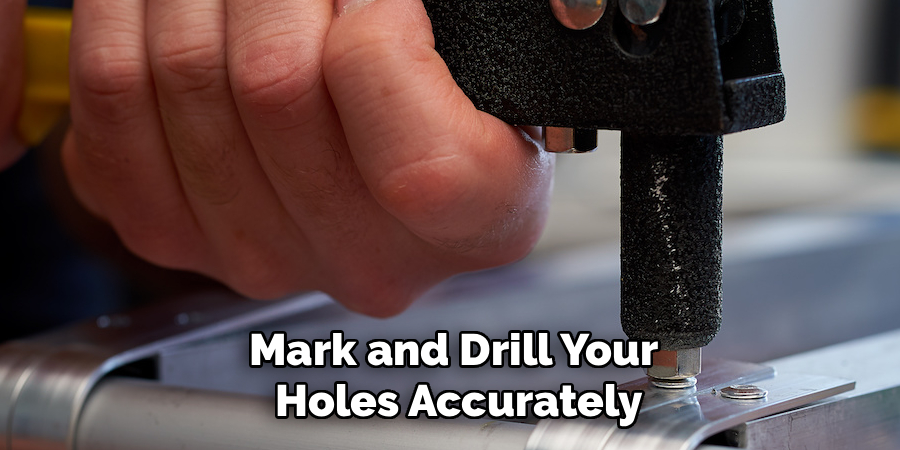
Step 4: Mark and Drill Your Holes Accurately
Accurate hole placement is critical. Use a center punch to create a small divot at each rivet location before drilling — this keeps the drill bit from walking across the metal surface when it first contacts it. Mark your layout with a marker or scribe, check that your spacing looks even, and then punch each point firmly with a hammer and center punch.
When drilling, apply steady, moderate pressure and let the bit do the work. Forcing a drill through thin sheet metal causes the bit to break through unevenly and can leave a ragged, oversized hole. On thin gauge metal, a backing block of scrap wood underneath the workpiece helps support the material and produces a cleaner exit hole on the underside.
Step 5: Align the Pieces and Insert the Rivet
With your holes drilled, bring your two metal pieces together and check that the holes line up cleanly before inserting anything. Misaligned holes are a common source of frustration — if the holes don’t line up perfectly, the rivet will either refuse to seat or will pull at an angle when it sets, leaving a weak joint. Use a clamp, a piece of tape, or a temporary bolt through one of the holes to hold the pieces in place while you work.
Once the pieces are aligned and held securely, insert the rivet through the hole from the front side. The flat flange on the rivet head should sit flush against the surface of the metal. If it’s sitting proud or at an angle, check your hole size and alignment before proceeding. This is the point in the process where learning how to install rivets in metal correctly pays off — a properly seated rivet before setting is half the job done.
Step 6: Set the Rivet with a Rivet Gun
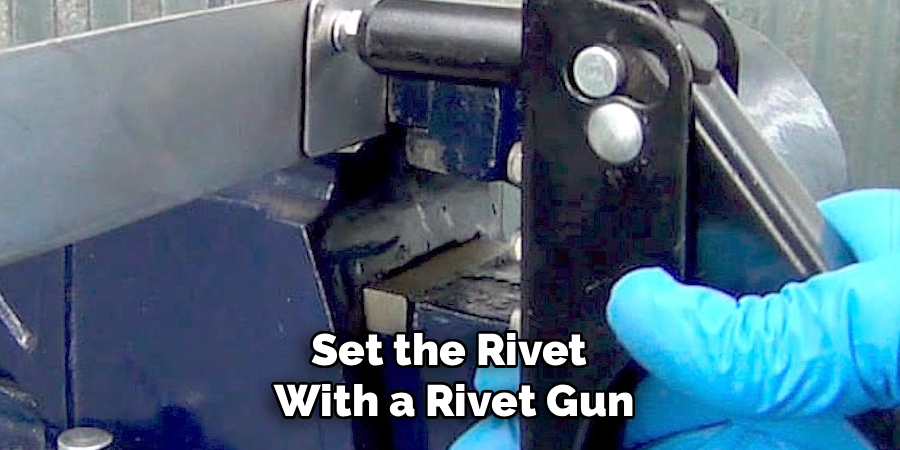
Load the rivet’s mandrel — the thin metal stem sticking out from the back — into the nose of your rivet gun. Squeeze the handles of the gun in a steady, controlled motion. Each squeeze draws the mandrel backward, causing the rivet body at the back of the hole to mushroom outward and clamp the two metal pieces together. Continue squeezing until the mandrel snaps off with a clean pop.
After the mandrel snaps, the rivet is set. Don’t panic if it takes two or three full strokes of the gun on a hand-operated model — this is normal, especially with larger diameter rivets or thicker metal stacks. Rushing the process by yanking hard on the gun handles can cause the rivet to set unevenly. Slow, deliberate strokes give the rivet body time to deform correctly and produce a tighter, more uniform clamp.
Frequently Asked Questions
What Is the Difference Between a Pop Rivet and a Solid Rivet?
A pop rivet, also called a blind rivet, installs from one side of the workpiece using a rivet gun and requires no access to the back of the joint. A solid rivet requires access to both sides because the back end must be hammered or bucked into shape. Pop rivets are faster and more beginner-friendly, while solid rivets are typically used in high-load structural applications like aircraft manufacturing where maximum strength is required.
Can I Use Rivets on Thick Metal?
Yes, but you need to choose the right rivet for the thickness involved. Pop rivets have a listed grip range, and using one outside that range produces a weak or improperly formed joint. For very thick material, structural rivets or large-flange blind rivets designed for high-grip applications are a better choice than standard hardware store pop rivets. Always check the manufacturer’s grip range specification against your actual material stack before committing to a size.
Do I Need a Special Tool to Install Rivets?
For pop rivets, a basic hand rivet gun is all you need, and these are inexpensive and widely available. For high-volume work or larger diameter rivets, a pneumatic or battery-powered rivet gun reduces hand fatigue considerably. Solid rivets require a bucking bar and a rivet hammer or pneumatic rivet gun, which is a more involved setup. For most beginner and DIY projects, a standard hand-operated pop rivet tool is entirely sufficient.
How Do I Remove a Rivet If I Make a Mistake?
Drill out the rivet using a drill bit sized to match the diameter of the rivet’s mandrel or center pin — this is typically smaller than the hole the rivet body occupies. Drill just deep enough to break through the rivet head, then use a punch to push the remaining body out from the front. Take care not to enlarge the original hole in the process. If the hole does get slightly enlarged, move up to the next rivet diameter rather than trying to fill the gap.
What Type of Metal Can Be Riveted?
Most common metals used in fabrication and repair work well with rivets, including aluminum sheet, mild steel, galvanized steel, stainless steel, and copper. The main consideration is matching the rivet material to the base metal — using a steel rivet in aluminum can cause galvanic corrosion over time in wet environments, so aluminum rivets are generally preferred for aluminum sheet metal work. For mixed-metal assemblies in outdoor or marine settings, stainless steel rivets offer the best corrosion resistance across the board.
Conclusion
Riveting is a clean, strong, and beginner-accessible way to join metal without specialized heat equipment or advanced skills. The fundamentals come down to a straightforward sequence: choose the right rivet and drill size, prepare your surfaces, align your holes carefully, and set the rivet with steady tool pressure. Checking your work after each rivet takes seconds and catches problems before they become permanent.
Once you’re comfortable with the basics, learning how to install rivets in metal opens up a wide range of projects — from simple repairs to more involved fabrication work. Start with a scrap piece of sheet metal, run through the steps a few times until the process feels natural, and then apply that confidence to your actual project. The skill builds quickly, and the results speak for themselves.

About
Stuart Rich is a distinguished figure in the world of metalworking and fabrication, with a decade of expertise creating innovative and sustainable metal projects. His professional focus lies in merging traditional blacksmithing and machining with modern manufacturing techniques, fostering designs that are both practical and durable. As the author of Metalenify, Stuart Rich delves into the art and science of metallurgy and DIY metal creation, inspiring artisans, hobbyists, and industry professionals alike.
Education
RMIT University
(Melbourne, Australia)
Associate Degree in Engineering Technology (Mechanical / Manufacturing)
Focus on metallurgical properties, industry-driven projects, and practical metal craftsmanship. Gained hands-on experience with traditional machining and digital manufacturing tools, such as CAD, CNC software, and precision welding equipment.
Nottingham Trent University
(United Kingdom)
Bachelor’s in Product Design and Materials Engineering (Honors)
Specialized in product design with a heavy focus on blending creativity with metal production and fabrication techniques. Participated in real-world industry projects, collaborating with architectural and hardware manufacturing companies to optimize material efficiency.
Publications and Impact
In Metalenify, Stuart Rich shares his insights on structural metal design processes, material grades, and strategies for efficient shop production. His writing bridges the gap between raw artisan knowledge and modern industrial needs, making it a must-read for both budding DIY metalworkers and seasoned fabrication professionals.





