
If you’ve ever run your finger along a freshly cut piece of metal and felt a sharp, ragged edge, you’ve already encountered a burr. Burrs are tiny raised fragments of material left behind after cutting, drilling, grinding, or stamping metal. They look harmless at a glance, but they’re responsible for cuts, scratched mating surfaces, poor fits between parts, and even premature wear in assembled components. Knowing how to deburr metal edges is a fundamental skill for anyone working in a workshop, whether you’re building something from scratch, making repairs, or finishing fabricated parts for a project.
The good news is that deburring doesn’t require expensive equipment or years of experience. With the right approach and a few basic tools, you can turn a rough, hazardous edge into a clean, smooth one in a matter of minutes. The process matters whether you’re working with aluminum sheet, mild steel plate, stainless tube, or anything in between.
Why Deburring Metal Edges Matters
Burrs aren’t just an aesthetic problem — they create real, measurable issues in every context where metal parts are used. A sharp burr on sheet metal can slice through a glove in a single pass, turning a routine handling task into an injury. In assembled parts, a burr on one surface can prevent two pieces from sitting flush against each other, creating misalignment, stress concentrations, or gaps that collect moisture and accelerate corrosion.
In precision work, even a small burr can throw off a measurement or cause a fitting to bind. For painted or coated parts, burrs break through surface treatments and become rust initiation points. Deburring also improves the appearance of finished work, giving edges a consistent, professional look that reflects care and attention. For beginners, building the habit of deburring after every cut or drilling operation is one of the fastest ways to raise the overall quality of everything that comes off the workbench.
Step-by-Step Guide to How to Deburr Metal Edges
Step 1: Identify All the Burrs on Your Workpiece
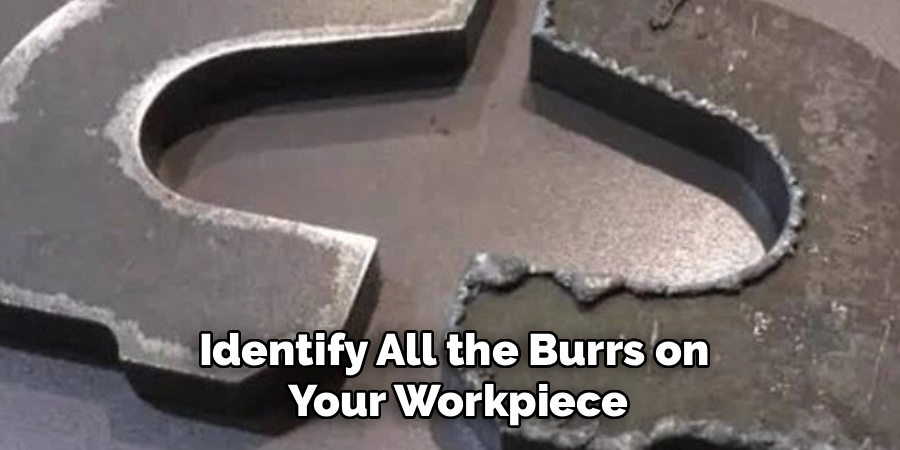
Before you pick up any tool, take a moment to inspect your workpiece carefully under good lighting. Burrs can appear on the top edge of a drilled hole, along the cut edge of sheet metal, around the exit side of a punched hole, or on internal corners where two cuts meet. Run a wooden dowel or the back of a pencil lightly along suspected edges to locate raised material without risking your fingertips.
It helps to mark burr locations with a felt-tip marker if you’re working on a complex part with multiple cut features. This way, you won’t miss any spots once the deburring tool is in your hand. Catching every burr before you start saves time and prevents you from putting the part down, thinking it’s done, and then finding another sharp edge when you pick it back up.
Step 2: Choose the Right Tool for the Job
Different burr situations call for different tools, and picking the right one from the start saves both time and effort. For straight edges on sheet metal, a flat mill file or a deburring blade works quickly and gives you good control. For drilled holes, a countersink bit turned by hand — without any power — removes the raised lip around the hole opening cleanly in seconds. For curved or complex edges, a rotary deburring tool, flexible abrasive pad, or Scotch-Brite wheel on a bench grinder gives you the flexibility to follow the contour.
For beginners, a hand deburring tool with a swiveling carbide blade is one of the most versatile options available. It handles both holes and straight edges, costs very little, and gives you tactile feedback as you work.
Step 3: Secure the Workpiece Before You Start
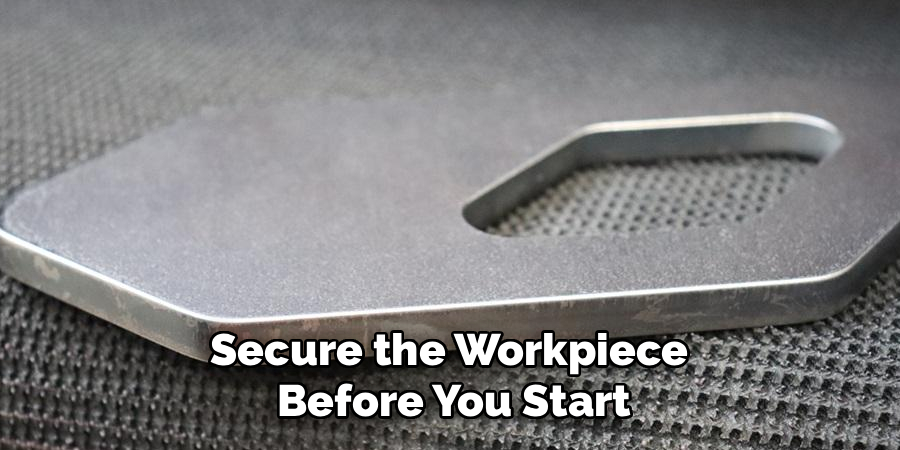
Trying to deburr a piece of metal while holding it in one hand and working with the other is a reliable way to cut yourself or produce uneven results. Always secure your workpiece in a vise, clamp it to a bench, or hold it against a solid backstop before you begin. Even light sheet metal should be clamped rather than held freehand — it flexes under tool pressure and can shift unexpectedly.
For thin sheet, a set of soft jaw covers on your vise prevents surface damage while still holding the part firmly. Position the edge you’re working on just above the vise jaw so the tool has clearance to pass the full length of the edge without striking the vise itself. Stable workholding isn’t just about safety — it also lets you apply consistent pressure along the edge, which is what produces a uniform, clean result rather than a series of uneven scallops.
Step 4: Remove the Burr with Controlled, Deliberate Strokes
With the workpiece secure, apply your deburring tool to the edge using light, controlled strokes in one direction. For a file, push strokes — moving away from your body along the edge — give you the most control and allow the file teeth to cut efficiently. Avoid sawing back and forth, which loads the file teeth with metal debris and reduces cutting performance. Lift the tool on the return stroke rather than dragging it backward.
For a hand deburring blade, pull the tool toward you along the edge with gentle, consistent pressure. The swiveling blade follows the edge contour automatically and shaves the burr away cleanly. You don’t need to press hard — the tool is designed to cut on light contact.
Step 5: Work the Edge Progressively and Check as You Go
One of the most common mistakes beginners make is removing too much material too quickly, turning a burr removal task into an accidental chamfer or a visibly thinned edge. Work in short passes and pause frequently to check your progress by touch and sight. Run the back of your fingernail lightly across the edge — if it catches, there’s still a burr. If it glides smoothly, you’re done with that section.
The goal of learning how to deburr metal edges properly is to remove the raised material without altering the geometry of the part. For most situations, you only need to take off the very top of the burr — not create a large angled bevel.
Step 6: Finish the Surface with an Abrasive if Needed
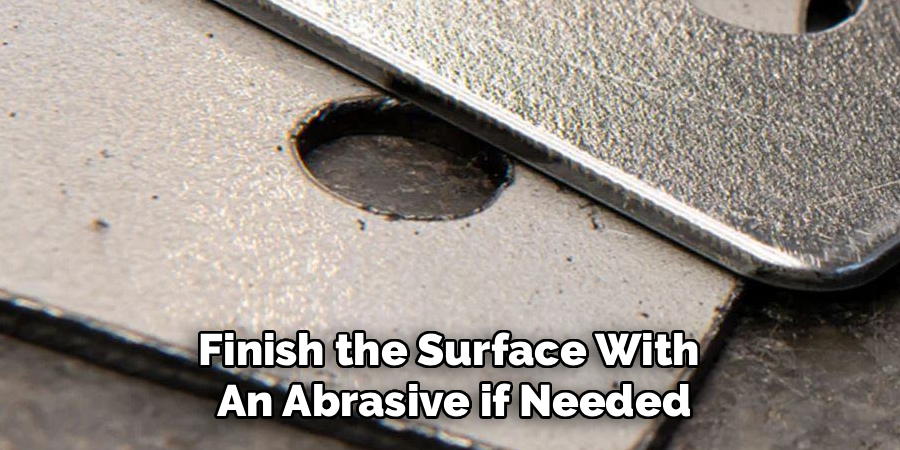
After the main burr is gone, the edge may still feel slightly rough or show tooling marks from the file. A light pass with a fine abrasive — 220-grit sandpaper wrapped around a flat block, a Scotch-Brite pad, or a fine abrasive sponge — smooths the residual texture and leaves the edge looking clean and consistent. This step is especially important on parts that will be painted, powder-coated, or handled frequently.
Frequently Asked Questions
What Is the Fastest Way to Deburr a Drilled Hole?
The fastest reliable method for a drilled hole is to place a countersink bit — or even a larger diameter drill bit — into the hole by hand and rotate it a few turns with light finger pressure. This chamfers the top edge of the hole and removes the raised lip in seconds without any power tools. For the exit side of the hole, flip the part over and repeat. This approach works on aluminum, mild steel, and most common shop metals.
Can I Deburr Metal with Sandpaper Alone?
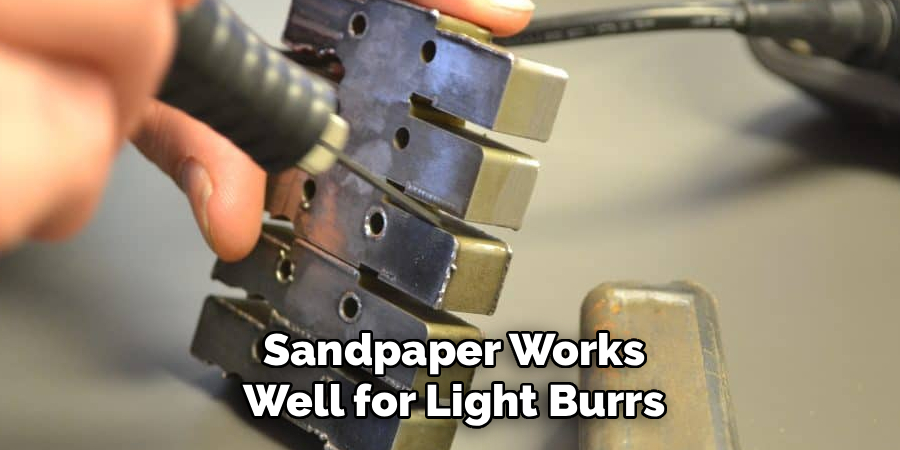
Yes, sandpaper works well for light burrs and general edge smoothing, particularly on softer metals like aluminum and copper. Wrap it around a flat sanding block for straight edges or fold a small piece tightly for hole openings and internal features. For harder metals like stainless steel, sandpaper alone can take significantly more effort than a file or deburring blade, so it’s often better used as a finishing step after the main material removal is complete.
Is a Deburring Tool the Same as a File?
No — they’re related but different. A file removes material by cutting with many small teeth across a hardened surface, making it effective for heavier burrs and edge shaping. A hand deburring tool uses a single swiveling carbide blade that follows the edge contour and shaves the burr away with a pulling motion. Files are better for aggressive material removal and flat surfaces, while deburring blades excel at following curved edges and cleaning hole openings quickly and precisely.
How Do I Know If I’ve Removed Enough Material?
The standard test is to run the back of your fingernail slowly across the edge. A remaining burr will catch the nail noticeably, while a properly deburred edge allows the nail to glide without snagging. For critical parts, follow up with a visual inspection under angled lighting, which makes any remaining raised material visible as a thin bright line along the edge. If the edge passes both the touch test and the visual check, it’s ready for the next step in your process.
What Safety Gear Should I Wear When Deburring?
Cut-resistant gloves are the most important protection when handling metal parts with sharp edges, both before and after deburring. Safety glasses protect your eyes from metal filings, which can become airborne during filing or abrasive finishing. For power tool deburring — such as using a bench grinder or rotary tool — a face shield provides better coverage than glasses alone. Even during hand deburring, the small metal shavings produced are sharp enough to cause minor puncture wounds if they land on bare skin.
Conclusion
The process starts with identifying every burr before you begin, choosing a tool that matches the edge type, securing your work properly, and removing material in controlled, deliberate passes without going too far. A light abrasive finish and a careful final inspection complete the job and confirm that the part is ready for whatever comes next.
Once you make knowing how to deburr metal edges a standard part of your workflow rather than an afterthought, the difference in your finished work becomes immediately obvious. Start with the tools you already have, practice on scrap material if the process is new to you, and build the habit one part at a time. Sharp edges left untreated cause problems — clean edges don’t.

About
Stuart Rich is a distinguished figure in the world of metalworking and fabrication, with a decade of expertise creating innovative and sustainable metal projects. His professional focus lies in merging traditional blacksmithing and machining with modern manufacturing techniques, fostering designs that are both practical and durable. As the author of Metalenify, Stuart Rich delves into the art and science of metallurgy and DIY metal creation, inspiring artisans, hobbyists, and industry professionals alike.
Education
RMIT University
(Melbourne, Australia)
Associate Degree in Engineering Technology (Mechanical / Manufacturing)
Focus on metallurgical properties, industry-driven projects, and practical metal craftsmanship. Gained hands-on experience with traditional machining and digital manufacturing tools, such as CAD, CNC software, and precision welding equipment.
Nottingham Trent University
(United Kingdom)
Bachelor’s in Product Design and Materials Engineering (Honors)
Specialized in product design with a heavy focus on blending creativity with metal production and fabrication techniques. Participated in real-world industry projects, collaborating with architectural and hardware manufacturing companies to optimize material efficiency.
Publications and Impact
In Metalenify, Stuart Rich shares his insights on structural metal design processes, material grades, and strategies for efficient shop production. His writing bridges the gap between raw artisan knowledge and modern industrial needs, making it a must-read for both budding DIY metalworkers and seasoned fabrication professionals.





