
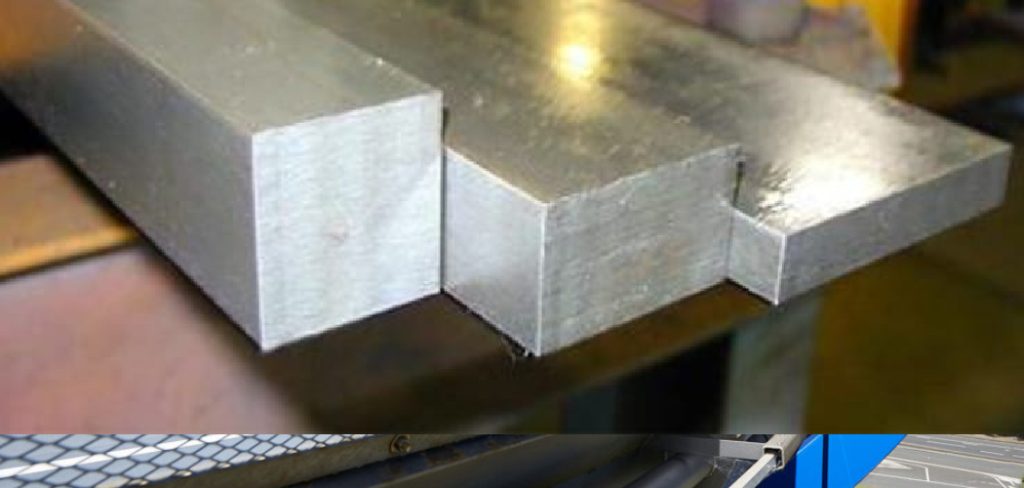
There’s something deeply satisfying about seeing your own design pressed permanently into metal. A name across a pocketknife, a small logo on a hand tool, a pattern worked into a piece of jewelry. None of it can be scraped off the way a sticker or a layer of paint eventually does.
What surprises most people is how achievable this is at home. Learning how to etch on metal takes affordable materials and a bit of patience, not a workshop full of specialized gear.
This guide walks through how etching actually works, the main methods you can pick from, the supplies you’ll want, a clear step-by-step process, and the finishing touches that keep a design crisp. Chemicals and electricity sound intimidating at first. By the end, though, the mystery should mostly fall away.
What Metal Etching Is and How It Works
Before gathering supplies, it helps to understand what’s really happening at the surface. Etching isn’t drawing on metal. It’s removing metal in a controlled way.
The Science of Etching
At its core, etching strips away a thin layer of metal to leave a recessed design behind. The areas you want to keep stay protected, while the exposed areas get eaten away slightly.
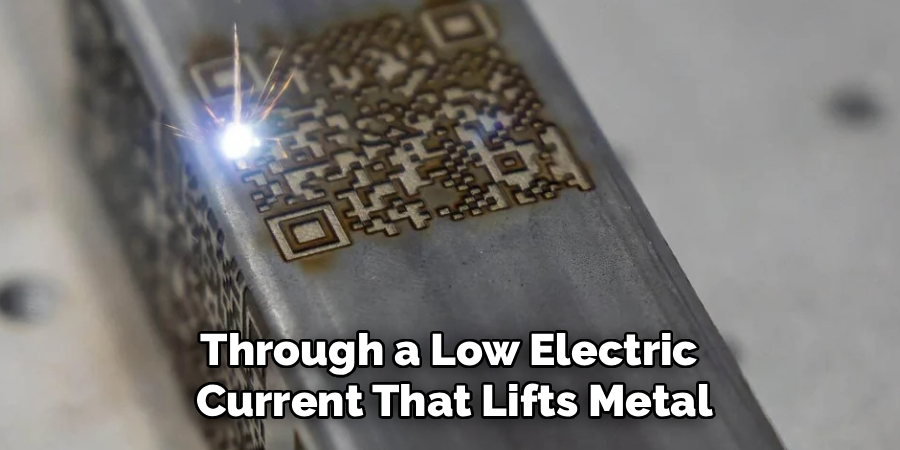
That removal happens one of two ways: through a chemical reaction with an acidic solution, or through a low electric current that lifts metal off the surface. Both leave you with a design sunk just below the original face of the metal.
Chemical Etching Versus Electroetching
Chemical etching relies on an acid or etchant that dissolves exposed metal. It can be fast and effective, though the solutions are harsher and demand more caution.
Electroetching uses electricity instead, passing a small current through a conductive bath to remove metal at the exposed spots. For most beginners, electroetching tends to be the friendlier starting point, since it avoids strong acids and gives you more control over how deep the mark goes.
Which Metals Etch Best
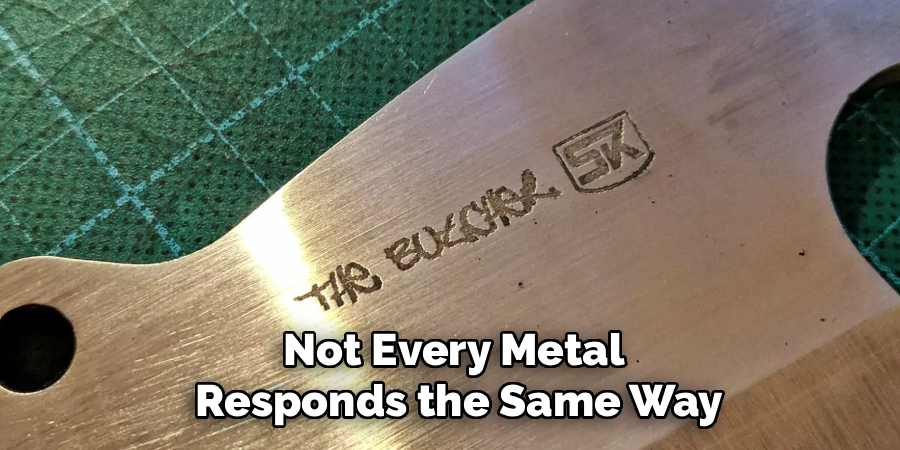
Not every metal responds the same way. Stainless steel etches cleanly and is forgiving, which is part of why it’s such a common choice for first projects.
Brass and copper also take an etch well and often produce attractive results. Aluminum can be etched, too, though it sometimes behaves less predictably. As a rule, conductive metals with a consistent surface give you the best odds of a sharp finish.
Choosing Your Etching Method
No single method wins outright. The right one depends on the look you’re after, your budget, and how comfortable you feel handling chemicals or wiring.
Saltwater Electroetching
This is the method I’d point most beginners toward. A low-voltage power source, a saltwater solution, and a few clips are nearly all you need.
The current does the work, etching the exposed metal with minimal harsh chemicals involved. It’s cheap, reasonably safe, and surprisingly precise once you get a feel for it.
Acid and Etchant Solutions
For deeper or faster results, chemical etchants like ferric chloride come into play. These solutions cut into certain metals quickly and can handle larger designs.
The tradeoff is handling. Etchants are more corrosive, so they call for careful storage, proper gloves, and responsible disposal. They suit someone ready to take the extra precautions seriously.
Vinegar and Household Methods
On the gentler end, kitchen ingredients like vinegar can produce light marking on softer metals. It’s slow and shallow, but it’s also about as low-risk as etching gets.
Don’t expect dramatic depth here. This approach works for faint, decorative marks rather than bold, lasting designs.
Comparing Cost, Safety, and Detail
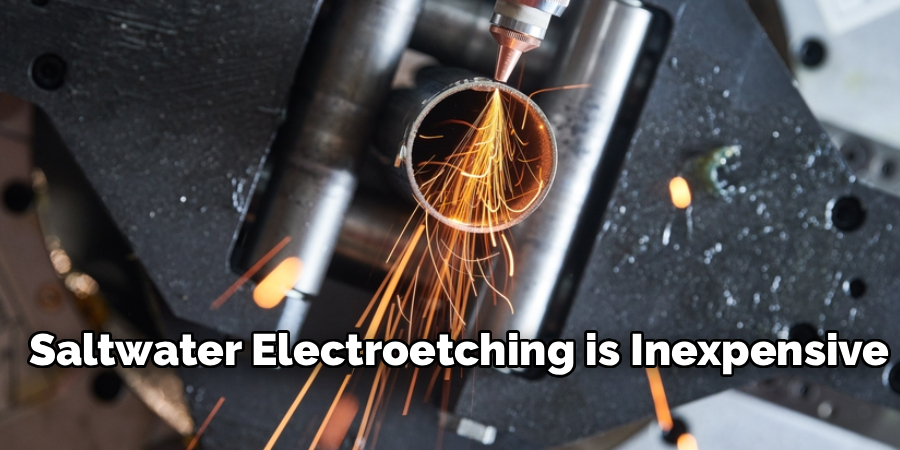
Roughly speaking, saltwater electroetching is inexpensive, fairly safe, and capable of good detail. Acid etchants cost a bit more, carry a higher risk, and can deliver deeper, faster cuts. Vinegar methods are the cheapest and safest but give the shallowest, least defined results.
If you want one starting point, saltwater electroetching usually offers the best balance. You can always graduate to stronger methods later.
Tools and Materials You Will Need
Most of these items are easy to find, and a few you may already own. Gathering everything before you start keeps the process from stalling halfway through.
Power Source and Connectors
For electroetching, you need a source of direct current. An old phone charger, a 9-volt battery, or a small DC power supply all work, with the charger being a common favorite.
You’ll also want a connecting wire and a couple of alligator clips. These let you attach one lead to your metal piece and the other to your applicator, completing the circuit.
Resist and Stencil Supplies
A resist is anything that masks the metal you want to protect. Vinyl stencils give clean, repeatable shapes, while nail polish or a paint pen lets you draw a design freehand.
Whatever you choose, it needs to bond firmly and resist the etching process. Loose or thin coverage tends to fail right where you need it most.
Etchant or Saltwater Solution
The etching medium itself depends on your method. For electroetching, a simple saltwater mix in a non-metal container does the job.
If you’re using a chemical etchant, follow the product’s guidance on dilution and storage. Either way, the container should be plastic or glass, never metal, so it doesn’t react with the solution.
Safety Gear and Cleanup Items
Don’t skip this part. Gloves and eye protection are basic essentials, and a well-ventilated workspace matters whenever solutions or fumes are involved.
Keep baking soda on hand, too. It neutralizes acidic solutions, which makes cleanup safer and disposal more responsible.
Preparing Your Metal and Design
Good preparation is where most clean etches are actually won. Rush this stage, and the etch tends to show every shortcut.
Cleaning the Metal Surface
Start by washing the metal with soap and water, then wiping it down with a degreaser or rubbing alcohol. Any oil, dust, or fingerprint film can stop the resist from sticking properly.
A truly clean surface also etches more evenly. It’s a dull step, but it sets up everything that follows.
Creating or Transferring Your Design
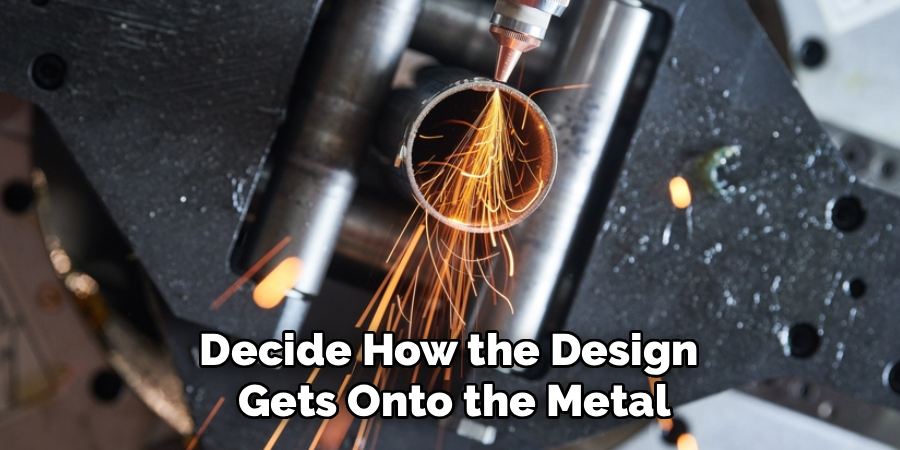
Now decide how the design gets onto the metal. Cutting a vinyl stencil gives crisp, precise edges, especially for text and logos.
A laser-printed transfer is another route, as is simply drawing your design directly with a resist like nail polish. For first attempts, simpler shapes tend to forgive small mistakes better than fine, intricate detail.
Masking the Areas to Protect
Once your design is in place, seal everything you don’t want etched. Press stencil edges down firmly and cover the back and sides of the piece so the current or etchant only reaches the intended pattern.
Pay attention to the edges, especially. A lifted corner is exactly where an etch likes to creep beyond your design.
How to Etch on Metal: Step-by-Step Guide
This walkthrough uses the saltwater electroetching method, since it’s the most approachable. The single best habit you can bring is patience. Going slow produces the sharpest, most reliable results, while rushing tends to blur or scar the work.
Step 1: Clean and Degrease the Metal
Give the surface a thorough scrub, then wipe it with alcohol and let it dry. Nothing should remain that could block the etch or weaken your resist’s grip.
This echoes the prep stage, and that repetition is intentional. A clean start genuinely is that important.
Step 2: Apply Your Stencil or Resist
Press your vinyl stencil down firmly, working out any air pockets, or paint your resist carefully around the design. Only the exact pattern you want etched should be left exposed.
Take a moment to double-check the edges. Once the current is flowing, you can’t fix a gap without starting over.
Step 3: Mix the Saltwater Solution
Dissolve a few spoonfuls of salt into warm water in your non-metal container. Warm water helps the salt dissolve faster, and a fairly saturated mix conducts well.
Stir until the salt fully disappears. You want a clear, conductive bath rather than gritty, undissolved crystals.
Step 4: Connect Your Power Source
Attach the positive lead from your power source to the metal piece itself. The negative lead connects to a cotton swab or a scrap of metal that you’ll dip into the solution.
Getting the polarity right matters here. Reversing the leads will keep the etch from working, so confirm which is which before you switch anything on.
Step 5: Etch the Design
Dip the swab in the saltwater, then dab or hold it against the exposed metal. You should see small bubbles forming and a darkening at the contact point, which signals that the etch is happening.
Move the swab steadily across the design rather than parking it in one spot. Even contact gives you an even etch.
Step 6: Check Depth and Repeat
Lift the swab now and then, rinse the surface, and inspect your progress. Etching builds gradually, so you may need several passes to reach the depth you want.
There’s no need to hurry this. Repeated light passes give you more control than one long, aggressive session.
Step 7: Neutralize and Clean Up
When the etch looks right, rinse the piece thoroughly with water. Wipe it down with a baking soda solution to neutralize any lingering acidity from the reaction.
Dispose of the used solution responsibly rather than tipping it straight down the drain. Local guidelines on this can vary, so it’s worth checking yours.
Step 8: Remove the Resist
Finally, peel away the vinyl stencil or dissolve the painted resist. For nail polish, a little acetone usually lifts it cleanly.
What’s left should be your design, recessed into the metal. This is the moment the whole project pays off.
Finishing and Protecting Your Etched Design
A raw etch looks good, but a few finishing steps make it look intentional and help it last. This is where a decent result becomes a sharp one.
Darkening the Etch for Contrast
Filling the recessed design with a contrasting color makes it pop. Paint, permanent ink, or a patina solution can settle into the etched grooves while the raised surface stays clean.
Apply your chosen filler, let it set briefly, then wipe the excess off the flat surface. The color stays where the metal is recessed, sharpening the whole design.
Smoothing and Polishing the Surface
Etching can leave slightly rough edges around the design. A light pass with fine sandpaper or a polishing cloth tidies those up.
Buffing the surrounding metal also restores its shine. Just work gently, since heavy sanding could blur the detail you worked to create.
Sealing Against Corrosion
To keep the etch crisp over time, a protective layer helps. A clear coat or, on items like tools, a wipe of oil can guard against corrosion.
Match the sealant to how the piece will be used. Something handled often or exposed to moisture benefits more from a durable clear coat than a quick oiling.
Safety Tips for Etching at Home
None of this is dangerous when handled sensibly, but a casual attitude can cause trouble. A few habits keep the whole process safe.
Working in a Ventilated Space
Etching solutions can release fumes, particularly the chemical etchants. Open a window, use a fan, or work outside so you’re not breathing concentrated vapor.
Good airflow costs you nothing. It’s one of the easiest precautions to get right.
Handling Chemicals and Power Safely
Wear gloves and goggles whenever solutions are in play, and keep water clear of your electrical connections. Mixing live wires with spilled liquid is a hazard worth avoiding entirely.
Treat both the chemistry and the wiring with respect. Neither is complicated, but both reward attention.
Disposing of Etchant Responsibly
Used etchant isn’t something to pour carelessly down the sink. Neutralize acidic solutions with baking soda first, then follow your local rules for disposal.
This protects your plumbing and the wider environment. A small amount of care here goes a long way.
Common Mistakes to Avoid
Most disappointing etches trace back to a handful of predictable errors. Knowing them in advance saves a lot of redo work.
Skipping Surface Cleaning
It comes up again because it causes so many failures. Grease and dust prevent the resist from bonding and leave the etch patchy and uneven.
A few minutes of cleaning prevent hours of frustration. Don’t talk yourself out of it.
Poorly Sealed Stencils
If your stencil edges lift even slightly, the etch will creep underneath and bleed beyond your design. The result looks fuzzy rather than defined.
Press every edge down firmly and inspect before you begin. Sealed resist is the difference between sharp lines and a smudge.
Rushing the Etch Time
Timing cuts both ways. Too little time leaves a faint, shallow mark, while too much can over-etch and blur fine detail.
Check your progress in stages rather than guessing. Letting the etch develop at its own pace tends to produce the cleanest depth.
Frequently Asked Questions
A few questions come up regularly. Here are short, straightforward answers.
How Long Does Etching Take?
It depends on the method and the depth you’re after, but most small designs finish in just a few minutes. Saltwater electroetching often works faster than people expect.
Larger or deeper designs naturally take longer. Building depth in stages is usually wiser than forcing it all at once.
Can You Etch Without Chemicals?
Yes, and that’s a big part of saltwater electroetching’s appeal. It uses salt, water, and a low current rather than harsh acids.
You still want gloves and ventilation, since the process produces some byproducts. But it avoids the strongest, most corrosive solutions entirely.
Will the Etch Wear Off Over Time?
A properly etched design is physically recessed into the metal, so it won’t rub away like surface ink. Sealed and cared for, it can last for years.
Heavy wear or corrosion may dull it eventually. A protective coat slows that considerably.
Conclusion
Once the steps click into place, learning how to etch on metal turns out to be far less daunting than it first appears. Pick your method, whether chemical or electroetching, gather your supplies, prep and mask the design with care, follow the process patiently, and finish with darkening and sealing for a result that lasts.
Safety and patience matter every bit as much as the design itself. Get those two right, and the technique tends to look after the rest.
So start small. A simple practice piece teaches you more than any guide can, and it lets you make mistakes cheaply. From there, experiment with new patterns and different metals, and when you make something you’re proud of, share it with a friend or post it online. Your first clean etch is closer than you think.

About
Stuart Rich is a distinguished figure in the world of metalworking and fabrication, with a decade of expertise creating innovative and sustainable metal projects. His professional focus lies in merging traditional blacksmithing and machining with modern manufacturing techniques, fostering designs that are both practical and durable. As the author of Metalenify, Stuart Rich delves into the art and science of metallurgy and DIY metal creation, inspiring artisans, hobbyists, and industry professionals alike.
Education
RMIT University
(Melbourne, Australia)
Associate Degree in Engineering Technology (Mechanical / Manufacturing)
Focus on metallurgical properties, industry-driven projects, and practical metal craftsmanship. Gained hands-on experience with traditional machining and digital manufacturing tools, such as CAD, CNC software, and precision welding equipment.
Nottingham Trent University
(United Kingdom)
Bachelor’s in Product Design and Materials Engineering (Honors)
Specialized in product design with a heavy focus on blending creativity with metal production and fabrication techniques. Participated in real-world industry projects, collaborating with architectural and hardware manufacturing companies to optimize material efficiency.
Publications and Impact
In Metalenify, Stuart Rich shares his insights on structural metal design processes, material grades, and strategies for efficient shop production. His writing bridges the gap between raw artisan knowledge and modern industrial needs, making it a must-read for both budding DIY metalworkers and seasoned fabrication professionals.





