Anodizing stainless steel is an electrochemical process that thickens the natural oxide layer already present on the metal’s surface. You clean the steel, submerge it in a heated chemical bath — often containing sulfuric acid — and apply a controlled electrical current to produce a finish that’s durable, colored, and more resistant to corrosion than the base metal alone.
Anodizing stainless steel sits at a genuinely interesting intersection of chemistry and practical metalwork. It’s useful across a wide range of contexts, from color-coding surgical instruments in a clinical setting to adding a custom hue to a fabricated bracket in a home shop. The process doesn’t just change how the metal looks — it alters the surface chemistry in ways that can improve wear resistance and slow corrosion over time.
Getting it right, though, requires more than just connecting a power supply and hoping for the best. You need the right equipment, appropriate chemical solutions, and a clear-eyed respect for the safety hazards involved. This guide on how to anodize stainless steel covers:
- The science behind why stainless steel behaves the way it does
- The safety precautions you cannot afford to skip
- A detailed seven-step process from surface preparation to final rinse
- Common mistakes and how to troubleshoot them
What is the Science Behind Stainless Steel and Surface Behavior?
Stainless steel forms a passive chromium oxide layer the moment it’s exposed to oxygen. That thin, invisible film is what gives the alloy its well-known corrosion resistance — and it forms spontaneously, without any intervention. The problem is that it’s extremely thin, often only a few nanometers thick, which limits how much protection it can realistically offer under abrasive or chemically demanding conditions.
Anodizing is designed to address that limitation. By submerging the metal in an electrolytic solution and passing a direct current through it, you force oxygen ions to bond with the surface, building a thicker oxide layer than nature would produce on its own.
Here’s where stainless steel diverges from aluminum, the metal most people associate with anodizing. Aluminum’s anodized layer is porous, which means it can absorb dyes to achieve color. Stainless steel’s anodized oxide layer isn’t meaningfully porous. Instead, color emerges from optical interference — the same physical phenomenon that makes soap bubbles display shifting rainbow hues. As voltage increases and the oxide layer grows thicker, it refracts light at different wavelengths, producing colors ranging from bronze and amber at lower voltages to deep blue, green, and gold at higher ones. No pigment is involved at any stage.
What Are the Essential Safety Precautions for Anodizing?
This is not a process where safety gear is optional. Sulfuric acid and electrical current together represent a combination of hazards that demands genuine caution rather than a quick scan of a checklist.
At minimum, you should wear acid-resistant gloves, chemical splash goggles, and a heavy-duty apron before handling any part of the electrolyte bath. A single splash of concentrated sulfuric acid can cause serious burns within seconds, and the damage to the eyes can be permanent.
Ventilation matters just as much. The electrochemical reaction produces hydrogen and oxygen gas as byproducts. In an enclosed space, these gases can build up to explosive concentrations. Work outdoors, in a garage with the door open, or under an active fume hood — ideally all three if you’re processing larger parts.
Your electrical setup needs attention, too. Ensure the power supply is properly grounded, and never touch any conductive component while current is flowing. The voltages typically used for anodizing are low enough that many people underestimate the risk, but the combination of wet hands, acidic solution, and live metal is genuinely dangerous.
7 Simple Step-By-Step Guidelines on How to Anodize Stainless Steel
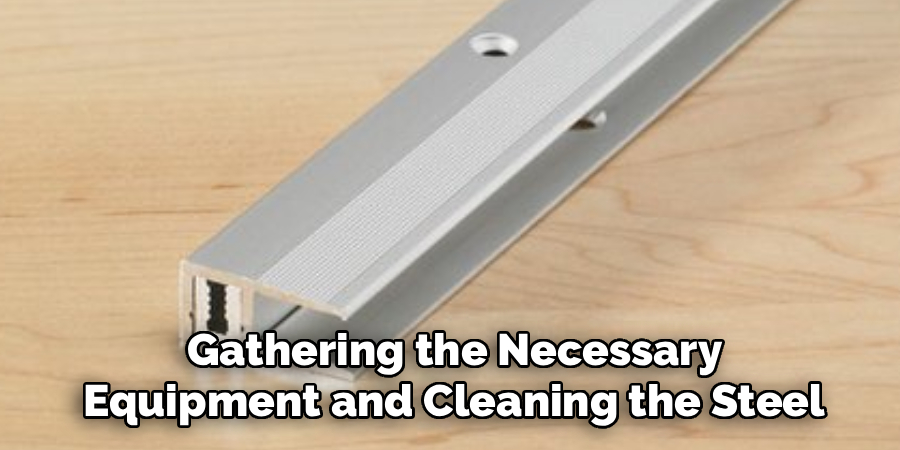
Step 1: Gathering the Necessary Equipment and Cleaning the Steel
Before anything else, assemble your materials: a variable DC power supply, titanium wire (more on why in Step 4), a plastic container sized appropriately for your workpiece, and your electrolyte solution. Once everything is laid out, surface preparation becomes your single most important task.
Any contamination — oil residue, fingerprints, machining fluid, even microscopic dust — will interfere with how the current distributes across the surface. The result is bare spots, uneven color, or a completely failed finish. Clean the workpiece with a strong degreasing agent first. If you have access to an ultrasonic bath, use it. Follow that with a thorough rinse in distilled water, then wipe the metal down with acetone or isopropyl alcohol.
From this point forward, handle the steel only while wearing clean nitrile or latex gloves. The oils on your fingertips will contaminate a surface you just spent time cleaning.
Step 2: Preparing the Electrolyte Solution Bath
The electrolyte bath is the conductive medium that completes the circuit between your cathode and the steel workpiece. Sulfuric acid diluted in distilled water is the most common choice for stainless steel, though some practitioners prefer proprietary alkaline solutions for specific color ranges. Whatever formulation you use, prepare it in a chemically resistant plastic or glass container, and verify that your concentration matches the guidance for the specific alloy you’re working with — the composition of the steel does affect results.
One rule here is non-negotiable: always add acid to water, never water to acid. Adding water to concentrated acid triggers an immediate exothermic reaction that can boil and splatter the solution violently. Add the acid slowly, stir with a glass or plastic rod, and let the bath return to room temperature before you introduce any metal.
Step 3: Setting Up the Cathode in the Container
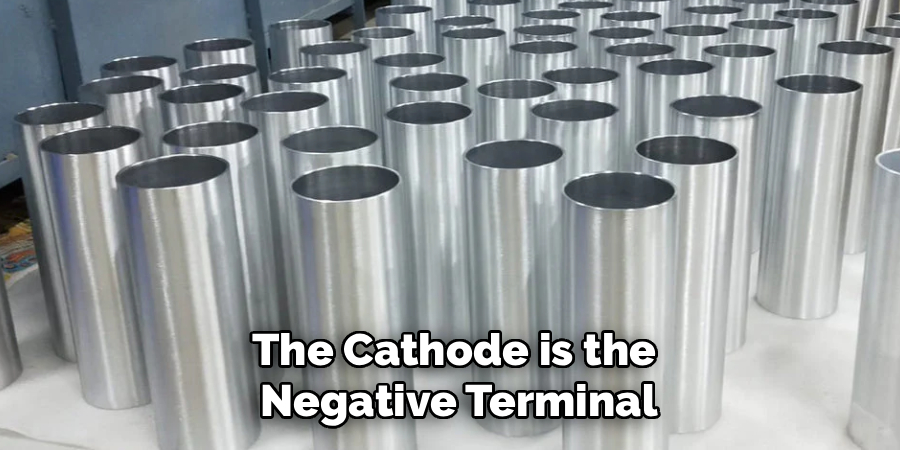
The cathode is the negative terminal of your electrochemical cell, and its geometry matters more than most beginners expect. A cathode that doesn’t provide a reasonably even surface area facing the workpiece will produce an uneven current distribution, which almost always means uneven color. Lead, scrap stainless steel, or aluminum can all serve as cathode material for this application.
Shape the cathode so it follows the inner perimeter of your container, then submerge it completely in the bath while leaving one end accessible above the rim for connecting your negative lead. Anchor it firmly — if it shifts during the process and contacts the workpiece, you’ve created a short circuit that will interrupt the anodizing entirely.
Step 4: Attaching the Anode and Wiring the Workpiece
Your stainless steel piece serves as the anode, the positive terminal. Titanium wire is the standard choice for suspending it in the bath. Copper dissolves in acid and contaminates the solution; aluminum can draw current away from the workpiece and skew the results. Titanium is inert under these conditions and conducts well.
Wrap the wire tightly around an inconspicuous area of the part. The mechanical connection needs to be firm, not merely snug — any looseness creates voltage fluctuations at the contact point, and those fluctuations show up in the finished color as blotches or inconsistent patches. Once secured, connect the wire to the positive lead of your power supply, but don’t switch anything on yet.
Step 5: Submerging the Stainless Steel and Connecting Power
Lower the wired workpiece into the bath carefully, making sure it’s fully submerged. Position it roughly in the center of the container, suspended so it doesn’t contact the bottom, the sides, or the cathode. Any contact with a grounded surface shorts the circuit and stops the process.
With the piece hanging freely, attach the positive (red) clamp to the titanium wire and the negative (black) clamp to the cathode. Before touching the power supply, do a final visual check: confirm no wires are resting in the acid, the anode and cathode aren’t touching, and both clamps are secure.
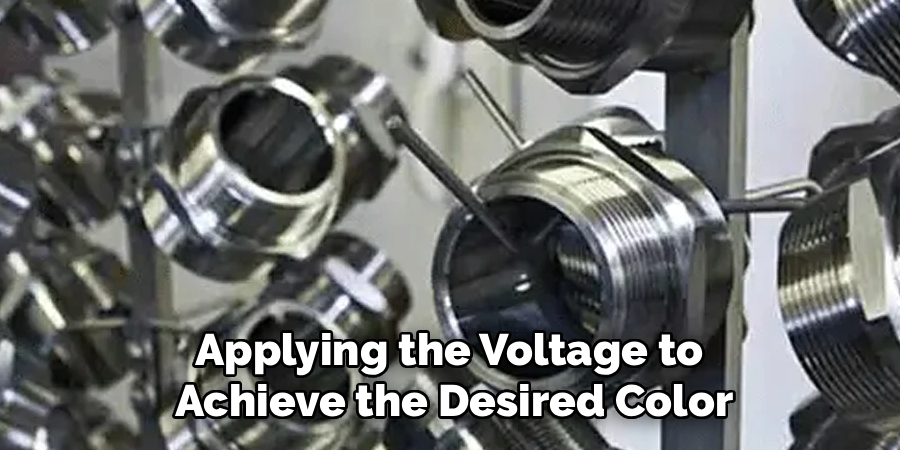
Step 6: Applying the Voltage to Achieve the Desired Color
Switch on the power supply and increase the voltage slowly. The color that develops on the steel’s surface is a direct function of how thick the oxide layer becomes, which is controlled by voltage. Lower voltages — roughly in the 1–10 V range, depending on the alloy and bath chemistry — tend to yield bronze and brown tones. As you increase voltage, the spectrum shifts through amber, purple, blue, and green, eventually reaching bright gold at higher settings.
Hold the voltage steady as soon as you reach the color you want. The change happens quickly, sometimes within a minute or two, so watch closely. Practicing on scrap pieces of the same alloy is genuinely worth the time investment — it lets you build a reliable voltage-to-color map before you commit to a finished part.
Step 7: Rinsing, Sealing, and Finishing the Metal

When the color is right, turn off the power supply and disconnect both leads before touching anything else. Lift the workpiece out by the titanium wire, keeping the acid-wet metal away from your skin and your work surface. Submerge it immediately in clean distilled water to stop the reaction and wash away residual acid.
After the initial rinse, transfer the part to a mild baking soda solution — roughly a tablespoon per liter of water — to neutralize any acid remaining in recesses or tight corners. Rinse once more in distilled water, then dry thoroughly using a clean microfiber cloth or low-pressure compressed air. Don’t use shop rags that may carry oil or metal particles.
Following these steps on how to anodize stainless steel will result in a durable and corrosion-resistant finish that will protect your metal parts from everyday wear and tear.
What Are the Common Mistakes to Avoid When Anodizing?
Inadequate cleaning is by far the most consistent source of failure. A single fingerprint can prevent the oxide layer from forming in that spot, leaving a visible bare patch on an otherwise finished piece. It’s a frustrating outcome that’s entirely preventable.
Using the wrong suspension wire is the second most common error. Copper wire seems like a reasonable substitute until it starts dissolving in the bath, contaminating the solution and producing inconsistent results across the entire batch.
Rushing the voltage ramp-up tends to produce streaky, uneven color — the oxide layer forms faster in some areas than others when the current isn’t applied gradually. And neglecting bath temperature is subtler but just as consequential. An overheated electrolyte bath changes conductivity in ways that are difficult to compensate for, and the color results become effectively unpredictable.
How to Troubleshoot Problems During the Anodizing Process
If the workpiece isn’t changing color at all when you apply voltage, the most likely cause is a poor electrical connection at the wire-to-metal junction. Turn off the power, tighten the wrap, and try again. A dull, cloudy, or powdery surface finish may suggest the bath is contaminated with dissolved metal ions from previous runs, or that the solution temperature has crept too high — either way, a fresh electrolyte mixture usually resolves it.
Sparking inside the tank or a burning smell points to a short circuit. Cut the power immediately and check that the anode and cathode are not making contact. Patchy, uneven color across the surface often means the cathode geometry isn’t distributing current evenly enough — redesigning or repositioning the cathode typically helps.
One scenario worth knowing about in advance: if you overshoot your target color — you wanted bronze and landed on blue — there’s no shortcut to recovery. You’ll need to mechanically polish the oxide layer off the surface and restart from the cleaning stage.
Frequently Asked Questions
Q1: Can I Use Anodizing to Remove Scratches From Stainless Steel?
No. The oxide layer produced by anodizing is microscopic, and it conforms precisely to whatever surface texture already exists. Anodizing doesn’t fill or smooth scratches — if anything, applying a bright color tends to make surface defects more visible, not less. Polishing before anodizing isn’t just recommended; it’s essential if you want a clean result.
Q2: Is the Color on Anodized Stainless Steel Permanent?
The color is structurally integrated into the metal’s surface, so it won’t peel or flake the way paint does. That said, it can be worn away by sustained friction or harsh abrasives over time. For most decorative or light-duty protective applications, the finish holds up well for years without any noticeable fading.
Q3: Do I Need Special Dyes to Color Stainless Steel?
No dyes are required. Unlike aluminum, stainless steel’s anodized layer produces color through optical interference alone — the thickness of the transparent oxide layer determines which wavelengths of light are reflected back to the viewer. Voltage controls thickness, and thickness determines color. The entire process is purely physical and chemical, with no pigment involved at any point.
Next Steps for Perfecting Your Metal Finishing
Anodizing stainless steel rewards patience and preparation more than almost any other metal finishing technique. The chemistry is elegant once you understand it, but the margin for error — particularly around surface cleanliness and connection quality — is narrower than most guides suggest.
If you’re new to this, start small. Use scrap pieces from the same alloy as your intended workpiece, build a voltage-to-color reference chart, and refine your process before committing to anything you care about. As your confidence builds, you can begin exploring masking techniques to produce multi-colored patterns on a single piece or experiment with different bath chemistries to expand the available color range.
The fundamentals, though, don’t change: clean the metal obsessively, connect everything securely, and increase voltage slowly. Those three habits account for the vast majority of successful results. Thanks for reading this guide on how to anodize stainless steel.
About
Stuart Rich is a distinguished figure in the world of metalworking and fabrication, with a decade of expertise creating innovative and sustainable metal projects. His professional focus lies in merging traditional blacksmithing and machining with modern manufacturing techniques, fostering designs that are both practical and durable. As the author of Metalenify, Stuart Rich delves into the art and science of metallurgy and DIY metal creation, inspiring artisans, hobbyists, and industry professionals alike.
Education
RMIT University
(Melbourne, Australia)
Associate Degree in Engineering Technology (Mechanical / Manufacturing)
Focus on metallurgical properties, industry-driven projects, and practical metal craftsmanship. Gained hands-on experience with traditional machining and digital manufacturing tools, such as CAD, CNC software, and precision welding equipment.
Nottingham Trent University
(United Kingdom)
Bachelor’s in Product Design and Materials Engineering (Honors)
Specialized in product design with a heavy focus on blending creativity with metal production and fabrication techniques. Participated in real-world industry projects, collaborating with architectural and hardware manufacturing companies to optimize material efficiency.
Publications and Impact
In Metalenify, Stuart Rich shares his insights on structural metal design processes, material grades, and strategies for efficient shop production. His writing bridges the gap between raw artisan knowledge and modern industrial needs, making it a must-read for both budding DIY metalworkers and seasoned fabrication professionals.


