
Quick answer: To bend aluminum pipe without cracking or kinking it, anneal the metal first, then support it with packed sand or a tube bender before applying slow, steady pressure around a form. Working gradually—and keeping the pipe supported the whole time—is what gives you clean bends instead of a ruined piece.
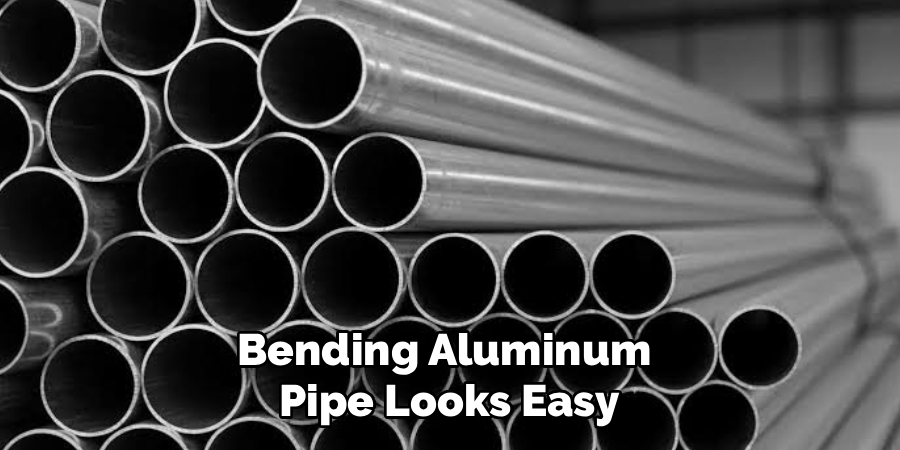
Bending aluminum pipe looks easy. Then you actually try it, and you’re left holding a flattened, cracked mess that bears no resemblance to what you pictured. A lot of hobbyists hit this wall early on, mostly because aluminum doesn’t behave the way steel or copper does. It’s light and forgiving in some ways, yet it’ll snap or kink the second you get impatient.
Here’s the reassuring part. You can absolutely do this at home. What you need is a bit of preparation and a feel for the metal, both of which this guide on how to bend aluminum pipe will walk you through. We’ll start with how aluminum actually behaves, then move through seven steps, and finish with the safety notes and small mistakes that tend to trip people up.
Understanding Aluminum Properties
Aluminum gets chosen for good reasons. It’s light, it shrugs off corrosion, and it shapes more readily than a lot of metals. Those same traits, though, are exactly what make bending it a gamble. Aluminum has a lower tolerance for stress than steel, so it tends to crack when you force it too fast or pull it around too tight a corner.
There’s another wrinkle worth knowing about. Aluminum “work hardens” as you handle it, which means each flex makes that section a little stiffer and a little more brittle. Keep pushing and the pipe gives up—it cracks rather than curving.
Temper matters too. Softer tempers, usually stamped with an “O,” give way fairly easily. The harder ones, like T6, fight back and may crack if you treat them the same way. Figuring out what you’ve got in your hands before you start could save you a wasted length of pipe, and it tells you whether annealing is worth the trouble.
Tools and Materials You’ll Need
Pull everything together before you light a torch or clamp anything down. A scattered workspace makes this job harder than it needs to be. Here’s the list:
- Aluminum pipe (in the grade and diameter your project calls for)
- Tube bender (manual, ratchet, or hydraulic, depending on pipe size)
- Sand (fine and dry, for packing the pipe)
- Two end caps or plugs (to keep the sand in)
- Propane or butane torch (for annealing)
- Bar soap or a permanent marker (for the annealing test)
- Vise or sturdy clamp (to hold the pipe steady)
- Measuring tape and marker (for accurate bend points)
- Heat-resistant gloves and safety glasses
- A form or pipe template (to guide your bend radius)
7 Simple Step-by-Step Guidelines on How to Bend Aluminum Pipe
Work through these in order. The cleanest results come from people who slow down during the prep stages instead of treating them as something to skip past.
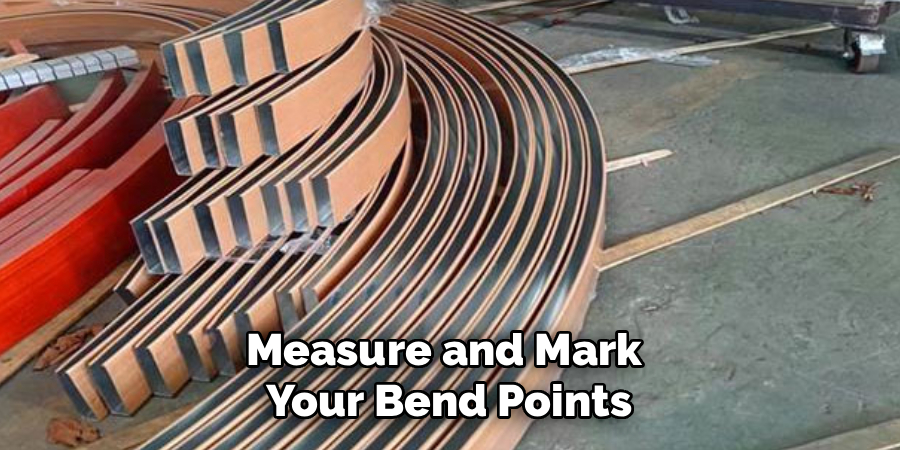
Step 1: Measure and Mark Your Bend Points
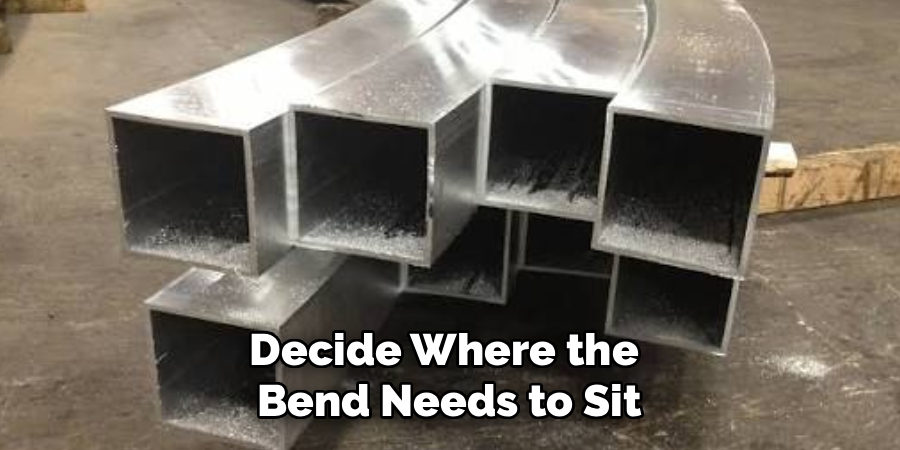
Decide where the bend needs to sit. Run a measuring tape along the pipe, find your spot, and mark it clearly with a permanent marker. This bit feels too obvious to dwell on, but a sloppy mark here ripples through everything that follows. Check the measurement, then check it again.
One thing beginners often miss: the bend itself eats up some pipe length. This is called “bend allowance.” If your project depends on precise dimensions, you’ll want to leave a little extra material to account for it. A small miscalculation now can throw the whole piece off later.
Step 2: Anneal the Aluminum
Annealing softens the metal and dramatically cuts the odds of a crack. Rub a thin film of bar soap over the bend area, or scribble across it with a permanent marker. Then play a propane torch flame back and forth over the section—no lingering in one spot.
Keep your eyes on the soap or the marker. The moment the soap blackens or the marker burns off, you’ve hit roughly the right temperature. Pull the heat away and let the pipe cool on its own. Overdo it and you may melt the thing outright, which is a frustrating way to lose a length of pipe.
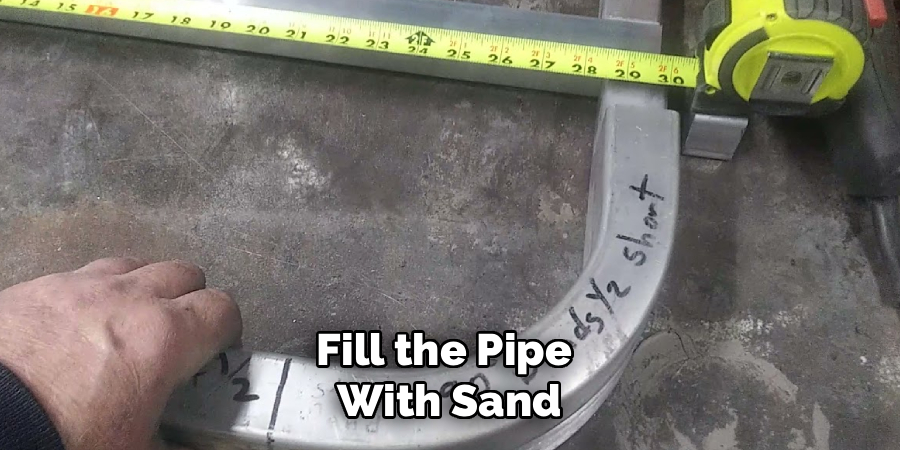
Step 3: Fill the Pipe With Sand
Sand is what keeps the pipe from collapsing inward. Cap one end, then pour fine dry sand in slowly, tapping the pipe as you go so it settles tight. The more densely it packs, the better it resists flattening.
When it’s full, cap the other end firmly. The sand spreads pressure evenly across the pipe walls from the inside, and that’s really the secret to getting a round bend without expensive gear. It’s a low-tech trick, but it works as well as anything.
Step 4: Secure the Pipe in Place
Clamp the pipe into a vise or against your bending form. Line it up so the marked bend point sits exactly where your pressure will land. Any wobble during the bend can wreck your angle or dent the pipe, so a solid setup earns its keep.
Watch that the clamp doesn’t bite too hard. Soft jaws or a bit of padding will stop it from crushing the pipe before you’ve even begun. You want it held steady, not squashed.
Step 5: Apply Slow, Steady Pressure
Now the bend. Push firmly and gradually in the direction you want the curve to go. Let the metal travel with you rather than fighting it—jerky, sudden force is the quickest route to a kink or a crack.
With a tube bender, follow the tool’s curve and draw the handle in smooth, even strokes. Stop often and hold the pipe against your template to see how you’re doing. A slow bend is nearly always a cleaner one, and there’s no prize for finishing fast.
Step 6: Check the Angle and Adjust
Once you’re near your target angle, pause and lay the bend against your template or measurements. A touch short? Ease in a little more pressure. Gone too far? You can coax it back, though gently—over-correcting tends to weaken the metal, and that’s hard to undo.
Don’t rush this check. Small tweaks now are far less painful than salvaging a bend gone wrong. For projects where the degree really matters, a protractor or angle finder takes the guesswork out of it.
Step 7: Remove the Sand and Finish
Happy with the bend? Uncap both ends and pour the sand out. Give the pipe a few taps to dislodge any stubborn grains clinging inside. Then look the bend over carefully for cracks, kinks, or flat spots.
Clean things up and smooth any rough edges with sandpaper or a file. If the clamp left marks, a light polish usually brings the surface back. That’s it—the pipe is ready for whatever you had in mind.
Following these steps on how to bend aluminum pipe, you can achieve smooth and precise bends that will fit your project perfectly.
Safety Precautions
Heat and metal demand respect. Gloves and safety glasses are non-negotiable, particularly while annealing. A torch flame and a hot pipe can both cause nasty burns, so keep your workspace clear and fireproof, and never walk away from an open flame.
Ventilation matters when you’re running a torch, and a fire extinguisher within reach is cheap insurance. Let the pipe cool completely before you grab it bare-handed. Aluminum hangs onto heat far longer than its appearance suggests, and it can burn you minutes after the flame is out.
Tips for Better Results
A handful of habits separate decent bends from great ones. Practice on a scrap length first. It lets you learn how the metal moves without gambling your actual material on a guess.
Bend in small increments instead of going for the whole angle in one pull. Easing into it spreads the stress and hands you more control. On tight radii, it may help to re-anneal partway through if you feel the aluminum stiffening up under your hands. And if you bend pipe with any regularity, a quality tube bender is money well spent—the difference in finish quality is hard to ignore once you’ve used one.
Common Mistakes to Avoid
Even careful beginners stumble, usually in predictable ways. Skipping the annealing step tops the list; it leaves the metal brittle and quick to crack. Rushing the bend comes next, where too much pressure too fast buckles the pipe into a kink. Leave the sand out and you’ll often end up with flattened or collapsed sections.
Plenty of people also try to bend at too sharp an angle for the pipe’s diameter, which strains the metal past what it can take. And then there’s careless measuring, which lands the bend in the wrong place and costs you both time and material.
Frequently Asked Questions
Can You Bend Aluminum Pipe Without Heat?
You can, especially with a softer temper or a smaller diameter. A tube bender plus sand packing handles gentle curves reasonably well. For sharper bends or harder tempers like T6, though, annealing first is the safer bet. Skip the heat on harder aluminum and it’s far more likely to crack or kink, which raises your odds of ruining the pipe.
What Is the Best Tool for Bending Aluminum Pipe?
It depends on the pipe’s diameter and the radius you’re after. For small to medium pipes, a manual or ratchet tube bender gives you fine control and clean results. Larger diameters usually need the extra muscle of a hydraulic bender. Working on a budget? The sand-packing method paired with a solid form can turn out good bends without a dedicated tool—it just asks for more patience.
How Do You Keep Aluminum Pipe From Kinking When Bending?
Support the pipe from the inside. Packing it with tightly settled dry sand stops the walls from caving under pressure. A tube bender with the right die size helps as well, since it cradles the pipe through the whole bend. Pair those with slow pressure and proper annealing, and kinks become rare.
Bend With Confidence
Bending aluminum pipe rewards patience more than strength. Once you understand how the metal behaves, gather the right tools, and follow the seven steps here, cleaning bends at home stops feeling out of reach. If you remember nothing else, remember the three that do the heavy lifting: annealing, sand packing, and slow pressure.
Start on a scrap piece and build a little confidence before you touch the real thing. Find your rhythm there, and the rest follows. Before long, you’ll handle aluminum pipe with the ease of someone who’s done it a hundred times—whether that’s a custom frame, a plumbing run, or whatever you dream up next. Thanks for reading this guide on how to bend aluminum pipe.

About
Stuart Rich is a distinguished figure in the world of metalworking and fabrication, with a decade of expertise creating innovative and sustainable metal projects. His professional focus lies in merging traditional blacksmithing and machining with modern manufacturing techniques, fostering designs that are both practical and durable. As the author of Metalenify, Stuart Rich delves into the art and science of metallurgy and DIY metal creation, inspiring artisans, hobbyists, and industry professionals alike.
Education
RMIT University
(Melbourne, Australia)
Associate Degree in Engineering Technology (Mechanical / Manufacturing)
Focus on metallurgical properties, industry-driven projects, and practical metal craftsmanship. Gained hands-on experience with traditional machining and digital manufacturing tools, such as CAD, CNC software, and precision welding equipment.
Nottingham Trent University
(United Kingdom)
Bachelor’s in Product Design and Materials Engineering (Honors)
Specialized in product design with a heavy focus on blending creativity with metal production and fabrication techniques. Participated in real-world industry projects, collaborating with architectural and hardware manufacturing companies to optimize material efficiency.
Publications and Impact
In Metalenify, Stuart Rich shares his insights on structural metal design processes, material grades, and strategies for efficient shop production. His writing bridges the gap between raw artisan knowledge and modern industrial needs, making it a must-read for both budding DIY metalworkers and seasoned fabrication professionals.





