
You can bend sheet metal without a specialized bender by using a heavy workbench, sturdy clamps, a wooden block or angle iron, and a heavy mallet. Clamp the metal securely over a straight edge, then hammer carefully along the bend line to achieve a clean, precise angle at home.
Bending sheet metal for a DIY project, a home repair, or custom automotive work can feel like a dead end the moment you realize you don’t own a press brake. The assumption that you need expensive, heavy machinery is understandable—but it’s not quite accurate. With basic hand tools, careful measurement, and a reasonable amount of patience, you can get professional-looking results right in your own garage.
This guide on how to bend sheet metal without a bender walks through everything: what to gather, how to work through each step, where people typically go wrong, and when it actually makes more sense to hand the job off to someone else.
What Tools and Materials Do You Need to Bend Sheet Metal?
Getting this right starts with having the right equipment on hand before you touch the metal. You’ll need a sturdy workbench with a clean, sharp edge—this acts as your bending form, so its quality matters more than most people expect. Two strong C-clamps or bar clamps are non-negotiable. You’ll also need a heavy wooden block or a piece of steel angle iron to act as a clamping plate.
For striking, use a rubber, plastic, or wooden mallet. A standard steel hammer will dent the surface almost immediately, often in ways that can’t be corrected. Safety equipment matters here too—heavy-duty work gloves and safety glasses protect you from sharp edges and any debris that might break loose.
On the marking side, have a fine-tipped permanent marker, a metal ruler, and a protractor if your project calls for a specific angle rather than a straight 90 degrees.
7 Simple Step-By-Step Guidelines on How to Bend Sheet Metal Without a Bender
Step 1: Measure and Mark the Bend Line Accurately
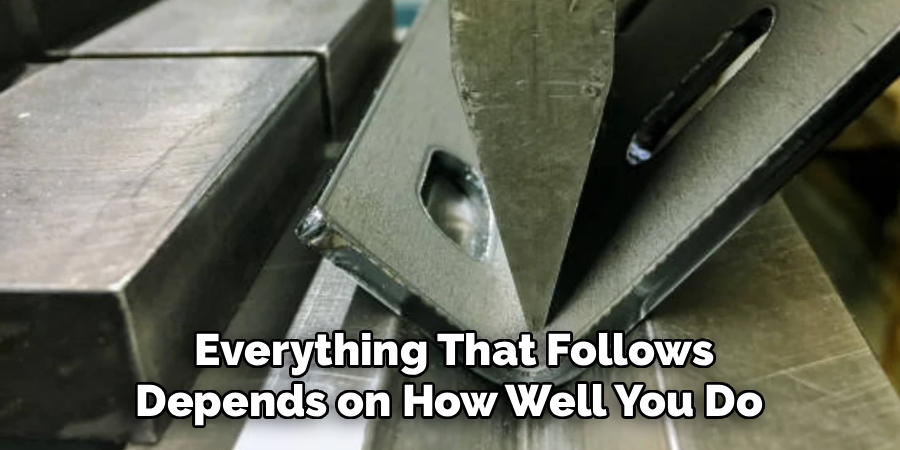
Everything that follows depends on how well you do this first step. Lay your sheet metal flat on a well-lit surface and use your metal ruler with a fine-tipped permanent marker to draw a straight line exactly where the bend should occur. Measure from both edges to confirm the line runs parallel—or at the correct angle—to your specifications.
If the metal has a factory protective film, draw directly on it. For bare metal, keep the line thin; it should represent the exact apex of the fold, not a rough approximation. Measuring twice isn’t just a saying here—a misplaced line means scrapped material and redone work.
Step 2: Score the Sheet Metal for Thicker Gauges
For metal thicker than 18-gauge, scoring the bend line before you start folding may save you a lot of effort. Run a sharp utility knife or metal scoring tool firmly along the marked line, using your ruler as a guide. The goal isn’t to cut through the material—it’s to create a shallow groove that concentrates stress at exactly the right spot when you apply bending force later.
This step reduces the physical effort required and helps the metal fold in a straight, controlled line rather than bowing somewhere unexpected. Apply even pressure across the full length of the line. For thinner materials—flashing or light aluminum sheet, for instance—you can skip scoring entirely. They’re pliable enough that it isn’t necessary.
Step 3: Position the Metal on Your Workbench Edge
Move the sheet metal to your workbench and align it so the marked bend line sits exactly over the table’s edge. The flat portion you want to keep stable should rest firmly on the tabletop. The portion you plan to bend should hang freely in the air.
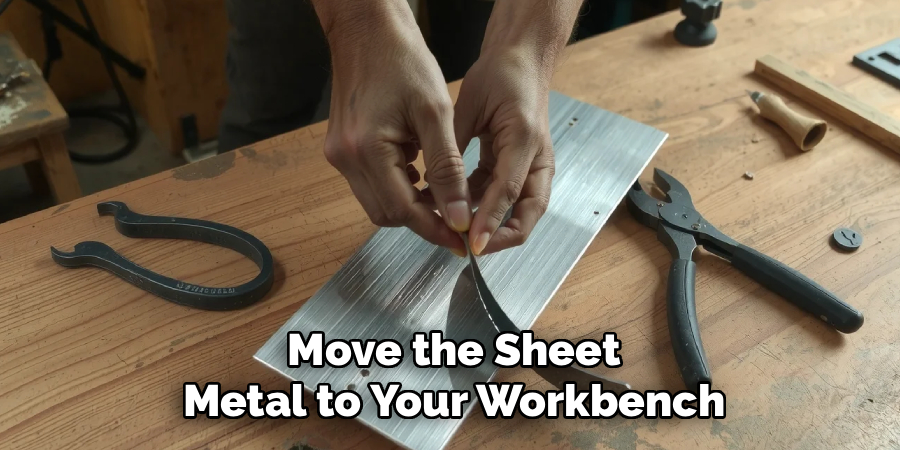
Alignment at this stage is where most people underestimate how careful they need to be. If the line is even slightly off-center from the workbench edge, the resulting bend will be crooked—and crooked bends rarely correct themselves. It’s worth crouching down to eye level with the table edge to confirm the line is flush with the corner before moving on.
Step 4: Secure the Metal with a Clamping Block
With the metal correctly positioned, place your wooden block or steel angle iron flat on top of the metal’s stationary section, parallel to your marked line. The edge of the block should align directly above the workbench edge, effectively sandwiching the sheet metal between the block and the table.
Apply your C-clamps to both ends of the block and tighten them firmly. Don’t over-tighten to the point of crushing the wood or marking the metal surface, but the assembly should feel completely immovable. Before reaching for the mallet, give the overhanging section a gentle push—if anything shifts, tighten the clamps further. A block that moves even a few millimeters during bending will distort the angle.
Step 5: Begin Bending by Hand for Leverage
Put your gloves on before touching the metal. Grip the overhanging section with both hands, spreading your grip evenly across the width of the piece, and apply steady downward pressure. The goal at this stage is to initiate the fold—getting the metal moving before you bring in the mallet.
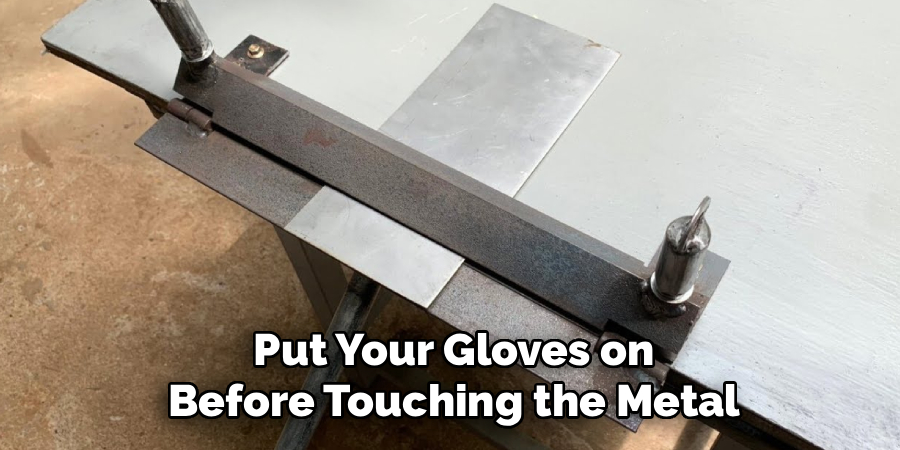
Working by hand first gives you a sense of how the material responds. Thicker gauges resist noticeably; thinner ones give quickly. Try to bring the metal to roughly 45 degrees using body weight and arm pressure alone. Push evenly across the full width—concentrating force on one corner tends to twist or warp the piece along the bend line.
Step 6: Use the Mallet to Sharpen the Angle
Once you’ve taken the bend as far as hand pressure will reasonably go, pick up your rubber or wooden mallet and start working along the crease. Strike the metal at the bend line, moving from one end to the other in consistent passes. Aim your blows toward the corner formed by the workbench edge and the clamping block, not toward the outer edge of the hanging flap.
Use medium, even strikes. Heavy blows stretch the metal and leave dimples that are difficult or impossible to remove. Work methodically back and forth along the crease, gradually driving the angle down until you reach your target—whether that’s a sharp 90-degree corner or a shallower custom fold.
Step 7: Check Your Angle and Remove the Clamps
When the bend looks close to correct, stop and measure before assuming you’re done. Use a protractor or machinist’s square against the flat workbench surface and the bent flap to read the actual angle. Sheet metal reliably springs back a degree or two once clamping pressure is released—a phenomenon metalworkers call springback—so you may need to over-bend slightly to account for it.
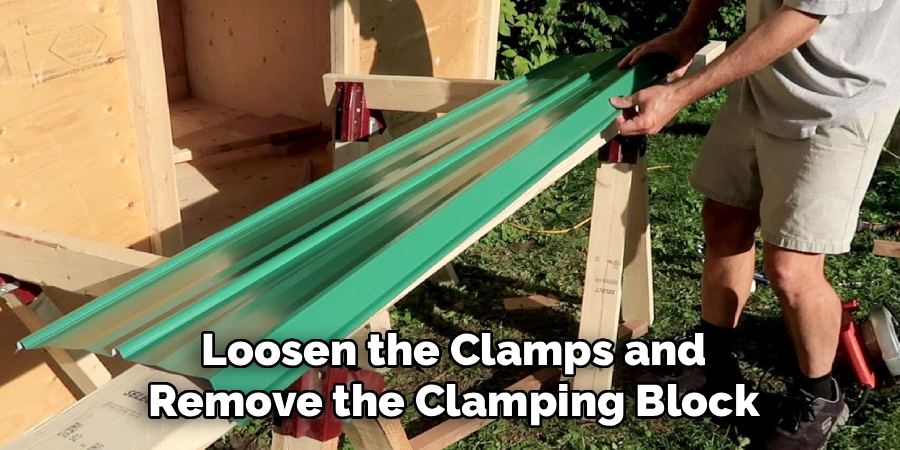
Once the angle checks out, loosen the clamps and remove the clamping block. Examine the workpiece for burrs or surface marks along the bend line and address any sharp edges before handling the piece further.
Following these steps on how to bend sheet metal without a bender, you can successfully form simple bends in sheet metal using equipment that is commonly found in most home workshops.
What Are the Common Mistakes to Avoid?
Striking the metal with a steel hammer is probably the most common error and also the most immediately regrettable—it dents the surface in ways that can’t easily be fixed. Rushing the clamping step is a close second; loose clamps allow the metal to slide mid-bend, producing a crooked fold that’s usually unsalvageable.
Ignoring gauge limits is a real safety concern, not just a quality one. Trying to manually fold metal that’s too thick puts excessive strain on your body and your workbench. Forgetting to account for springback consistently results in an angle that’s a few degrees too wide. And raw sheet metal edges are genuinely sharp—skipping gloves isn’t a calculated risk worth taking.
Do You Need To Use Professionals?
Manual bending works well for thin-gauge sheet metal, but there are situations where it stops being practical. Metal thicker than 16-gauge becomes increasingly difficult to fold accurately by hand. The force required rises sharply, and the results tend to be imprecise. Professional fabricators use hydraulic press brakes that handle thick steel and aluminum quickly and with consistent accuracy.
Similarly, if your project involves compound bends, tight dimensional tolerances, or a finish that needs to be cosmetically perfect—custom automotive bodywork or architectural trim, for example—a professional shop will achieve results that manual methods simply can’t match. For basic brackets, HVAC duct patches, or similar utility work, doing it yourself is entirely reasonable. For anything structurally demanding or dimensionally complex, professional equipment is worth the cost.
Frequently Asked Questions
Q1: What Is The Best Metal Thickness For Manual Bending?
The most manageable range for home bending falls between 20-gauge and 26-gauge. Below 26 gauge, the material can tear under uneven pressure. Above 18-gauge, the force required makes manual bending difficult and often inaccurate. Aluminum and copper tend to fold more easily than cold-rolled steel or stainless at equivalent thicknesses.
Q2: Can You Bend Aluminum Sheet Metal Without Heating It?
Yes—thin aluminum bends readily at room temperature. The exception is certain temper grades, particularly 6061-T6, which is relatively brittle and may crack along a sharp 90-degree fold. If you’re working with a hard alloy or thicker plate, annealing the bend line with a propane torch before folding can reduce the risk of stress fractures.
Q3: How Do You Prevent Scratches While Bending Sheet Metal?
Leave any factory protective film on the metal until the bend is complete. Wrap the contact surfaces of your clamps in masking tape and place a strip under your wooden clamping block as well. Use a rubber or wooden mallet throughout, and make sure the workbench edge is free of metal shavings, grit, or debris before you start.
Final Thoughts on Bending Sheet Metal Manually
Getting a clean, accurate bend without a dedicated machine is genuinely achievable for most thin-gauge work—it just requires attention at each step rather than speed. The process rewards preparation: a well-marked line, a tightly clamped block, and patient mallet work will consistently produce angles that look deliberate and hold up in use.
Start with scrap material to get a feel for how a particular gauge resists and springs back. Once you understand the behavior of the metal you’re working with, the technique becomes repeatable. Custom brackets, repair panels, duct sections—most of these are within reach of anyone willing to work carefully with the tools already in their garage. Thanks for reading this guide on how to bend sheet metal without a bender.

About
Stuart Rich is a distinguished figure in the world of metalworking and fabrication, with a decade of expertise creating innovative and sustainable metal projects. His professional focus lies in merging traditional blacksmithing and machining with modern manufacturing techniques, fostering designs that are both practical and durable. As the author of Metalenify, Stuart Rich delves into the art and science of metallurgy and DIY metal creation, inspiring artisans, hobbyists, and industry professionals alike.
Education
RMIT University
(Melbourne, Australia)
Associate Degree in Engineering Technology (Mechanical / Manufacturing)
Focus on metallurgical properties, industry-driven projects, and practical metal craftsmanship. Gained hands-on experience with traditional machining and digital manufacturing tools, such as CAD, CNC software, and precision welding equipment.
Nottingham Trent University
(United Kingdom)
Bachelor’s in Product Design and Materials Engineering (Honors)
Specialized in product design with a heavy focus on blending creativity with metal production and fabrication techniques. Participated in real-world industry projects, collaborating with architectural and hardware manufacturing companies to optimize material efficiency.
Publications and Impact
In Metalenify, Stuart Rich shares his insights on structural metal design processes, material grades, and strategies for efficient shop production. His writing bridges the gap between raw artisan knowledge and modern industrial needs, making it a must-read for both budding DIY metalworkers and seasoned fabrication professionals.





