Blackening metal involves cleaning the surface, removing rust, and applying a chemical blackening solution that oxidizes the outer layer. You then rinse the metal and seal it with oil or wax. This process protects against corrosion and gives steel and iron a sleek, dark finish.
Blackening metal is one of those techniques that sounds more complicated than it actually is — until you skip a step and end up with a blotchy, peeling mess. Done correctly, it’s a reliable way to protect tools and hardware from rust while producing a finish that paint simply can’t replicate. Thick coatings add material and change tolerances; chemical blackening doesn’t.
Many DIY enthusiasts and metalworkers turn to this process to restore old items or bring a professional look to new builds. What you get is a dark, tight-bonded surface that keeps moisture out without adding bulk. What it takes is patience, the right chemicals, and a clean starting point — especially that last one. In this guide on how to blacken metal, we’ll take you through the process step by step and discuss some tips to ensure success.
Tools and Materials You’ll Need for Blackening Metal
Before you can start blackening your metal, you’ll need to gather some essential tools and materials. These include:
- A Well-ventilated Work Area
- Protective Gear
- A Clean Surface to Work On
- Blackening Chemicals
- Brushes or Applicators
- Water and Soap or Degreaser
- A Heat Source (optional)
7 Simple Step-By-Step Guidelines on How to Blacken Metal
Step 1: Clean and Degrease the Metal Surface
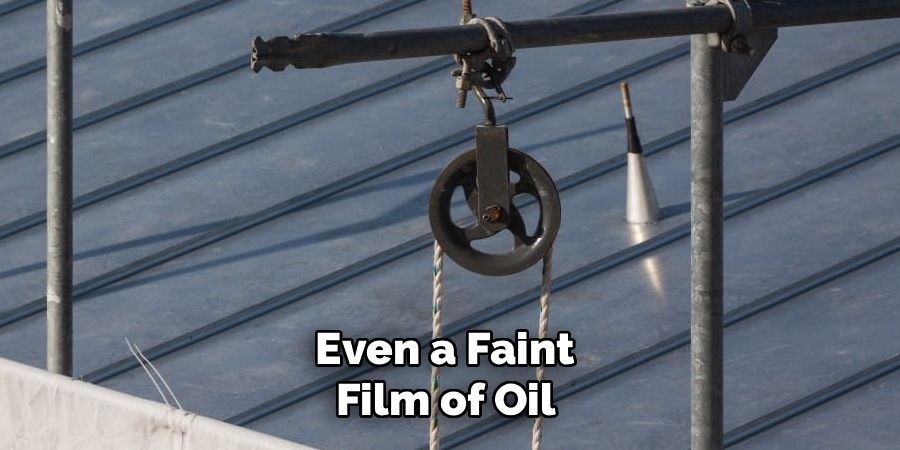
Everything else in this process depends on how well you complete this step. Oil, grease, fingerprints, and grime all act as barriers that prevent the blackening chemical from making contact with the metal itself. Even a faint film of oil can cause the finish to look uneven or fail to bond in patches.
Apply your degreaser or mineral spirits liberally across the entire piece. Scrub with a stiff brush or coarse scouring pad, paying close attention to threads, recesses, and corners — anywhere grease has a tendency to accumulate.
Once you’ve scrubbed the whole surface, wipe it down with a clean, lint-free cloth. A simple water test can confirm whether it’s truly clean: run water over the metal. If it sheets off in a continuous film, the surface is oil-free. If it beads up, deglaze again.
From this point forward, handle the metal only with clean nitrile gloves. The natural oils in your skin are enough to compromise the finish.
Step 2: Remove Existing Rust and Old Coatings
The blackening solution reacts with bare metal. That’s all it does. Any paint, rust, or old protective coating sitting between the chemical and the steel will result in an uneven, blotchy finish — or no reaction at all in the affected areas.
Use a wire brush, steel wool, or 220-grit sandpaper to remove surface rust and flaking paint. For heavily corroded pieces, soaking in a commercial rust remover or a vinegar solution for several hours will break down deep oxidation more effectively than mechanical abrasion alone. Manual scrubbing can only do so much.
Once the bulk of the corrosion is gone, switch to 400-grit sandpaper or a fine abrasive pad to smooth the surface. The smoother the bare steel is going into the chemical stage, the more consistent the final finish will look. Wipe away metal dust frequently with a dry rag as you work so you can actually see what you’re uncovering. You’re aiming for bright, shiny, bare steel across the entire surface.
Step 3: Rinse the Metal Thoroughly with Water
At this point, the metal is stripped, but it still carries microscopic debris — fine metal dust, residual rust remover, trace particles from the abrasives. Any of these can interfere with the oxidation reaction, so a thorough rinse is necessary before you introduce the blackening chemical.
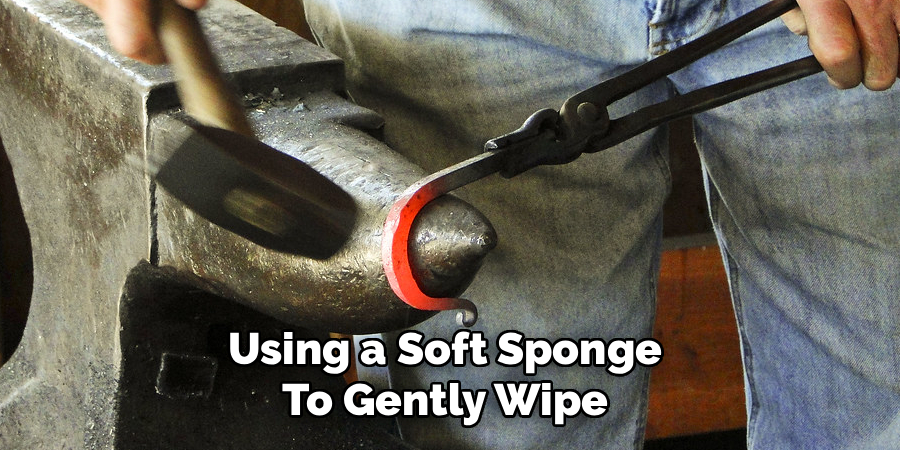
Rinse under cold running water, using a soft sponge to gently wipe the surface as you go. Distilled water is the better choice here. Tap water often contains calcium and magnesium that can leave microscopic mineral deposits on bare steel, and those deposits may disrupt the reaction in ways that are difficult to predict.
After rinsing, dry the metal immediately and completely. Raw steel can begin to flash-rust within minutes when left wet and exposed to air. Use a heat gun on a low setting, a hair dryer, or compressed air to pull moisture out of threads and recessed areas. The metal needs to be completely dry before the blackening solution goes on.
Step 4: Apply the Blackening Solution to the Metal
Pour a small amount of solution into your plastic container — never dip directly into the original bottle, as this will contaminate the remaining chemical. Using a clean cotton swab, sponge, or soft-bristled applicator brush, apply the solution evenly across the surface in long, overlapping strokes. The goal is complete, consistent coverage without pooling.
The reaction begins almost immediately. You’ll see the metal shift from its natural color to dark gray, then to black. This is the chemical oxidizing the iron in the steel’s surface layer. Work through larger pieces in sections if needed, blending the edges as you go so the color develops uniformly.
Let the solution sit for the duration specified by the manufacturer — typically one to three minutes. Don’t guess on timing; follow the product instructions.
Step 5: Allow the Metal to Oxidize Completely
This waiting period is where the chemistry does its work. The blackening agent is penetrating the top layer of the steel and changing its structure to form a dark, protective barrier. Rushing this stage produces a weak finish. But leaving the solution on too long can cause the surface to become crusty or develop a brown or greenish tint from over-oxidation.
Watch the color change under good lighting. You’re looking for a deep, opaque black — uniform across the entire surface. Lighter or grayish patches suggest the solution didn’t penetrate evenly, usually because of residual oil or inconsistent sanding. You can dab a little more solution onto those spots during this waiting period.

When the piece has reached a consistent, dark appearance and the recommended time has elapsed, move immediately to the rinse step.
Step 6: Rinse the Blackened Metal to Stop the Reaction
Flush the metal thoroughly with cold running water. This neutralizes the acid and washes away spent chemical compounds. Use a clean, soft sponge to gently wipe the surface while rinsing — this removes a thin layer of black residue, sometimes called smut, that forms as a natural byproduct of the reaction. Removing it reveals the actual finished surface underneath.
Don’t rush this rinse. Any blackening solution left behind in threads, grooves, or recesses will continue acting on the metal after the process is supposedly finished. Over time, that residual acid can cause corrosion in the very areas you were trying to protect.
Once rinsed, dry the piece immediately. Compressed air or a clean microfiber cloth works well. As in the earlier steps, the metal remains highly susceptible to flash rust until the sealant is applied.
Step 7: Seal the Metal Surface with Oil or Wax
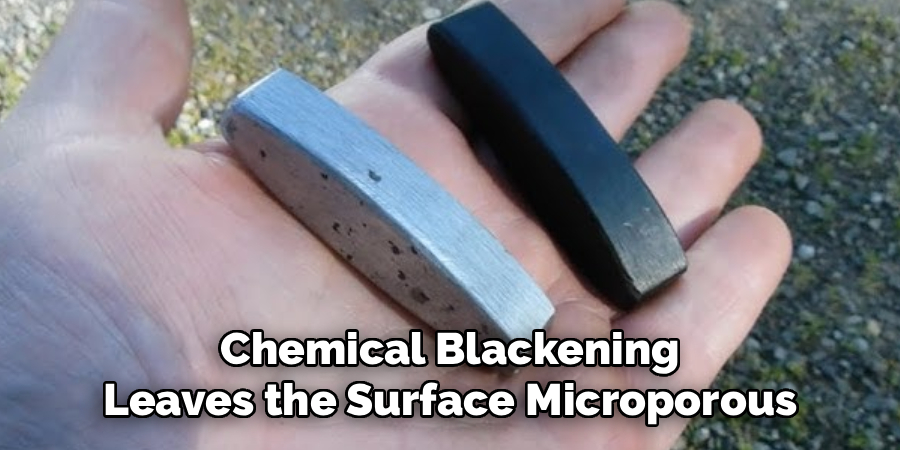
The blackened finish looks complete at this stage, but it isn’t. Chemical blackening leaves the surface microporous, which means moisture can still reach the steel without a sealant. The finish will rust — often quickly — if you skip this step.
Apply penetrating oil, boiled linseed oil, or specialized metal wax generously to the entire piece. Work it into the surface with a clean cotton rag, making sure the oil reaches every area, including recesses and threads. The oil soaks into the microscopic pores created by the blackening reaction, sealing out moisture and oxygen.
Let the piece cure undisturbed for at least 24 hours. The oil will continue to penetrate during this time, deepening the black color and adding a low sheen. After curing, buff away any excess oil or wax with a dry cloth, leaving a dry, protected surface ready for use. Following these steps on how to blacken metal will result in a beautiful, durable finish that enhances the appearance and longevity of your metal pieces.
Common Mistakes to Avoid
Incomplete degreasing is the most frequent cause of a failed finish. Even a faint oil residue can prevent the chemical from bonding, leaving patches that never fully blacken.
Skipping the sealant is the other major error. The blackened surface will start rusting faster than bare steel because its microporous structure actually draws in moisture. The oil or wax step isn’t optional.
A few others worth mentioning:
- Leaving the blackening solution on longer than recommended causes flaking and over-oxidation
- Handling the metal without gloves at any stage after degreasing introduces skin oils that disrupt the finish
- Skipping the neutralizing rinse allows residual acid to corrode the metal from underneath
How Much Will It Cost?
Blackening metal at home is considerably more affordable than professional plating or hot bluing. A quality bottle of cold blackening solution typically costs between $15 and $30 — enough to treat a substantial number of small parts or several large tools. If you don’t already have degreasers, sandpaper, and protective oil in your workshop, budget roughly another $20 for those. Basic safety gear — nitrile gloves and safety goggles — adds about $10.
In total, a complete DIY setup will likely run somewhere between $45 and $60. For the number of pieces you can treat with that setup, it’s a practical investment.
Frequently Asked Questions
Q1: What Types Of Metal Can You Blacken At Home?
A1: Standard cold blackening solutions are formulated for carbon steel and cast iron. The reaction depends on the iron content in the metal, which is why these solutions won’t work on stainless steel, aluminum, brass, or copper. Those metals either lack the necessary iron composition or have it in concentrations too low to react. If you want to darken non-ferrous metals, you’ll need a product specifically formulated for that material — Aluminum Black and Brass Black are common examples.
Q2: Is Cold Blackening As Durable As Hot Bluing?
A2: It’s a fair question, and the honest answer is no — not quite. Hot bluing involves immersing the metal in caustic salts at very high temperatures, which alters the surface on a deeper structural level. Cold blackening primarily affects the top surface layer, so it can wear off in areas subject to heavy friction over time. That said, cold blackening is far safer to perform at home, and when the finish does wear, it’s straightforward to reapply. For hand tools, decorative hardware, and low-friction parts, cold blackening offers more than adequate protection.
Q3: How Long Does The Blackening Process Take?
A3: The chemical reaction itself takes only one to three minutes once the solution is applied. The overall process takes considerably longer. Cleaning, degreasing, and sanding — depending on the condition of the piece — can run anywhere from thirty minutes to a few hours. After that, the oil sealant should cure for at least 24 hours before the item goes into regular use. Plan accordingly if you’re working on something you need back in service quickly.
Wrapping Up Your Metal Blackening Project
Turning raw, unprotected steel into a finished, sealed piece is genuinely satisfying — partly because the process is so visible and partly because the result is immediate. Done carefully, chemical blackening extends the working life of tools and hardware, adds a clean aesthetic without altering dimensions, and costs a fraction of professional finishing services.
As you work through more pieces and different geometries, you’ll get a better feel for application speed and coverage. The technique is consistent once you understand what the chemistry needs: a clean surface, proper timing, and a sealed finish. Keep your blackened items lightly oiled over time to maintain rust resistance, store your chemicals correctly between uses, and this will remain one of the more reliable finishing methods in your workshop. Thanks for reading this guide on how to blacken metal.
About
Stuart Rich is a distinguished figure in the world of metalworking and fabrication, with a decade of expertise creating innovative and sustainable metal projects. His professional focus lies in merging traditional blacksmithing and machining with modern manufacturing techniques, fostering designs that are both practical and durable. As the author of Metalenify, Stuart Rich delves into the art and science of metallurgy and DIY metal creation, inspiring artisans, hobbyists, and industry professionals alike.
Education
RMIT University
(Melbourne, Australia)
Associate Degree in Engineering Technology (Mechanical / Manufacturing)
Focus on metallurgical properties, industry-driven projects, and practical metal craftsmanship. Gained hands-on experience with traditional machining and digital manufacturing tools, such as CAD, CNC software, and precision welding equipment.
Nottingham Trent University
(United Kingdom)
Bachelor’s in Product Design and Materials Engineering (Honors)
Specialized in product design with a heavy focus on blending creativity with metal production and fabrication techniques. Participated in real-world industry projects, collaborating with architectural and hardware manufacturing companies to optimize material efficiency.
Publications and Impact
In Metalenify, Stuart Rich shares his insights on structural metal design processes, material grades, and strategies for efficient shop production. His writing bridges the gap between raw artisan knowledge and modern industrial needs, making it a must-read for both budding DIY metalworkers and seasoned fabrication professionals.


