
Bringing a tired, scratched firearm back to life feels deeply satisfying, and few finishes look as rich and professional as a deep, glossy blue-black. If you want a durable, factory-grade result, learning how to blue gun barrels using hot salt is the gold standard many gunsmiths swear by. This method uses a heated alkaline salt bath to create a layer of black oxide on the steel, giving your barrel that classic, corrosion-resistant shine.
This guide walks you through the entire process in clear, friendly steps. You don’t need years of experience to follow along, just patience, the right gear, and a healthy respect for safety. Hot salt bluing involves caustic chemicals and high heat, so we’ll cover protection at every stage. By the end, you’ll understand what each step does, why it matters, and how to achieve a smooth, even finish you can be proud of. Let’s get your barrel looking better than new.
Why Blue Gun Barrels Using Hot Salt
Hot salt bluing offers benefits that cold methods simply can’t match. The finish is harder, more uniform, and far more resistant to rust and daily wear. Because the salt bath heats steel evenly, you get consistent color across the entire surface, even on awkward angles and small parts.
This durability is why most manufacturers use the hot salt process on factory firearms. A properly blued barrel resists moisture, fingerprints, and minor scuffs, helping your firearm last for decades. The finish also looks stunning, with a deep blue-black tone that signals quality craftsmanship.
For anyone restoring an heirloom or refinishing a working firearm, hot salt bluing delivers professional results that hold up over time. It’s an investment of effort that pays off in both appearance and protection.
Step-by-Step Guide to How To Blue Gun Barrels Using Hot Salt
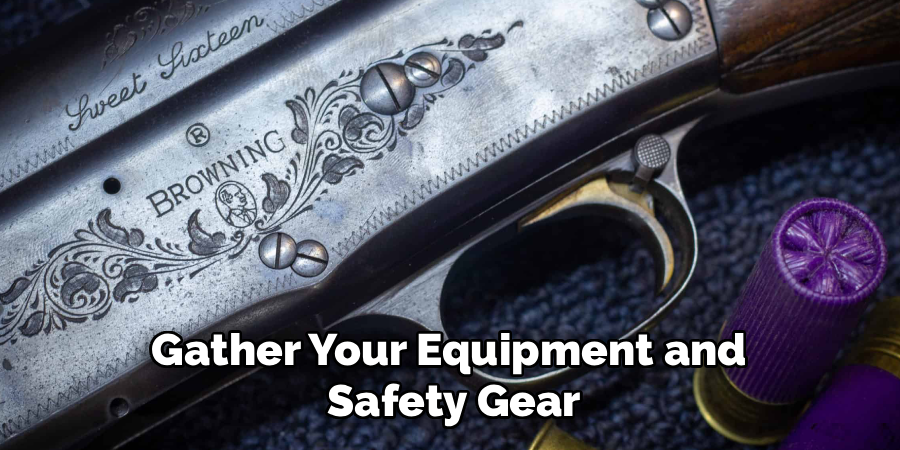
Step 1: Gather Your Equipment and Safety Gear
Before anything else, set up a safe, well-ventilated workspace. You’ll need stainless steel tanks, a reliable heat source, bluing salts, distilled water, and degreasing solution. Just as important is your protective gear chemical-resistant gloves, a face shield, an apron, and goggles are non-negotiable. The caustic salts reach temperatures near 290°F and can cause severe burns. Keep a source of clean water nearby for emergencies, and never work alone. Having everything organized before you start prevents dangerous mid-process scrambling. Think of preparation as the foundation that keeps the entire job both safe and successful.
Step 2: Disassemble the Firearm Completely
Take your firearm apart down to the bare barrel and any metal components you plan to finish. Remove springs, pins, sights, and wooden or polymer parts, since these can’t survive the hot salt bath. Keep your small parts organized in labeled containers so reassembly later goes smoothly. Inspect each component for damage or excessive wear while you’re at it. This step matters because any leftover part can interfere with even coverage or be ruined by the chemicals. Take photos as you go if you’re new to this, giving yourself a clear visual reference for putting everything back together correctly afterward.
Step 3: Polish and Prepare the Surface
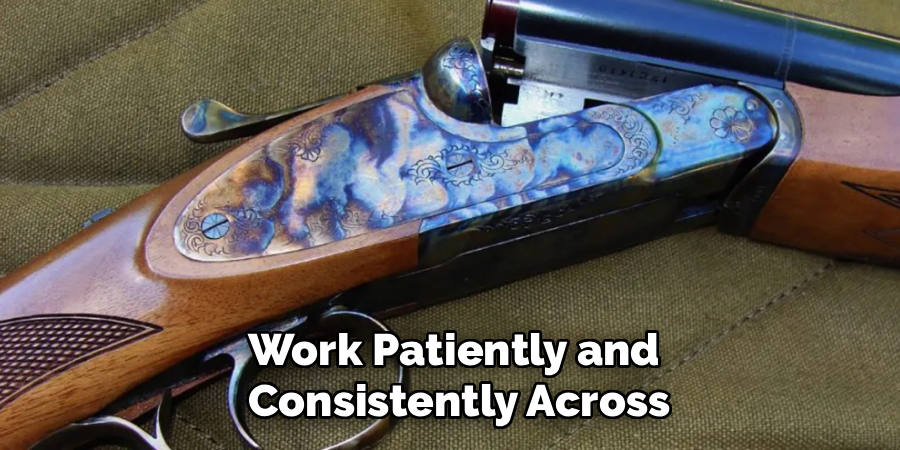
The quality of your final finish depends heavily on surface preparation. Use progressively finer grits of abrasive to remove old bluing, rust, and scratches. Aim for a smooth, even surface, since the salt bath reveals every imperfection underneath. A mirror-like polish produces a glossy blue, while a satin polish creates a softer matte look. Work patiently and consistently across the whole barrel. Don’t rush this stage, because flaws here become permanent once the steel is treated. When learning how to blue gun barrels using hot salt, remember that great results always begin with careful, methodical polishing and a genuinely clean foundation.
Step 4: Degrease Every Component Thoroughly
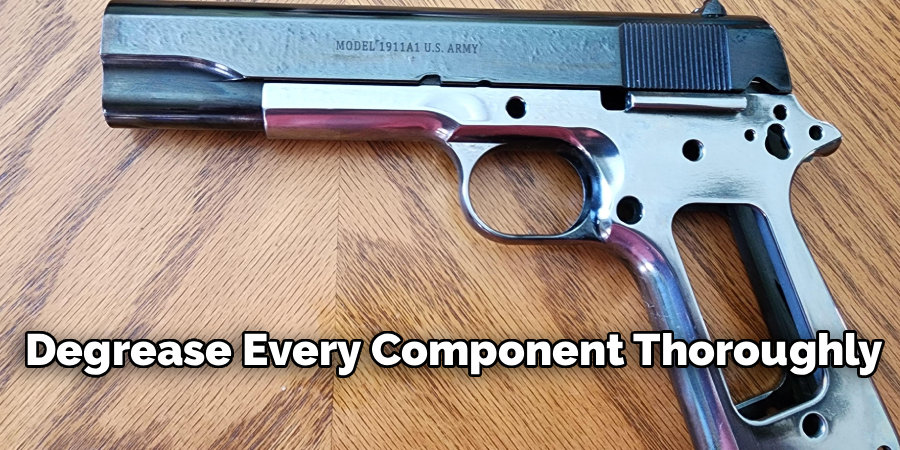
Oil, grease, and fingerprints are the enemy of even bluing. After polishing, clean each part with a strong degreasing agent to strip away every trace of contamination. Once degreased, avoid touching the bare metal with your hands, since natural skin oils will cause blotchy spots. Use clean gloves or hooks to handle the parts from this point forward. A proper degreasing ensures the salt solution bonds uniformly with the steel. Many beginners underestimate this step, then wonder why their finish came out uneven. Treat cleanliness as seriously as the chemistry itself, and you’ll see noticeably better, more consistent color.
Step 5: Heat the Salt Bath to the Correct Temperature
Carefully add your bluing salts to water in the stainless tank, then heat the solution to the manufacturer’s recommended temperature, usually between 275°F and 295°F. Use a quality thermometer and monitor it closely, since temperature directly controls color and quality. Too cool, and the steel won’t blue properly; too hot, and you risk a reddish, uneven tone. Add distilled water occasionally to maintain the correct boiling point as it evaporates. This is the heart of how to blue gun barrels using hot salt, so stay attentive and avoid distractions. Patience and precise temperature control reward you with a deep, beautiful finish.
Step 6: Immerse the Barrel in the Salt Solution
Lower your degreased barrel and parts slowly into the heated salt bath using stainless hooks or baskets. Submerge them fully and let them soak for around 15 to 30 minutes, depending on your salts and desired depth of color. Watch as the steel transforms into that signature blue-black shade. Move parts gently if needed to ensure even exposure, and avoid letting them touch the tank bottom. Timing matters here, so check the color periodically. Once you reach the rich, dark tone you want, you’re ready to remove the components and move on to rinsing and finishing.
Step 7: Rinse, Neutralize, and Oil the Finish
Remove the barrel and immediately rinse it in clean, boiling water to wash away residual salts. Follow with a neutralizing rinse to stop any lingering chemical reaction and prevent future corrosion. Dry the parts completely, then apply a generous coat of water-displacing oil to seal and protect the new finish. This final oiling enhances the color and locks out moisture. Let everything cure before reassembling your firearm. Take your time admiring the deep, even blue you’ve created. With proper care and regular light oiling, this finish will protect and beautify your firearm for many years to come.
Frequently Asked Questions
Is Hot Salt Bluing Safe to Do at Home?
It can be done at home, but only with serious precautions. The salts are highly caustic and heated to nearly 290°F, posing real burn and splash risks. You need proper ventilation, full protective gear, and dedicated equipment. Beginners should research thoroughly and consider practicing on scrap steel first. If you’re uncomfortable handling caustic chemicals, a professional gunsmith is the safer choice.
How Long Does the Bluing Finish Last?
A properly applied hot salt finish can last decades with basic care. Its hardness and corrosion resistance far exceed cold bluing methods. To maximize longevity, wipe the firearm down with a light protective oil after handling and store it in a dry environment. Exposure to constant moisture, sweat, or harsh solvents can wear it faster, so regular, gentle maintenance keeps the blue looking sharp for years.
Can I Blue Stainless Steel With This Method?
Standard hot salt bluing is designed for carbon steel, not stainless. Stainless steel resists the chemical reaction and won’t take the finish properly with regular salts. Specialized formulas exist for stainless, but they require different chemistry and procedures. Always confirm your firearm’s metal type before starting. Using the wrong salts on stainless wastes time and produces poor, inconsistent results, so match your materials to the correct process.
Why Did My Finish Come Out Uneven or Blotchy?
Uneven results usually trace back to poor preparation. Leftover oil, fingerprints, or inconsistent polishing are the most common culprits. Incorrect bath temperature and uneven immersion can also cause patchy color. Review your degreasing and polishing steps carefully, since cleanliness makes a huge difference. The good news is that you can strip the part and start fresh, applying what you learned to achieve a smoother, more uniform result.
What Equipment Is Absolutely Essential?
At minimum, you need stainless steel tanks, a strong heat source, an accurate thermometer, bluing salts, and a degreasing agent. Safety gear is equally essential, including chemical-resistant gloves, goggles, a face shield, and an apron. Stainless hooks help you handle parts safely. Cutting corners on quality tools or protection invites both poor results and serious injury, so invest in the right setup before beginning your first project.
Conclusion
Restoring a firearm with a deep, durable blue finish is one of the most rewarding projects a hobbyist or gunsmith can tackle. Now that you understand how to blue gun barrels using hot salt, you can see that success comes down to three things careful preparation, precise temperature control, and unwavering attention to safety. Each step builds on the last, from polishing and degreasing to immersing, rinsing, and oiling.
Take your time, respect the chemicals, and don’t be discouraged if your first attempt isn’t flawless. Every project sharpens your skills and improves your results. With practice, you’ll produce finishes that rival factory quality and protect your firearm for years. So gather your gear, set up a safe workspace, and put these steps into action. Your beautifully blued barrel is well within reach.

About
Stuart Rich is a distinguished figure in the world of metalworking and fabrication, with a decade of expertise creating innovative and sustainable metal projects. His professional focus lies in merging traditional blacksmithing and machining with modern manufacturing techniques, fostering designs that are both practical and durable. As the author of Metalenify, Stuart Rich delves into the art and science of metallurgy and DIY metal creation, inspiring artisans, hobbyists, and industry professionals alike.
Education
RMIT University
(Melbourne, Australia)
Associate Degree in Engineering Technology (Mechanical / Manufacturing)
Focus on metallurgical properties, industry-driven projects, and practical metal craftsmanship. Gained hands-on experience with traditional machining and digital manufacturing tools, such as CAD, CNC software, and precision welding equipment.
Nottingham Trent University
(United Kingdom)
Bachelor’s in Product Design and Materials Engineering (Honors)
Specialized in product design with a heavy focus on blending creativity with metal production and fabrication techniques. Participated in real-world industry projects, collaborating with architectural and hardware manufacturing companies to optimize material efficiency.
Publications and Impact
In Metalenify, Stuart Rich shares his insights on structural metal design processes, material grades, and strategies for efficient shop production. His writing bridges the gap between raw artisan knowledge and modern industrial needs, making it a must-read for both budding DIY metalworkers and seasoned fabrication professionals.





