
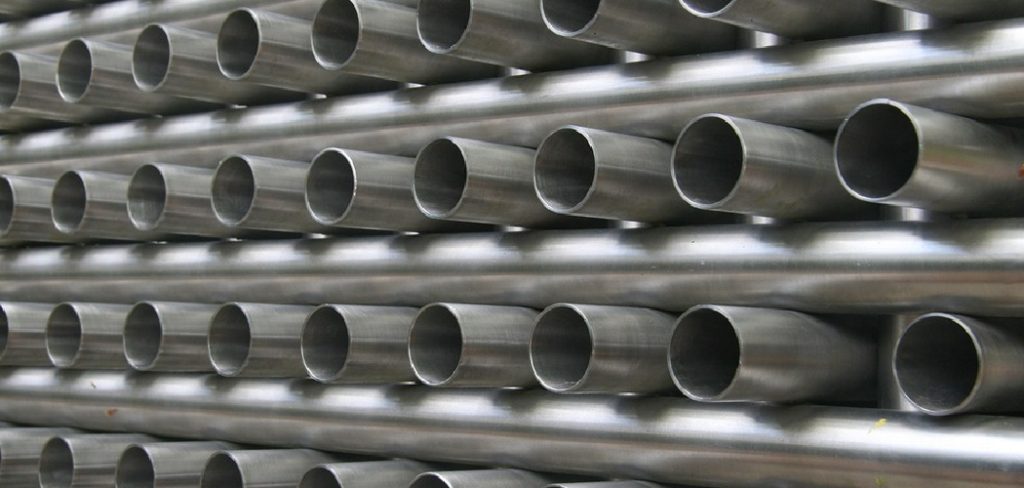
Brazing steel tubing is one of the most reliable ways to join metal without melting the base material. Whether you’re repairing a bicycle frame, building a fuel line, or fabricating a custom project, brazing gives you strong, leak-free joints that hold up under pressure and heat.
The best part? You don’t need a welding certification or a workshop full of expensive gear to get started.
In this guide, you’ll learn exactly how to braze steel tubing from start to finish. We’ll cover the benefits, the tools and materials you need, and a clear 10-step process you can follow right at your bench. You’ll also discover the common mistakes that ruin joints and how to avoid them, plus answers to the questions beginners ask most.
What Are the Benefits of Brazing Steel Tubing?
Brazing isn’t welding, and that difference works in your favor in many situations. With welding, you melt the base metal itself. With brazing, you heat the joint and let a molten filler rod flow into the gap by capillary action. The steel never melts, which keeps your tubing strong and undistorted.
Here’s why so many fabricators and hobbyists choose brazing:
- Strong, durable joints. A properly brazed joint can be as strong as the tubing itself, especially in lap or sleeve connections.
- Lower heat distortion. Because you don’t melt the steel, thin-walled tubing stays straight and true.
- Joins different metals. Brazing lets you connect steel to brass, copper, and other dissimilar metals that are tough to weld.
- Clean appearance. Brazed joints look neat and need little cleanup, which matters for visible work like furniture or bike frames.
- Affordable to start. A basic torch setup costs far less than a welder, making brazing perfect for beginners.
- Leak-tight seals. The filler flows into every gap, creating joints that hold gas and liquid without leaks.
What Will You Need?
Gather everything before you light your torch. Stopping mid-job to find a missing tool can ruin a heated joint. Here’s your checklist:
Tools:
- An oxy-acetylene torch or a high-heat propane/MAPP gas torch
- A striker or spark lighter
- A wire brush (stainless steel bristles)
- Files or emery cloth for cleaning
- Locking pliers or a vise to hold parts
- A tube cutter or hacksaw
Materials:
- Steel tubing (your workpieces)
- Brazing filler rod (bronze or silver-based, depending on strength needs)
- Brazing flux (matched to your filler rod)
- Clean rags
Safety Gear:
- Welding or brazing goggles (shade 4–5)
- Heat-resistant gloves
- A fire-resistant apron
- A fire extinguisher within reach
- Proper ventilation or a respirator
Don’t skip the safety gear. Brazing produces intense heat, bright light, and fumes that you should never breathe directly.
10 Easy Steps on How to Braze Steel Tubing
Follow these steps in order. Each one builds on the last, so take your time and don’t rush the prep work.
Step 1: Set Up a Safe Work Area
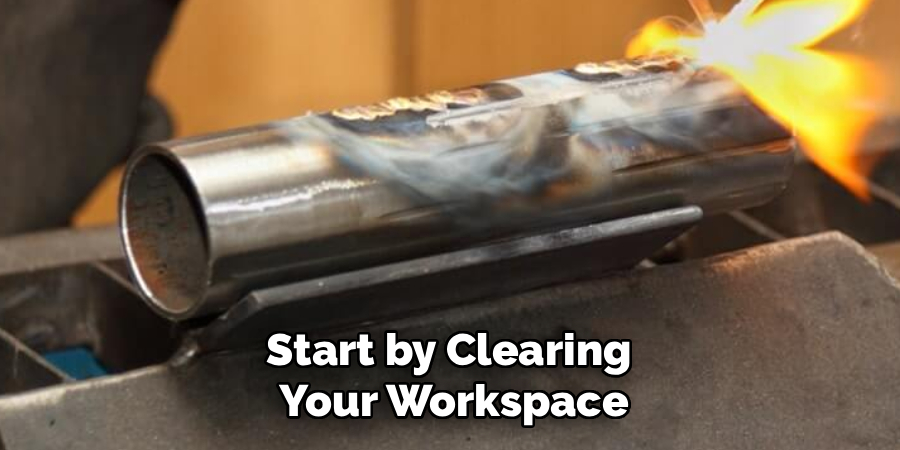
Start by clearing your workspace of anything flammable. Brazing temperatures climb past 1,100°F, and sparks can travel. Set up on a fireproof surface like a steel bench or firebrick. Make sure you have good ventilation, since flux and filler can release fumes. Keep your fire extinguisher within arm’s reach and remove rags, fuel, and paper from the area. A clean, organized space lets you focus on the joint instead of dodging hazards. This first step takes only a few minutes but prevents the most serious accidents.
Step 2: Measure and Cut Your Tubing
Accurate cuts make tight joints, and tight joints braze best. Measure your tubing twice, then cut once using a tube cutter for round stock or a hacksaw for thicker pieces. A tube cutter gives you a cleaner, squarer edge with less burring. After cutting, check that the ends meet flush or that one tube slides snugly into the other for a sleeve joint. Remember: brazing relies on capillary action to pull filler into a tiny gap, so aim for a clearance of about 0.001 to 0.005 inches. Gaps that are too wide won’t fill properly.
Step 3: Clean the Joint Surfaces
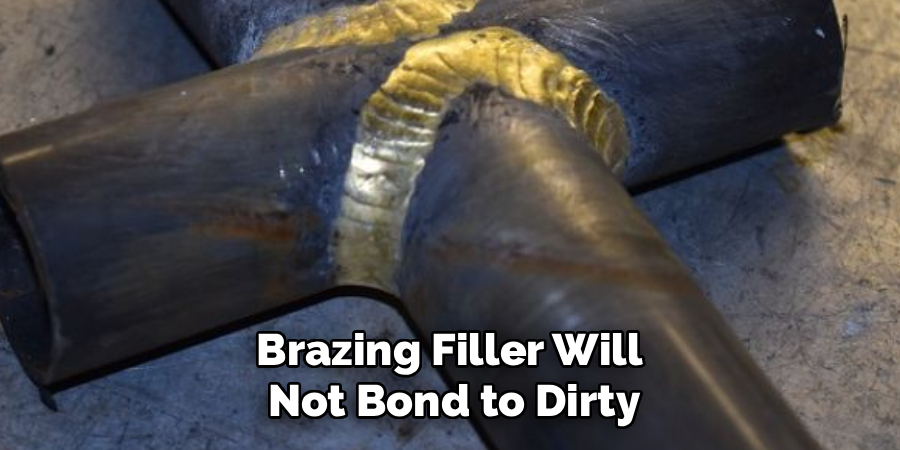
Brazing filler will not bond to dirty, oily, or oxidized steel. Use emery cloth, a file, or a wire brush to scrub the joint area until it shines. Remove all rust, paint, scale, and grease. Wipe the metal with a clean rag to lift any remaining dust or oil from your hands. Cleanliness here is not optional, it’s the single biggest factor in joint strength. A bright, bare surface lets the molten filler wet the metal and flow smoothly into the gap.
Step 4: Fit and Secure the Pieces
Now position your tubing exactly how you want it joined. Use a vise, clamps, or locking pliers to hold the parts steady. Any movement during heating will create a weak, misaligned joint. Double-check your alignment with a square if the angle matters. Make sure the parts won’t shift when you apply heat, since you’ll need both hands free for the torch and filler rod. A solid setup means you can concentrate on heat control rather than fighting moving parts.
Step 5: Apply Flux to the Joint
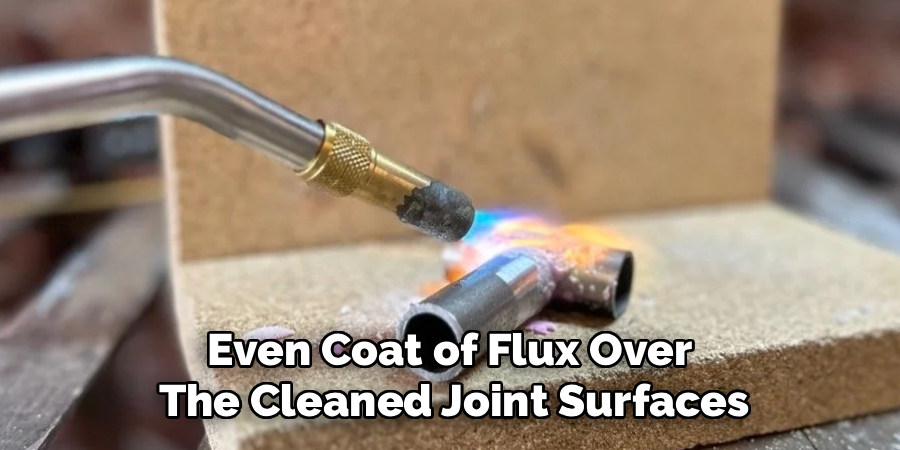
Brush a thin, even coat of flux over the cleaned joint surfaces. Flux does two jobs: it prevents oxidation as the metal heats, and it helps the filler flow. Use the flux type that matches your filler rod, and don’t glob it on. A light coat is enough. If you’re using a silver filler, dip the heated rod into the flux as well. Apply flux right before brazing so it doesn’t pick up dust or dry out before you start heating.
Step 6: Light and Adjust Your Torch
Light the torch with your striker, never a loose match. Adjust the flame to a neutral setting, which means equal fuel and oxygen with a sharp inner cone. A neutral flame gives you clean, controlled heat without adding extra oxygen that causes scaling. If you’re using a single-gas torch, simply open it to a strong, steady flame. Hold the torch at a comfortable angle and get a feel for the flame before you bring it to the metal.
Step 7: Heat the Joint Evenly
Bring the flame to the joint and heat the tubing, not the filler rod. Move the torch in small circles to spread the heat across both pieces evenly. You want the steel to reach the brazing temperature, which shows as a dull cherry-red glow. Heat both sides of the joint equally so the filler will flow toward both pieces. Patience matters here. Rushing leads to cold spots where the filler won’t bond. Keep the flame moving so you don’t overheat one area.
Step 8: Apply the Filler Rod
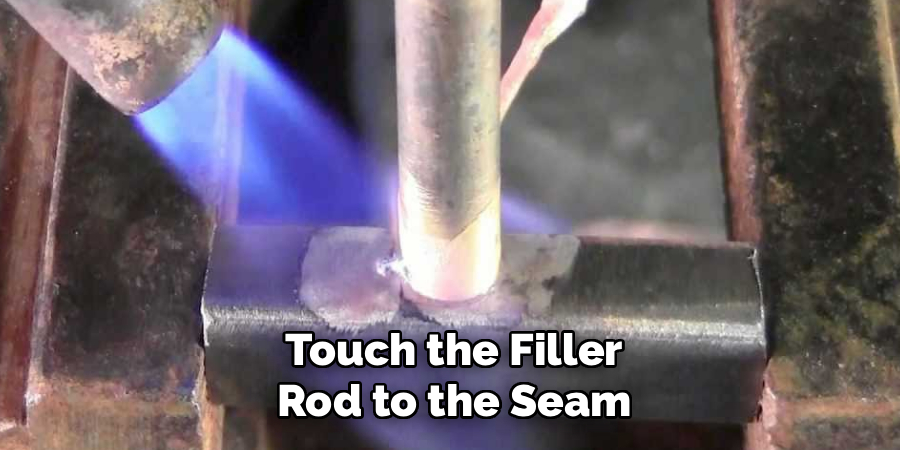
Once the joint glows and the flux turns clear and runny, touch the filler rod to the seam. The heat of the metal, not the flame, should melt the rod. If the rod balls up instead of flowing, the joint isn’t hot enough yet. When it’s ready, the filler will flow into the gap and chase the heat. Feed just enough rod to fill the joint completely without piling up excess. Move steadily around the seam so the filler wraps the whole joint.
Step 9: Let the Joint Cool Naturally
Pull the torch away and let the joint cool on its own. Never quench it in water, since rapid cooling can crack the joint and make the steel brittle. Leave the parts clamped until the metal loses its glow and is safe to handle. Cooling slowly lets the joint reach full strength. Rushing this step undoes all your careful work, so give it the time it needs even if it feels slow.
Step 10: Clean and Inspect Your Work
Once cool, scrub off the leftover flux residue with warm water and a wire brush. Hardened flux can hide flaws and trap moisture that leads to rust. With the joint clean, inspect it closely. Look for a smooth, continuous fillet of filler with no gaps, pinholes, or cracks. The filler should flow neatly around the whole seam. If you spot a weak area, you can reflux, reheat, and add more filler. A good joint looks complete and feels solid.
5 Things You Should Avoid
Even careful beginners slip up. Watch out for these common mistakes:
- Skipping the cleaning step. Oil, rust, or paint will stop the filler from bonding. A dirty joint is the number one cause of failure.
- Overheating the metal. Too much heat scorches the flux, weakens the steel, and burns away the filler. Aim for a dull cherry-red, not white-hot.
- Melting the rod with the flame. The hot metal should melt the filler, not the torch. Heating the rod directly leaves a cold, weak joint.
- Leaving gaps too wide. Capillary action needs a tight fit. A loose joint won’t pull in filler and will stay hollow and weak.
- Quenching to cool faster. Dunking a hot joint in water can crack it. Always let it cool in open air.
Conclusion
How to braze steel tubing comes down to three things: clean preparation, controlled heat, and patience. When you scrub your joints bright, fit them tightly, and let the hot metal pull the filler into the gap, you’ll create connections that hold strong for years. The process rewards careful work far more than expensive equipment.
Start small. Practice on a few scrap pieces of tubing before tackling your real project, and inspect each joint closely to learn what a good braze looks and feels like.
With the 10 steps above and the mistakes to avoid fresh in mind, you have everything you need to get started today. Grab your tubing, set up a safe workspace, and put your new skills to work.

About
Stuart Rich is a distinguished figure in the world of metalworking and fabrication, with a decade of expertise creating innovative and sustainable metal projects. His professional focus lies in merging traditional blacksmithing and machining with modern manufacturing techniques, fostering designs that are both practical and durable. As the author of Metalenify, Stuart Rich delves into the art and science of metallurgy and DIY metal creation, inspiring artisans, hobbyists, and industry professionals alike.
Education
RMIT University
(Melbourne, Australia)
Associate Degree in Engineering Technology (Mechanical / Manufacturing)
Focus on metallurgical properties, industry-driven projects, and practical metal craftsmanship. Gained hands-on experience with traditional machining and digital manufacturing tools, such as CAD, CNC software, and precision welding equipment.
Nottingham Trent University
(United Kingdom)
Bachelor’s in Product Design and Materials Engineering (Honors)
Specialized in product design with a heavy focus on blending creativity with metal production and fabrication techniques. Participated in real-world industry projects, collaborating with architectural and hardware manufacturing companies to optimize material efficiency.
Publications and Impact
In Metalenify, Stuart Rich shares his insights on structural metal design processes, material grades, and strategies for efficient shop production. His writing bridges the gap between raw artisan knowledge and modern industrial needs, making it a must-read for both budding DIY metalworkers and seasoned fabrication professionals.





