
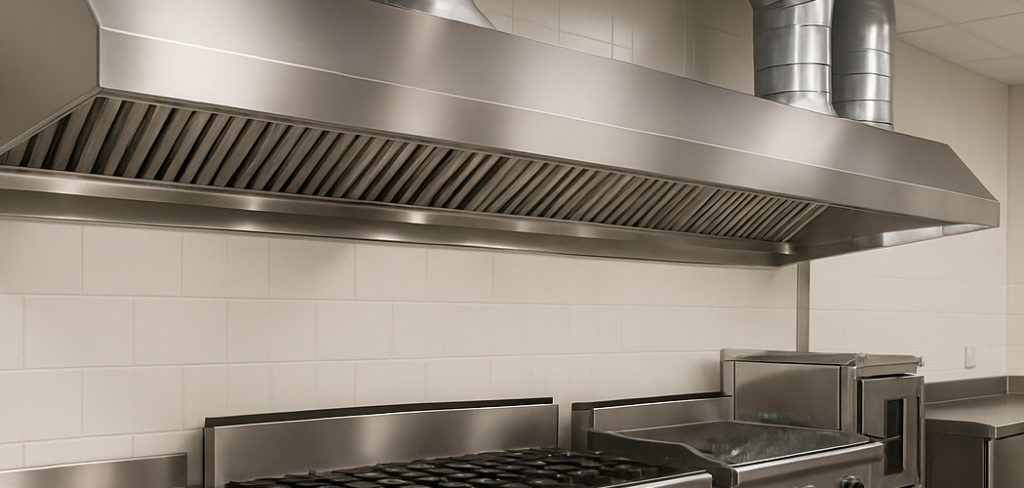
You flip on the extractor fan halfway through cooking, expecting that familiar pull of air, and instead you get a faint hum and almost nothing else. Look up, and the culprit is usually right there: a greasy sheen coating the metal mesh filter, dulling its shine and quietly choking the airflow.
That clog does more than slow the fan. A grease-soaked filter strains the motor, lets cooking odors drift through the house, and can even become a fire risk over time.
The reassuring part is that learning how to clean a metal mesh cooker hood filter is simple, cheap, and quicker than you’d guess once you know the right soaking method. This guide walks through why grease builds up so fast, the everyday supplies that cut through it, a clear step-by-step process, stronger methods for stubborn grime, and a routine that keeps the hood pulling at full strength.
Why Your Mesh Hood Filter Gets So Greasy
Before you start scrubbing, it helps to understand what’s actually collecting on that filter. The mesh isn’t just decorative. It’s doing a job, and the buildup is the evidence.
How the Mesh Traps Grease and Smoke
The filter is made of several layers of fine metal mesh, stacked and slightly offset. As steam and smoke rise from the pan, that layered structure catches the tiny oil droplets and food particles carried up with the heat.
It’s working exactly as designed. The trouble is that everything it traps stays put, so the grease accumulates layer by layer with every meal.
Why a Clogged Filter Hurts Performance
Once grease fills the mesh, air can no longer pass through freely. The fan has to work harder to pull the same volume of air, which strains the motor and shortens its life.
You also lose the whole point of the hood. Cooking smells linger, the kitchen feels stuffier, and grease that should have been captured starts settling on cabinets and walls instead.
The Hidden Fire Risk of Built-Up Grease
This is the part people tend to overlook. A filter saturated with grease sits directly above an open flame or hot element, and grease is flammable.
A stray flare-up from the pan can, in the worst case, ignite a heavily clogged filter. Regular cleaning isn’t just about airflow and odor, then. It’s a genuine safety measure.
How Often to Clean a Mesh Filter
There’s no single rule that fits every kitchen, since how often you cook matters far more than the calendar. Still, a few guidelines make it easy to land on a sensible schedule.
Light, Moderate, and Heavy Cooking Habits
If you mostly reheat or cook the occasional simple meal, the filter may only need attention every couple of months. Daily cooking pushes that timeline up considerably.
Frying is the big one. Anyone who pan-fries or deep-fries regularly should expect to clean the filter more often, since oil becomes airborne fast and clings hard.
Signs Your Filter Needs Attention Now
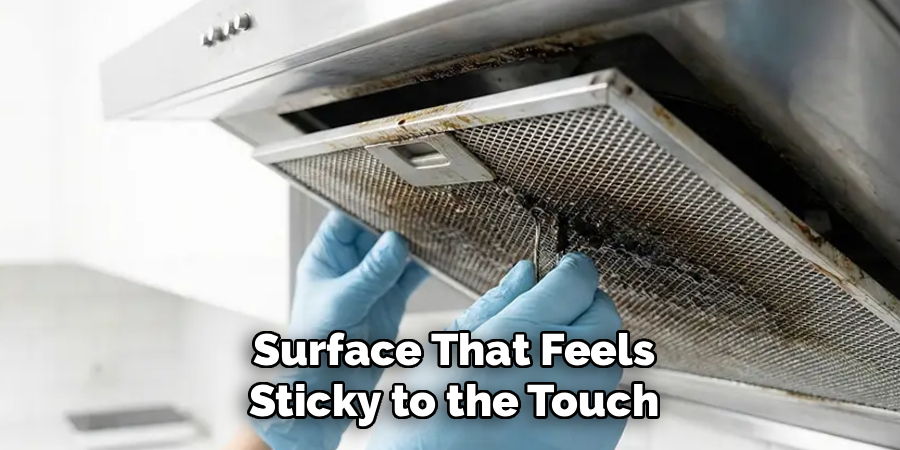
Your filter often tells you when it’s due. A surface that feels sticky to the touch, noticeably weaker suction, and a dull, darkened appearance are all clear signals.
If you can see grease pooling in the mesh or the fan seems louder than usual, don’t wait. Those are cues that the filter has stopped doing its job well.
Building a Simple Cleaning Routine
The easiest approach is to stay ahead of the buildup rather than chase it. A monthly soak suits most households and keeps each cleaning quick and painless.
Tie it to something you already remember, like the start of the month or a regular deep-clean day. A light, frequent habit beats a dreaded, occasional battle with caked-on grease.
What You Need to Clean the Filter
You almost certainly have everything required already. A handful of gentle, affordable supplies handles the vast majority of greasy filters without any special products.
Gentle Everyday Cleaners
Dish soap is the obvious starting point, since it’s built to cut grease. Baking soda adds a mild lifting and deodorizing boost, and white vinegar helps dissolve the last of the film.
Between these three, most grease doesn’t stand much of a chance. They’re cheap, safe on metal, and easy to rinse away.
Tools That Lift Grime Without Damage
The tools matter as much as the cleaners. A soft brush or an old toothbrush works the bristles into the mesh grooves, and a nonabrasive sponge handles the flat surfaces.
The key is keeping anything harsh away from the delicate layers. The mesh bends and crushes more easily than it looks, so gentle tools are the rule here.
Helpful Extras for Heavy Buildup
For neglected or heavily fried-on filters, a few extras speed things along. A kitchen degreasing spray cuts through thick grease, and plenty of hot water loosens the rest.
A large sink or a plastic tub gives you room to lay the filter flat and keep it fully submerged. That space alone makes the job noticeably easier.
Preparing to Clean Your Hood Filter
A minute of setup makes the whole process safer and smoother. It’s tempting to dive in, but these small steps are worth it.
Turning Off the Hood and Cooling Down
First, switch off the hood and, if you can, isolate the power. You don’t want the fan running or the light hot while you’re working underneath it.
Let everything cool down, too. The area above a stove holds heat, and a cool unit is simply safer to handle.
Removing the Filter Safely
Most mesh filters release with a small clip, tab, or latch. Locate it, press or slide it as the design intends, and ease the filter out without forcing it.
Handle it flat and steady rather than yanking it free. Bending the frame or crushing the mesh is easy to do in a hurry, and it can affect how well the filter seats afterward.
Setting Up a Soaking Station
Before the grease starts dripping, prepare your space. Line a sink or tub, and lay down a towel or some newspaper to protect nearby surfaces from oily splatter.
A greasy filter can leave marks on countertops and cabinet doors. A little protection now saves a secondary cleanup later.
How to Clean a Metal Mesh Cooker Hood Filter: Step-by-Step Guide
Here’s the core method, built around a hot water, dish soap, and baking soda soak. The principle running through it is simple: let the soak do the heavy lifting. Give it enough time, and your scrubbing stays light.
Step 1: Remove the Filter From the Hood
Unclip the mesh filter and lift it out carefully. While you’re there, check behind it, since some hoods hide a second filter or a separate charcoal filter further back.
Set the metal mesh filter aside on your prepared surface. Charcoal filters, if present, are usually replaced rather than washed, so don’t soak those.
Step 2: Fill a Sink or Tub With Hot Water
Run water as hot as you can comfortably handle and fill the sink or tub. Heat is your strongest ally here, since it loosens grease faster than anything else in the process.
Make sure there’s enough depth to cover the filter fully. A shallow puddle won’t do the trick.
Step 3: Add Dish Soap and Baking Soda
Squirt in a generous amount of grease-cutting dish soap and stir it through the water. Then add a few tablespoons of baking soda.
Expect a little fizzing, which is perfectly normal. The soap breaks down the grease while the baking soda boosts the cleaning and helps lift trapped odors.
Step 4: Submerge and Soak the Filter
Lower the filter into the water and lay it flat so the whole thing stays covered. Let it soak for fifteen to thirty minutes, longer if the grease is thick.
This is the part where patience pays off most. While it sits, the hot solution works into the mesh layers and dissolves grease you’d otherwise have to scrub by hand.
Step 5: Scrub Gently With a Soft Brush
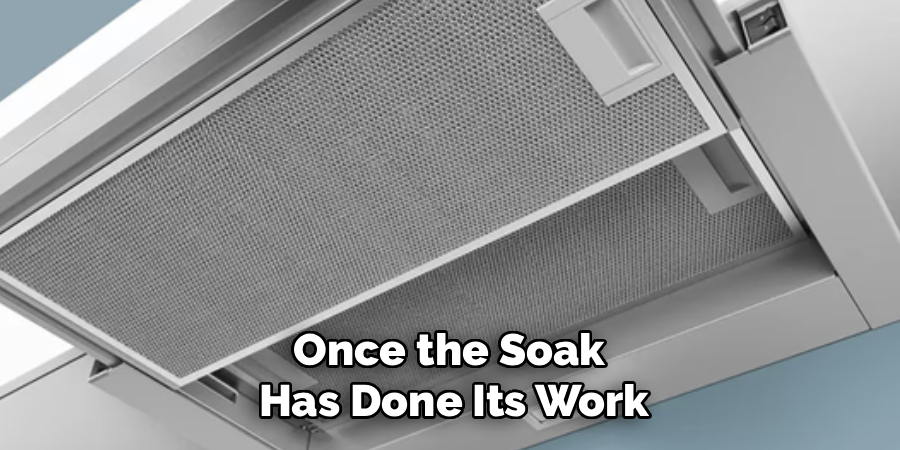
Once the soak has done its work, lift the filter out and go over it with an old toothbrush or soft brush. Work along the grooves of the mesh rather than jabbing straight into it.
Keep the pressure light. The goal is to coax out the loosened grease, not to crush the delicate metal layers underneath.
Step 6: Add a Vinegar or Boiling Water Boost
For any patches that still feel sticky, bring in a little extra help. Pour boiling water directly through the stubborn areas, or wipe them with white vinegar to dissolve the last of the film.
Often, this final boost clears whatever the soak left behind. If the grease has been there a while, you may need to repeat the soak rather than scrub harder.
Step 7: Rinse Thoroughly Under Hot Water
Rinse both sides of the filter under hot running water until the water runs clear. You want every trace of soap, baking soda, and loosened grease gone.
Don’t rush this. Leftover soapy residue can attract dust and grime once the filter is back in place, which rather undoes your effort.
Step 8: Dry Completely Before Reinstalling
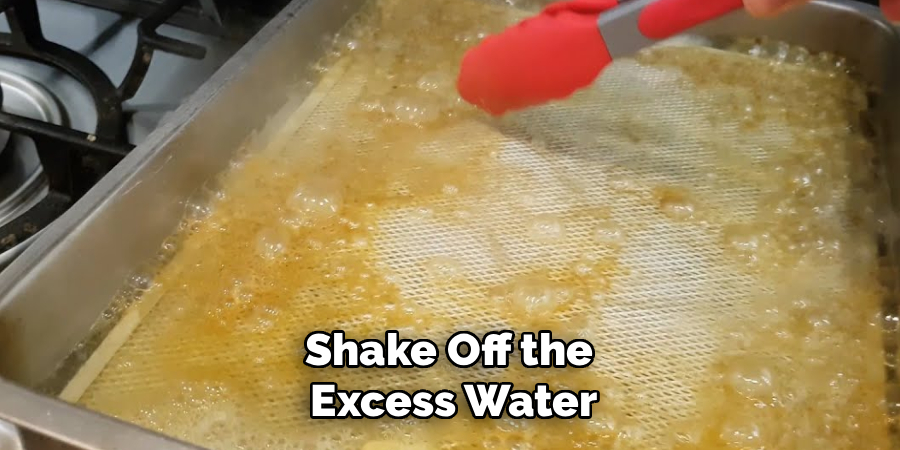
Shake off the excess water, pat the filter with a towel, and let it air dry fully. A genuinely dry filter is important here.
Reinstalling a damp filter traps moisture against the hood and can actually help fresh grease cling faster. Once it’s dry, clip it back into place, and you’re done.
Quick recap: remove the filter, soak it in hot soapy water with baking soda, scrub gently along the mesh, boost stubborn spots with vinegar or boiling water, rinse clear, and dry before reinstalling.
How to Tackle Heavy, Baked-On Grease
Sometimes a single soak doesn’t fully clear a badly neglected filter. When that happens, a few stronger approaches step in without resorting to anything that might damage the mesh.
The Boiling Pot Method
For thick, hardened grease, heat does even more good. Place the filter in a large pot of water with a few tablespoons of baking soda and bring it to a gentle simmer.
The simmering water melts away the grease that the cold soak can’t reach. Just make sure the pot is big enough to hold the filter without bending it.
The Degreasing Spray Soak
When you’re dealing with commercial-grade or long-ignored buildup, a kitchen degreaser earns its place. Spray it generously over the filter, let it sit for the time the label suggests, then rinse it thoroughly.
These products are formulated to dissolve heavy grease quickly. Rinse well afterward so no chemical residue lingers on the mesh.
The Overnight Soak for Neglected Filters
If a filter has gone months without attention, time can do the work for you. Leave it in hot, soapy water overnight and let the solution break down the grease slowly.
By morning, the buildup has usually softened enough to wipe and rinse away with far less scrubbing. It’s the lazy option, and on the worst filters, it may be the most effective one.
Can You Clean Mesh Filters in the Dishwasher
The dishwasher is a tempting shortcut, and for some filters, it works fine. It does come with a trade-off worth understanding first.
When the Dishwasher Works Well
For light to moderate grease on a dishwasher-safe metal mesh filter, a hot cycle can handle the job nicely. The combination of heat and water pressure clears everyday buildup with no effort from you.
Place the filter where it won’t block the spray arms. On a manageable layer of grease, you may find it comes out perfectly clean.
The Risk of Discoloration
Here’s the catch. Aluminum mesh, from which many filters are made, can react with harsh dishwasher detergents over repeated cycles.
The result is often a darkened or dull, chalky finish. It rarely affects how the filter works, but it can leave the metal looking permanently aged.
How to Wash It Safely
If you do use the dishwasher, take a few precautions. Run the filter alone on a hot cycle, use a gentle detergent, and skip the heated dry phase if you can, letting it air dry instead.
When in doubt about the material, the hand-soak method is the safer bet. It’s gentler on the metal and just as effective.
Common Mistakes to Avoid
A few habits quietly damage the filter or make the job harder than it needs to be. Steering clear of them keeps your filter working and looking right.
Using Steel Wool or Wire Brushes
It’s the instinct when grease won’t budge, and it’s the costliest one. Steel wool and wire brushes crush the fine mesh and tear at the delicate metal layers.
Once the mesh is flattened or torn, the filter traps grease less effectively. Stick to soft brushes and let the soak do the hard work instead.
Skipping the Soak and Scrubbing Dry
Going straight at dry, caked-on grease with a brush is a recipe for frustration. Without the soak, you tend to smear and push the grease deeper rather than lifting it out.
The soak is the most important step for a reason. Give it time, and the scrubbing becomes almost an afterthought.
Reinstalling While Still Wet
Putting a damp filter back is an easy oversight with real consequences. Trapped moisture can encourage grease to cling faster and may sit against the hood where you’d rather it didn’t.
Let the filter dry fully before it goes back. A few extra minutes here keeps the whole thing cleaner for longer.
How to Keep Your Filter Clean Longer
Cleaning is satisfying, but slowing the buildup is even better. A few habits stretch out the time between deep cleans.
Running the Hood While Cooking
Switch the fan on at the start of cooking, not after the smoke appears. Running it from the beginning captures grease and steam at the source, before they have a chance to settle on cabinets or drift through the room.
It’s a small change in timing. Over weeks, it noticeably reduces how much grease ends up clogging the mesh.
Wiping the Filter Between Deep Cleans
A quick surface wipe now and then slows the buildup considerably. A soft cloth with a little soapy water over the visible grease takes a minute and keeps the sticky film from accumulating.
Think of it as maintenance rather than cleaning. Small touch-ups space out the bigger soaks.
Cooking Smarter to Cut Grease
Some grease never reaches the filter if it never goes airborne. Using lids while frying and keeping the heat moderate cuts down on the oil that escapes into the air.
It won’t eliminate buildup, of course. But less airborne grease means a cleaner filter and a lighter cleaning job each time.
Frequently Asked Questions
A few questions come up again and again. Here are short, honest answers.
How Often Should I Clean My Hood Filter?
Most kitchens do well with a cleaning every one to two months. Frequent frying or daily heavy cooking can push that to monthly or even more often.
The simplest guide is the filter itself. When it feels sticky or the suction weakens, it’s time, regardless of the calendar.
Will Baking Soda Damage an Aluminum Mesh Filter?
No, a gentle baking soda soak is safe and genuinely effective on aluminum mesh. It lifts grease and odors without harming the metal.
The main thing is to rinse well afterward. Leaving residue behind, rather than the baking soda itself, is what causes trouble.
Can I Reuse a Filter That Looks Stained?
Yes. A clean, grease-free filter still does its job perfectly even if the metal looks slightly darkened or discolored.
Appearance and function aren’t the same thing here. As long as air passes through freely and the mesh isn’t damaged, a faded filter is fine to keep using.
Conclusion
For all the dread a grease-clogged filter can inspire, learning how to clean a metal mesh cooker hood filter really comes down to a few easy moves with supplies already in your kitchen. Remove the filter safely, soak it in hot water with dish soap and baking soda, scrub gently along the mesh, boost any stubborn spots with vinegar or boiling water, and dry it fully before reinstalling.
The bigger lesson is that staying ahead of the buildup beats fighting it. A simple monthly routine protects your airflow, keeps cooking odors from lingering, and lowers the very real fire risk that a saturated filter carries.
So give your filter a soak this week, then set a recurring reminder so it never reaches the caked-on stage again. Treated this way, your extractor hood stays quieter, pulls stronger, and keeps the kitchen smelling fresher for years to come.

About
Stuart Rich is a distinguished figure in the world of metalworking and fabrication, with a decade of expertise creating innovative and sustainable metal projects. His professional focus lies in merging traditional blacksmithing and machining with modern manufacturing techniques, fostering designs that are both practical and durable. As the author of Metalenify, Stuart Rich delves into the art and science of metallurgy and DIY metal creation, inspiring artisans, hobbyists, and industry professionals alike.
Education
RMIT University
(Melbourne, Australia)
Associate Degree in Engineering Technology (Mechanical / Manufacturing)
Focus on metallurgical properties, industry-driven projects, and practical metal craftsmanship. Gained hands-on experience with traditional machining and digital manufacturing tools, such as CAD, CNC software, and precision welding equipment.
Nottingham Trent University
(United Kingdom)
Bachelor’s in Product Design and Materials Engineering (Honors)
Specialized in product design with a heavy focus on blending creativity with metal production and fabrication techniques. Participated in real-world industry projects, collaborating with architectural and hardware manufacturing companies to optimize material efficiency.
Publications and Impact
In Metalenify, Stuart Rich shares his insights on structural metal design processes, material grades, and strategies for efficient shop production. His writing bridges the gap between raw artisan knowledge and modern industrial needs, making it a must-read for both budding DIY metalworkers and seasoned fabrication professionals.





