
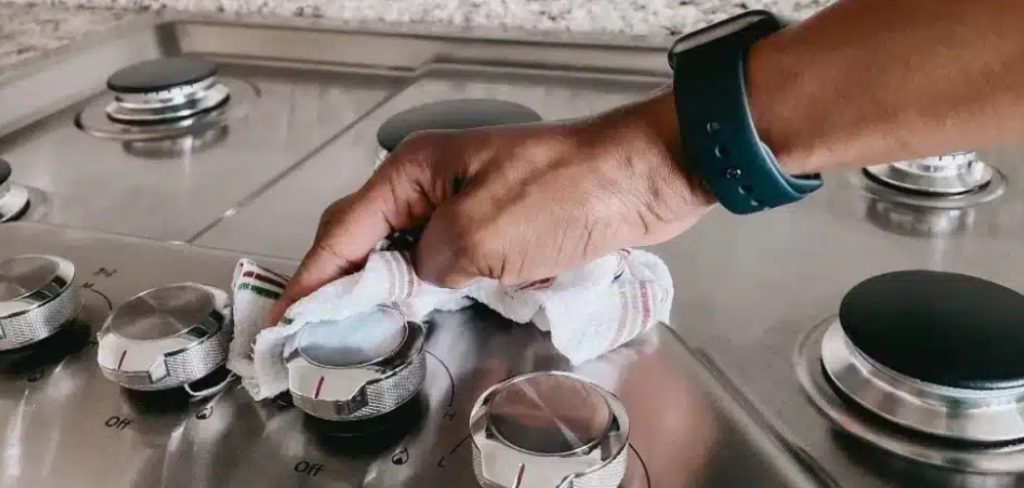
That sleek stainless steel cooktop looked flawless in the showroom, all clean lines and mirror shine. A few months into real cooking, though, you start noticing the fine scratches and dull little swirls creeping across the surface. It’s a quiet kind of disappointment.
Every day cooking does this. Smudges, streaks, and tiny scrapes accumulate faster than most people expect, and a lot of them come from the cleaning itself rather than the cooking.
The good news is that learning how to clean stainless steel cooktop without scratching is genuinely easy once you understand the right cleaners, the right tools, and the direction you should be wiping. This guide covers why scratches happen in the first place, the gentle supplies that protect the finish, a clear step-by-step process, the safest way to lift stuck-on messes, and the habits that keep the surface gleaming.
Why Stainless Steel Cooktops Scratch So Easily
Before you clean, it helps to understand why this surface marks up so readily. The vulnerability isn’t a flaw exactly, more a consequence of what gives stainless steel its good looks.
The Soft Brushed Finish
That subtle directional sheen on a stainless cooktop comes from a brushed finish, a series of very fine grooves running one way across the metal. It’s attractive, and it hides fingerprints reasonably well.
It’s also thin and relatively soft. The same brushed grain that catches the light is easy to scuff, so anything dragged carelessly across it can leave a mark that catches the light differently.
Trapped Grit and Hard Particles
Here’s the part people rarely consider. Crumbs, spilled sugar, and ordinary dust are harder than they feel.
Drag a cloth over a gritty surface, and you’re essentially rubbing fine sandpaper across the finish. The particles get caught under the cloth and score the metal as you wipe, which is how a routine cleanup can quietly cause damage.
The Wrong Tools and Cleaners
Then there are the tools themselves. Abrasive scrub pads, scouring powders, and stiff or worn cloths all leave permanent marks on stainless steel.
It’s an easy mistake, since these things feel like they’re doing a thorough job. The trouble is that thoroughness, applied with the wrong materials, tends to dull the finish rather than restore it.
What You Need to Clean Without Scratching
You don’t need a cabinet full of specialty products. A few gentle supplies handle nearly everything while keeping the finish safe.
Soft, Nonabrasive Cloths
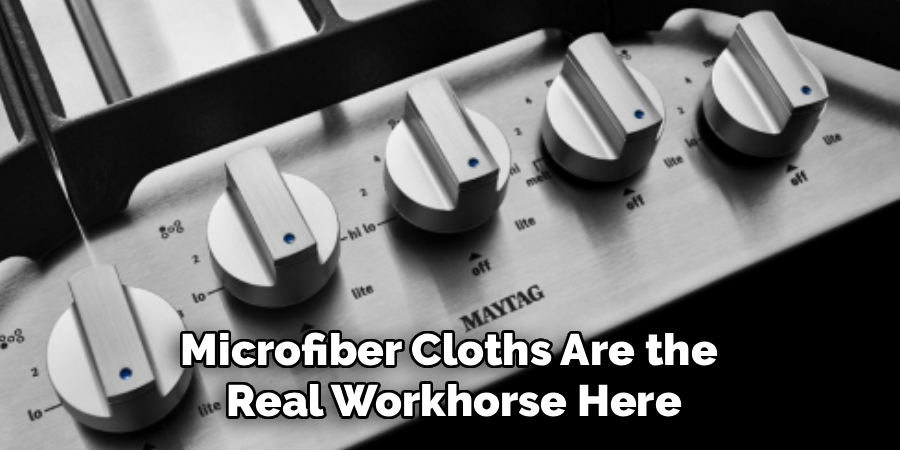
Microfiber cloths are the real workhorse here. They lift grime and grease without leaving marks, and they hold onto loosened particles instead of dragging them around.
A soft sponge fills in for the occasional wet wipe-down. The point is to keep everything that touches the surface genuinely soft, which rules out most of what lives under the average kitchen sink.
Safe, Gentle Cleaners
For cleaning solutions, simple is better. Warm water with a few drops of dish soap handles the majority of everyday messes.
White vinegar cuts through film and banishes streaks, while baking soda offers mild lifting power for stuck-on spots. Between these three, you can tackle almost anything a cooktop throws at you without resorting to anything harsh.
Specialty Helpers and Finishing Aids
A few extras come in handy for detail work and shine. A dedicated stainless steel cleaner can restore luster, and a soft toothbrush reaches into edges and around control knobs where a cloth won’t fit.
A little mineral oil, used sparingly, adds a final touch by repelling fingerprints. None of these are essential, but they’re nice to have when you want the surface looking its best.
Preparing the Cooktop Before You Clean
A minute of prep prevents most accidental scratches and makes the cleaning itself quicker. It’s worth not skipping.
Letting the Surface Cool Completely
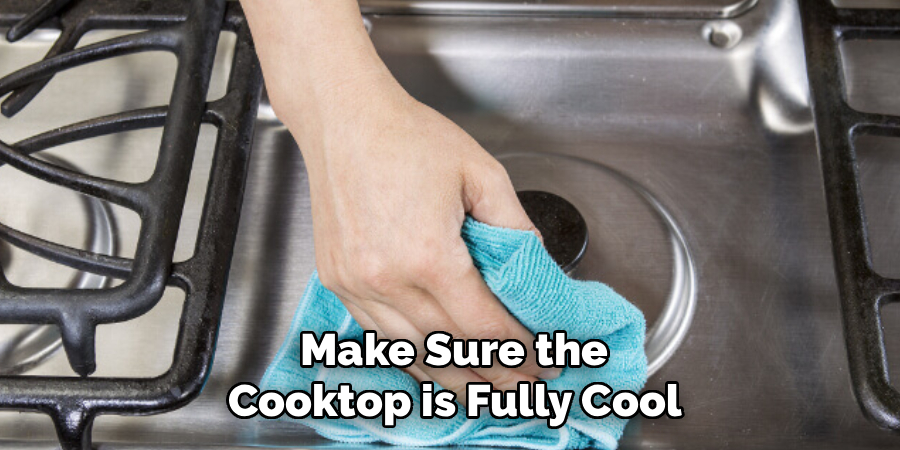
First things first: make sure the cooktop is fully cool to the touch. Cleaning a hot surface is both a burn risk and a cleaning problem.
Water and cleaners can streak unevenly on warm metal, and rapid temperature changes may stress the surface. Patience here keeps both you and the finish out of trouble.
Removing Loose Crumbs and Debris
Before any wet cleaning, clear away the loose stuff. Give the surface a gentle dry wipe with a soft cloth to sweep off crumbs, dust, and any stray grit.
This is arguably the most important scratch-prevention step there is. Remove the abrasive particles first, and they can’t get ground into the finish later.
Finding Your Grain Direction
Take a moment to spot the direction of the brushed lines. Look at the surface under good light, and you’ll see them running consistently one way, either side to side or front to back.
Knowing the grain now sets you up to wipe along it later. It seems like a small detail, but it makes a real difference to the final result.
How to Clean Stainless Steel Cooktop Without Scratching: Step-by-Step Guide
Here’s the core process, built around warm soapy water, a soft cloth, and a vinegar finish. The two habits that carry through every step are gentle pressure and wiping with the grain. Get those right, and the surface stays flawless.
Step 1: Wait for the Cooktop to Cool
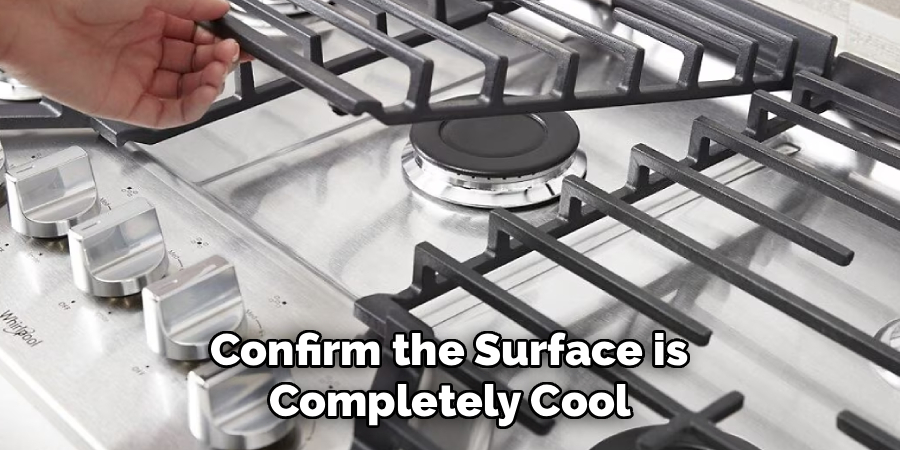
Confirm the surface is completely cool before you begin. A quick touch test is enough; just be careful if you’ve only recently finished cooking.
Working on a cool cooktop is safer and gives more even results. Cleaner won’t flash-dry into streaks, and you won’t risk a burn while you focus on the job.
Step 2: Brush Away Loose Debris
Take a dry microfiber cloth and sweep off any crumbs, grit, or dust. Move gently and aim to gather the debris rather than scatter it.
This step matters more than it looks. Removing the hard particles before adding moisture means there’s nothing abrasive left to scratch the surface when you start wiping.
Step 3: Mix Warm Water and Dish Soap
In a bowl, combine a few drops of mild dish soap with warm water. You don’t need much soap, just enough to cut grease.
This gentle solution lifts most everyday residue without any risk to the finish. Warm water loosens grime a little faster than cold, which makes wiping easier.
Step 4: Wipe Gently Along the Grain
Dampen a soft cloth in the solution, wring out the excess, and wipe in the direction of the brushed lines. Use light pressure and let the soap do the work.
Wiping along the grain rather than across it lifts grime from the grooves cleanly. It also keeps any faint marks invisible, since they follow the existing lines rather than cutting across them.
Step 5: Treat Stuck-On Spots With a Baking Soda Paste
For sticky residue that resists the soapy wipe, mix a little baking soda with water into a soft paste. Dab it onto the spot rather than spreading it everywhere.
Rub gently, always in line with the grain, rather than scrubbing hard in circles. The mild abrasiveness lifts the residue, and the light pressure keeps the surface unmarked. If a spot resists, let the paste sit a minute or two rather than pressing harder.
Step 6: Rinse With a Clean Damp Cloth
Once the messes are gone, wipe the surface with a fresh microfiber cloth dampened in clean water. The goal is to remove every trace of soap and loosened residue.
Don’t skip this. Leftover soap or baking soda dries into a dull film, which rather defeats the point of all your careful work.
Step 7: Finish With a Vinegar Mist
Lightly mist the surface with a mix of equal parts white vinegar and water. Vinegar dissolves any lingering film and tackles the streaks that plain water tends to leave.

Wipe it along the grain with a clean cloth. You should see the surface start to clear and brighten as the haze lifts away.
Step 8: Dry and Buff for Shine
Finish by drying the cooktop with a clean, dry microfiber cloth, once again following the grain. Drying by hand prevents new water spots from forming as the surface air-dries.
A final buff brings back that gleaming look. This last step is what separates a cooktop that’s merely clean from one that genuinely shines.
How to Safely Remove Stuck-On Messes
Dried spills and baked-on splatter sometimes won’t surrender to a basic wipe. These gentle approaches handle them without risking the finish.
The Warm Soak Method
The simplest trick is to soften the mess before you touch it. Lay a warm, damp cloth over the stuck-on spot and leave it for several minutes.
The warmth and moisture loosen the residue, so it often wipes away with little effort afterward. It’s patient rather than forceful, which is exactly what stainless steel rewards.
The Baking Soda Paste Approach
For tougher spots, the baking soda paste comes back into play. Spread a soft layer over the residue and let it sit for a few minutes to do its work.
Then wipe gently along the grain. Letting the paste dwell means you can use less pressure, which keeps the surface safe while still lifting stubborn buildup.
Using a Plastic or Nylon Scraper
When something has genuinely hardened on, a soft scraper can help. Use a plastic or nylon scraper, never metal, and hold it at a low angle to the surface.
Slide it gently under the edge of the residue to lift it free. Kept flat and used lightly, this removes the hardened bit without gouging the finish beneath it.
Cleaners and Tools to Avoid
Knowing what to keep away from the surface protects it just as much as knowing what to use. A few common items cause more harm than good.
Steel Wool and Abrasive Pads
This is the big one. Steel wool and rough scrub pads strip the brushed finish and leave permanent scratches almost instantly.
The damage is irreversible, and scratched areas tend to trap grime more easily afterward. Whatever the temptation, when something won’t budge, these never belong on a stainless cooktop.
Scouring Powders and Bleach
Gritty scouring powders are essentially fine abrasives, so they scratch as much as a rough pad does. Harsh chemicals such as bleach are a separate problem.
Bleach and similar cleaners can discolor and damage stainless steel over time. The gentle options covered earlier do the job without any of that risk.
Rough or Dirty Cloths
A worn, stiff cloth can scratch on its own, but a dirty one is worse. A rag that’s picked up grit from a previous job carries those particles straight onto the surface.
The fix is simple: use clean, soft cloths and rinse them well between tasks. A microfiber cloth that’s gathered debris should be shaken out or washed before it touches the cooktop again.
Restoring Shine and Hiding Light Scratches
If your cooktop already shows some wear, a few steps can improve its appearance. The results are realistic rather than miraculous, but they help.
Polishing With a Stainless Steel Cleaner
A dedicated stainless steel cleaner or polish can restore an even, mirror-like finish. Apply it sparingly and work along the grain with a soft cloth.
Buffing in the direction of the brushed lines blends the surface and brings up the shine. Working across the grain, by contrast, tends to undo the effect.
Minimizing Fine Scratches
Light surface scratches can sometimes be softened, though deep ones usually stay. A gentle polish worked along the grain may blend faint marks into the surrounding brushed lines.
Keep expectations grounded here. The aim is to make minor scratches less noticeable, not to erase genuine gouges, which generally can’t be removed at home.
Adding a Protective Oil Layer
A tiny amount of mineral oil, buffed along the grain, leaves a thin protective layer. It repels fingerprints and adds a soft sheen.
Use it sparingly, since too much just feels greasy and attracts more dust. A small amount on a cloth, worked in and then buffed off, is all you need.
Common Mistakes to Avoid
A few habits quietly sabotage your results or damage the finish. Steering clear of them keeps the cooktop looking its best.
Wiping Against the Grain
It’s the error almost everyone makes at first. Cleaning across the brushed lines, rather than along them, leaves visible streaks and can scuff the surface.
Always follow the grain. Once you train yourself to notice the direction, this becomes second nature, and your results improve right away.
Scrubbing Too Hard
Bearing down hard when something won’t lift feels productive, but it backfires. Heavy pressure can force grit into the surface and create the very scratches you’re trying to avoid.
Let the cleaners and a little dwell time do the work instead. Gentle, patient wiping beats brute force every time on this surface.
Letting Cleaner Air Dry
Skipping the dry-and-buff step is a small mistake with a visible cost. Air-drying leaves behind water spots and a faint film, especially in hard water areas.
A quick pass with a dry microfiber cloth prevents all of it. It’s the easiest step to skip and the one most worth keeping.
How to Keep Your Cooktop Scratch-Free
Cleaning carefully is half the job. A few everyday habits keep the surface in good shape, so cleaning stays quick and low-risk.
Wiping Up Spills Right Away
Fresh spills come off with almost no effort, while the same spill left to dry bakes into a stubborn mess. Dealing with it promptly means a soft cloth handles the job.
This single habit prevents most of the hard scrubbing that leads to scratches. A quick wipe in the moment saves a tougher cleanup later.
Keeping Grit Off the Surface
Avoid storing anything gritty or heavy on the cooktop, and clear away crumbs before they spread around. The fewer hard particles on the surface, the less chance of scratching it.
It’s worth being mindful about what gets set down there, too. A sandy pan base or a gritty trivet can scratch just as easily as a scrub pad.
Setting a Gentle Cleaning Routine
A regular, light wipe-down with a soft cloth keeps the surface gleaming with far less effort than an occasional deep clean. Small and frequent beats heavy and rare.
Consistency is the real secret here. Stay on top of it gently, and you rarely need anything more aggressive.
Frequently Asked Questions
A few questions come up again and again. Here are short, honest answers.
Can I Use Glass Cleaner on a Stainless Steel Cooktop?
Some glass cleaners work fine, but many leave streaks or a residue on stainless steel. The results can be hit or miss.
A diluted vinegar mist or a dedicated stainless cleaner tends to give more reliable, streak-free results. If you do try glass cleaner, buff it dry along the grain.
How Do I Remove Scratches That Are Already There?
Light scratches can often be minimized by polishing along the grain with a stainless steel cleaner. The mark blends into the surrounding brushed lines rather than disappearing entirely.
Deep scratches, unfortunately, usually stay. Home polishing softens their appearance but rarely removes a genuine gouge.
Is Vinegar Safe for Stainless Steel?
Yes, diluted white vinegar is safe and one of the better tools for cutting film and removing streaks. Mix it roughly half and half with water.
Just rinse and dry afterward rather than letting it sit for long stretches. Used sensibly, it’s both gentle and effective.
Conclusion
For all the fine scratches and dull swirls that everyday cooking can leave behind, learning how to clean stainless steel cooktop without scratching really comes down to a few easy moves with gentle supplies already in your kitchen. Let the surface cool, clear away loose grit first, wash with soap and water along the grain, treat stuck-on spots with a soft baking soda paste, finish with a vinegar mist, and always dry and buff for shine.
The lesson running through all of it is simple. Soft tools, light pressure, and wiping with the grain protect the finish far longer than any amount of scrubbing ever could.
So give this gentle method a try on your next cleanup, and build a simple scratch-free routine you can keep up with. Treated this way, your cooktop can stay bright, smooth, and flawless for years rather than slowly clouding over with marks.

About
Stuart Rich is a distinguished figure in the world of metalworking and fabrication, with a decade of expertise creating innovative and sustainable metal projects. His professional focus lies in merging traditional blacksmithing and machining with modern manufacturing techniques, fostering designs that are both practical and durable. As the author of Metalenify, Stuart Rich delves into the art and science of metallurgy and DIY metal creation, inspiring artisans, hobbyists, and industry professionals alike.
Education
RMIT University
(Melbourne, Australia)
Associate Degree in Engineering Technology (Mechanical / Manufacturing)
Focus on metallurgical properties, industry-driven projects, and practical metal craftsmanship. Gained hands-on experience with traditional machining and digital manufacturing tools, such as CAD, CNC software, and precision welding equipment.
Nottingham Trent University
(United Kingdom)
Bachelor’s in Product Design and Materials Engineering (Honors)
Specialized in product design with a heavy focus on blending creativity with metal production and fabrication techniques. Participated in real-world industry projects, collaborating with architectural and hardware manufacturing companies to optimize material efficiency.
Publications and Impact
In Metalenify, Stuart Rich shares his insights on structural metal design processes, material grades, and strategies for efficient shop production. His writing bridges the gap between raw artisan knowledge and modern industrial needs, making it a must-read for both budding DIY metalworkers and seasoned fabrication professionals.





