
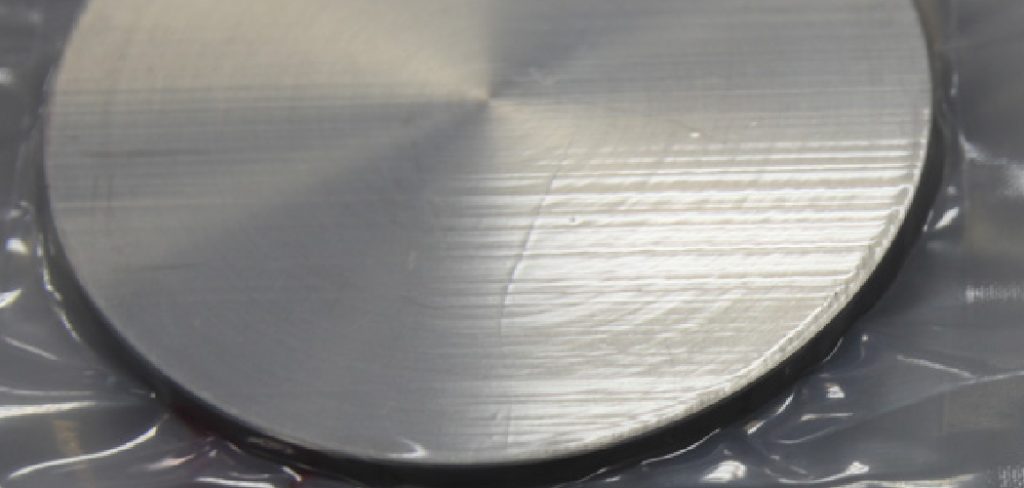
Copper plating sounds like something reserved for industrial factories, but you can actually do it at home with a few simple tools. At its core, copper plating is the process of coating a metal object with a thin layer of copper using an electrical current.
People copper plate metal for all sorts of reasons. Some want to add a warm, decorative finish to jewelry or hardware. Others use it to protect metal from corrosion or to prepare a surface for further plating, like nickel or chrome. Hobbyists love it because it gives ordinary objects a custom, professional look without expensive equipment.
In this guide on how to copper plate metal, you’ll learn exactly what copper plating offers, the materials you’ll need, and a clear 10-step process to do it yourself.
What Are the Benefits of Copper Plating Metal?
Copper plating isn’t just about looks, though the finish is genuinely beautiful. There are practical reasons this method has stuck around for over a century. Here are the key advantages.
- Corrosion Resistance: Copper acts as a protective barrier, slowing down rust and oxidation on the base metal underneath.
- Better Conductivity: Copper conducts electricity extremely well, which is why it’s used in electronics and electrical components.
- Improved Adhesion: A copper layer creates a smooth, even base that helps other plated metals, like nickel or silver, bond more effectively.
- Attractive Appearance: The warm, reddish tone adds character to jewelry, decorations, and household items.
- Affordable Customization: You can transform inexpensive metal objects into something that looks high-end without a big budget.
- Repair and Restoration: Plating can fill small surface imperfections and refresh worn or dull metal pieces.
What Will You Need?
Before you begin, gather your supplies. Having everything ready makes the process smoother and safer. Here’s your checklist.
- A DC Power Source: A low-voltage power supply or a battery (around 3 to 6 volts works well for small projects).
- Copper Sulfate Solution: This is your electrolyte, the liquid that carries copper ions to your object.
- A Piece of Pure Copper: This acts as the anode, the source of copper that dissolves into the solution.
- The Metal Object to Plate: This becomes your cathode. Steel, brass, and zinc all work well.
- Two Alligator Clip Wires: These connect your power source to the copper anode and your object.
- A Non-metal Container: Glass or plastic is ideal for holding the solution.
- Distilled Water: Used to mix the solution and rinse your object.
- Degreaser or Dish SOAP: For cleaning the metal surface before plating.
- Fine Sandpaper or Steel Wool: To remove rust, oxidation, and rough spots.
- Rubber Gloves and Safety Glasses: Always protect your skin and eyes when handling chemicals.
10 Easy Steps on How to Copper Plate Metal
Now for the main event. Follow these ten steps in order, and don’t rush. Good preparation leads to a clean, even finish.
Step 1: Set Up a Safe Workspace
Choose a flat, well-ventilated area with easy access to water. Cover the surface with newspaper or a plastic sheet to catch spills. Put on your rubber gloves and safety glasses before touching any chemicals. Copper sulfate can irritate your skin and eyes, so safety comes first. Keep children and pets away from your work area while you’re plating.
Step 2: Clean the Metal Object Thoroughly
A clean surface is the secret to good plating. Wash your metal object with dish soap and warm water to remove grease and dirt. Any oil left behind will stop the copper from bonding properly. Rinse it well and dry it with a clean cloth. Even fingerprints can interfere, so handle the object by its edges from this point on.
Step 3: Remove Rust and Oxidation

Use fine sandpaper or steel wool to scrub away any rust, paint, or oxidation. You want bare, shiny metal exposed across the entire surface. Pay extra attention to corners and crevices where buildup hides. Once you’ve sanded the piece, rinse it again with distilled water to remove any dust or debris. A smooth, clean base gives you the best results.
Step 4: Mix Your Copper Sulfate Solution
In your non-metal container, mix copper sulfate with distilled water according to the package instructions. A common ratio is around 100 grams of copper sulfate per liter of water, but follow your product’s guidance. Stir until the powder fully dissolves and the liquid turns a clear blue. This solution is your electrolyte, and its quality affects how smoothly the copper deposits.
Step 5: Prepare the Copper Anode
Take your piece of pure copper and clean it the same way you cleaned your object. Sand off any tarnish until it shines. This copper will slowly dissolve during the process and supply the copper ions that coat your item. The larger and cleaner your anode, the more consistent your plating will be over time.
Step 6: Connect the Electrical Setup
Attach one alligator clip wire to the positive terminal of your power source and clip the other end to the copper anode. Then connect a second wire from the negative terminal to your metal object. The positive side always goes to the copper source, and the negative side goes to the item you want to plate. Double-check your connections before powering on.
Step 7: Submerge the Anode and Object

Lower both the copper anode and your metal object into the solution. Keep them apart so they don’t touch, as contact can cause a short circuit. The clips should stay above the liquid line to avoid corrosion. Position the object so the surface you want plated faces the copper anode for even coverage.
Step 8: Turn On the Power
Switch on your power source at a low voltage, around 3 to 6 volts. You should see tiny bubbles forming and a faint reddish layer slowly appearing on your object. If you see no reaction, check your connections and solution. Keep the current gentle. Too much power creates a rough, flaky finish instead of a smooth coat.
Step 9: Monitor and Time the Process
Let the object plate for about 10 to 20 minutes, depending on the thickness you want. Check it occasionally by lifting it out carefully. The copper layer should look even and bright. If some areas look patchy, return the object to the solution and continue plating. Patience here pays off with a professional-looking result.
Step 10: Rinse, Dry, and Polish
Once you’re happy with the coating, turn off the power and remove the object. Rinse it thoroughly with distilled water to wash away the solution. Pat it dry with a soft cloth. To bring out the shine, gently polish the surface with a clean rag or a touch of metal polish. Your freshly copper-plated piece is now complete.
5 Things You Should Avoid
Even simple projects can go wrong. Steer clear of these common mistakes to save yourself frustration.
- Skipping the Cleaning Step: Grease, rust, or fingerprints prevent copper from bonding. Always start with a spotless surface.
- Using Too Much Voltage: High current produces a rough, dark, and uneven coat. Keep it low and steady.
- Letting the Anode and Object Touch: Contact causes a short circuit that stops plating and can damage your setup.
- Ignoring Safety Gear: Copper sulfate is harmful if it touches your skin or eyes. Never skip gloves and glasses.
- Rushing the Process: Pulling your object out too soon leaves a thin, patchy layer. Give it the full time it needs.
Most plating failures trace back to poor preparation or impatience. Avoid these slip-ups and your results will improve dramatically.
Frequently Asked Questions
1. Can I Copper Plate Any Type of Metal?
Most common metals plate well, including steel, brass, zinc, and iron. The key is that the base metal conducts electricity, which nearly all metals do. Aluminum can be tricky because it forms an oxide layer quickly, so it often needs special preparation. For beginners, steel and brass are the easiest and most reliable choices. Always clean the surface thoroughly first.
2. How Long Does Copper Plating Last?
With proper care, a copper-plated finish can last for years. The lifespan depends on the thickness of the layer and how the item is used. Objects that get handled often or exposed to moisture may tarnish faster. You can extend the finish by applying a clear protective sealant. Re-plating is always an option if the coating wears thin over time.
3. Is Copper Plating Safe to Do at Home?

Yes, home copper plating is safe when you follow basic precautions. Work in a ventilated space, wear gloves and safety glasses, and keep chemicals away from children and pets. Copper sulfate should never be swallowed or left on bare skin. Dispose of used solution responsibly according to local regulations. With common sense and care, this is a beginner-friendly hobby.
Conclusion
Copper plating metal is a rewarding skill that blends a bit of science with hands-on creativity. You now know what the process involves, why it’s worth doing, and the exact tools you need to begin. More importantly, you have a clear ten-step roadmap that takes you from a dull, bare object to a bright, copper-coated finish.
Remember the essentials: clean your metal well, keep your voltage low, avoid letting parts touch, and give the process enough time. These small details separate a smooth, professional coat from a patchy one. Avoid the common mistakes we covered, and you’ll sidestep most beginner frustrations.
Hopefully, the article on how to copper plate metal has given you the confidence and knowledge to take on this process yourself. Remember to always prioritize safety and follow instructions carefully.

About
Stuart Rich is a distinguished figure in the world of metalworking and fabrication, with a decade of expertise creating innovative and sustainable metal projects. His professional focus lies in merging traditional blacksmithing and machining with modern manufacturing techniques, fostering designs that are both practical and durable. As the author of Metalenify, Stuart Rich delves into the art and science of metallurgy and DIY metal creation, inspiring artisans, hobbyists, and industry professionals alike.
Education
RMIT University
(Melbourne, Australia)
Associate Degree in Engineering Technology (Mechanical / Manufacturing)
Focus on metallurgical properties, industry-driven projects, and practical metal craftsmanship. Gained hands-on experience with traditional machining and digital manufacturing tools, such as CAD, CNC software, and precision welding equipment.
Nottingham Trent University
(United Kingdom)
Bachelor’s in Product Design and Materials Engineering (Honors)
Specialized in product design with a heavy focus on blending creativity with metal production and fabrication techniques. Participated in real-world industry projects, collaborating with architectural and hardware manufacturing companies to optimize material efficiency.
Publications and Impact
In Metalenify, Stuart Rich shares his insights on structural metal design processes, material grades, and strategies for efficient shop production. His writing bridges the gap between raw artisan knowledge and modern industrial needs, making it a must-read for both budding DIY metalworkers and seasoned fabrication professionals.





