
A length of aluminum bar sits on the bench, and your project needs one clean, square cut. Maybe it’s a bracket, a frame piece, a spacer, or some custom part that has to fit just right.
You want a smooth edge. Not a burred, gouged mess that leaves you reaching for another length of stock.
Learning how to cut aluminum bar is far more achievable than it looks, once you match the right tool to the bar’s thickness and the precision you actually need. With steady technique, the correct blade, and a bit of patience, clean cuts sit well within reach at home.
This guide covers the whole arc. The methods, the tools, the safety prep, measuring, the full step-by-step process, finishing, and the mistakes that waste material.
Bring a careful hand, and a precise cut is absolutely within reach.
Why Cut an Aluminum Bar at Home?
Before reaching for a saw, it’s worth knowing why this skill earns its place. The payoff tends to show up fast.
Custom Lengths and Project Fit
Off-the-shelf stock rarely matches the exact length your project demands. Cutting your own bar lets you hit precise sizes for brackets, frames, spacers, and one-off parts.
That precision is what fits a piece into a tight space. For repairs and custom builds, it’s often the only way to get a part that sits exactly where it should.
Saving Money and Time
Paying a supplier to pre-cut pieces adds cost, and waiting for a cut order adds delay. Slicing bar you already own sidesteps both.
It also keeps a project moving. Rather than stalling over a single part, you trim what you have and carry on, which may suggest why so many makers keep raw stock on hand.
Understanding Aluminum Bar Types and Alloys
A little assessment up front saves you from grabbing the wrong blade. Not all bars behave the same under a saw.
Common Bar Shapes and Profiles
Flat bar, round bar, square bar, and hex stock each cut a touch differently. The shape changes how you clamp the piece and how the blade meets the surface.
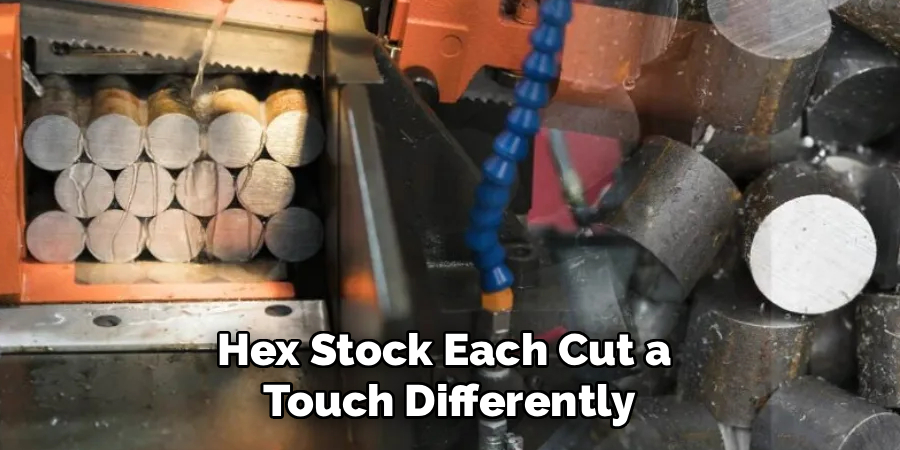
Round and hex stock, for instance, want to roll or shift if you don’t secure them well. And thicker, chunkier bars simply demand more from the tool than thin, narrow stock ever will, so they call for a slower, steadier approach.
How Alloy and Temper Affect Cutting
The alloy matters as much as the shape. A softer grade like 6063 cuts smoothly and forgives a lot, while a harder, stronger grade such as 6061-T6 resists the blade and loads up the teeth faster.
Knowing your alloy and temper helps you pick the right blade and speed. It also tells you how much lubricant you’ll likely need, since the tougher grades fight back and generate more heat along the way.
Cutting Methods for Aluminum Bar
Several tools handle aluminum bars, and the right one depends on your stock and how clean you need the result. Here’s how the main options compare.
Hacksaw for Slow, Controlled Cuts
A hacksaw offers quiet, precise, low-cost control with no sparks at all. For thin bar, small jobs, and tight spaces, it’s the safest and most accessible choice, where a power tool would honestly be overkill.
Circular Saw and Miter Saw for Speed and Accuracy
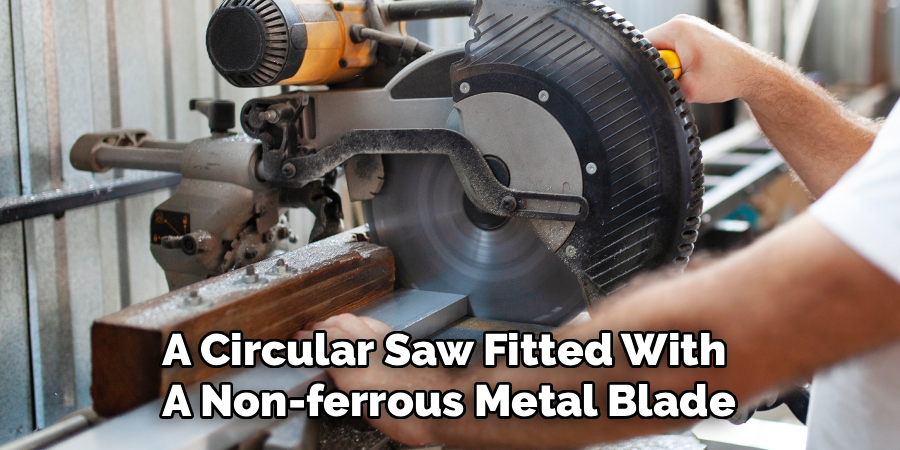
A circular saw fitted with a non-ferrous metal blade slices through the bar quickly. A miter saw goes a step further, delivering fast, repeatable, dead-square cuts that suit production work and angled cuts especially well.
Both tools depend on the correct blade and a steady feed. Push too hard or use the wrong blade, and clean results slip away.
Angle Grinder for Tough or Awkward Cuts
An angle grinder with a cut-off wheel powers through thick bars and reaches awkward angles fast. It trades precision for speed and throws plenty of sparks.
That makes it best for rough cuts, where you’ll clean up the edge afterward. It’s the tool you grab when access matters more than a flawless finish.
Tools and Materials You’ll Need
Gathering everything first keeps the work flowing. There’s little worse than pausing a cut to hunt for the right blade.
Essential Cutting Tools
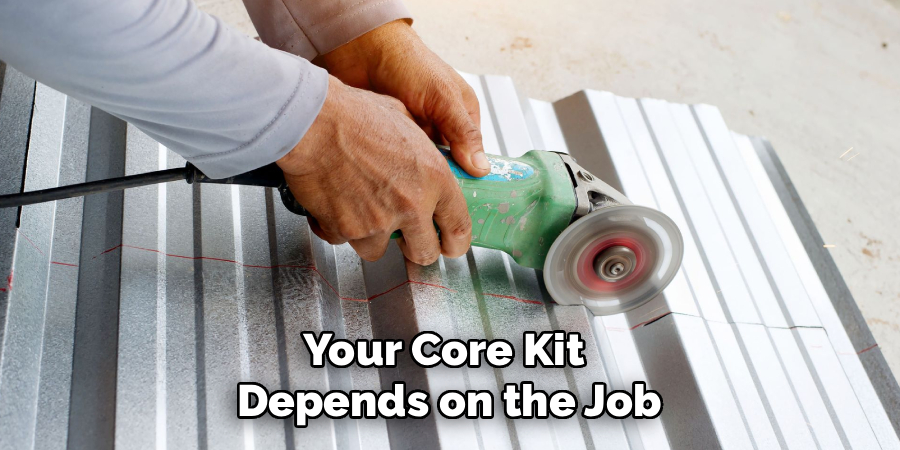
Your core kit depends on the job, but a hacksaw covers the basics. Add a circular saw or miter saw fitted with a non-ferrous blade for thicker pieces, and an angle grinder for the tough stuff.
Beyond the cutters, you’ll want a sturdy vise or clamps to hold the bar still. A tape measure and a marker or scribe round out the essentials, since accuracy starts well before the blade.
Lubricants, Blades, and Finishing Supplies
Cutting wax or lubricant earns its place here, since it keeps aluminum from gumming up the teeth. Pair it with the correct carbide-tipped blade rated for aluminum.
For cleanup, keep fine files, a deburring tool, and sandpaper in a few grits on hand. A light protective finish helps too, so any freshly cut surface stays clean rather than dulling over time.
Safety Preparation Before You Begin
Cutting metal throws chips and, with power tools, sparks. A few habits keep the work injury-free.
Personal Protective Gear
Start with your eyes. Safety glasses or a full face shield guard against the hot chips and flying aluminum shards that any powered cut sends out.
Gloves protect your hands from sharp edges, and hearing protection takes the edge off a screaming saw. Tie back loose clothing and hair, too, because spinning blades grab anything that drifts close.
Securing the Bar and Clearing the Area
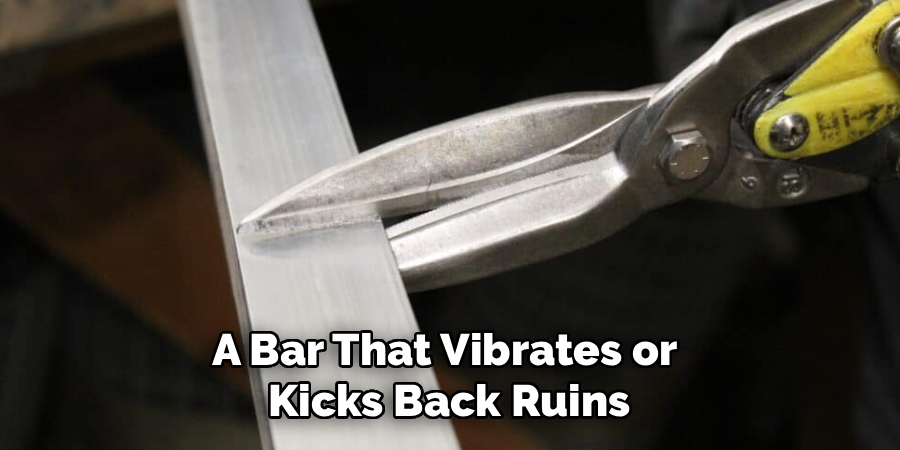
A bar that vibrates or kicks back ruins the cut and risks your hands. Clamp it firmly in a vise or to the bench before the blade touches anything.
Work on a stable surface with good light so you can follow your line. And clear away rags or solvents, since sparks from a grinder travel farther than you’d expect.
Measuring and Marking the Cut
Accuracy happens before any blade enters the metal. A careless mark here becomes a crooked cut later.
Measuring Twice for a Clean Result
Measure the exact length you need, then account for the blade’s kerf, the small width of material the cut itself removes. Forget the kerf, and your finished piece comes out a hair short.
Mark the cut clearly once you’re sure of the number. A few careful seconds of measuring prevent a wasted bar and the frustration of starting over.
Marking and Squaring the Line
Use a square and a fine marker or scribe to draw a straight line, wrapping it fully around the bar. A line on all sides gives you a guide, no matter how the piece sits.
Then double-check that the line runs square to the length. This is what keeps the finished end flat and true rather than angled, which matters enormously when the part has to butt cleanly against another.
How to Cut Aluminum Bar: Step-by-Step Guide
Here’s the heart of it. Each step builds on the one before, no matter which tool you choose, and a steady, patient feed beats forcing the cut every time.
Step 1: Choose the Right Tool and Blade
Match the method to the bar in front of you. A hacksaw suits thin stock nicely, while a miter saw with a non-ferrous blade handles thicker pieces faster and more square.
Then check the blade itself. Confirm it’s sharp, clean, and rated for aluminum, since that single detail keeps the cut smooth from the very first pass.
Step 2: Measure, Mark, and Square the Line
Measure your length, allow for the kerf, and mark a clear, square line around the bar. This repeats your prep, but doing it right at the saw avoids transcription slips.
Double-check the measurement one last time. It’s a quick habit, and it’s what guarantees the finished piece lands at exactly the size your project needs.
Step 3: Secure the Bar Firmly
Clamp the bar tightly in a vise or to the bench, positioning it close to the cut line. Support near the cut reduces vibration and chatter.
A well-secured piece also frees both hands to control the saw. With nothing shifting mid-cut, you can focus entirely on a clean, straight line.
Step 4: Apply Cutting Lubricant
Rub cutting wax or lubricant onto the blade and along the cut line. This small step makes a real difference with aluminum.
The lubricant keeps the metal from gumming up and welding itself to the teeth. It also cuts heat and friction, extends blade life, and leaves a noticeably cleaner edge behind.
Step 5: Start the Cut Gently
Ease the blade into the marked line with light, steady pressure. Let the teeth establish a groove before you build up to a full stroke or feed.
Rushing the start is a common slip. A blade that bites in too aggressively tends to wander off the line and chew the edge, so a gentle beginning sets up everything that follows.
Step 6: Cut at a Steady Pace
Once the groove is set, keep an even, unhurried feed and let the tool do the work. Forcing it rarely speeds things up and usually just bends the bar or dulls the blade.
Keep the blade square to the bar throughout. On longer cuts, pause to reapply lubricant, which keeps heat down and the cut running straight and clean.
Step 7: Support and Finish the Cut
As you near the end, support the offcut so it doesn’t bind or drop away and tear the edge. A falling piece can leave an ugly snag right at the finish.
Ease off your pressure as the blade reaches the last of the material. Complete the final stroke cleanly, or power down fully, before lifting the piece free to inspect it.
Finishing and Deburring the Cut Edge
The cut is done, but the edge usually isn’t ready. A fresh cut leaves burrs sharp enough to draw blood and rough enough to keep parts from seating.
Removing Burrs and Sharp Edges
Run a file, deburring tool, or fine sandpaper around the cut end. You’re knocking down the sharp burrs and ragged edges the blade left behind.
This makes the piece safer to handle and helps it fit cleanly against other parts. A burr-free edge often means the difference between a part that slots in and one that fights you.
Smoothing and Protecting the Surface
Work through progressively finer grits to smooth the end flat and square. Each pass refines what the last one left.
Then wipe away the chips and lubricant. A light protective finish, or simply keeping the piece dry, helps the freshly cut aluminum stay clean and resist the dull oxidation that creeps in over time.
Common Mistakes to Avoid
A couple of predictable errors ruin cuts and waste good stock. Knowing them ahead of time costs nothing.
Skipping Lubricant or Using the Wrong Blade
Cutting aluminum dry, or with a blade meant for wood or steel, invites trouble. The metal gums up, grabs, and tears, leaving a rough, almost melted-looking edge.
The fix is simple. A proper non-ferrous blade and a bit of cutting wax deliver the smooth, clean results you were after, with far less fuss.
Rushing the Cut or Poor Clamping
Forcing the blade or feeding too fast bends the bar, wanders off the line, and can trigger a nasty kickback. Patience genuinely produces a better cut here.
Loose clamping causes the same grief from a different angle. A piece that vibrates and shifts turns a quick job into a crooked, frustrating one, so anchor it well before you start.
When to Call a Professional
Plenty of aluminum cutting sits comfortably in the DIY range. Still, some jobs call for an expert, and recognizing that is smart judgment rather than giving up.
A thick, heavy structural bar can be more than a home setup should attempt. The same goes for cuts with tight tolerances, complex compound angles, or a large run of identical pieces.
In those cases, a machine shop with a cold saw, band saw, or CNC equipment delivers perfectly square, repeatable, burr-free results. Handing off a demanding job often saves both time and wasted material.
Conclusion
So that’s the full picture of how to cut aluminum bar, from sizing up the stock to deburring the final edge. What looks fussy at first becomes a controlled, satisfying skill once you slow down and respect the process.
Look back at the path. You understand the bar types and alloys, choose between a hacksaw, circular saw, miter saw, and angle grinder, measure and mark carefully, secure the bar, then cut with steady control and plenty of lubricant before finishing the edge clean.
Start with scrap. Respect the blade and the sparks, and let a steady feed do the work rather than brute force, because careful measuring and the right blade are what separate a torn, crooked cut from a clean, square one.
Now gather your tools, clamp that first bar, and enjoy the quiet satisfaction of a piece cut perfectly to size by your own hands.

About
Stuart Rich is a distinguished figure in the world of metalworking and fabrication, with a decade of expertise creating innovative and sustainable metal projects. His professional focus lies in merging traditional blacksmithing and machining with modern manufacturing techniques, fostering designs that are both practical and durable. As the author of Metalenify, Stuart Rich delves into the art and science of metallurgy and DIY metal creation, inspiring artisans, hobbyists, and industry professionals alike.
Education
RMIT University
(Melbourne, Australia)
Associate Degree in Engineering Technology (Mechanical / Manufacturing)
Focus on metallurgical properties, industry-driven projects, and practical metal craftsmanship. Gained hands-on experience with traditional machining and digital manufacturing tools, such as CAD, CNC software, and precision welding equipment.
Nottingham Trent University
(United Kingdom)
Bachelor’s in Product Design and Materials Engineering (Honors)
Specialized in product design with a heavy focus on blending creativity with metal production and fabrication techniques. Participated in real-world industry projects, collaborating with architectural and hardware manufacturing companies to optimize material efficiency.
Publications and Impact
In Metalenify, Stuart Rich shares his insights on structural metal design processes, material grades, and strategies for efficient shop production. His writing bridges the gap between raw artisan knowledge and modern industrial needs, making it a must-read for both budding DIY metalworkers and seasoned fabrication professionals.





