To cut brass sheet metal safely, choose the right tool for the gauge — tin snips for thin sheets, a jeweler’s saw for intricate designs. Secure the brass firmly to a workbench, mark your cutting line clearly, and guide your tool carefully while wearing appropriate protective gear.
Cutting brass sheet metal is one of those skills that looks deceptively simple until you’re standing at the workbench with a warped edge and a blade that just snapped. The material itself is forgiving in many ways — it’s softer than steel, it machines well, and it has a quality finish that doesn’t require much coaxing. But “forgiving” doesn’t mean easy, and skipping fundamentals tends to show up fast in the final cut.
This guide on how to cut brass sheet metal is for hobbyists, jewelry makers, model builders, and anyone tackling a first or second brass fabrication project. By the time you reach the end, you’ll know which tools suit which gauges, how to secure the sheet without marring the surface, and why deburring matters more than most beginners expect.
Here’s what you’ll take away: the right safety setup, a clear tool selection framework, seven practical steps from prep to polish, and answers to the questions that tend to trip people up mid-project.
What is Brass Sheet Metal and Why is it Used?
Brass sheet metal is an alloy of copper and zinc, and the ratio between those two elements can shift considerably depending on the intended application. Higher zinc content generally increases strength and ductility, while a copper-heavy mix tends to produce a warmer color and slightly better corrosion resistance. That adjustability is part of what makes brass so broadly useful.
Compared to harder metals like steel or titanium, brass is relatively easy to form, bend, and cut. Its melting point is lower, its surface responds well to hand tools, and it doesn’t work-harden as aggressively under normal fabrication conditions. It also carries good acoustic properties — which is why it shows up in everything from plumbing fixtures to trumpet bells.
Professionals and hobbyists gravitate toward it for different reasons. For a jeweler, the appeal is aesthetic: that warm, gold-like surface at a fraction of the cost of precious metals. For an engineer, it’s the combination of machinability and corrosion resistance. Both groups, though, deal with the same cutting challenges.
What Safety Precautions Should You Take When Cutting Brass?
Metal fabrication carries real physical risk, and brass is no exception. Before making the first cut, take a few minutes to put on the right protective equipment — this step is easy to skip and consistently regretted.
Heavy-duty leather gloves protect your hands from freshly cut edges, which can be surprisingly sharp given how soft the alloy appears. ANSI-rated safety goggles are non-negotiable; metal chips and fine dust travel fast and don’t always announce themselves. If you’re using a rotary cutter or angle grinder, a dust mask is worth adding to that list.
Your environment matters as much as your gear. A well-lit workspace lets you track faint scribed lines without straining, and adequate ventilation keeps fine metal dust from accumulating around power tools. Keep the cutting path clear of your fingers at all times, and always use clamps rather than holding the sheet by hand. That second point seems obvious until you’re deep into a cut and tempted to make one small adjustment without repositioning.
What Tools and Materials Do You Need to Cut Brass Sheet Metal?
Tool selection is largely a function of gauge, and getting it right saves both the material and the blade.
For very thin brass sheets — around 30-gauge or thinner — a heavy-duty pair of tin snips will typically handle the job. They work like reinforced scissors, moving through thin metal with reasonable speed. The tradeoff is edge distortion: snips can cause slight warping or curling along the cut line, which matters more for some projects than others.
Medium-thickness sheets generally call for a jeweler’s saw or a fine-toothed hacksaw. These offer far better control for detailed or curved work, and a jeweler’s saw in particular can follow a scribed line with precision that power tools can’t easily match at small scales.
Thicker brass plates are a different challenge. A Dremel with a reinforced metal-cutting disc works well for smaller, precise cuts. For long, straight cuts across heavy-gauge material, a band saw or bench shear is the more practical choice.
Beyond the cutting tools, you’ll need:
- A permanent marker or metal scribe for layout lines
- A steel ruler or machinist’s square
- Heavy-duty C-clamps or a bench vise
- Scrape wood or leather to protect the brass surface during clamping
- A fine metal file and medium-grit sandpaper for edge finishing
7 Simple Step-By-Step Guidelines on how to cut brass sheet metal
Step 1: Gather Your Tools and Prepare Your Workspace
Lay out everything before you start — saw, clamps, safety gear, measuring tools — so nothing pulls you away from the workbench mid-cut. That interruption is where small accidents tend to happen.

Clear the workbench surface and confirm your lighting is strong enough to pick up scribed lines clearly. A few minutes of preparation here translate directly into a cleaner, safer cut. It sounds minor, but experienced metalworkers tend to be consistent about this particular habit for good reason.
Step 2: Measure and Mark the Brass Sheet
Measure carefully. Brass sheet isn’t cheap, and unlike wood, it doesn’t lend itself to “close enough” corrections. Use a steel ruler or machinist’s square, double-check every dimension, and mark only after you’re confident the numbers are right.
For the cutting line itself, a fine-tipped permanent marker gives you a visible reference, while a metal scribe offers something more precise: a shallow groove the blade can actually follow. If you’re working with a jeweler’s saw, a scribed line is generally the better choice — the blade seats into the groove and tracks more reliably than it would along an ink line.
Step 3: Secure the Metal to Your Workbench
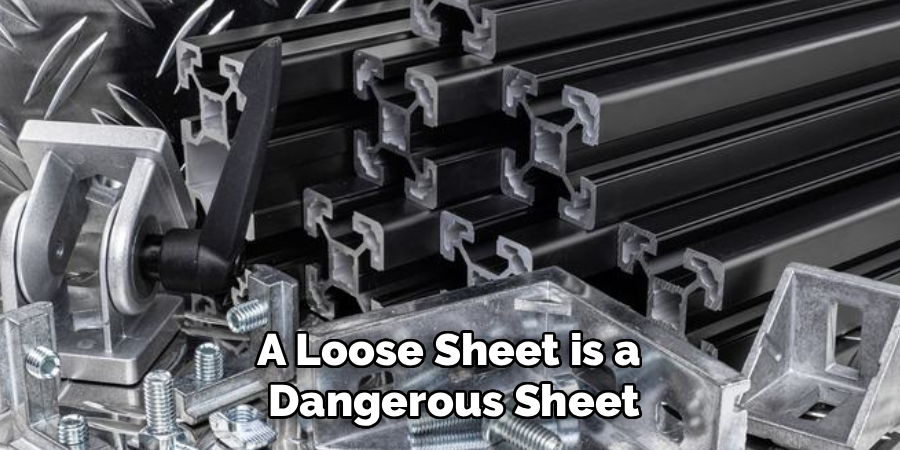
A loose sheet is a dangerous sheet. Use C-clamps or a bench vise to lock the brass firmly to the work surface, positioning the cut line slightly beyond the bench edge so your tool has clearance to move without obstruction.
Place scrap wood or thick leather between the clamp jaws and the brass surface before tightening. Metal-on-metal contact will scratch and dent the alloy, which may not matter for structural parts but certainly matters for decorative ones. Once clamped, give the sheet a firm push to test stability. Any movement means the clamps need another turn.
Step 4: Select the Correct Cutting Tool
If you’ve already read the tools section above, you have a reasonable framework for this decision. To put it plainly: thin sheets and straight cuts go to snips, intricate or medium-gauge work goes to a jeweler’s saw, and heavy-gauge material calls for a power tool.
For jeweler’s saw users, blade selection within that category also matters. The general guidance is to keep at least three teeth in contact with the metal’s edge at all times — a blade that’s too coarse for the thickness will catch and skip rather than cut smoothly. For heavy-gauge brass, an electric rotary tool with a fiberglass-reinforced cutting wheel handles the material without the binding that finer blades would experience.
Step 5: Execute the Cut with Steady Precision
Start slow. With a hand saw, use light strokes at first to establish a notch at the edge of the metal before settling into a steady rhythm. Let the teeth do the work — forcing the blade forward with pressure tends to deflect it from the line and can snap the blade outright on finer saws.
Power tools call for a different kind of discipline. Guide the cutting disc along the marked line at a consistent pace: too fast and the metal may overheat and discolor; too slow and the disc can bind. Keep your eyes fixed on the line rather than the tool, making small corrections as you go rather than large ones that pull you off course.
Step 6: File and Smooth the Sharp Edges
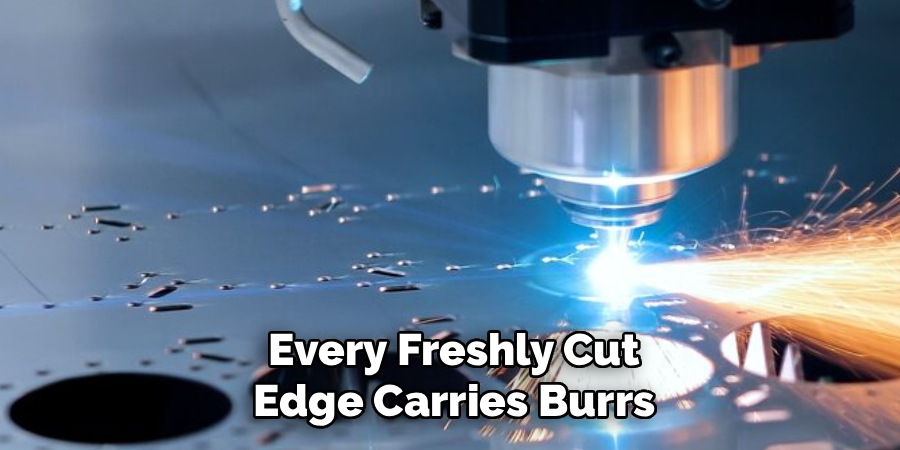
Every freshly cut edge carries burrs — small, razor-sharp fragments of metal that lift away from the cut surface. Address these before handling the piece further. A fine-toothed metal file run at a slight angle along the edge will remove the worst of them in a few passes.
Follow that with medium-grit sandpaper wrapped around a small wooden block, which keeps the abrasive surface flat against the edge. Sand until the edge feels smooth under your gloved fingertip. Beyond safety, this step visibly improves the finished appearance — a properly deburred edge looks machined rather than hand-cut.
Step 7: Clean and Polish the Finished Piece
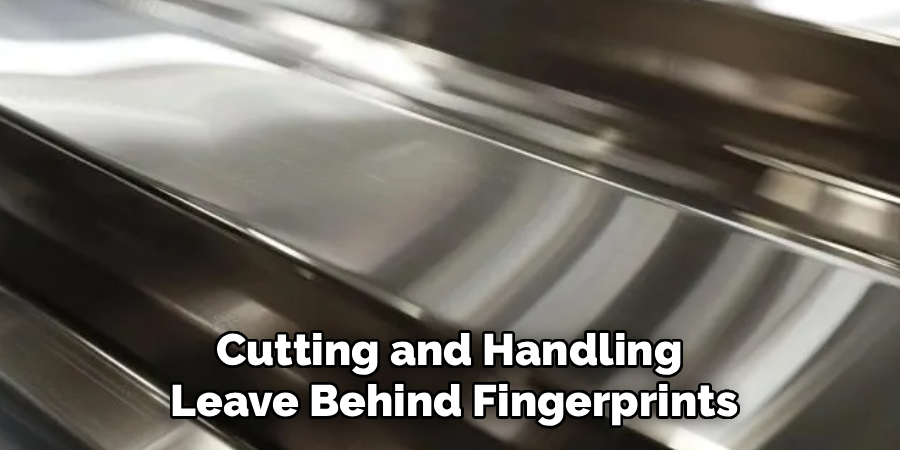
Cutting and handling leave behind fingerprints, marker ink, metal dust, and the occasional light scratch. A soft cloth with a small amount of rubbing alcohol or acetone clears most of that away cleanly without damaging the alloy surface.
For a polished finish, apply a commercial brass polish with a clean microfiber cloth using tight, circular motions. Buff away the residue with a dry cloth once the surface begins to brighten. The result, if the cutting and filing went well, should be a piece that looks finished rather than fabricated — which is the point of following these steps on how to cut brass sheet metal through to completion.
Common Mistakes to Avoid
Rushing the saw stroke is probably the most common beginner error, and it tends to compound: excess pressure breaks blades, broken blades require repositioning, and repositioning introduces alignment errors. Taking it slow costs a few minutes; skipping that costs material and tools.
Inadequate clamping is a close second. A sheet that shifts even slightly mid-cut will send the blade off-line, and recovering that line cleanly is difficult. Vibration — especially with power tools — makes the problem worse. When in doubt, add another clamp.
Skipping deburring is the mistake that catches people literally rather than figuratively. Sharp burrs on finished brass can cause lacerations during later assembly or handling. Finally, mismatched blade-to-gauge selection tends to cause binding, which either stalls the tool or damages the cut edge. Check the gauge, check the blade, then cut.
Applications of Cut Brass Sheets
Cut brass sheet metal appears across a wider range of contexts than most people initially expect. Interior designers specify custom-cut brass panels for kitchen backsplashes, wall accents, and high-end furniture hardware, where the material’s warm tone works as a design element rather than just a structural one.
Model makers use thin brass sheets to fabricate scaled components for trains, aircraft, and architectural dioramas — applications where dimensional accuracy matters and the material’s workability is an asset. Jewelers cut small geometric shapes for earrings and pendants, often as a more affordable alternative to gold. In industrial settings, precision-cut brass finds use in electrical grounding plates and specialized automotive brackets, where the alloy’s conductivity and corrosion resistance are the deciding factors.
Frequently Asked Questions
Q1: What Is The Best Tool For Cutting Thick Brass Sheet Metal?
For thick brass, an electric angle grinder fitted with a metal-cutting disc or a heavy-duty band saw is the most practical option. Both provide the torque needed to move through dense alloy without stalling or binding. With either tool, the sheet should be clamped firmly to a heavy workbench before cutting — these tools generate kickback forces that a loose sheet cannot safely absorb.
Q2: Can I Use A Laser Cutter On Brass Sheet Metal?
Yes, but with an important caveat: standard CO2 lasers, which are common in hobbyist workshops, are largely ineffective on brass. The metal’s reflective surface deflects the beam rather than absorbing it. A high-powered fiber laser system can cut brass cleanly across various gauges, but access to that equipment is typically limited to professional or industrial settings.
Q3: How Do I Prevent Brass Sheet Metal From Warping While Cutting?
Warping is usually caused by one of two things: inadequate support beneath the cutting area, or heat buildup from moving too slowly with a power tool. Supporting the sheet fully — including the portion that will be cut away — reduces flex during the process. The “sandwich” method, which involves placing the brass tightly between two pieces of scrap plywood before cutting, adds structural rigidity that’s particularly useful for thin gauges. Maintaining a steady, moderate cutting pace helps manage heat.
Make Your Next Brass Metal Project a Success
Cutting brass sheet metal is genuinely approachable once the fundamentals are in place. Understand the material’s properties, match the tool to the gauge, work through the steps without rushing, and address the edges before the piece moves on to the next stage of fabrication.
Whether you’re cutting a small geometric shape for a jewelry piece or sizing a bracket for a mechanical assembly, the process outlined here should give you a reliable starting point. Review your toolset, put on your safety gear, and take the time each step deserves — the quality of the finished piece reflects that investment directly. Thanks for reading this guide on how to cut brass sheet metal.
About
Stuart Rich is a distinguished figure in the world of metalworking and fabrication, with a decade of expertise creating innovative and sustainable metal projects. His professional focus lies in merging traditional blacksmithing and machining with modern manufacturing techniques, fostering designs that are both practical and durable. As the author of Metalenify, Stuart Rich delves into the art and science of metallurgy and DIY metal creation, inspiring artisans, hobbyists, and industry professionals alike.
Education
RMIT University
(Melbourne, Australia)
Associate Degree in Engineering Technology (Mechanical / Manufacturing)
Focus on metallurgical properties, industry-driven projects, and practical metal craftsmanship. Gained hands-on experience with traditional machining and digital manufacturing tools, such as CAD, CNC software, and precision welding equipment.
Nottingham Trent University
(United Kingdom)
Bachelor’s in Product Design and Materials Engineering (Honors)
Specialized in product design with a heavy focus on blending creativity with metal production and fabrication techniques. Participated in real-world industry projects, collaborating with architectural and hardware manufacturing companies to optimize material efficiency.
Publications and Impact
In Metalenify, Stuart Rich shares his insights on structural metal design processes, material grades, and strategies for efficient shop production. His writing bridges the gap between raw artisan knowledge and modern industrial needs, making it a must-read for both budding DIY metalworkers and seasoned fabrication professionals.


