
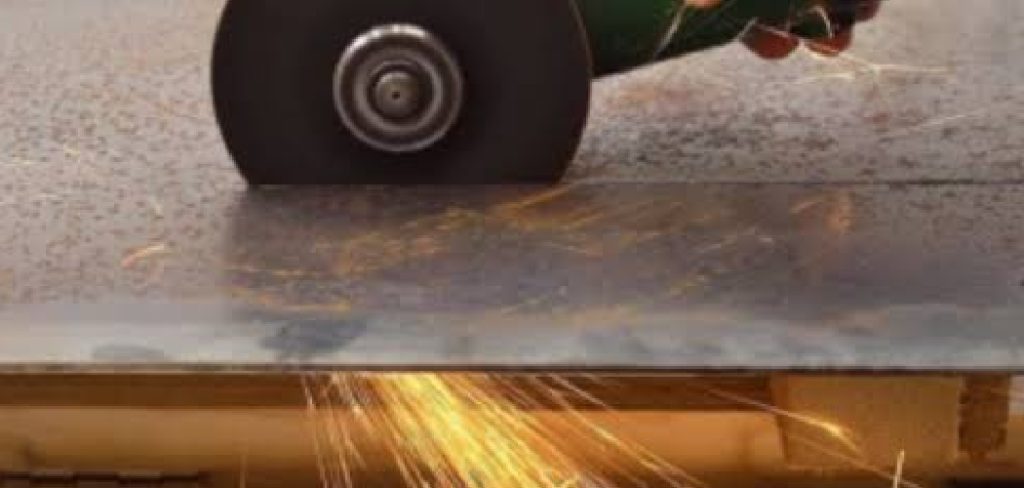
Stainless steel is tough, sleek, and built to last, which makes it a favorite for everything from kitchen counters to garage projects. But that same toughness can feel intimidating when you need to cut it. The good news? With the right tool and a little know-how, slicing through stainless steel is easier than you think. Learning how to cut stainless steel with angle grinder gives you a fast, affordable, and reliable way to tackle jobs at home or on the worksite.
An angle grinder is a handheld power tool that spins a cutting or grinding disc at high speed. It is versatile, portable, and perfect for clean, controlled cuts when used correctly. Whether you are a complete beginner or someone brushing up on the basics, this guide breaks everything down into simple, manageable steps. We will cover safety gear, disc selection, technique, and finishing touches, so you can work with confidence. By the end, you will have the skills to make precise cuts without the guesswork or stress that often comes with metalwork.
Why Cutting Stainless Steel Correctly Matters
Cutting stainless steel the right way protects both you and your project. Stainless steel is prized for its resistance to rust and corrosion, but careless cutting can damage that protective layer and leave edges prone to rust. A clean, controlled cut keeps the material strong and looking professional.
There are real benefits to mastering this skill. You save money by handling projects yourself instead of hiring help. You gain flexibility to customize parts exactly to your needs. You also reduce waste and frustration that come from jagged, uneven cuts. Most importantly, proper technique keeps you safe, since stainless steel produces hot sparks and sharp edges. When you understand the process, you work faster, smarter, and with far fewer errors, turning a tricky task into a satisfying, repeatable one.
Step-by-Step Guide To How to Cut Stainless Steel With Angle Grinder
Step 1: Gather Your Safety Gear
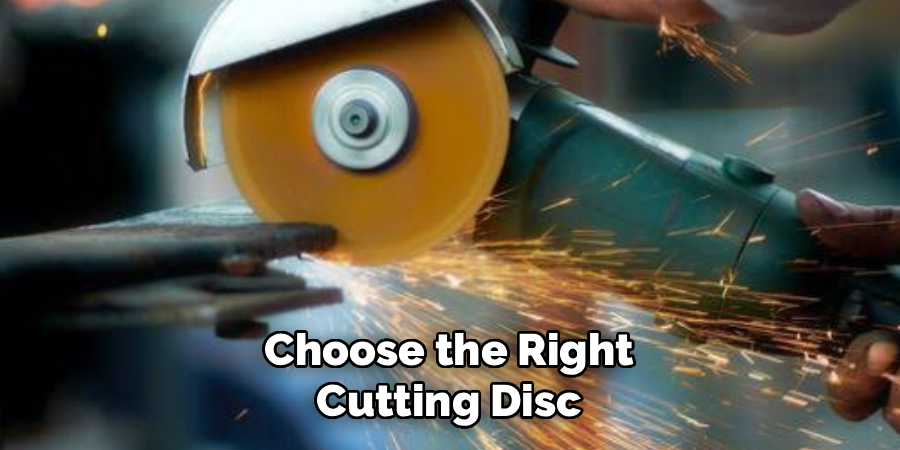
Before you touch any tool, suit up for protection. Stainless steel sends out a shower of hot sparks and tiny metal fragments, so safety gear is non-negotiable. Put on safety glasses or a full face shield, heavy-duty work gloves, and ear protection to guard against the loud whine of the grinder.
You should also wear long sleeves made from natural fabric, since synthetic materials can melt against your skin. A dust mask or respirator helps when fine particles fill the air. Clear your workspace of anything flammable, because stray sparks travel farther than you expect. Taking a few minutes to prepare here protects you from burns, cuts, and eye injuries throughout the job.
Step 2: Choose The Right Cutting Disc
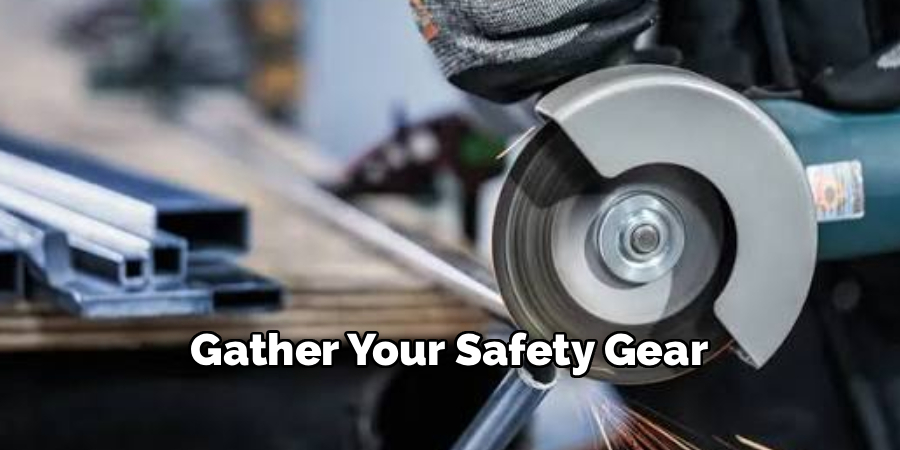
The disc you pick makes all the difference in your results. For stainless steel, use a thin cut-off disc labeled specifically for stainless or inox. These discs are usually around 1 to 1.6 millimeters thick, which gives you clean, fast cuts with minimal heat buildup. Avoid standard steel discs, since they can contaminate the surface and trigger rust later.
Check that the disc is rated for your grinder’s speed and size, typically marked in RPM on the label. A mismatched disc can shatter under pressure, creating a serious hazard. Always inspect a new disc for cracks or chips before installing it. The right disc not only improves your cut but also keeps the stainless steel’s protective layer intact.
Step 3: Secure The Workpiece
A wobbling piece of metal is dangerous and impossible to cut accurately. Clamp your stainless steel firmly to a stable workbench or use a sturdy vise. Make sure the section you plan to cut hangs slightly off the edge or over open space, so the disc does not bind or catch as it passes through.
Stability matters because any movement can cause the grinder to kick back toward you. Position the workpiece so you have a comfortable stance and full control over the tool. Double-check your clamps before starting, and give the metal a gentle nudge to confirm it does not shift. A well-secured workpiece is the foundation of every clean, safe, and confident cut you make.
Step 4: Mark Your Cutting Line
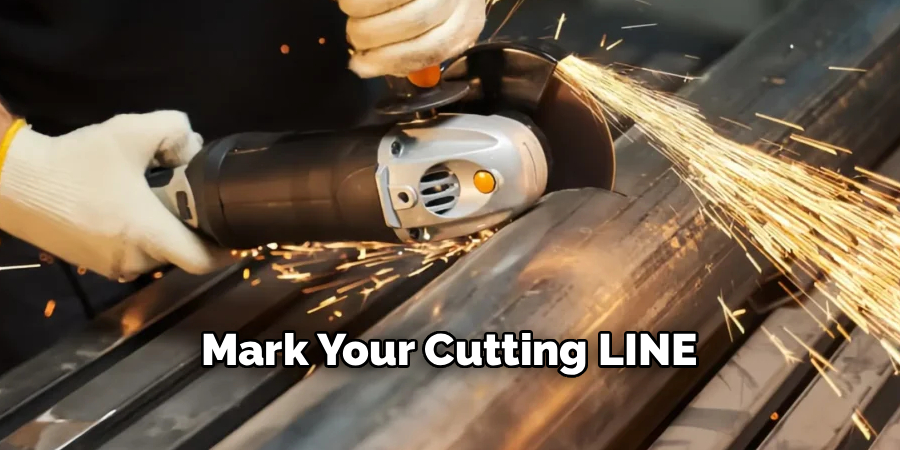
Accuracy starts with a clear guide. Use a fine-tip marker, soap stone, or scribe to draw a straight, visible line where you want to cut. For straight edges, a metal ruler or speed square helps you keep the line crisp and true. Measure twice before you mark, since stainless steel is unforgiving once cut.
A clearly marked line keeps your hand steady and your cut on target. This is exactly where mastering how to cut stainless steel with angle grinder pays off, because precision separates a professional finish from a rough, wasted piece. Take your time at this stage. A well-planned line guides the disc smoothly and reduces the chance of veering off course mid-cut.
Step 5: Position The Grinder And Begin Cutting
Hold the grinder firmly with both hands, keeping a balanced, comfortable grip. Power it on and let the disc reach full speed before it touches the metal. Lower the spinning disc gently onto your marked line at a slight angle, then ease it into a steady, straight position as it bites into the surface.
Let the tool do the work and avoid forcing it. Knowing how to cut stainless steel with angle grinder means using light, consistent pressure while the disc glides along your line. Pushing too hard overheats the metal and wears down the disc quickly. Keep your movements smooth and your eyes on the line, allowing the grinder to cut at its own natural pace.
Step 6: Maintain Control Through The Cut
Consistency is your best friend once the cut is underway. Keep the grinder moving steadily along the line without stopping in one spot, which prevents excessive heat and discoloration. Watch your spark pattern, since a steady stream usually means you are cutting cleanly and at the right angle.
If the disc starts to bind or the grinder feels like it is pulling, ease off slightly and reset your position. Never twist the disc sideways, because thin cut-off discs can snap under lateral pressure. Stay relaxed but focused, breathing steadily and keeping your body clear of the spark path. Maintaining control all the way through ensures a smooth edge and a safe finish to your cut.
Step 7: Finish And Clean The Edges
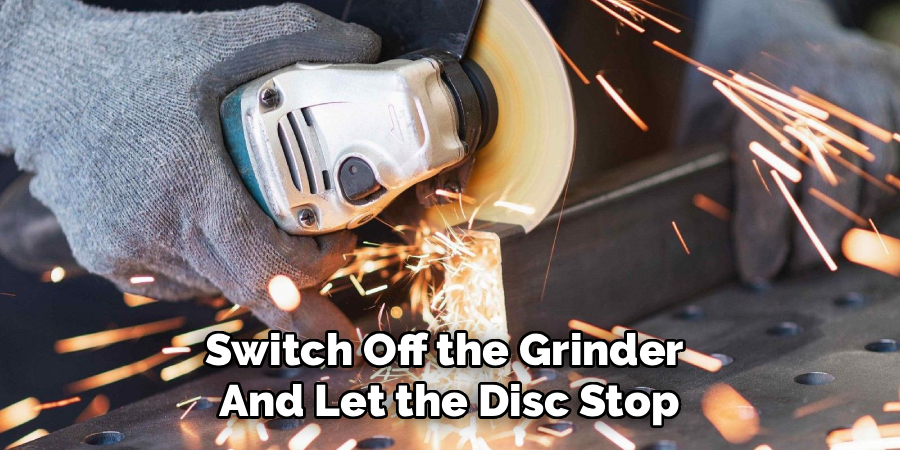
Once the cut is complete, switch off the grinder and let the disc stop spinning before setting it down. The freshly cut edge will be hot and sharp, so give it time to cool and handle it with gloves. You will likely notice small burrs or rough spots along the edge.
Swap to a flap disc or grinding wheel to smooth these edges, moving gently to avoid removing too much material. A clean edge looks professional and reduces the risk of cuts later. Wipe away any metal dust with a clean cloth, and inspect your work. With practice, this finishing step becomes quick, leaving you with a polished, safe, and ready-to-use piece.
Frequently Asked Questions
Can I Use Any Disc To Cut Stainless Steel?
No, you should use a disc specifically rated for stainless steel or inox. Standard steel discs can leave iron particles behind that cause rust and corrosion over time. Stainless-rated thin cut-off discs run cooler, cut faster, and protect the metal’s anti-rust layer. Always check the RPM rating and inspect the disc for damage before you start cutting.
How Do I Stop Stainless Steel From Discoloring When I Cut It?
Discoloration happens when the metal overheats during cutting. To prevent it, use a thin stainless-rated disc and keep the grinder moving steadily instead of lingering in one spot. Light, consistent pressure produces less friction and heat. If you notice blue or brown marks forming, slow down and let the metal cool. Working in shorter passes also helps keep the temperature manageable and the finish clean.
Is An Angle Grinder Safe For Beginners?
Yes, an angle grinder is beginner-friendly when you respect the safety basics. Always wear proper protective gear, secure your workpiece, and let the disc reach full speed before cutting. Start with small practice cuts on scrap metal to build confidence and get a feel for the tool. With steady hands and a calm pace, even first-timers can achieve clean, controlled results safely.
What Thickness Of Stainless Steel Can An Angle Grinder Cut?
An angle grinder handles a wide range of thicknesses, from thin sheets to bars several millimeters thick. For thicker pieces, you may need to make multiple passes rather than forcing a single deep cut. Thin cut-off discs work best for most household and workshop projects. Just remember that thicker material generates more heat, so steady pacing and cooling breaks become even more important.
Why Does My Cutting Disc Wear Out So Quickly?
Discs wear fast when you apply too much pressure or use the wrong type for the material. Forcing the grinder generates extra heat and friction, grinding the disc down rapidly. Let the tool’s speed do the cutting with gentle guidance instead. Using a quality stainless-rated disc and keeping a steady motion will extend its life and give you cleaner cuts.
Conclusion
Cutting stainless steel does not have to feel overwhelming. With the right safety gear, a proper stainless-rated disc, and a steady, patient technique, you can make clean, professional cuts every time. The key takeaways are simple: protect yourself first, secure your workpiece, mark your line clearly, and let the tool do the work without forcing it. Finishing the edges properly seals the deal with a polished, rust-resistant result.
Now that you understand how to cut stainless steel with angle grinder, you have everything you need to tackle your next project with confidence. Start with a piece of scrap metal to practice, take your time, and trust the process. Each cut builds your skill and comfort with the tool. Grab your gear, set up your workspace, and put these steps into action today.

About
Stuart Rich is a distinguished figure in the world of metalworking and fabrication, with a decade of expertise creating innovative and sustainable metal projects. His professional focus lies in merging traditional blacksmithing and machining with modern manufacturing techniques, fostering designs that are both practical and durable. As the author of Metalenify, Stuart Rich delves into the art and science of metallurgy and DIY metal creation, inspiring artisans, hobbyists, and industry professionals alike.
Education
RMIT University
(Melbourne, Australia)
Associate Degree in Engineering Technology (Mechanical / Manufacturing)
Focus on metallurgical properties, industry-driven projects, and practical metal craftsmanship. Gained hands-on experience with traditional machining and digital manufacturing tools, such as CAD, CNC software, and precision welding equipment.
Nottingham Trent University
(United Kingdom)
Bachelor’s in Product Design and Materials Engineering (Honors)
Specialized in product design with a heavy focus on blending creativity with metal production and fabrication techniques. Participated in real-world industry projects, collaborating with architectural and hardware manufacturing companies to optimize material efficiency.
Publications and Impact
In Metalenify, Stuart Rich shares his insights on structural metal design processes, material grades, and strategies for efficient shop production. His writing bridges the gap between raw artisan knowledge and modern industrial needs, making it a must-read for both budding DIY metalworkers and seasoned fabrication professionals.





