
Drilling through hardened steel can feel like a battle. The metal fights back, your drill bit overheats, and sometimes you end up with a shiny spot but no hole. If you’ve ever snapped a bit or burned through your patience trying to make a clean hole in tough steel, you’re not alone.
Hardened steel is built to resist wear, pressure, and cutting. That’s exactly what makes it so useful in tools, machine parts, and safes, but it also makes drilling a real challenge. The good news? With the right approach, the proper bits, and a little patience, you can punch through even the toughest steel at home or in your workshop.
This guide on how to drill through hardened steel walks you through everything you need to know. You’ll learn what tools to gather, the exact steps to follow, and the common mistakes that ruin so many drilling jobs.
What Are the Benefits?
Learning how to drill through hardened steel is a skill that pays off in many ways. Here’s why it’s worth your time:
- Save money on repairs and projects. Instead of paying a machine shop or buying new parts, you can modify and repair hardened steel components yourself.
- Tackle a wider range of projects. From mounting brackets to repairing tools, knowing how to handle tough metal opens up countless DIY and professional jobs.
- Build real confidence with metalwork. Once you master hardened steel, softer metals feel easy. This skill raises your overall craftsmanship.
- Protect your tools. When you understand the right technique, you stop burning out drill bits and damaging your equipment. That saves you cash over time.
- Get cleaner, more accurate results. Proper drilling leaves clean holes without cracks or warping, which matters for safety and quality.
In short, this skill makes you more self-reliant and capable. Whether you’re a hobbyist or a tradesperson, it’s a genuine asset.
What Will You Need?
Before you start, gather the right gear. Using the wrong tools is the number one reason people fail at this task. Here’s your checklist:
Drilling Tools:
- Cobalt drill bits (M35 or M42 grade) or carbide-tipped bits for the hardest steel
- A variable-speed drill or, ideally, a drill press for steady control
- A center punch to mark and start your hole
Lubrication and Cooling:
- Cutting oil or cutting fluid to reduce heat and friction
- A small brush or applicator for the oil
Setup and Support:
- A sturdy clamp or vise to hold the steel firmly
- A flat, stable work surface
- A backing block of wood or scrap metal
Safety Gear:
- Safety glasses or goggles
- Heavy-duty work gloves
- Hearing protection if you’re working for a long time
- A dust mask for metal shavings
Optional Extras:
- A wire brush for cleaning the surface
- A marker for measuring and marking your spot
Having all of this ready before you begin makes the whole process smoother and far safer.
10 Easy Steps on How to Drill Through Hardened Steel
Step 1: Prepare Your Workspace
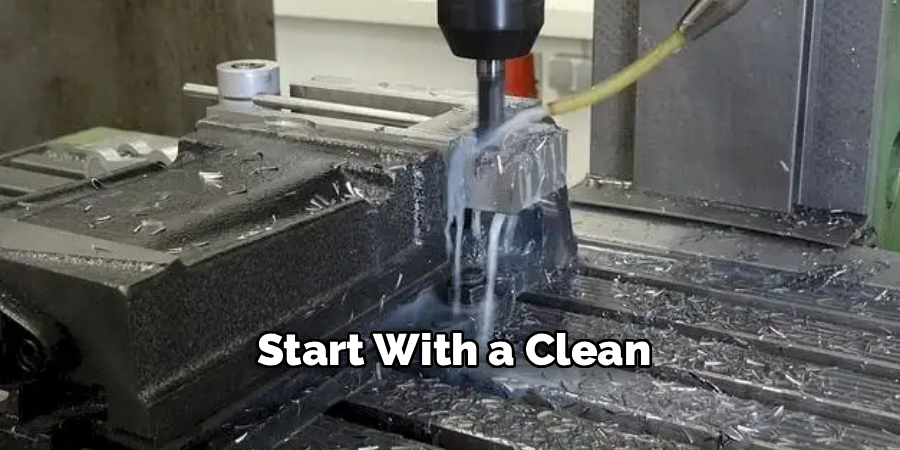
Start with a clean, well-lit, and stable area. Clear away clutter and make sure your work surface won’t move. Lay down a backing block where you’ll be drilling so you don’t damage your table once the bit breaks through. A tidy space helps you stay focused and avoid accidents while handling sharp metal and a powerful drill.
Step 2: Put On Your Safety Gear
Never skip this. Slip on your safety glasses to protect your eyes from flying metal chips. Wear gloves to shield your hands, and add hearing protection if you expect a long job. Hardened steel throws off sharp, hot shavings, so a dust mask is smart too. Taking thirty seconds to gear up can save you from a serious injury.
Step 3: Secure the Steel
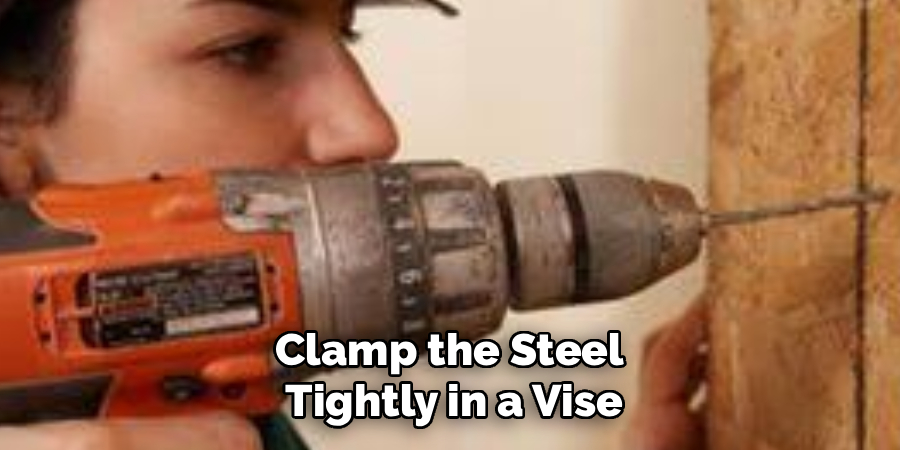
Clamp the steel tightly in a vise or use heavy-duty clamps to lock it onto your work surface. The metal must not move at all. If it shifts while you drill, you risk a broken bit, a ruined hole, or even injury. A firm hold also lets you apply steady pressure, which is key for cutting through hardened material.
Step 4: Mark Your Drilling Spot
Measure carefully and mark the exact spot where you want your hole. Use a marker first, then confirm your measurement. Accuracy here saves you from costly mistakes later. Double-check the position before moving on, because once you start cutting hardened steel, there’s no easy way to fix a misplaced hole.
Step 5: Make a Center Punch Mark
Place the tip of your center punch on your mark and give it a firm tap with a hammer. This creates a small dent that guides your drill bit and stops it from wandering across the slick steel surface. This tiny step makes a huge difference in accuracy. Without it, your bit will skate around and ruin your alignment.
Step 6: Choose the Right Drill Bit
Pick a cobalt or carbide-tipped bit rated for hardened steel. Standard high-speed steel bits will dull instantly and waste your time. If you need a large hole, start with a smaller pilot bit first. The right bit is the single most important factor in success, so don’t cut corners here.
Step 7: Apply Cutting Oil
Add a generous amount of cutting oil to the punch mark and the drill bit. This lubricant reduces friction and keeps the bit cool, which protects both your tool and the steel. Reapply oil throughout the job. Heat is your biggest enemy, and cutting fluid is your best defense against it.
Step 8: Drill a Pilot Hole
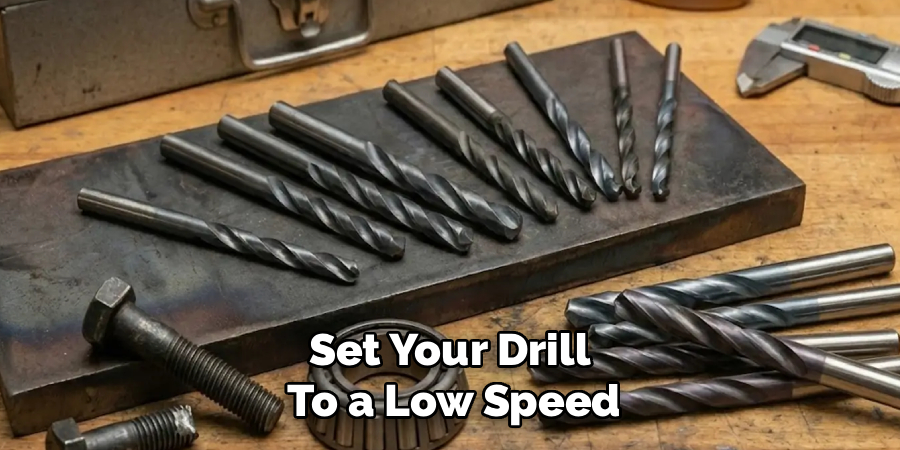
Set your drill to a low speed. Place the bit on your punch mark and apply firm, steady pressure. Let the bit do the cutting, slow and patient. A small pilot hole guides your larger bit and keeps everything centered. Don’t rush this stage. Slow speed and steady pressure beat fast and aggressive every time.
Step 9: Drill the Full Hole
Switch to your full-size bit if needed. Keep the speed low and the pressure constant. Pause often to add more cutting oil and let the bit cool. Watch the color of the metal shavings: long, curling chips mean you’re doing it right. If you see smoke or smell burning, slow down and add more oil.
Step 10: Finish and Clean Up
Once you break through, ease off the pressure to avoid cracking or splintering the back edge. Remove the steel from the clamp and brush away the shavings. Smooth any rough edges with a file or deburring tool. Clean your bit, wipe down your tools, and store everything safely. A clean finish is the mark of a job done well.
5 Things You Should Avoid
Even with the right tools, a few simple mistakes can wreck your project. Steer clear of these common errors:
- Drilling at high speed. Fast spinning creates heat fast, and heat destroys your bit and hardens the steel even more. Always keep your speed low and your pressure steady.
- Skipping the cutting oil. Drilling dry is the quickest way to burn out a bit. Cutting fluid cools and lubricates, so use it generously and reapply often.
- Using the wrong drill bit. Standard bits simply won’t cut hardened steel. Invest in cobalt or carbide bits made for the job, or you’ll waste money and time.
- Forgetting to clamp the metal. Loose steel spins, jumps, and breaks bits. Worse, it can cause serious injury. Always secure your workpiece before you drill.
- Pushing too hard or too soft. Too much force snaps bits, while too little just polishes the surface. Aim for firm, steady pressure and let the bit do the work.
Avoid these pitfalls and you’ll save yourself a lot of frustration, money, and broken equipment.
Frequently Asked Questions
1. Can I Drill Hardened Steel With a Regular Drill Bit?
No, regular high-speed steel bits won’t work on hardened steel. They dull almost instantly and can break under the strain. You need cobalt bits (M35 or M42) or carbide-tipped bits designed for tough metals. These bits handle the heat and pressure far better. Spending a little more on the right bit saves you money and effort in the long run.
2. Why Does My Drill Bit Keep Overheating?
Overheating usually comes from drilling too fast or skipping cutting oil. High speeds build up friction and heat quickly, which ruins both the bit and your hole. Slow your drill down and apply plenty of cutting fluid throughout the job. Pause regularly to let the bit cool. Watch for smoke or discoloration, as those are warning signs you need to slow down.
3. Do I Really Need a Drill Press, or Can I Use a Hand Drill?
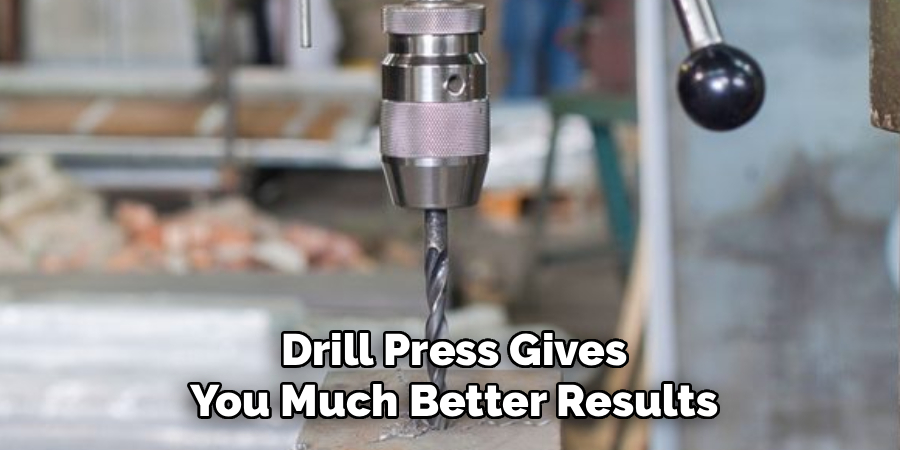
You can use a hand drill, but a drill press gives you much better results. A press offers steady control, consistent pressure, and accurate alignment, which all matter a lot with hardened steel. If you only have a hand drill, that’s fine; just go slow and keep the drill as steady as possible. Clamping the steel firmly becomes even more important with a handheld tool.
Conclusion
How to drill through hardened steel doesn’t have to be a frustrating fight. The secret lies in preparation, patience, and the right gear. Once you understand how the metal behaves and respect its toughness, the whole process becomes far more manageable.
Remember the core principles: use cobalt or carbide bits, keep your speed low, apply cutting oil often, and let the bit do the work. Clamp your steel tightly, mark your spot carefully, and never skip your safety gear. These small habits separate a clean, professional hole from a snapped bit and a wasted afternoon.
With the steps in this guide, you now have a clear roadmap from setup to finish. Practice on scrap pieces first if you’re new to it, and you’ll quickly build the feel and confidence you need. Grab your tools, take your time, and get drilling.

About
Stuart Rich is a distinguished figure in the world of metalworking and fabrication, with a decade of expertise creating innovative and sustainable metal projects. His professional focus lies in merging traditional blacksmithing and machining with modern manufacturing techniques, fostering designs that are both practical and durable. As the author of Metalenify, Stuart Rich delves into the art and science of metallurgy and DIY metal creation, inspiring artisans, hobbyists, and industry professionals alike.
Education
RMIT University
(Melbourne, Australia)
Associate Degree in Engineering Technology (Mechanical / Manufacturing)
Focus on metallurgical properties, industry-driven projects, and practical metal craftsmanship. Gained hands-on experience with traditional machining and digital manufacturing tools, such as CAD, CNC software, and precision welding equipment.
Nottingham Trent University
(United Kingdom)
Bachelor’s in Product Design and Materials Engineering (Honors)
Specialized in product design with a heavy focus on blending creativity with metal production and fabrication techniques. Participated in real-world industry projects, collaborating with architectural and hardware manufacturing companies to optimize material efficiency.
Publications and Impact
In Metalenify, Stuart Rich shares his insights on structural metal design processes, material grades, and strategies for efficient shop production. His writing bridges the gap between raw artisan knowledge and modern industrial needs, making it a must-read for both budding DIY metalworkers and seasoned fabrication professionals.





