
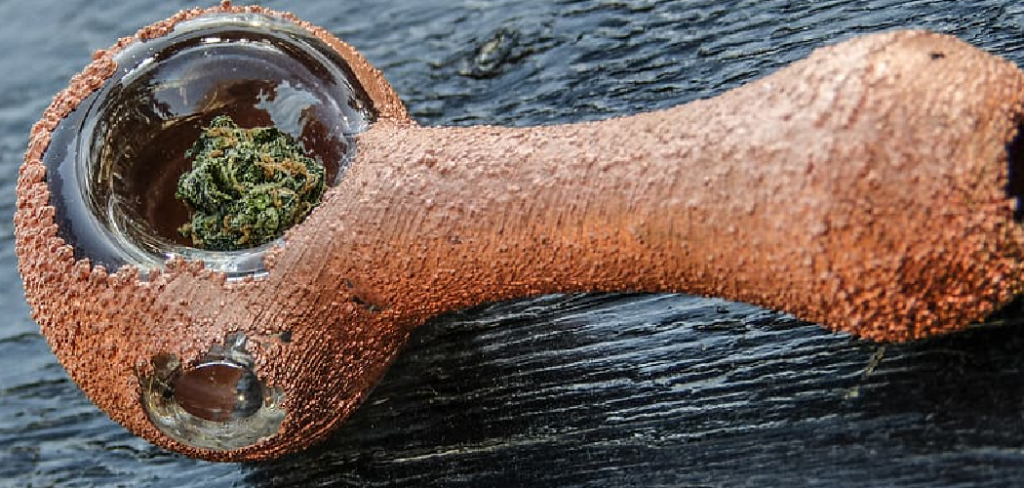
Turning a leaf, a seashell, or a small sculpture into a shining metal object feels a bit like magic, yet it relies on simple science you can learn at home. If you have ever wondered how to electroform copper, you are about to discover one of the most rewarding crafts in the maker world. Electroforming uses a gentle electric current to grow a solid layer of copper onto an object placed in a special solution. Over a few hours, that thin coating builds into a durable, beautiful metal shell.
This guide is built for curious beginners and hands-on hobbyists alike. We will walk through the supplies, the safety steps, and the full process in plain language so nothing feels overwhelming. Whether you want to make jewelry, decorative pieces, or one-of-a-kind gifts, mastering this skill opens up endless creative possibilities. By the end, you will feel confident enough to set up your own station and start your first project with a clear plan and steady hands.
Why Electroforming Copper Matters
Electroforming copper matters because it lets you transform ordinary, fragile objects into sturdy, eye-catching pieces with a premium metal finish. Unlike traditional metalworking, you do not need a forge, hammers, or years of training. The process is accessible to all skill levels and uses affordable equipment that fits on a small workbench.
The benefits go beyond looks. A copper shell adds strength and weight, giving handmade items a professional feel buyers love. Artists use it to preserve natural treasures like acorns or flowers, while crafters create custom pendants and home décor. Electroforming copper matters because it lets you transform ordinary, fragile objects into sturdy, eye-catching pieces with a premium metal finish. The technique also teaches valuable chemistry and electronics concepts in a fun, practical way. With patience and the right setup, you gain a flexible skill that supports everything from hobby projects to a thriving small business.
Step-by-Step Guide to How To Electroform Copper
Step 1: Gather Your Tools and Materials

Start by collecting everything you need before you begin. You will want a DC power supply or rectifier, copper sulfate electroforming solution, a copper anode, alligator clip wires, and a clean glass or plastic container. You also need conductive paint, your chosen object, and protective gear like gloves and safety glasses. Having each item ready prevents frustrating pauses once the current is flowing. Lay your supplies out on a clean, well-lit surface so you can reach them easily. A little preparation here makes the rest of the process smooth, safe, and far more enjoyable for first-timers.
Step 2: Prepare Your Object
Your object must be clean and ready to accept copper. Wipe away dust, oils, and fingerprints using rubbing alcohol, then let it dry completely. If your piece is porous, like wood or a dried flower, seal it first with a clear coat so the solution does not soak in. This is the moment where learning how to electroform copper truly begins, because surface prep decides your final quality. Take your time, since a clean, sealed surface helps the metal bond evenly. Skipping this step often leads to patchy results, so treat it as the foundation of a successful project.
Step 3: Apply Conductive Paint
Copper will only grow on surfaces that carry an electric current, so this step is essential. Brush a smooth, even layer of conductive paint over the areas you want plated. Work carefully into grooves and details, since any gap will stay bare metal-free. Let the first coat dry, then add a second layer for full coverage and stronger conductivity. Avoid thick, gloppy strokes that crack as they dry. A thin, consistent finish gives the best results. Once everything is dry to the touch, gently check for missed spots and patch them before moving forward to the bath.
Step 4: Mix and Prepare the Bath
Pour your copper sulfate solution into the container, filling it enough to fully submerge your object. Follow the manufacturer instructions for any additives or brighteners, since these improve the smoothness of your finish. Stir gently to blend everything evenly, and check that the liquid sits at room temperature for the best flow of current. Work in a ventilated space and keep the area tidy. Place your container on a stable surface where it will not be bumped. A well-prepared bath sets the stage for steady, even plating and reduces the chance of rough or uneven copper buildup.
Step 5: Set Up the Electrical Connection
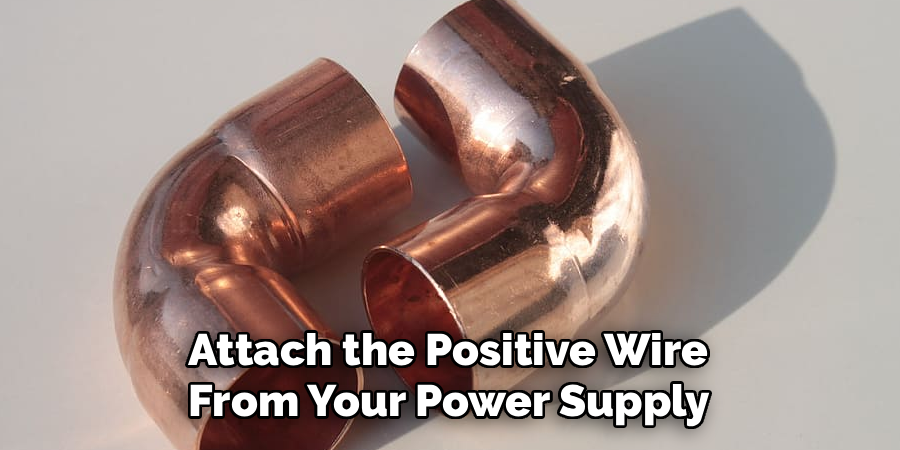
Now connect your circuit so the magic can happen. Attach the positive wire from your power supply to the copper anode and lower the anode into the solution. Clip the negative wire to your painted object, making sure the metal contact touches only the conductive surface. Keep the object and anode close but never touching. This is the heart of how to electroform copper, since the current carries copper ions from the anode onto your piece. Double-check every connection before powering on. A secure, correct setup protects your project and keeps the plating consistent from start to finish.
Step 6: Run the Electroforming Process
Turn on your power supply and set a low current to begin, usually around a fraction of an amp depending on your object size. A gentle start prevents rough, burnt-looking deposits. Watch the surface over the first several minutes, as a thin pink layer should appear. Let the process run for several hours, checking occasionally and adjusting the current if needed. Patience pays off here, because slow, steady plating creates a smooth, strong shell. If you notice dark or powdery spots, lower the current slightly. The longer you run it, the thicker and more durable your finished copper layer becomes.
Step 7: Finish and Polish Your Piece
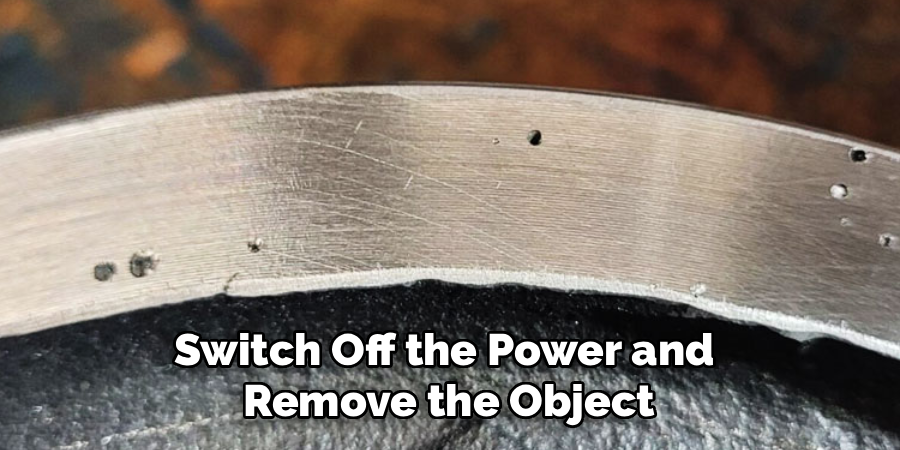
Once your copper layer reaches the thickness you want, switch off the power and remove the object. Rinse it thoroughly under running water to wash away any leftover solution, then pat it dry. At this stage you can polish the surface with a soft cloth or a rotary tool for a bright shine, or apply a patina for an aged, artistic look. Seal the finished piece with a clear protective coat to prevent tarnishing over time. Step back and admire your work, since you have just transformed a simple object into a lasting, handcrafted metal treasure.
Frequently Asked Questions
How Long Does the Plating Take?
Most projects take between four and twelve hours, depending on the size of your object and the thickness you want. Smaller pieces with thin coatings finish faster, while larger items need more time for a strong shell. Running a low, steady current produces the smoothest results, so resist the urge to rush. Check your piece occasionally and stop once you reach your desired look.
Is the Process Safe to Do at Home?
Yes, it is safe when you follow basic precautions. Always wear gloves and safety glasses, work in a well-ventilated area, and keep the solution away from food, children, and pets. The copper sulfate bath should never be ingested, and you should wash your hands after handling materials. Store chemicals in labeled containers. With careful, responsible habits, beginners can enjoy this craft confidently at home.
What Objects Work Best for Electroforming?
Almost any small item works as long as it is sealed and coated with conductive paint. Popular choices include leaves, seashells, crystals, acorns, and small sculptures. Porous or organic materials need a clear sealant first so the solution does not damage them. Metal objects can be plated directly after cleaning. Start with sturdy, simple shapes while you build confidence, then move on to detailed pieces.
Why Is My Copper Coating Rough or Patchy?
Rough or patchy results usually come from a current that is set too high or uneven conductive paint. A high current creates burnt, powdery deposits, so lower it for a smoother finish. Patchy areas often mean the paint missed a spot or was too thin. Check your connections, reapply paint where needed, and keep the solution at room temperature for steady, even plating.
Can I Reuse the Solution?
Yes, you can reuse your copper sulfate solution many times, which makes the craft cost-effective. Store it in a sealed, labeled container away from light and heat. Over time it may need topping up or filtering to remove debris. If plating slows or quality drops, the solution may be exhausted and ready for replacement. Proper storage keeps your bath working well for many future projects.
Conclusion
You now have a complete, beginner-friendly roadmap covering everything from gathering tools to polishing your final piece. The key takeaways are simple. Clean and seal your object carefully, apply smooth conductive paint, set up your circuit correctly, and run a low, steady current for the best results. Each step builds on the last, so a little patience and attention go a long way toward a professional finish.
Learning how to electroform copper is a genuinely rewarding skill that blends creativity, science, and craftsmanship into one satisfying process. Do not be afraid to experiment, make small mistakes, and improve with every project. Start with one simple object, follow the steps in this guide, and watch an ordinary item turn into a stunning metal keepsake. Grab your supplies, set up your station, and begin your first project today. Your hands-on adventure into copper crafting is ready to start.

About
Stuart Rich is a distinguished figure in the world of metalworking and fabrication, with a decade of expertise creating innovative and sustainable metal projects. His professional focus lies in merging traditional blacksmithing and machining with modern manufacturing techniques, fostering designs that are both practical and durable. As the author of Metalenify, Stuart Rich delves into the art and science of metallurgy and DIY metal creation, inspiring artisans, hobbyists, and industry professionals alike.
Education
RMIT University
(Melbourne, Australia)
Associate Degree in Engineering Technology (Mechanical / Manufacturing)
Focus on metallurgical properties, industry-driven projects, and practical metal craftsmanship. Gained hands-on experience with traditional machining and digital manufacturing tools, such as CAD, CNC software, and precision welding equipment.
Nottingham Trent University
(United Kingdom)
Bachelor’s in Product Design and Materials Engineering (Honors)
Specialized in product design with a heavy focus on blending creativity with metal production and fabrication techniques. Participated in real-world industry projects, collaborating with architectural and hardware manufacturing companies to optimize material efficiency.
Publications and Impact
In Metalenify, Stuart Rich shares his insights on structural metal design processes, material grades, and strategies for efficient shop production. His writing bridges the gap between raw artisan knowledge and modern industrial needs, making it a must-read for both budding DIY metalworkers and seasoned fabrication professionals.





