
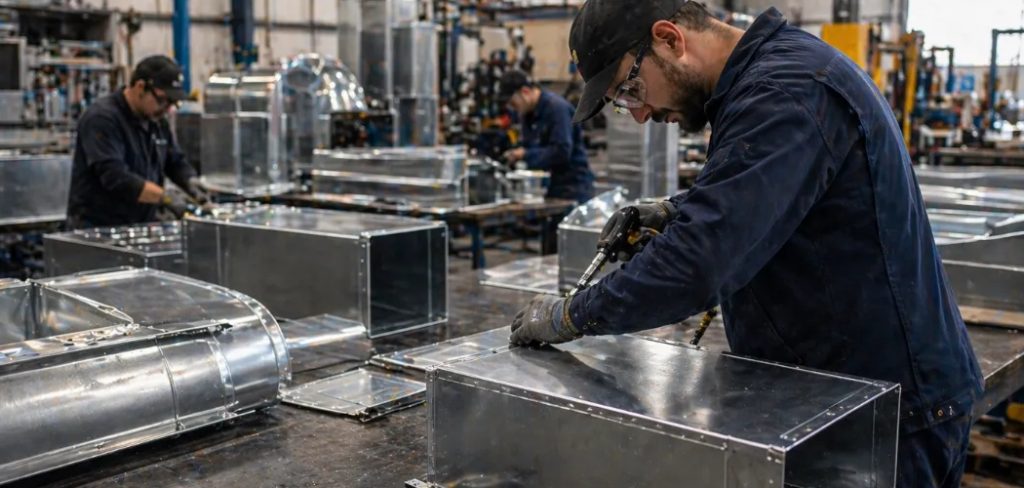
Metal brackets hold up shelves, support machinery, reinforce joints, and solve countless problems around the home and workshop. Learning to fabricate your own brackets gives you total control over size, strength, and fit. Instead of hunting for a part that almost works, you can build the exact piece you need.
This guide on how to fabricate metal brackets walks you through everything from start to finish. You’ll learn why making your own brackets pays off, which tools and materials you need, and a clear 10-step process to follow. We’ll also cover common mistakes to dodge and answer a few questions beginners ask most. By the end, you’ll feel confident enough to cut, bend, and weld your first bracket.
Let’s get started.
What are the Benefits?
Fabricating your own metal brackets offers real advantages over buying off-the-shelf parts. Once you understand these benefits, you’ll see why so many makers and tradespeople prefer to build their own.
1. Perfect Custom Fit
Store-bought brackets come in standard sizes that rarely match your exact project. When you fabricate your own, you control every dimension. You can match awkward angles, tight spaces, or heavy loads with a part designed for the job.
2. Cost Savings Over Time
Buying specialty brackets adds up fast, especially for custom shapes. Raw steel or aluminum stock costs far less per piece. After you invest in basic tools, each bracket you make becomes cheaper than anything you’d buy.
3. Greater Strength and Durability
A bracket you build can be thicker, wider, or reinforced exactly where stress lands. You decide the gauge of metal and the weld strength. This control means your bracket lasts longer and handles more weight than a generic part.
4. Skill Building and Independence
Every bracket you make sharpens your cutting, bending, and welding skills. These abilities carry over to bigger projects like frames, gates, and furniture. You also stop depending on stores that may not stock what you need.
5. Faster Repairs
When something breaks, you can fix it the same day instead of waiting on shipping. A small stockpile of metal and a few tools turns you into your own supply chain.
What Will You Need?
Before you start, gather your tools, materials, and safety gear. Having everything ready keeps the process smooth and safe.
Materials
- Metal Stock: Mild steel is the easiest to work with for beginners. Aluminum and stainless steel are options for lighter or rust-resistant projects.
- Flat Bar or Angle Iron: These shapes give you a strong starting point and reduce the cutting you need.
- Welding Wire or Rods: Match these to your metal type and welding method.
Tools
- Angle grinder
- Metal-cutting saw or chop saw
- Bench vise
- Bending brake or sturdy vise
- Welder
- Drill and metal bits
- Measuring tape, square, and marker
- Clamps
Safety Gear
- Welding helmet with the correct shade.
- Safety glasses for cutting and grinding.
- Heavy work gloves and welding gloves.
- Fire-resistant jacket or apron.
- Ear protection and a dust mask or respirator.
Never skip safety gear. Metal fabrication involves heat, sparks, and sharp edges. A few seconds of protection prevent serious injury.
10 Easy Steps on How to Fabricate Metal Brackets
Follow these ten steps in order. Each one builds on the last, so take your time and check your work as you go.
Step 1: Plan and Design Your Bracket
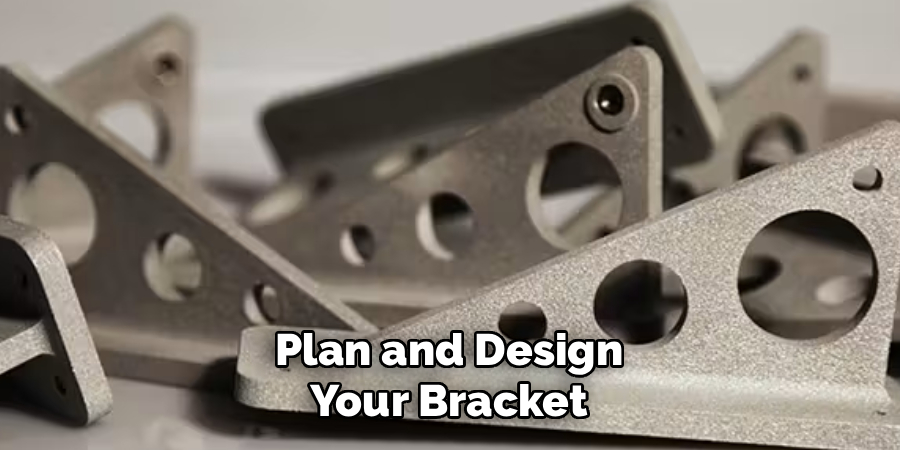
Start with a clear plan. Sketch your bracket on paper, including every dimension. Note the angle, length, width, and where the mounting holes go. Think about the load it will carry and choose a metal thickness that can handle it. A good design now saves frustration later. If your bracket supports heavy weight, make it thicker and add a reinforcing gusset to the corner.
Step 2: Choose the Right Metal
Pick a metal that matches your project. Mild steel works for most general jobs because it’s strong, affordable, and easy to weld. Choose aluminum when weight matters, or stainless steel for outdoor and damp settings. Match the thickness to your load. A light shelf bracket might use 3mm stock, while a structural support could need 6mm or more. Buy a little extra to allow for cutting and mistakes.
Step 3: Measure and Mark Your Cuts
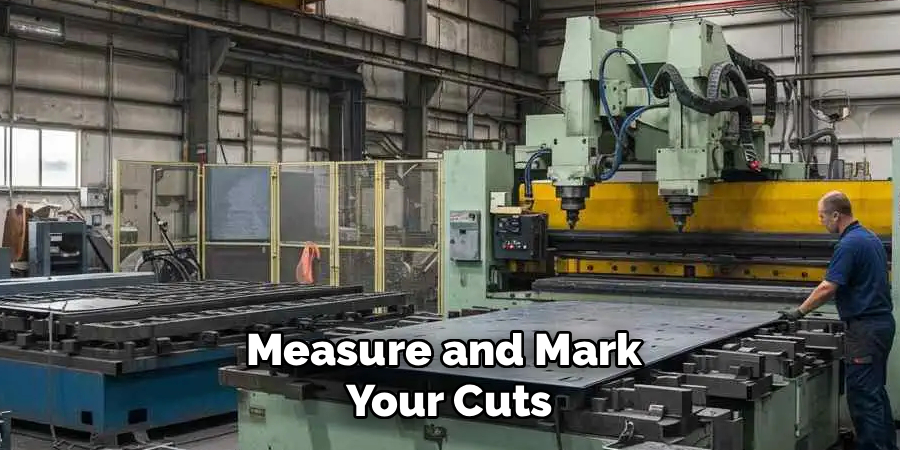
Accurate marking leads to accurate brackets. Lay your metal flat and use a measuring tape and square to mark each cut line. Use a fine marker or a scribe for clean, visible lines. Double-check every measurement before you cut. The old rule “measure twice, cut once” exists for good reason. Mark your bend lines and hole centers at this stage too, so you don’t forget them later.
Step 4: Cut the Metal to Size
Secure your metal in a vise or clamp it to your workbench. Use a chop saw or angle grinder with a cutting disc to follow your marked lines. Keep the blade steady and let the tool do the work, never force it. Make slow, controlled passes for straight, clean edges. Wear your safety glasses and gloves, and keep flammable items away from the sparks. Cut all your pieces before moving on.
Step 5: Clean and Deburr the Edges
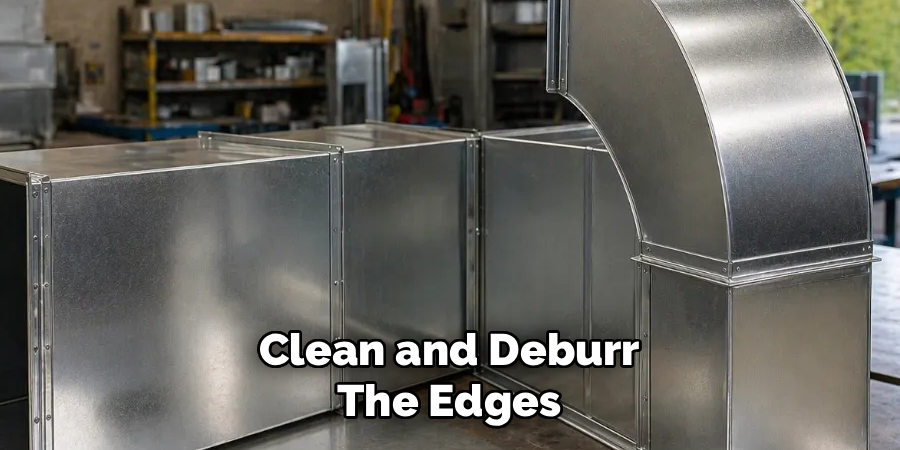
Fresh cuts leave sharp burrs and rough edges. Use your angle grinder with a flap disc or a metal file to smooth every edge. Clean edges weld better, fit tighter, and won’t cut your hands. Remove any rust, paint, or oil from the surfaces you plan to weld. Bare, clean metal gives you the strongest weld. Wipe the area with a clean cloth when you finish.
Step 6: Bend the Metal
If your bracket needs an angle, this is where you create it. Clamp the metal in a bending brake or a heavy-duty vise along your marked bend line. Apply steady pressure to fold it to the angle you planned. For thicker stock, you may need to heat the bend line with a torch first to make it easier. Check the angle with a square or protractor and adjust until it matches your design.
Step 7: Drill the Mounting Holes
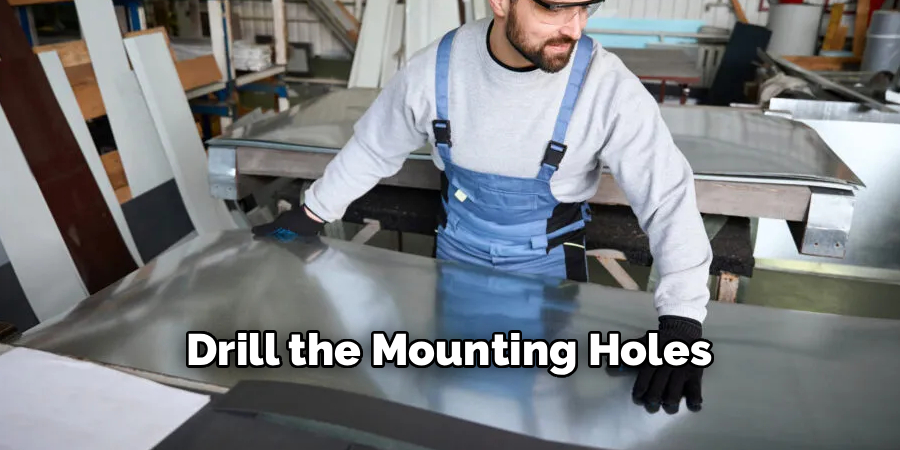
Mark your hole centers with a center punch so the drill bit doesn’t wander. Clamp the metal firmly and use a metal drill bit at a slow, steady speed. Apply a few drops of cutting oil to keep the bit cool and extend its life. Start with a small pilot hole, then step up to your final size. Drilling holes now, before welding, is easier than working around a finished bracket.
Step 8: Fit and Tack Weld the Pieces
Position your pieces exactly as they’ll sit in the finished bracket. Use clamps and a square to hold them at the correct angle. Place small tack welds at the joints to hold everything together. Tacks are quick spot welds that let you check the fit before committing. Measure and confirm the angle is right. If something looks off, grind the tack away and reposition before you do the full weld.
Step 9: Complete the Welds
Once the fit is perfect, lay down full, continuous welds along the joints. Move at a steady pace to build strong, even beads. Don’t rush, but don’t linger and burn through the metal either. For heavy-duty brackets, weld both sides of the joint for maximum strength. Let the metal cool naturally between passes to avoid warping. Inspect each weld for gaps or weak spots and fill any you find.
Step 10: Finish and Protect the Bracket
Grind down any rough or excess weld for a clean look. Smooth all the edges one final time. To prevent rust, clean the bracket and apply a primer followed by paint or a protective coating. For outdoor use, consider galvanizing or a powder coat for extra protection. Let the finish cure fully before installing. Your bracket is now ready to mount and put to work.
5 Things You Should Avoid
Even simple brackets can fail when you make these common mistakes. Watch out for each one.
1. Skipping the Planning Stage
Jumping straight to cutting wastes metal and time. Without a plan, you’ll likely get the angles or dimensions wrong. Always sketch your bracket and write down measurements first.
2. Choosing Metal That’s Too Thin
A bracket that’s too thin will bend or snap under load. When in doubt, go thicker. The small extra cost is worth the added safety and durability.
3. Welding on Dirty Metal
Rust, paint, and oil ruin welds and create weak, brittle joints. Always grind your weld areas down to clean, bare metal before you strike an arc.
4. Rushing the Cuts and Bends
Forcing the saw or bending too fast leads to crooked, uneven results. Slow, steady work gives you cleaner cuts and accurate angles every time.
5. Ignoring Safety Gear
Sparks, heat, and metal shards cause real injuries. Never weld or grind without your helmet, gloves, and eye protection. Treat safety as part of the job, not an afterthought.
Conclusion
How to fabricate metal brackets is a practical skill that saves money, delivers a perfect fit, and gives you stronger parts than the store can offer. With a clear plan, the right tools, and a focus on safety, even a beginner can produce solid, professional-looking brackets.
Remember the core process: plan carefully, choose the right metal, measure and cut accurately, then bend, drill, and weld with patience. Avoid the common mistakes, finish your bracket to protect it from rust, and your work will last for years.
Your next step is simple. Pick a small project, gather your materials, and start with Step 1. Each bracket you build will sharpen your skills and make the next one easier. Grab your gear and get fabricating.

About
Stuart Rich is a distinguished figure in the world of metalworking and fabrication, with a decade of expertise creating innovative and sustainable metal projects. His professional focus lies in merging traditional blacksmithing and machining with modern manufacturing techniques, fostering designs that are both practical and durable. As the author of Metalenify, Stuart Rich delves into the art and science of metallurgy and DIY metal creation, inspiring artisans, hobbyists, and industry professionals alike.
Education
RMIT University
(Melbourne, Australia)
Associate Degree in Engineering Technology (Mechanical / Manufacturing)
Focus on metallurgical properties, industry-driven projects, and practical metal craftsmanship. Gained hands-on experience with traditional machining and digital manufacturing tools, such as CAD, CNC software, and precision welding equipment.
Nottingham Trent University
(United Kingdom)
Bachelor’s in Product Design and Materials Engineering (Honors)
Specialized in product design with a heavy focus on blending creativity with metal production and fabrication techniques. Participated in real-world industry projects, collaborating with architectural and hardware manufacturing companies to optimize material efficiency.
Publications and Impact
In Metalenify, Stuart Rich shares his insights on structural metal design processes, material grades, and strategies for efficient shop production. His writing bridges the gap between raw artisan knowledge and modern industrial needs, making it a must-read for both budding DIY metalworkers and seasoned fabrication professionals.





