
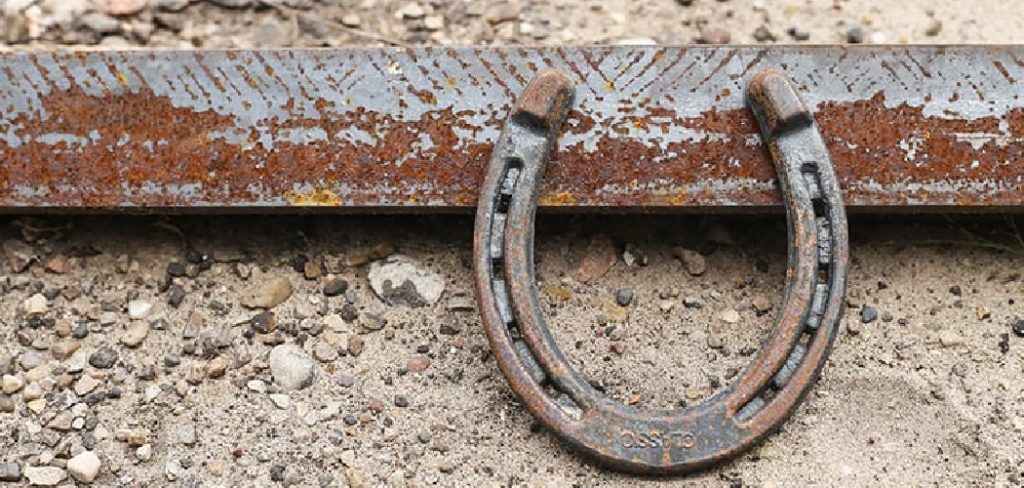
Galvanized tin has a clean, silvery shine that looks great in many projects, but sometimes you want the opposite. A weathered, rusty finish brings warmth, character, and a vintage feel that fresh metal just can’t match. The good news is you don’t have to wait years for real corrosion to appear. Learning how to fake rust on galvanized tin lets you create that aged look in a single afternoon, with full control over the color and texture.
This technique is perfect for crafters, home decorators, and anyone who loves farmhouse or rustic style. Whether you’re making signs, planters, lanterns, or wall art, a faux rust finish adds instant charm. Best of all, the materials are affordable and easy to find at most craft or hardware stores. In this guide, you’ll learn exactly what you need and how to apply each layer for a believable result. By the end, you’ll feel confident transforming shiny metal into something that looks decades old.
Why Faking Rust on Galvanized Tin Matters
Real rust takes time, and it can actually damage your metal over the years. Faking the effect gives you the beauty of aged metal without the structural weakness or the long wait. You get a piece that looks authentic but stays strong and lasts longer.
It’s also far more flexible. You decide where the rust appears, how heavy it looks, and which tones to highlight. This control means every project matches your style and space. The materials are budget-friendly, the process is beginner-friendly, and the results are repeatable. Once you learn the method, you can apply it to dozens of items and keep your whole collection looking cohesive. For anyone who loves rustic decor, this skill is a small investment that pays off in big visual rewards.
Step-by-Step Guide to How To Fake Rust On Galvanized Tin
Step 1: Gather Your Materials
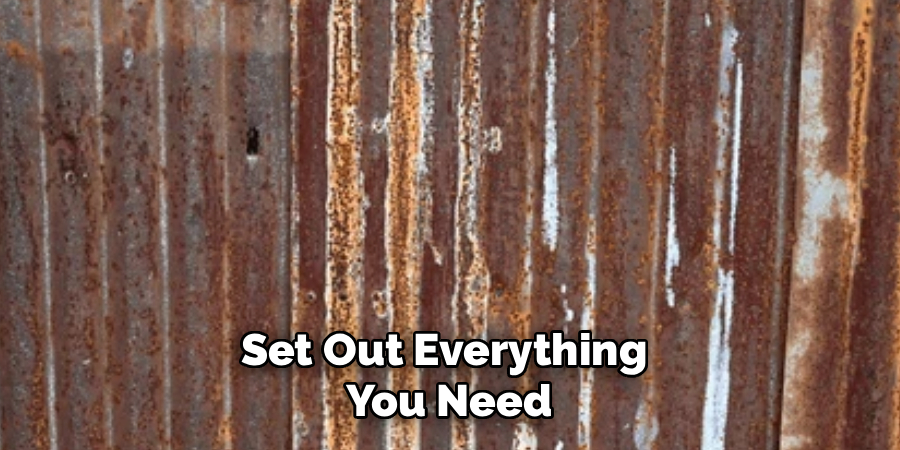
Before you start, set out everything you need so the process flows smoothly. You’ll want your galvanized tin piece, a few acrylic craft paints in rust tones, and a clear sealer. Good color choices include burnt orange, brown, ochre, and a touch of black for depth. Grab a couple of sponges, an old brush, paper towels, and a cup of water. Knowing how to fake rust on galvanized tin starts with the right supplies, since each color layer builds the realistic effect. Lay down newspaper to protect your work surface, and make sure your room has decent airflow before you begin.
Step 2: Clean The Surface
Galvanized tin often has an oily coating from the factory, and paint won’t stick well to it. Start by wiping the whole piece with a cloth dampened in vinegar or rubbing alcohol. This removes grease, dust, and any fingerprints that could ruin your finish. Pay attention to corners and edges where grime likes to hide. After cleaning, let the surface dry completely so no moisture is trapped underneath. A clean base is the secret to a long-lasting result. Skipping this step is the most common reason faux finishes peel later, so take your time and do it right.
Step 3: Apply A Base Coat
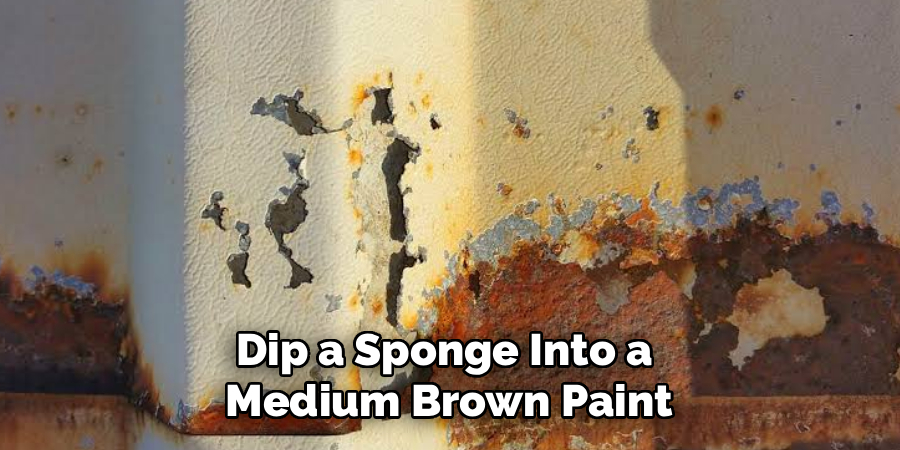
Now you’ll lay down the foundation color for your rust effect. Dip a sponge into a medium brown paint and dab it across the surface in a light, uneven layer. You don’t want full coverage here, since real rust never looks perfectly even. Let some of the silver tin peek through in spots. This patchy base mimics how corrosion spreads naturally over metal. Allow this coat to dry for about fifteen to twenty minutes before moving on. If you’d like a deeper aged look, add a second light layer once the first one feels dry to the touch.
Step 4: Build Up Rust Tones

This is where your piece really starts to transform. Take your orange and ochre paints and dab them onto the brown base, focusing on edges, seams, and any raised areas. These are the places where moisture would collect and rust would form first. Use a dry sponge and a light touch, blending the colors so they fade into one another. Mastering how to fake rust on galvanized tin comes down to layering these warm tones gradually rather than all at once. Step back often to check your work, because adding color slowly gives you a much more natural and believable finish.
Step 5: Add Depth And Shadows
To make the rust look three-dimensional, you need darker accents. Dip a small brush into a bit of black or dark brown paint, then dab off most of it onto a paper towel. Lightly tap this near deep crevices, bottom edges, and corners where shadows would naturally fall. These darker spots create contrast and make the lighter rust tones pop. Don’t overdo it, since a little goes a long way. The goal is subtle depth, not heavy black patches. Blend the edges softly with a clean, dry sponge so the shadows melt into the surrounding color.
Step 6: Create Texture
Real rust has a gritty, bumpy surface, and you can fake that feel too. Mix a small amount of baking soda or fine sand into some rust-colored paint to thicken it. Dab this textured mixture sparingly onto the rustiest areas using a stiff brush or sponge. The tiny bumps catch light and add a tactile quality that flat paint can’t match. Let this layer dry fully, as the texture takes a little longer to set. Run your fingers over it once dry to check the feel, and add more in spots that still look too smooth or flat.
Step 7: Seal The Finish
The final step protects all your hard work and locks in the colors. Choose a clear matte sealer, since a glossy one would make the rust look wet and unrealistic. Spray or brush a thin, even coat over the entire piece, covering every painted area. Hold the can about ten inches away for smooth, drip-free coverage. Let it dry according to the product instructions, then add a second coat for extra durability. Once cured, your sealer guards against scratches and keeps the finish looking fresh for years, whether your piece lives indoors or in a sheltered outdoor spot.
Frequently Asked Questions
How Long Does The Faux Rust Finish Last?
With a proper sealer, your faux rust finish can last for several years. Indoor pieces hold up almost indefinitely, while sheltered outdoor items stay strong for a long time too. Direct rain and harsh sun will shorten the lifespan, so add a fresh sealer coat once a year for outdoor decor. Good surface prep at the start also plays a huge role in durability.
Can I Use Regular Paint Instead Of Acrylic?
Acrylic craft paint works best because it dries quickly, blends easily, and adheres well to primed metal. You can use chalk paint for a more matte, vintage look, and many people love the results. Avoid oil-based paints unless you’re comfortable with longer dry times and stronger fumes. Whatever you choose, test it on a hidden spot first to confirm it sticks and gives you the color you want.
Do I Need To Prime The Galvanized Tin First?
Priming isn’t always required, but it does improve adhesion and longevity. A self-etching primer made for metal gives paint the strongest grip and helps prevent peeling. If you skip primer, cleaning the surface thoroughly with vinegar becomes even more important. For decorative indoor projects, a clean base may be enough, but for anything handled often or placed outdoors, priming is well worth the extra step.
Will The Fake Rust Rub Off On My Hands?
Once you’ve applied a clear sealer, the finish should not rub off or transfer color. The sealer forms a protective barrier that locks the paint in place. If you notice any rubbing, you likely missed a spot or need a second coat. Always let each layer dry fully before sealing, since trapped moisture or wet paint can cause smudging and weaken the final protective layer.
Can I Add Rust Effects To Other Metals?
Yes, this same method works on aluminum, steel, and even certain plastics with the right primer. The key is cleaning the surface well and using a primer suited to that material. The painting and layering steps stay exactly the same. This makes the technique incredibly versatile, letting you create a matching rustic look across many different objects and materials throughout your home or craft projects.
Conclusion
Creating a weathered, aged look on shiny metal is far easier than most people expect. By cleaning your surface, layering warm rust tones, adding shadows and texture, and sealing the result, you can turn a plain piece into a rustic treasure in just a few hours. The whole process is beginner-friendly, budget-friendly, and endlessly customizable, so you can match any style or space you have in mind.
Now that you understand how to fake rust on galvanized tin, you’re ready to bring vintage charm to signs, planters, lanterns, and beyond. Start with a small project to build your confidence, then experiment with different color blends and texture levels as you go. Each piece you finish will teach you something new, and before long you’ll have a whole collection of beautifully aged decor. Grab your supplies, trust the layering process, and enjoy watching ordinary metal transform into something with real character.

About
Stuart Rich is a distinguished figure in the world of metalworking and fabrication, with a decade of expertise creating innovative and sustainable metal projects. His professional focus lies in merging traditional blacksmithing and machining with modern manufacturing techniques, fostering designs that are both practical and durable. As the author of Metalenify, Stuart Rich delves into the art and science of metallurgy and DIY metal creation, inspiring artisans, hobbyists, and industry professionals alike.
Education
RMIT University
(Melbourne, Australia)
Associate Degree in Engineering Technology (Mechanical / Manufacturing)
Focus on metallurgical properties, industry-driven projects, and practical metal craftsmanship. Gained hands-on experience with traditional machining and digital manufacturing tools, such as CAD, CNC software, and precision welding equipment.
Nottingham Trent University
(United Kingdom)
Bachelor’s in Product Design and Materials Engineering (Honors)
Specialized in product design with a heavy focus on blending creativity with metal production and fabrication techniques. Participated in real-world industry projects, collaborating with architectural and hardware manufacturing companies to optimize material efficiency.
Publications and Impact
In Metalenify, Stuart Rich shares his insights on structural metal design processes, material grades, and strategies for efficient shop production. His writing bridges the gap between raw artisan knowledge and modern industrial needs, making it a must-read for both budding DIY metalworkers and seasoned fabrication professionals.





