A two-part epoxy putty can reliably close a hole in metal without any welding equipment. Clean the damaged area with a wire brush, mix and press the epoxy over the hole, let it cure fully, then sand it flush. That’s the whole job.
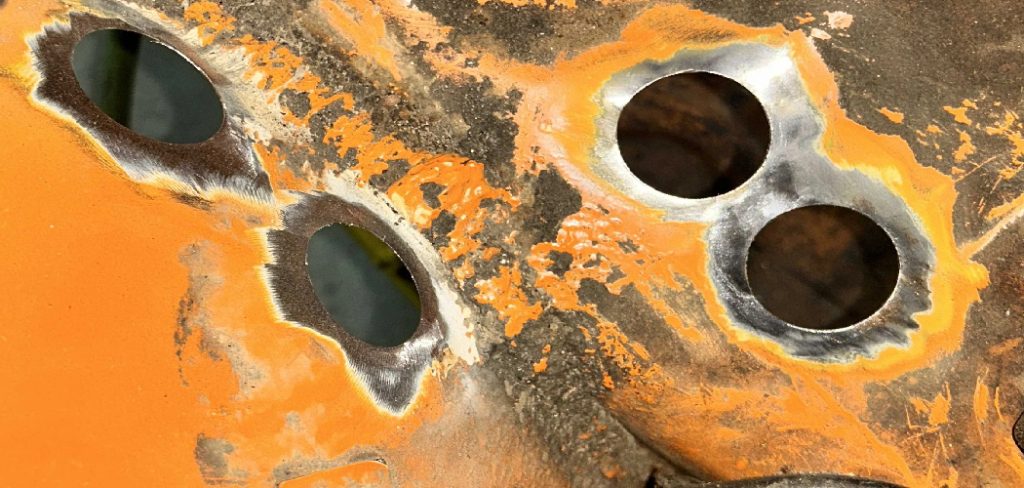
Finding a hole in a metal surface tends to land somewhere between mildly annoying and genuinely stressful, depending on what you’re trying to repair. Most people assume the only real fix involves a welder, a garage, and a skill set they don’t have. That assumption costs them money they don’t need to spend. Modern epoxy putties and two-part adhesive compounds have changed what’s possible at the DIY level, and for a wide range of everyday repairs, they hold up well.
Learning to patch holes with cold-welding compounds may seem like a workaround at first. It isn’t, not for the right applications. Whether you’re dealing with a rusted-out panel, a cracked watering can, or a small breach in an aluminum hull, a properly applied epoxy repair can last for years. This guide on how to fix a hole in metal without welding walks through the entire process from prep to paint, so you can tackle these fixes at home without ever striking an arc.
What Tools and Materials Do You Need to Fix Metal?
Before starting, pull together everything you’ll need. Stopping mid-repair to hunt for supplies tends to cause rushed decisions, and rushed epoxy work rarely holds.
- A wire brush or coarse sandpaper (80-grit) for stripping rust and paint
- Rubbing alcohol or a heavy-duty degreaser
- A two-part metal epoxy putty or liquid epoxy (J-B Weld is a widely available option)
- A plastic or metal putty knife
- Fine-grit sandpaper (220-grit) for finishing
- A clean microfiber cloth
- Protective gloves and safety glasses
7 Simple Step-By-Step Guidelines on How to Fix a Hole in Metal Without Welding
Step 1: How Do You Prepare the Metal Surface?
Surface preparation may be the single most important part of the whole repair. Epoxy doesn’t bond well to painted, rusted, or oily metal — it needs raw, textured material to grip. Put on your safety glasses and gloves first, since wire brushing kicks up sharp debris that’s easy to overlook until it’s in your eye.
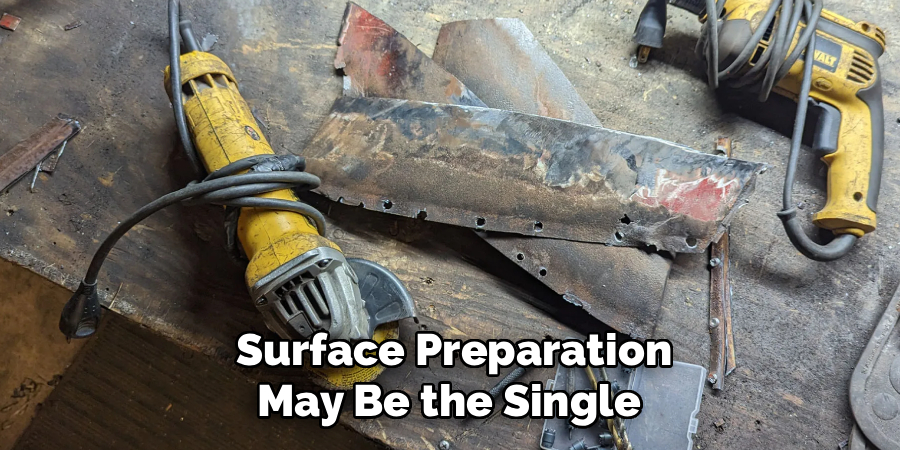
F to scrub the area around the hole. You’re not just knocking off loose flakes; you want to get down to bare, clean metal. Once you’ve done that, take the 80-grit sandpaper and work it across the surface in multiple directions. This cross-hatching creates a pattern of fine scratches that gives the epoxy something to lock into mechanically. Don’t rush it. A patch that peels off in six months almost always traces back to sanding that took three minutes instead of ten.
Step 2: How Should You Clean the Repair Area?
After sanding, the surface looks clean. It isn’t. Fine metal dust, airborne oils, and residue from your gloves can all compromise the bond. Even a small amount of skin oil — picked up if you accidentally touch the metal bare-handed — may be enough to cause adhesion problems later.
Dampen a clean microfiber cloth with rubbing alcohol or a dedicated metal degreaser and wipe down the entire sanded area, going slightly beyond the edges of where the patch will sit. Let the solvent evaporate completely before moving on; five minutes at room temperature is usually sufficient. Once it’s dry, don’t touch it with ungloved hands.
Step 3: What is the Best Way to Mix the Epoxy Putty?
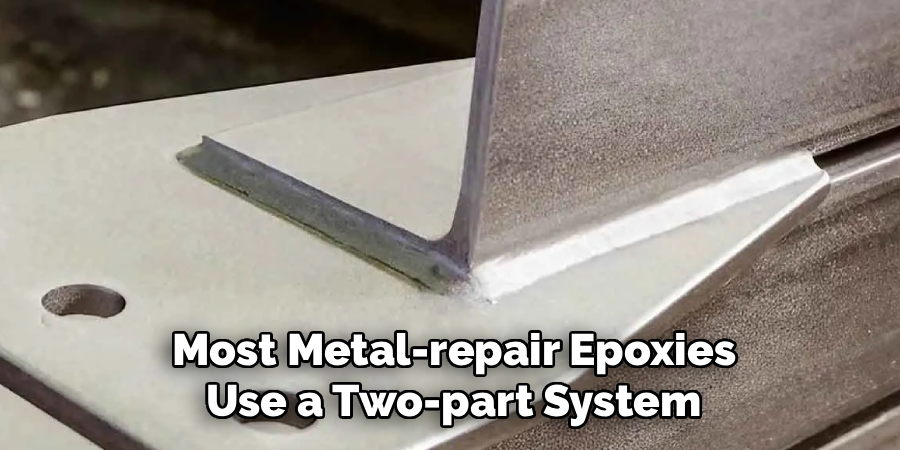
Most metal-repair epoxies use a two-part system — a resin and a hardener — that activate when combined. With a putty stick, you cut a piece slightly larger than the hole and knead it between gloved fingers until the two colors fully merge into a single uniform shade. Streaks in the putty suggest incomplete mixing, which tends to leave soft spots that won’t cure properly.
If you’re using a liquid epoxy from a dual syringe, dispense equal amounts onto a piece of disposable cardboard and mix them together with a wooden stick or small putty knife until the color and texture are completely consistent. Working time runs roughly three to five minutes before the material starts to stiffen, so once you start mixing, keep moving.
Step 4: How Do You Apply the Filler to the Hole?
Press the mixed epoxy directly into the hole using your fingers or a putty knife, pushing firmly enough that the material catches the inner edges of the metal. For a hole that’s on the larger side — anything approaching an inch across — it’s worth placing a piece of fiberglass mesh tape over the gap first. The mesh acts as a structural backing and gives the epoxy something to grip from beneath.
From there, spread the remaining material outward, feathering the edges so the compound overlaps the solid surrounding metal by at least half an inch in all directions. This overlap matters because it distributes load across a wider area rather than concentrating stress at the patch boundary. Leave the surface sitting slightly proud of the surrounding metal — you’ll sand it flush once it’s cured.
Step 5: How Can You Shape and Smooth the Patch?
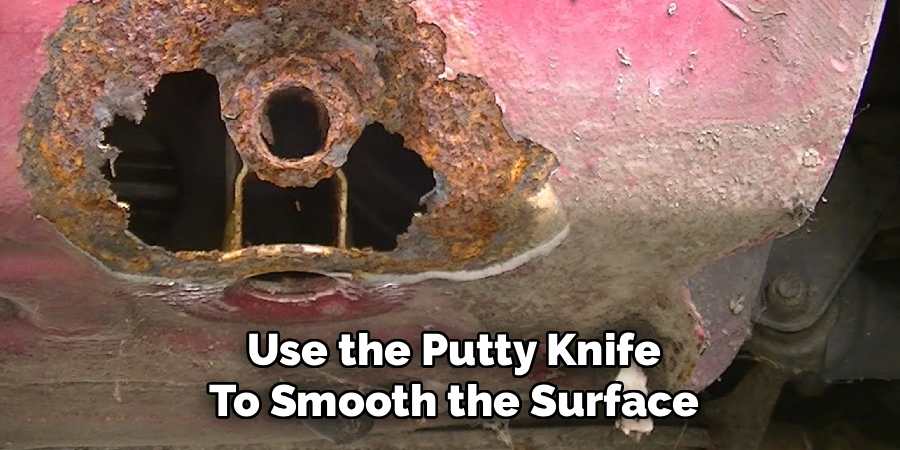
While the epoxy is still workable, use the putty knife to smooth the surface as much as you reasonably can. A cleaner initial application means less aggressive sanding later, which also means less risk of accidentally thinning the patch. If the putty is sticking to the blade, a light dip in rubbing alcohol helps it glide without pulling material up.
Pay attention to the geometry of the original piece. A curved pipe or a contoured automotive fender will require you to mold the wet epoxy to match the existing shape rather than just laying it flat. It takes an extra minute, but a patch that follows the correct contour will blend far more convincingly once sanded and painted.
Step 6: How Long Should You Allow the Epoxy to Cure?
Every epoxy product specifies its own curing schedule, and those numbers aren’t arbitrary. A repair may feel firm to the touch within an hour or two, but the material is still chemically cross-linking internally and likely won’t reach full structural strength for 15 to 24 hours. Treating an early-feeling hardness as a sign that the job is done is probably the most common way to ruin an otherwise good repair.
Set the piece somewhere dry, well-ventilated, and at room temperature. Extreme cold slows the cure and can leave the epoxy permanently under-hardened; excess heat during curing can cause similar problems depending on the formulation. Don’t poke at it, sand it, or put it back in service until the manufacturer’s full cure window has passed.
Step 7: How Do You Sand and Paint the Fixed Metal?
Once the epoxy is fully cured and genuinely hard — not just firm — take the 220-grit sandpaper and work the patch in small circular motions. The goal is to bring the raised epoxy down until it sits level with the surrounding metal. Run your gloved fingers across the transition zone periodically. You’re feeling for ridges or high spots that your eyes might miss, especially under uneven light.
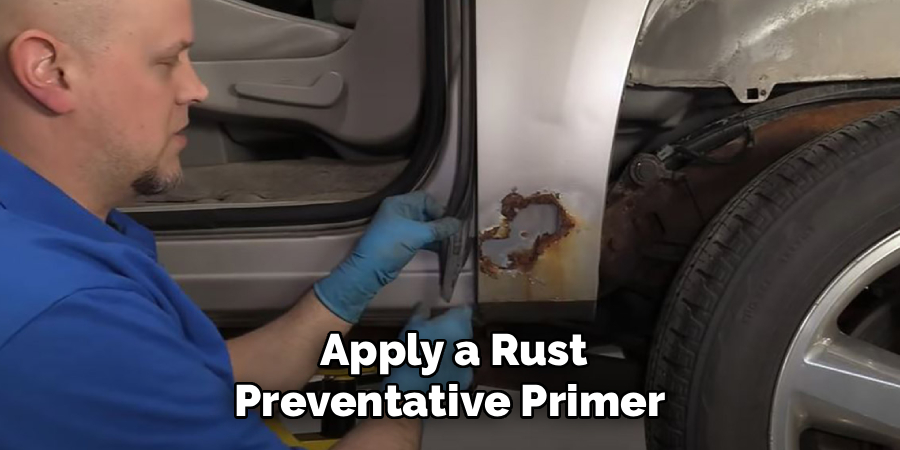
After wiping away the sanding dust, apply a rust-preventative primer before any topcoat. The primer step matters not just for appearance but because the bare metal edges exposed during sanding are now vulnerable to oxidation. A matching topcoat finishes the job and, on a well-prepped surface, the repair can be genuinely difficult to distinguish from the surrounding metal.
Following these steps on how to fix a hole in metal without welding can save you time, money, and the hassle of finding a welder.
What Are the Common Mistakes to Avoid?
Inadequate surface preparation causes the majority of epoxy patch failures. Leaving even a thin layer of rust or paint beneath the adhesive prevents a true mechanical bond, and the patch will eventually lift. Uneven mixing is another frequent problem — when the resin and hardener aren’t fully combined, the material cures unevenly and stays soft in places where it shouldn’t.
And applying pressure or stress to the patch before the full cure time has elapsed breaks the developing chemical structure before it’s had a chance to complete. None of these mistakes are hard to avoid; they mostly come down to patience.
Do You Need to Use Professionals?
For most household repairs, no. Epoxy compounds are well within the capability of anyone comfortable with basic DIY work. That said, there are situations where professional welding is genuinely the right call — specifically, anywhere the metal carries structural loads.
A vehicle frame, a load-bearing construction element, a pressure vessel — these are not candidates for cold-welding compounds, however strong the product claims to be. Epoxy can be surprisingly durable, but it can’t replicate what high-heat fusion does to metal at a metallurgical level. For cosmetic repairs, minor leaks, and general household items, though, professional intervention is rarely necessary.
How Much Will It Cost to Fix?
A tube or stick of quality two-part metal epoxy typically runs between $6 and $15 at most hardware stores. Add sandpaper, a wire brush, and a small can of primer, and the full material cost should stay well under $30.
Compared to what a fabricator or body shop would charge for the same repair, that’s a meaningful difference — which is part of why epoxy patching has become a default first option for extending the life of tools, appliances, and automotive panels.
Frequently Asked Questions
Q1: Can Epoxy Putty Withstand High Temperatures?
Standard epoxy putties generally hold up to temperatures in the 250°F–300°F range (roughly 120°C–150°C) before performance begins to degrade. For anything that runs hotter — a muffler, a grill body, engine-adjacent metal — you’ll need a high-heat formulation rated to 500°F (260°C) or above. Check the product’s temperature specifications before purchasing; that number is easy to overlook on the packaging.
Q2: Is a Non-Welded Patch Waterproof?
Fully cured marine-grade and automotive epoxy putties are waterproof and generally resistant to petroleum products, mild acids, and common chemicals. This makes them a reasonable option for patching metal water tanks, aluminum boats, and some plumbing fixtures. The surface does need to be completely dry during application and throughout the curing window — moisture introduced at that stage can compromise the bond before it’s had a chance to form.
Q3: How Large of a Hole Can You Fix With Epoxy?
Epoxy works well for holes from pinholes up to roughly one inch in diameter. Beyond that, the material can’t reliably bridge the gap on its own without sagging or cracking under load. For larger holes, a metal patch panel or fiberglass mesh backing should be placed over the opening first to give the epoxy a surface to bond to on both sides.
A Reliable Alternative to Welding
You don’t need an expensive welding setup to make a metal repair that lasts. Careful surface prep, properly mixed epoxy, and a full cure window are what actually determine whether a patch holds — not the tools. For the right jobs, this approach is genuinely practical.
Take a look at the metal items around your home, pick up some two-part epoxy, and work through these steps on how to fix a hole in metal without welding. The repair is probably more straightforward than it looks.
About
Stuart Rich is a distinguished figure in the world of metalworking and fabrication, with a decade of expertise creating innovative and sustainable metal projects. His professional focus lies in merging traditional blacksmithing and machining with modern manufacturing techniques, fostering designs that are both practical and durable. As the author of Metalenify, Stuart Rich delves into the art and science of metallurgy and DIY metal creation, inspiring artisans, hobbyists, and industry professionals alike.
Education
RMIT University
(Melbourne, Australia)
Associate Degree in Engineering Technology (Mechanical / Manufacturing)
Focus on metallurgical properties, industry-driven projects, and practical metal craftsmanship. Gained hands-on experience with traditional machining and digital manufacturing tools, such as CAD, CNC software, and precision welding equipment.
Nottingham Trent University
(United Kingdom)
Bachelor’s in Product Design and Materials Engineering (Honors)
Specialized in product design with a heavy focus on blending creativity with metal production and fabrication techniques. Participated in real-world industry projects, collaborating with architectural and hardware manufacturing companies to optimize material efficiency.
Publications and Impact
In Metalenify, Stuart Rich shares his insights on structural metal design processes, material grades, and strategies for efficient shop production. His writing bridges the gap between raw artisan knowledge and modern industrial needs, making it a must-read for both budding DIY metalworkers and seasoned fabrication professionals.


