Metal coating means applying a protective or decorative layer to a metal substrate to block corrosion and improve long-term durability. Getting it right depends on four things: thorough surface preparation, choosing the appropriate method (powder coating, electroplating, galvanizing, or anodizing), applying the material evenly, and allowing adequate curing time before the piece goes back into service.
Applying a durable metal coating turns a vulnerable surface into something built to last. Done correctly, it shields the underlying material from rust, physical wear, and the kind of prolonged environmental exposure that quietly destroys unprotected metal — often long before anyone notices.
Understanding the available techniques matters more than most people assume. Whether you go with powder coating, hot-dip galvanizing, or spray application, preparation and precision tend to determine the outcome more than any other factor. This guide on how to Get a Metal Coat walks through each stage, from workspace setup to final inspection, so you can approach the process with a clear picture of what’s involved.
What Are the Main Types of Metal Coating Methods?
Industry professionals draw from several distinct approaches, each suited to different metals, environments, and performance requirements.
Powder coating involves spraying a dry powder onto a grounded metal piece and baking it in an oven until the particles melt and fuse into a hard, uniform layer. It produces a finish that resists chipping and handles moderate impact reasonably well. Electroplating passes an electrical current through a solution to deposit a thin layer of a secondary metal — gold, chromium, nickel — onto the primary surface, which is why so many decorative and precision-machined parts use it.
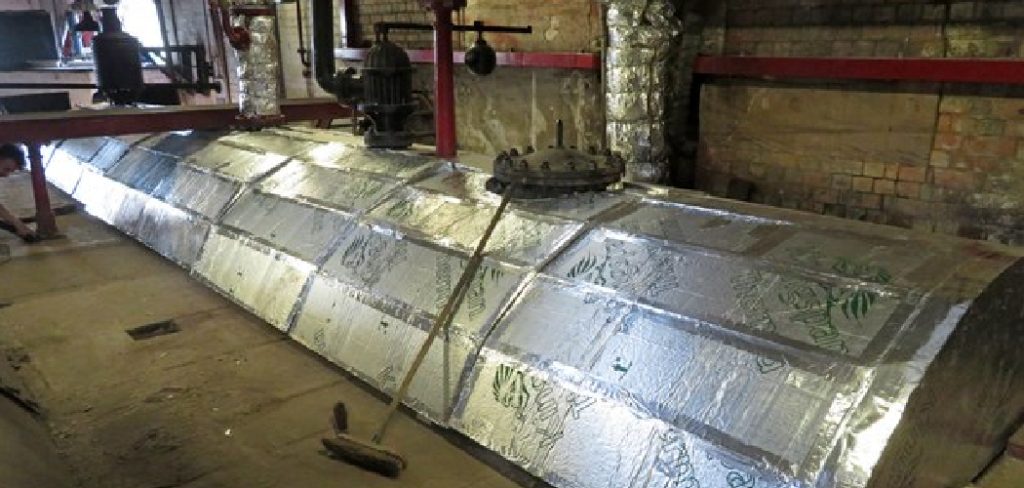
Hot-dip galvanizing takes a different approach entirely. Steel or iron is submerged in molten zinc, and the two metals form a metallurgical bond at the interface rather than just a surface adhesion. That bond is what makes galvanized steel so effective in outdoor or marine environments. Anodizing is almost exclusively for aluminum, electrochemically thickening the natural oxide layer to improve both corrosion resistance and surface color stability.
Each method carries trade-offs. Powder coating offers excellent aesthetics but requires oven-curing equipment. Galvanizing handles aggressive outdoor conditions well but offers fewer aesthetic choices. The right selection depends on the application, not on which method sounds most appealing.
What Safety Precautions Should You Take?
Working with metal coatings carries real chemical and physical risks that can’t be managed with half-measures.
Always wear appropriate personal protective equipment — a properly rated respirator (not just a dust mask), safety goggles with side shields, and chemical-resistant gloves. Ventilation is non-negotiable: solvents and powder particulates in confined spaces can be hazardous to breathe and, in some concentrations, present fire risks. Keep flammable materials well away from curing ovens, open flames, and any electrical equipment running during the coating process.
These aren’t bureaucratic checkboxes. The fumes from certain coating systems cause cumulative respiratory damage, and the symptoms often don’t appear until the exposure has been ongoing for some time.
7 Simple Step-By-Step Guidelines on How to Get a Metal Coat
Step 1: Prepare Your Workspace and Gather Necessary Materials
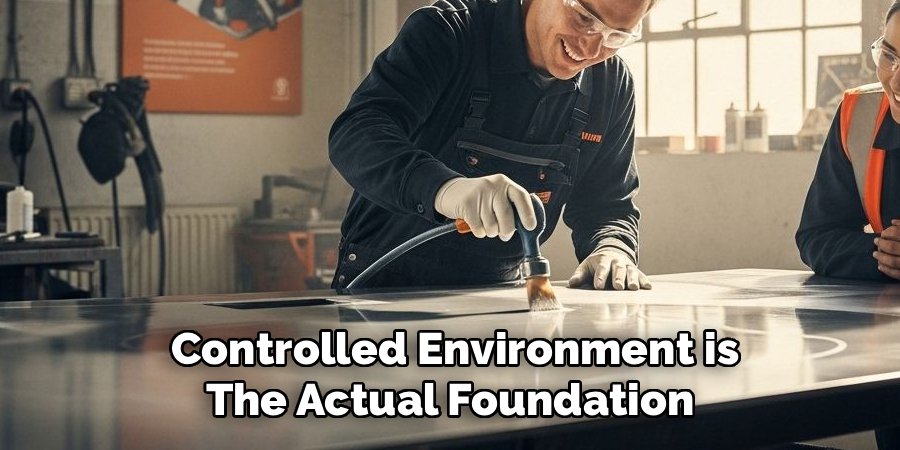
A clean, controlled environment is the actual foundation of a successful coating project — not skill, not the product brand. Dust, moisture, and sharp temperature swings all introduce contamination that shows up later as adhesion failures or surface defects.
Lay down protective drop cloths and get your ventilation system running before opening any chemical containers. Organize your tools, safety gear, and coating materials in advance. Once the active application starts, stopping mid-process to search for a mixing stick or a lint-free cloth disrupts the workflow and, more importantly, can affect the finish.
Lighting deserves specific attention. Bright, even illumination lets you spot thin spots and surface inconsistencies during application, when you can still fix them. Discovering those problems after curing is a different — and far more frustrating — situation.
Step 2: Clean and Degrease the Metal Surface
The metal substrate has to be completely free of oils, dirt, and oxidation before any coating can bond to it properly. Use an industrial-grade degreaser to break down manufacturing residues and handling oils, then scrub the surface with a wire brush or abrasive pad to loosen embedded contamination. Rinse with clean water and dry thoroughly using compressed air or lint-free microfiber.
Even a partial fingerprint can disrupt chemical adhesion — the oils left by skin contact are enough. For heavily soiled or complex parts, an ultrasonic cleaner or a solvent bath may be necessary to reach microscopic debris that mechanical scrubbing misses. From this point forward, handle the cleaned metal only with clean gloves.
Skipping this step doesn’t just reduce coating quality. It virtually guarantees that the finish will peel, bubble, or delaminate prematurely.
Step 3: Strip Old Coatings and Remove Rust
Restoration work adds a layer of complexity. Previous paint layers and rust need to be fully removed, not just roughed up and painted over.
Chemical strippers handle stubborn paint effectively, while media blasting — sandblasting in particular — removes rust and mill scale while simultaneously creating a slightly textured surface profile that new coatings grip better. Any chemical strippers used should be neutralized according to the manufacturer’s instructions before the next step begins.
Rust left behind will continue spreading beneath the new coating, regardless of how well the topcoat looks at first. Rust converters can address microscopic pitting that mechanical removal can’t reach, but they’re a supplement to thorough removal, not a substitute for it. The goal after stripping is a surface that feels uniformly smooth but retains enough micro-texture for the primer to key into.
Step 4: Apply a High-Quality Primer
Primer acts as the bonding layer between bare metal and the final coat. Selecting one formulated for both the metal type and the service environment — indoor decorative versus outdoor structural, for instance — matters more than most applicators acknowledge.
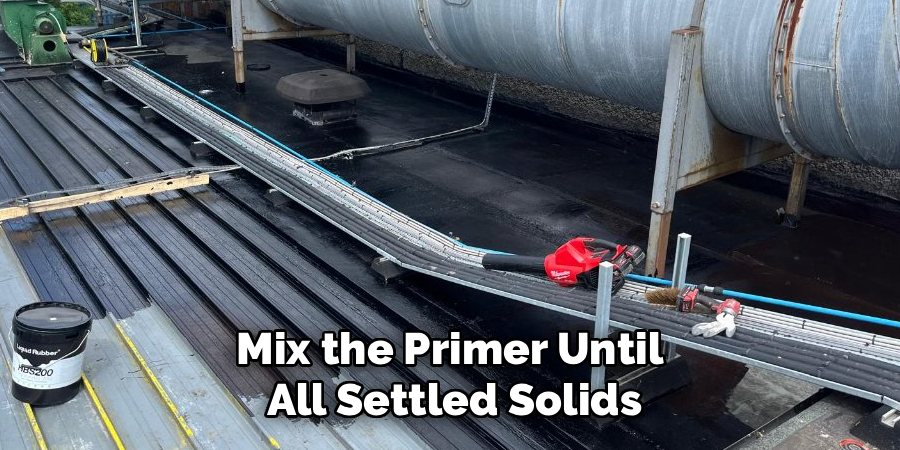
Mix the primer until all settled solids are fully suspended, then apply it in light, overlapping passes. Drips and pooling in recessed areas are far harder to fix after curing than they are to prevent during application. Allow it to reach the flash point and dry completely; the exact time is on the product data sheet, and those guidelines exist for a reason. Rushing this stage traps moisture and solvents that will cause failures later.
Once the primer is fully cured, scuff the surface lightly with fine-grit sandpaper to give the topcoat a mechanical anchor, then wipe away dust with a tack cloth.
Step 5: Mix and Prepare the Metal Coating
Two-part systems — epoxies, urethanes — require exact ratio adherence. Altering the base-to-hardener proportion doesn’t produce a slightly suboptimal result; it produces a coating that either won’t cure properly or will remain permanently tacky or brittle. Measure carefully.
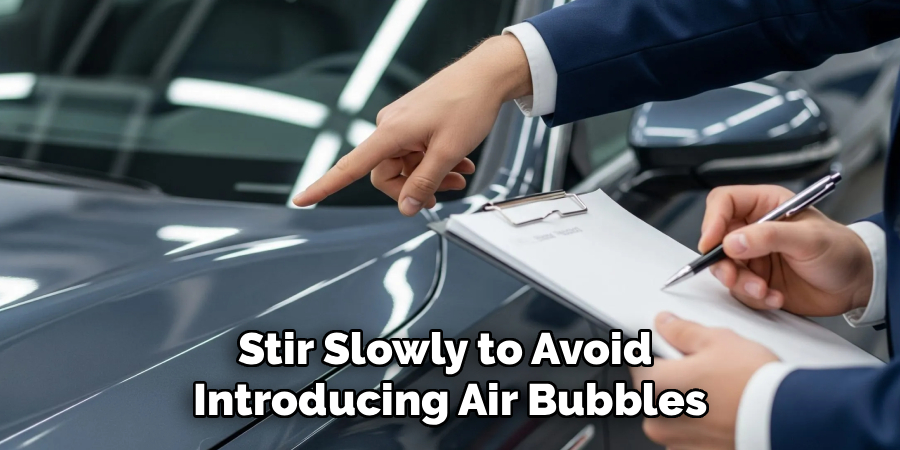
Stir slowly to avoid introducing air bubbles, which can cause cratering in the cured surface. If you’re using a spray gun, thin the mixture to the correct viscosity with the recommended reducer — not a generic substitute. For powder coating, load the hopper carefully, verify the grounding connection on the metal part, and run a test pattern on scrap material before approaching the actual workpiece. That test takes thirty seconds and can save the entire job.
Step 6: Apply the Final Protective Coating
Start with the hardest-to-reach areas: corners, crevices, internal geometry. These spots receive less material naturally, so addressing them first allows for correction before moving to open surfaces.
Move the spray gun or applicator in steady parallel strokes at a consistent distance — roughly six to eight inches — and overlap each pass by about fifty percent. Multiple thin coats consistently outperform a single heavy one. Thick applications are more likely to run, sag, and trap solvents. Allow the recommended flash time between coats so the solvents can leave the film properly.
Inspect the surface from different angles periodically. Light catches thin spots and texture inconsistencies that a straight-on view misses entirely.
Step 7: Cure and Inspect the Finished Surface
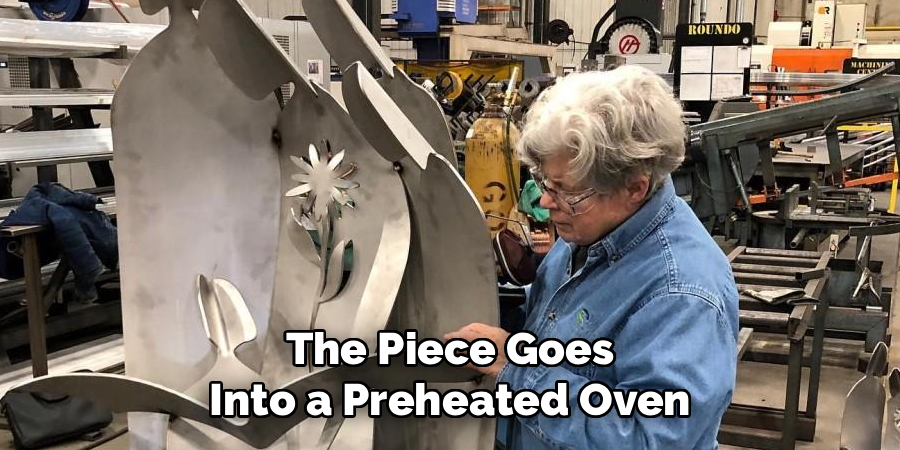
Curing is where the coating achieves its actual mechanical and chemical properties. For powder coat, the piece goes into a preheated oven at the specified temperature for the full prescribed time — cutting either short produces a coating that looks fine but performs well below its rated specifications. For air-dry systems, a dust-free, temperature-stable environment is necessary until the film has fully cross-linked.
Once curing is complete, inspect the surface carefully — visually and by feel. Look for trapped debris, pinholes, or thin areas lacking adequate coverage. Where quality control standards call for it, a cross-hatch adhesion test on an inconspicuous area will confirm whether the coating has bonded properly. A finish that passes that test is one you can rely on.
Following these steps on how to get a metal coat will ensure a high-quality and long-lasting finish.
Common Mistakes to Avoid
Inadequate surface preparation remains the single most common cause of premature coating failure — by a considerable margin. High ambient humidity during application traps moisture in the film, leading to blistering and adhesion problems that appear days or weeks later. Incorrect mixing ratios in two-part systems leave the final coat permanently compromised. Rushing the cure shortens both chemical resistance and physical hardness.
Applying too much material in a single pass produces runs, sags, and solvent pop that are difficult or impossible to correct without starting over.
How Do You Maintain Metal-Coated Surfaces?
Routine maintenance meaningfully extends coating life. Wash coated surfaces regularly with a mild, pH-neutral soap and warm water — road salts and corrosive grime accumulate gradually and attack the film over time. Avoid abrasive pads, wire brushes, or harsh chemical cleaners that abrade the surface or attack the chemistry of the coating.
Periodic inspection for chips and deep scratches matters because exposed bare metal is where moisture gets in. A small chip left unaddressed allows moisture to migrate laterally under the surrounding coating, widening the damage significantly. Touch up any compromised areas promptly. An annual application of a compatible wax or sealant adds a sacrificial protective layer that absorbs UV degradation before it reaches the coating itself.
What Are the Applications of Metal Coating?
The range of industries that depend on metal coating is wider than most people consider. The automotive sector uses specialized coatings on frames and body panels to prevent rust and maintain finish quality across years of weather exposure. Aerospace engineers rely on thermal and anti-corrosive coatings to protect aircraft components from atmospheric stresses that no uncoated metal could withstand for long. Structural steel in buildings is routinely hot-dip galvanized to maintain load-bearing integrity over the life of the structure. Consumer electronics use thin-film metal coatings on internal components to shield sensitive circuits from electromagnetic interference.
Each of these applications demands a different coating system, applied with different parameters — which is why understanding the method matters as much as knowing how to apply it.
Environmental Considerations
Metal coating operations face increasingly specific regulatory requirements around volatile organic compound emissions and hazardous waste disposal, and for good reason. The industry has shifted noticeably toward waterborne and powder coating systems, both of which generate substantially fewer harmful emissions than traditional solvent-based paints.
Properly designed filtration systems capture overspray and airborne particulates before they reach the surrounding environment. Responsible facilities recycle cleaning solvents and route chemical sludge through certified waste management channels rather than allowing it to enter drainage systems. These aren’t optional best practices — they’re the operational standard that environmental regulations in most jurisdictions now require.
Frequently Asked Questions
Q1: What Is The Most Durable Type Of Metal Coating?
Powder coating and hot-dip galvanizing are generally considered the most durable options currently in wide use. Powder coating produces a hard, chip-resistant finish; galvanizing forms a metallurgical bond with the steel rather than just a surface layer. The better choice depends on the service environment — galvanizing tends to outperform in prolonged outdoor or wet exposure, while powder coating may be preferable where appearance matters alongside protection.
Q2: Can You Apply A New Coating Over An Existing Coat?
Sometimes, yes — provided the existing coating is fully intact, well-adhered, and chemically compatible with the new system. The old surface needs to be scuffed thoroughly, and an appropriate transition primer applied. For most situations requiring reliable performance, stripping back to bare metal and starting fresh tends to produce more predictable, longer-lasting results.
Q3: How Long Does A Professional Metal Coating Last?
A properly applied coating can last anywhere from ten to fifty years, depending on the method used, the quality of surface preparation, and the conditions the coated piece actually faces in service. Regular cleaning and prompt attention to damage extend that range; neglect compresses it considerably.
Conclusion
Getting a durable, professional-grade metal coat is less about technique than it is about discipline — cleaning the substrate completely, selecting a primer matched to the application, and building up the coating in controlled, even layers rather than cutting corners on any single stage. Whether the project is a small restoration or a large-scale industrial application, the same principles apply.
Choose the right method for the operating environment, follow the process without improvising on the critical steps, and the coating will hold up the way it’s supposed to. Thanks for reading this guide on how to get a metal coat.
About
Stuart Rich is a distinguished figure in the world of metalworking and fabrication, with a decade of expertise creating innovative and sustainable metal projects. His professional focus lies in merging traditional blacksmithing and machining with modern manufacturing techniques, fostering designs that are both practical and durable. As the author of Metalenify, Stuart Rich delves into the art and science of metallurgy and DIY metal creation, inspiring artisans, hobbyists, and industry professionals alike.
Education
RMIT University
(Melbourne, Australia)
Associate Degree in Engineering Technology (Mechanical / Manufacturing)
Focus on metallurgical properties, industry-driven projects, and practical metal craftsmanship. Gained hands-on experience with traditional machining and digital manufacturing tools, such as CAD, CNC software, and precision welding equipment.
Nottingham Trent University
(United Kingdom)
Bachelor’s in Product Design and Materials Engineering (Honors)
Specialized in product design with a heavy focus on blending creativity with metal production and fabrication techniques. Participated in real-world industry projects, collaborating with architectural and hardware manufacturing companies to optimize material efficiency.
Publications and Impact
In Metalenify, Stuart Rich shares his insights on structural metal design processes, material grades, and strategies for efficient shop production. His writing bridges the gap between raw artisan knowledge and modern industrial needs, making it a must-read for both budding DIY metalworkers and seasoned fabrication professionals.


