
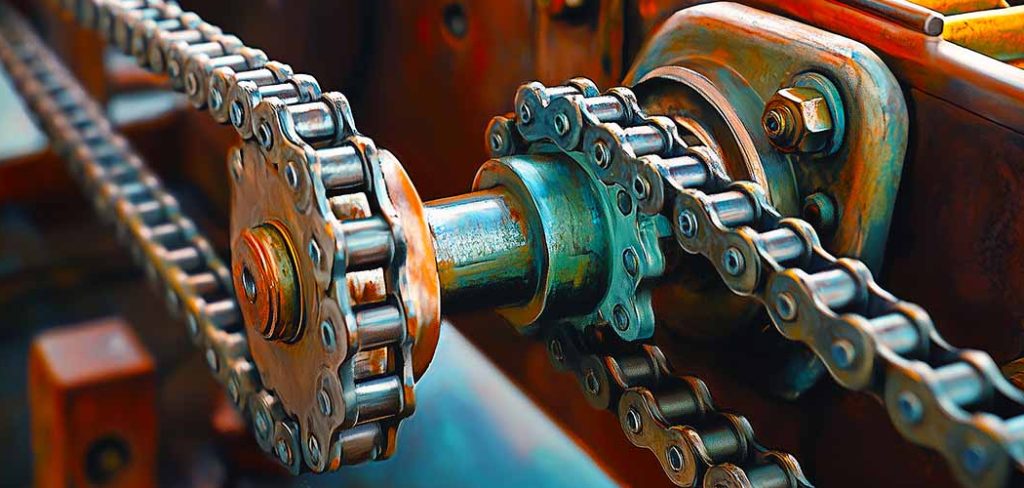
Bearings work harder than almost any other part in a machine. Most of the time, nobody thinks about them at all—until one starts to squeal, grind, or seize up entirely. If you keep up a car, a trailer, a tractor, or any industrial gear, well-greased bearings are what keep things turning quietly and without drama.
Here’s the part that surprises people. Greasing bearings isn’t hard. Give yourself the right tools, a working understanding of what’s going on inside, and a little patience, and you can stretch the life of your equipment by years while sidestepping repair bills that sting. This guide on how to grease bearings covers what matters, from picking a grease that suits the job to a straightforward seven-step routine you can actually follow.
Understanding Bearings and Lubrication
A bearing is a part designed to reduce friction between moving components so they can spin or slide with hardly any resistance. Most rely on small metal balls or rollers seated between two rings, which mechanics call races. As those balls and rollers travel, they need a steady film of lubricant. Without it, you get metal grinding against metal, and that never ends well.
Grease handles three jobs at once. It cuts friction, it guards against rust and corrosion, and it forms a barrier that keeps dirt, water, and grit from working their way in. Starve a bearing of lubrication and it heats up, wears out, and dies. The opposite problem is just as real, though. Pack in too much grease and you can blow out the seals or trap heat that should be escaping. What you’re after is balance—enough grease to do the protecting, not so much that it works against you.
Tools and Materials You’ll Need
Get everything within arm’s reach before you start. A few minutes spent gathering supplies turns a messy, stop-start job into a smooth one. Here’s the short list:
- A grease gun (manual, battery-powered, or pneumatic)
- The right grease for your application
- Clean rags or shop towels
- A bearing packer (optional, though it helps a lot with hand-packing)
- Latex or nitrile gloves
- A wrench or socket set, if you need to remove bearings
- A parts cleaner or solvent
- Safety glasses
7 Simple Step-by-Step Guidelines on How to Grease Bearings
Work through these steps on how to grease bearings without rushing. The principles hold whether you’re hitting a fitting with a grease gun or hand-packing a wheel bearing on the bench.
Step 1: Prepare Your Work Area
Set up somewhere clean and well lit. Grit is the natural enemy of a healthy bearing, so the tidier your surroundings, the longer your work will last. A sheet of cardboard or a drop cloth underneath catches spills and saves your floor.
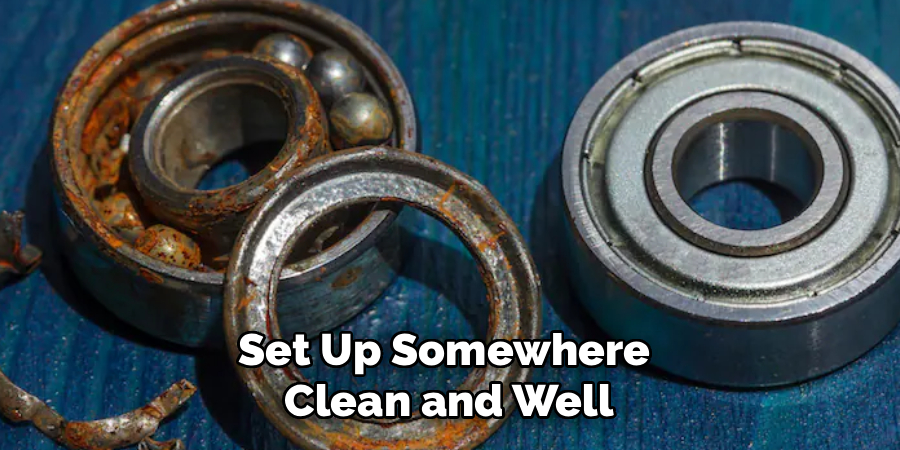
Gloves and safety glasses go on before anything else. This work gets messy, and your skin and eyes deserve protection. Give the equipment manual a quick read too, so you know which bearings actually need attention and how often. The prep feels like a detour. It isn’t.
Step 2: Locate and Access the Bearings
Find where the bearings sit on your machine or vehicle. Some come with external grease fittings—mechanics call them Zerk fittings—that keep the job simple. Others are buried and require taking parts off to reach them.
If yours has fittings, you can usually grease away without dismantling a thing. Sealed or packed bearings are a different story; you’ll be pulling wheels, hubs, or covers to get at them. Keep tabs on every piece you remove and lay it out in the order it came off. Snapping a few photos on your phone as you go tends to make reassembly far less of a guessing game.
Step 3: Clean the Old Grease Away
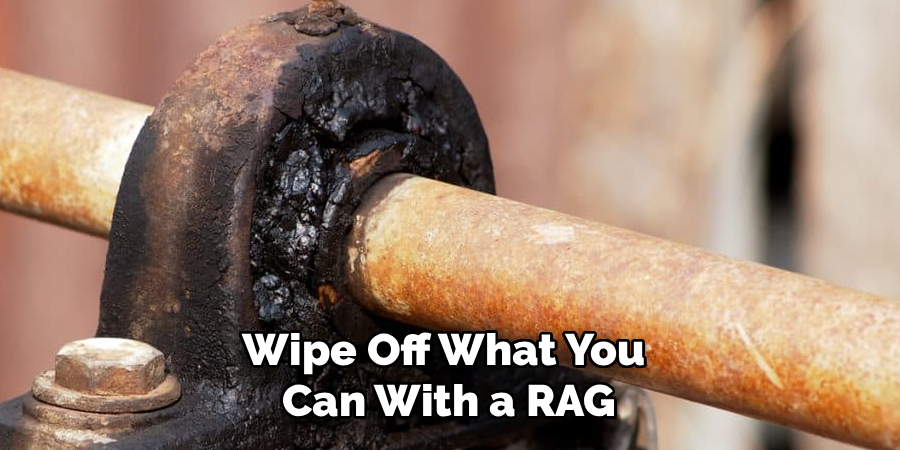
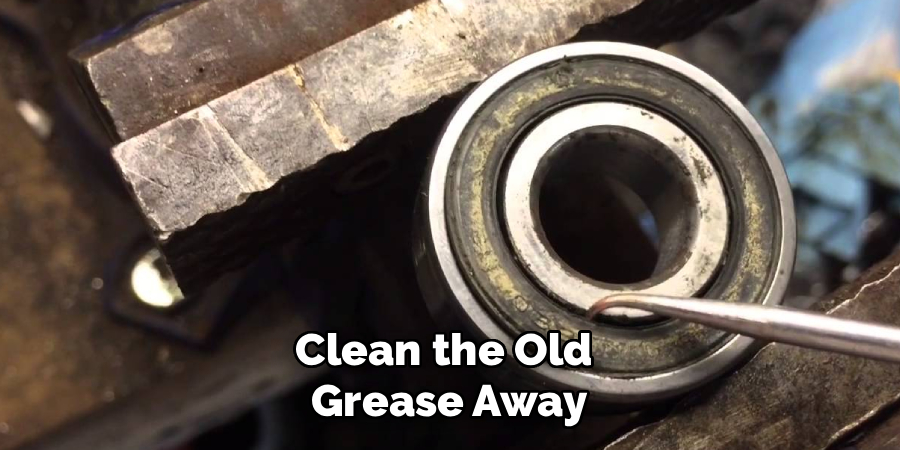
Hand-packing means clearing out the old grease completely before any fresh stuff goes in. Wipe off what you can with a rag, then dissolve the rest with parts cleaner or solvent. Old grease tends to hide metal shavings, dirt, and moisture, none of which you want sitting against a bearing.
Let the bearing dry all the way through afterward. Leftover solvent thins your new grease and saps its effectiveness. While the part is clean, look it over closely—this is the easiest moment to catch a problem. With grease-fitting setups, you can generally skip this step, since the fresh grease pushes the old out as you pump.
Step 4: Inspect the Bearings
Study each bearing before you regrease it. Examine the balls or rollers for pitting, cracks, discoloration, or rough patches. Turn the bearing slowly by hand and pay attention to any grinding, catching, or resistance that feels off.
A bearing in good shape spins smoothly and quietly. Spot damage, and the smart move is to replace the bearing rather than grease it. No amount of lubrication revives a worn-out part. Catching a failing bearing now might spare you a breakdown on the shoulder of a highway, or a much bigger mechanical mess later. When you’re genuinely unsure, replace it. A bearing costs little next to the damage a failed one tends to leave behind.
Step 5: Apply the Grease
On a grease-fitting setup, lock your grease gun onto the zerk fitting and pump slowly. Watch for fresh grease to push the old grease out—that’s your sign the bearing is full. The second clean grease appears, stop. Keep pumping past that point, and you risk wrecking the seals.
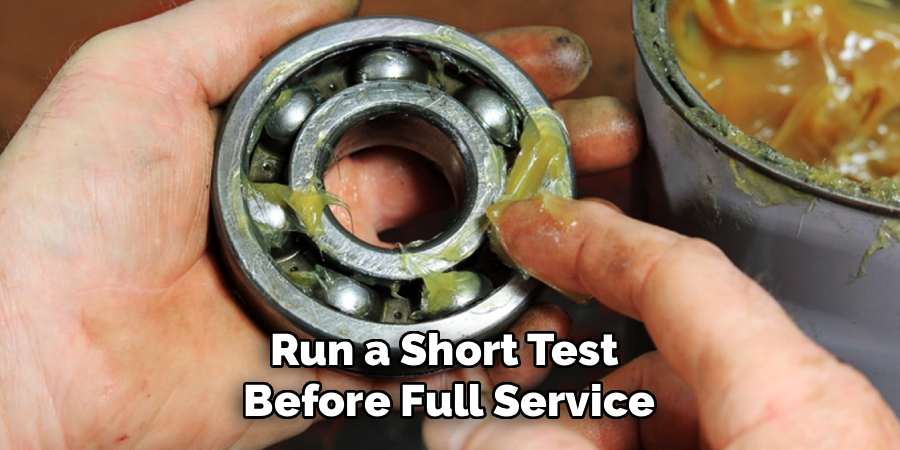
For hand-packing, scoop a healthy amount into your palm and press the edge of the bearing into it, driving grease up through the rollers. Rotate and repeat until every gap is filled. A bearing packer speeds this up considerably and spares your hands the worst of the mess. The thing that matters is getting grease all the way through, not just smeared across the surface.
Step 6: Reassemble the Components
With the bearings fully greased, rebuild everything in reverse order. Those photos from earlier earn their keep here. Seals, washers, and retaining clips all need to land back exactly where they started.
Torque your bolts and nuts to the specs in the manual. Go too tight, and you can crush a bearing; leave them loos,e and you invite wobble. Once it’s all back together, spin the assembly by hand to confirm it turns freely before the equipment goes back to work.
Step 7: Test and Clean Up
Run a short test before full service. With a vehicle, take a slow drive around the block and listen for anything unusual. With machinery, fire it up briefly and check the bearings aren’t overheating—warm is fine, hot is a warning.
Wipe the excess grease from around the fittings and components. Grease left sitting attracts dust and grime, which eventually finds its way into the bearing. Get rid of old grease, rags, and solvent the responsible way, following whatever your local regulations say. A clean finish usually reflects careful work.
Following these steps on how to grease bearings will help to ensure that your machinery continues running smoothly and efficiently.
Common Mistakes to Avoid
Even a simple job has its traps. Over-greasing tops the list, and it can blow seals or cook a bearing with trapped heat. Mixing incompatible grease types comes next, leading to lubricant that breaks down faster than it should.
Skip the inspection and you may end up regreasing a bearing that was already on its way out. A dirty workspace lets contaminants in, quietly shortening bearing life. And botched torque during reassembly can set up premature wear or, worse, a failure you really didn’t want.
Signs of Poor Lubrication
Bearings tend to complain before they quit. Grinding, squealing, or humming usually points to grease that’s run low or gone bad. Heat is the other big tell—a bearing too hot to touch isn’t getting what it needs.
Vibration or wobble in a wheel or shaft can flag worn bearings that want looking at. Grease seeping from the seals may suggest over-greasing or a seal that’s given up. Rust or discoloration on the bearing surface hints at moisture sneaking in and the protective film breaking down. Read these signs early and you may head off a complete failure.
Maintenance Schedule
How often you grease comes down to the equipment and how hard it works. A reasonable rule of thumb: automotive wheel bearings deserve inspection and repacking roughly every 30,000 miles or once a year, whichever lands first. Trailer bearings—boat trailers especially, given the water they sit in—may want attention every season.
Industrial machinery usually runs on a manufacturer-specified schedule, sometimes weekly or monthly when the equipment earns its keep. Anything operating in dust, water, or high heat needs greasing more often. A simple log tracking when each bearing was last serviced does wonders. Long bearing life rewards consistency, so set a reminder and hold the routine.
Troubleshooting Greasing Issues
Some jobs fight back. If grease won’t move through a fitting, the zerk may be clogged—swap it out or clear it with a needle tool. Grease leaking the moment you apply it could mean you’ve overdone it, or the seal is damaged. A bearing that overheats soon after greasing might be packed too full, generating friction instead of cutting it. Hear noise even after fresh grease went in? The bearing is probably worn and wants replacing, not more lubricant. And when a grease gun refuses to pump, check for air pockets in the cartridge and prime it again.
Frequently Asked Questions
How Often Should I Grease My Bearings?
It depends on the equipment and the conditions it runs in. Automotive wheel bearings generally need repacking around every 30,000 miles or once a year. Trailer bearings that meet water should be checked every season, while industrial machinery tends to follow a manufacturer-specified schedule. Gear used in dust, wet, or high heat wants more frequent attention. When you’re unsure, the owner’s manual usually gives the recommended interval—keep a maintenance log so nothing slips.
Can I Use Too Much Grease on Bearings?
Yes, and over-greasing is more common than people expect. Too much grease builds friction and heat, which may speed up wear rather than prevent it. Over-packing can also blow out seals, opening the door to dirt and moisture. With a grease gun on a fitting, stop the instant fresh grease starts pushing the old out. When hand-packing, fill the gaps between the rollers and resist the urge to cram extra into the surrounding cavity.
Keeping Your Equipment Running Smoothly
Greasing bearings sits near the top of the list for simple maintenance that genuinely pays off. Pick the right grease, work clean and unhurried, and hold to a regular schedule—do that, and you’ll add years to your equipment while dodging breakdowns that empty your wallet. The process here works the same whether you’re tending one vehicle or keeping a fleet of industrial machines turning.
Start with the manual to confirm the recommended grease type and service intervals. Then gather your tools and block out enough time to do the job properly rather than halfway. Your bearings will run better for it, and your wallet will notice too. Thanks for reading this guide on how to grease bearings.

About
Stuart Rich is a distinguished figure in the world of metalworking and fabrication, with a decade of expertise creating innovative and sustainable metal projects. His professional focus lies in merging traditional blacksmithing and machining with modern manufacturing techniques, fostering designs that are both practical and durable. As the author of Metalenify, Stuart Rich delves into the art and science of metallurgy and DIY metal creation, inspiring artisans, hobbyists, and industry professionals alike.
Education
RMIT University
(Melbourne, Australia)
Associate Degree in Engineering Technology (Mechanical / Manufacturing)
Focus on metallurgical properties, industry-driven projects, and practical metal craftsmanship. Gained hands-on experience with traditional machining and digital manufacturing tools, such as CAD, CNC software, and precision welding equipment.
Nottingham Trent University
(United Kingdom)
Bachelor’s in Product Design and Materials Engineering (Honors)
Specialized in product design with a heavy focus on blending creativity with metal production and fabrication techniques. Participated in real-world industry projects, collaborating with architectural and hardware manufacturing companies to optimize material efficiency.
Publications and Impact
In Metalenify, Stuart Rich shares his insights on structural metal design processes, material grades, and strategies for efficient shop production. His writing bridges the gap between raw artisan knowledge and modern industrial needs, making it a must-read for both budding DIY metalworkers and seasoned fabrication professionals.





