
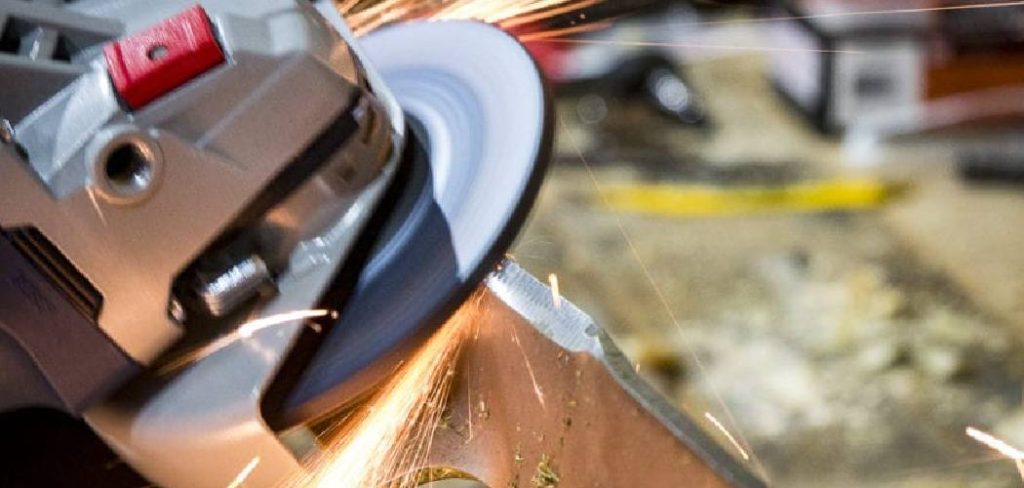
0Rough, jagged, or uneven metal can ruin a project before it even starts. Whether you’re prepping a weld, removing rust, or shaping a piece for a custom build, grinding metal smooth is one of the most useful skills you can learn. The good news? You don’t need years of experience to get clean, professional results. You just need the right tools, a steady approach, and a bit of patience.
This guide on how to grind metal smooth walks you through everything from start to finish. We’ll cover the benefits, the gear you’ll need, ten clear steps to follow, and the common mistakes that trip up beginners.
By the end, you’ll feel confident picking up a grinder and turning a rough surface into something smooth and ready for the next stage. Let’s get into it.
What Are the Benefits?
Grinding metal smooth does a lot more than just make a piece look nice. It plays a real role in the strength, safety, and function of whatever you’re building.
First, smooth metal is safer to handle. Sharp burrs and jagged edges can slice your skin or snag on clothing. Removing them protects you and anyone else who touches the finished work.
Second, a smooth surface improves how parts fit together. If you’re joining two pieces, even small bumps can throw off alignment. Grinding ensures clean, flush contact, which is critical for welding and assembly.
Third, it prepares metal for finishing. Paint, powder coating, and primer all stick better to a properly prepared surface. A smooth base gives you a flawless final coat without bubbles or rough patches showing through.
Finally, grinding extends the life of your project. Removing rust and weak spots helps prevent further corrosion. A clean, smooth surface simply lasts longer and performs better. For a small amount of effort, the payoff is huge.
What Will You Need?
Before you start, gather your tools and safety gear. Having everything ready means you won’t have to stop halfway through.
- An angle grinder
- Grinding discs
- Flap discs
- Sanding discs or pads
- Safety glasses or goggles
- Face shield
- Hearing protection
- Work gloves
- A dust mask or respirator
- Clamps or a bench vise
- A sturdy workbench
- A wire brush
- A clean rag
10 Easy Steps on How to Grind Metal Smooth
Step 1: Gear Up and Prioritize Safety
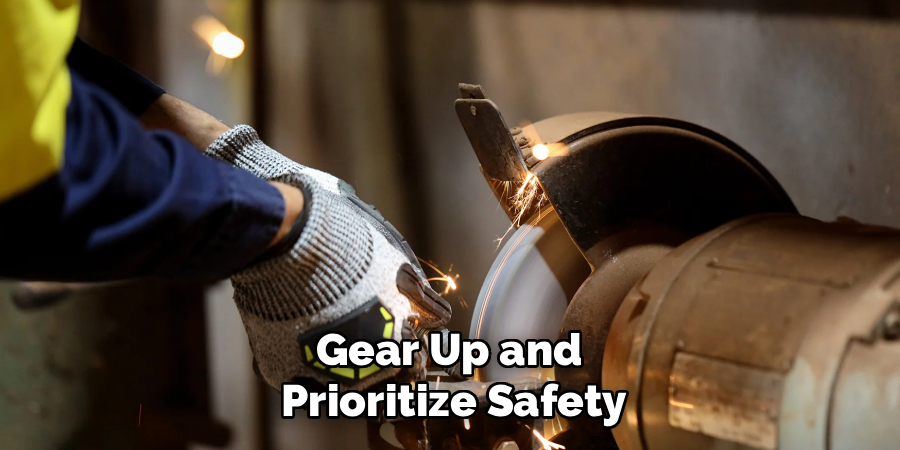
Safety comes first, every single time. Before you even plug in the grinder, put on your safety glasses, face shield, and hearing protection. Slip on your work gloves and your dust mask. Grinding throws off sparks, hot metal shards, and fine dust, all of which can cause serious harm.
Check your clothing too. Avoid loose sleeves, dangling drawstrings, or jewelry that could catch in the spinning disc. Tie back long hair. Make sure there’s a fire extinguisher nearby, since sparks can ignite nearby materials. Taking two minutes here protects you from injuries that could sideline you for weeks.
Step 2: Choose the Right Grinder and Abrasive
The tool you pick shapes your results. For most jobs, a handheld angle grinder gives you control and power. Match the disc to the task at hand. Use a grinding disc for removing large amounts of material, like welds or heavy rust. Switch to a flap disc when you want to smooth and blend the surface without gouging it.
Pay attention to grit too. Coarse grit removes material quickly but leaves scratches. Finer grit smooths things out. Starting coarse and working finer is the secret to a polished finish. Always confirm the disc is rated for your grinder’s speed before mounting it.
Step 3: Prepare Your Work Area
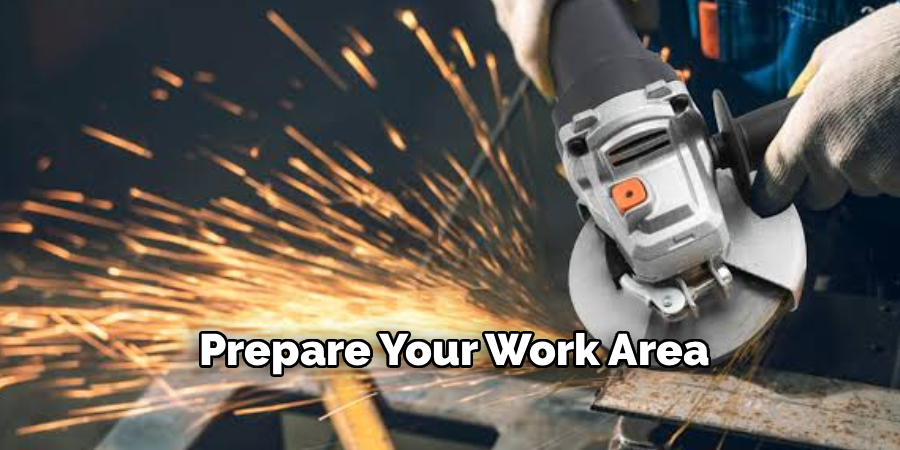
A clean, organized space makes the whole process smoother and safer. Clear away anything flammable, including rags, cardboard, sawdust, and fuel containers. Sparks travel surprisingly far, so give yourself plenty of open room.
Make sure the area is well lit so you can see exactly what you’re grinding. Good ventilation matters too, since grinding kicks up dust and fumes. If you’re working indoors, open a door or window, or set up a fan. Lay down a fire-resistant mat if your floor is wood or anything else that could catch. A tidy area keeps your focus on the work.
Step 4: Secure the Metal Firmly
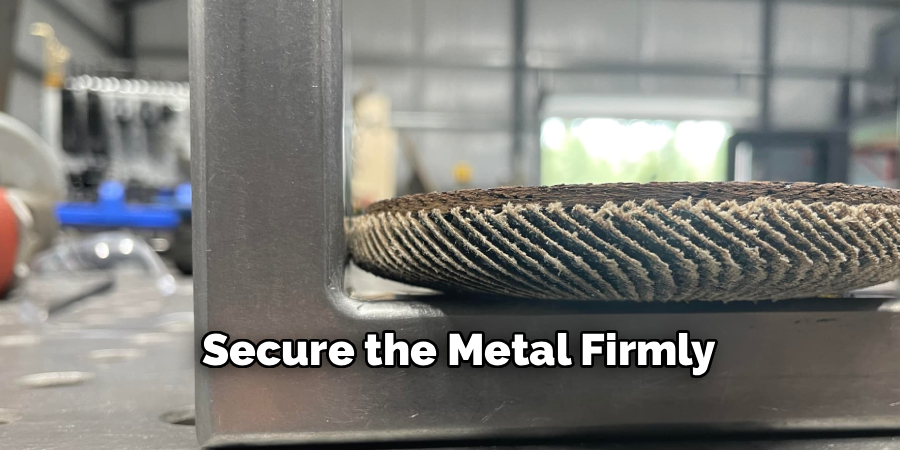
Never grind a piece that can move. A shifting workpiece is dangerous and gives sloppy results. Clamp your metal tightly to a sturdy workbench, or lock it into a bench vise. Make sure it won’t wobble, slide, or vibrate loose when the disc makes contact.
Position the piece so you can reach the grinding area comfortably without stretching or twisting your body. Awkward angles lead to slips and mistakes. If the metal is large, support both ends so it stays level. A solid setup lets you apply steady pressure and keeps both hands in control of the grinder.
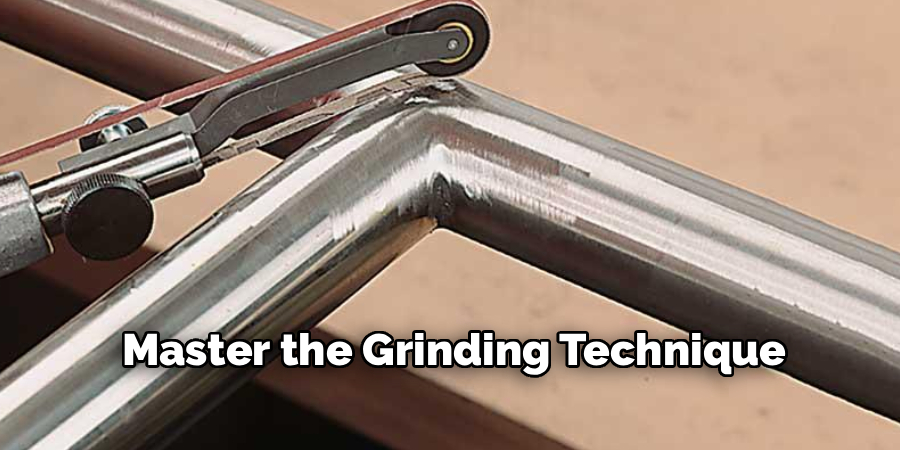
Step 5: Master the Grinding Technique
Grip the grinder firmly with both hands and turn it on away from the metal. Let it reach full speed before touching the surface. Hold the disc at a shallow angle, usually between 15 and 30 degrees, against the metal. This angle lets the disc cut effectively without digging in.
Move the grinder in smooth, steady passes. Don’t press hard. Let the tool’s weight and speed do the work. Forcing it only causes gouges and wears out the disc faster. Keep the grinder moving so you don’t overheat one spot. Consistent, controlled motion gives you an even surface every time.
Step 6: Check Your Progress Often
Stop frequently to inspect your work. Turn off the grinder, let it stop completely, and run your gloved hand or a finger over the surface to feel for high spots and rough patches. Visual checks help too, so look at the metal under good light from different angles.
Checking often prevents you from removing too much material. Once metal is gone, you can’t put it back. Tracking your progress also helps you spot uneven areas early, so you can adjust before they become a bigger problem. Patience here saves you from costly mistakes down the line.
Step 7: Switch to Smoothing
Once the heavy material is gone, swap your grinding disc for a flap disc. This step blends out the deeper scratches left by the coarse grinding. Use lighter pressure and the same steady, sweeping motion you used before.
Work across the surface evenly, overlapping each pass slightly. The goal here is to remove the rough texture and create a uniform, smooth feel. Take your time and keep the disc moving. You’ll notice the surface starting to look cleaner and more consistent. This transition from grinding to smoothing is what separates a rough job from a refined one.
Step 8: Finish with Fine Sanding
For a truly smooth result, move on to fine sanding discs or pads. This final smoothing pass erases the last faint scratches and gives the metal a polished, ready-to-finish surface. Start with a medium grit, then step up to a finer one.
Keep your strokes light and even. At this stage, you’re refining, not removing. Run your hand over the surface as you go to feel the improvement. If you plan to paint or coat the metal, this smooth base ensures the finish goes on flawlessly. Take pride in getting this stage right.
Step 9: Clean the Surface
After grinding and sanding, your metal will be covered in dust and tiny shavings. Use a wire brush to sweep away loose debris, then wipe the surface down with a clean rag. For a deeper clean, a rag dampened with a degreaser or solvent removes oils and fine particles.
A clean surface matters, especially if you’re about to weld, paint, or coat the piece. Leftover dust and grease ruin adhesion and weaken joints. Let the metal dry fully before moving on. This quick cleanup step makes a big difference in the quality of your final result.
Step 10: Inspect the Final Result
Give your work one last careful look. Run your fingers over every edge and surface to make sure there are no sharp burrs, missed rough spots, or uneven areas. Check under bright light and from multiple angles to catch anything you missed.
If you find a rough patch, go back with your flap disc or sanding pad and touch it up. This final inspection is your quality check. It ensures the metal is smooth, safe to handle, and ready for whatever comes next. When everything feels and looks right, you’re done.
5 Things You Should Avoid
- Skipping safety gear. Never grind without eye protection, gloves, and a dust mask. A single flying fragment can cause permanent eye damage, and metal dust harms your lungs over time.
- Pressing too hard. Forcing the grinder doesn’t speed things up. It gouges the metal, overheats the surface, and wears your disc out fast. Let the tool do the work with light, steady pressure.
- Holding the disc flat against the metal. Grinding at the wrong angle causes uneven cuts and dangerous kickback. Keep your disc at a shallow 15 to 30 degree angle for control and clean results.
- Ignoring overheating. Staying in one spot too long can warp thin metal and discolor the surface. Keep the grinder moving, and pause to let the metal cool when it gets hot.
- Using a damaged or wrong disc. Cracked or worn discs can shatter at high speed. Always inspect discs before use and confirm they’re rated for your grinder’s speed.
Conclusion
How to grind metal smooth is a skill anyone can learn with the right approach. It starts with safety, moves through choosing the right tools and abrasives, and finishes with careful technique and inspection. Each step builds on the last, taking you from a rough, jagged surface to a clean, polished result you can be proud of.
Remember the basics: gear up properly, secure your work, let the tool do the heavy lifting, and check your progress often. Avoid the common mistakes, like pressing too hard or skipping protective gear, and you’ll stay safe while producing professional-quality work.
The more you practice, the more natural it becomes. Soon you’ll be smoothing welds, prepping surfaces for paint, and cleaning up edges with confidence. Grab your grinder, follow these steps, and turn your next rough piece of metal into something smooth and ready for whatever you have planned.

About
Stuart Rich is a distinguished figure in the world of metalworking and fabrication, with a decade of expertise creating innovative and sustainable metal projects. His professional focus lies in merging traditional blacksmithing and machining with modern manufacturing techniques, fostering designs that are both practical and durable. As the author of Metalenify, Stuart Rich delves into the art and science of metallurgy and DIY metal creation, inspiring artisans, hobbyists, and industry professionals alike.
Education
RMIT University
(Melbourne, Australia)
Associate Degree in Engineering Technology (Mechanical / Manufacturing)
Focus on metallurgical properties, industry-driven projects, and practical metal craftsmanship. Gained hands-on experience with traditional machining and digital manufacturing tools, such as CAD, CNC software, and precision welding equipment.
Nottingham Trent University
(United Kingdom)
Bachelor’s in Product Design and Materials Engineering (Honors)
Specialized in product design with a heavy focus on blending creativity with metal production and fabrication techniques. Participated in real-world industry projects, collaborating with architectural and hardware manufacturing companies to optimize material efficiency.
Publications and Impact
In Metalenify, Stuart Rich shares his insights on structural metal design processes, material grades, and strategies for efficient shop production. His writing bridges the gap between raw artisan knowledge and modern industrial needs, making it a must-read for both budding DIY metalworkers and seasoned fabrication professionals.





