
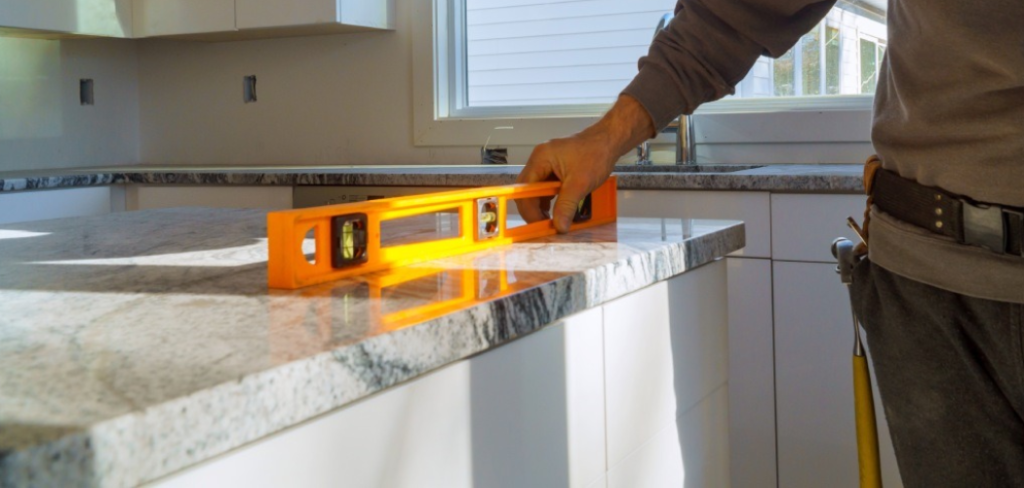
Copper countertops bring warmth, character, and a touch of old-world charm to any kitchen. But over time, that beautiful surface can look dull, scratched, or uneven. That’s where burnishing comes in. Learning how to hand burnish copper countertops for kitchen surfaces lets you restore a smooth, glowing finish using nothing more than your hands, a few simple tools, and a little patience. It’s a satisfying, hands-on technique that anyone can master, no matter your skill level.
Burnishing means polishing metal by rubbing it firmly until the surface becomes smooth and reflective. With copper, this process also helps blend out small imperfections and creates a unified, lustrous tone across the whole counter. The best part? You don’t need expensive machinery or professional training. With clear steps and a steady approach, you can transform a tired-looking surface into a stunning focal point. In this guide, we’ll walk you through everything you need, step by step, so you feel confident and supported from start to finish.
Why Hand Burnishing Copper Countertops Matters
Hand burnishing does more than make your countertop pretty. It strengthens and seals the surface, helping it resist daily wear in a busy kitchen. When you work the metal by hand, you control every inch of pressure and movement, which means you can target dull spots and scratches that machines often miss. This careful attention gives you a richer, more even shine.
There’s also a practical payoff. A well-burnished copper surface develops a tighter grain that holds protective finishes better and ages more gracefully into a beautiful patina. Beyond function, the process itself is rewarding. You build a real connection with your kitchen, learn a valuable skill, and save money on professional polishing. It’s empowering, accessible, and genuinely enjoyable for hobbyists and homeowners alike.
Step-by-Step Guide to How to Hand Burnish Copper Countertops for Kitchen
Step 1: Gather Your Tools and Materials
Before you touch the copper, set yourself up for success by collecting everything you’ll need. Grab soft microfiber cloths, a few clean cotton rags, fine steel wool (grade 0000), a mild dish soap, warm water, and a quality copper polish or beeswax finish. You’ll also want rubber gloves to protect your hands and keep oils off the metal.
Having your supplies ready in one spot saves time and keeps your workflow smooth. Lay out a protective drop cloth around your workspace, too, since polish and metal residue can travel. When your station is organized, you’ll move through the process calmly and avoid frustrating mid-project interruptions that break your focus.
Step 2: Clean the Surface Thoroughly
A clean canvas is essential, so start by washing the entire countertop with warm water and a few drops of mild dish soap. Use a soft cloth to lift away grease, food residue, and dust. Avoid harsh chemical cleaners, since they can react with copper and leave streaks or discoloration that complicate your work later.
Once you’ve wiped the surface down, rinse it with clean water and dry it completely with a fresh microfiber cloth. Any leftover moisture can interfere with burnishing and trap grime under your finish. Take your time here. A spotless, dry surface ensures the polishing steps ahead deliver the smooth, even glow you’re aiming for.
Step 3: Inspect and Address Scratches
With your counter clean, run your fingertips lightly across the surface to feel for scratches, dents, or rough patches. Good lighting helps enormously, so position a lamp at an angle to reveal imperfections you might otherwise miss. Mapping out these trouble spots now means you can give them extra care during the polishing stage.
For deeper scratches, gently rub the area with fine steel wool, always moving in the direction of the metal’s natural grain. Work slowly and check your progress often. The goal isn’t to remove copper but to soften the edges of imperfections so they blend smoothly. This careful prep work pays off with a flawless, professional-looking result.
Step 4: Begin the Burnishing Process
Now the rewarding part begins. Knowing how to hand burnish copper countertops for kitchen surfaces starts with applying a small amount of copper polish or beeswax onto a clean cotton rag. Rub it into the metal using firm, circular motions. Apply steady, even pressure as you work across the surface in small, manageable sections so nothing gets overlooked.
As you rub, you’ll feel the metal warm slightly and notice the shine deepening. This friction is what creates that beautiful burnished glow. Keep your movements consistent and overlap each section to avoid visible lines. Patience is key here, because rushing leads to uneven results that you’ll only have to redo later.
Step 5: Build the Shine in Layers
One pass rarely produces the rich finish you want, so plan to build your shine gradually. After your first round of polishing, wipe away any excess product with a clean section of cloth, then apply a second thin layer. Repeating this process in light coats produces a far more durable and luminous result than one heavy application ever could.
Between layers, step back and check your progress under good light. You’ll see the surface grow more reflective and uniform with each round. Three or four light passes usually do the trick, though deeper restorations may need a few more. Trust the process and let the copper reveal its warm, mirror-like glow at its own pace.
Step 6: Buff to a Brilliant Finish
Once your layers are built, it’s time to bring out the full brilliance. Take a fresh, dry microfiber cloth and buff the entire surface using brisk, circular motions. This final buffing removes any remaining haze from the polish and locks in that radiant, professional-grade shine you’ve been working toward.
This is also the stage where mastering how to hand burnish copper countertops for kitchen use truly shows its payoff. Move methodically across every inch, paying special attention to corners and edges where residue likes to hide. Keep buffing until the surface feels silky-smooth and reflects light evenly. The transformation at this point is genuinely satisfying to witness.
Step 7: Seal and Protect Your Work
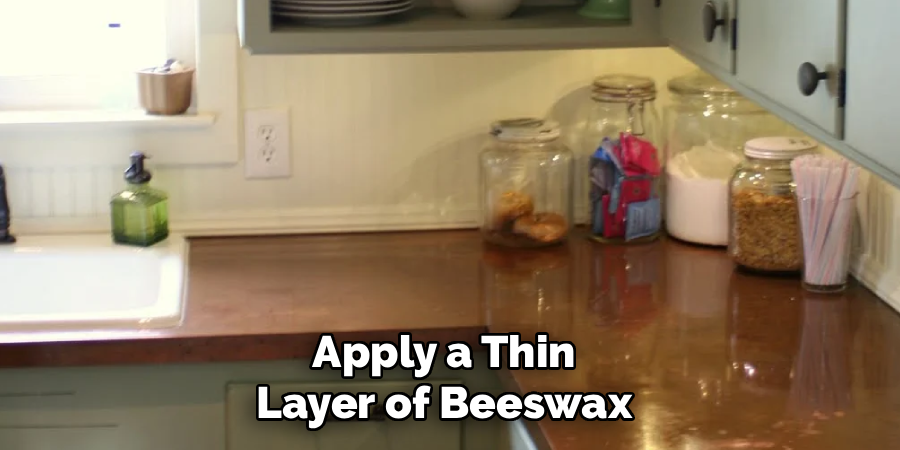
Your countertop now looks stunning, but a final protective step keeps it that way. Apply a thin layer of beeswax or a food-safe copper sealant to shield the surface from moisture, fingerprints, and oxidation. Spread it evenly with a clean cloth, then let it cure according to the product instructions before using the counter again.
Sealing locks in your hard work and slows the natural tarnishing that copper undergoes over time. To maintain that fresh glow, plan a quick reapplication every few months depending on how heavily you use the space. With this simple habit, your beautifully burnished copper will stay vibrant and welcoming for years to come.
Frequently Asked Questions
How Often Should I Burnish My Copper Countertop?
For most kitchens, a full burnishing once or twice a year keeps the surface looking its best. If your counter sees heavy daily use, you may want to touch up high-traffic areas more frequently. Light maintenance polishing every few weeks helps preserve the shine between deeper sessions, so you’ll spend less time on each full restoration down the road.
Will Burnishing Remove Deep Scratches Completely?
Burnishing softens and blends light to moderate scratches beautifully, but very deep gouges may not disappear entirely. For those, gentle work with fine steel wool along the grain helps reduce their appearance before polishing. Remember, copper’s evolving patina actually hides minor imperfections over time, so small marks often become part of the surface’s natural, lived-in charm.
Is Hand Burnishing Safe for Food-Prep Surfaces?
Yes, as long as you use food-safe products. Choose a beeswax finish or a sealant specifically labeled safe for food contact, and always let it cure fully before preparing food on the surface. Avoid harsh chemical polishes near food zones. When done correctly, your burnished copper remains both beautiful and perfectly safe for everyday kitchen tasks.
Can Beginners Really Do This Themselves?
Absolutely. This technique is genuinely beginner-friendly and requires no special machinery or training. The key is patience and working in small sections with steady pressure. Start with a less visible corner to build your confidence, then move across the rest of the counter. With each pass, you’ll feel more comfortable and your results will keep improving.
What If My Copper Looks Uneven After Polishing?
Uneven results usually come from inconsistent pressure or skipping the layering process. If you notice patchy areas, simply apply another thin coat of polish and buff that section again with firm, overlapping circular motions. Working under angled light helps you spot dull spots quickly. A little extra attention almost always evens things out nicely.
Conclusion
Restoring a copper countertop to its full glory is far more achievable than you might think. By gathering the right tools, cleaning carefully, building your shine in thin layers, and sealing your work, you can transform a dull surface into a warm, glowing centerpiece. Each step builds on the last, and the hands-on process rewards your patience with truly satisfying results.
Now that you understand how to hand burnish copper countertops for kitchen surfaces, you have everything you need to get started with confidence. Take it one section at a time, trust the process, and enjoy the craft of bringing your copper back to life. Grab your cloths, set up your space, and let your kitchen shine. You’ve got this, and the beautiful payoff is well worth the effort.

About
Stuart Rich is a distinguished figure in the world of metalworking and fabrication, with a decade of expertise creating innovative and sustainable metal projects. His professional focus lies in merging traditional blacksmithing and machining with modern manufacturing techniques, fostering designs that are both practical and durable. As the author of Metalenify, Stuart Rich delves into the art and science of metallurgy and DIY metal creation, inspiring artisans, hobbyists, and industry professionals alike.
Education
RMIT University
(Melbourne, Australia)
Associate Degree in Engineering Technology (Mechanical / Manufacturing)
Focus on metallurgical properties, industry-driven projects, and practical metal craftsmanship. Gained hands-on experience with traditional machining and digital manufacturing tools, such as CAD, CNC software, and precision welding equipment.
Nottingham Trent University
(United Kingdom)
Bachelor’s in Product Design and Materials Engineering (Honors)
Specialized in product design with a heavy focus on blending creativity with metal production and fabrication techniques. Participated in real-world industry projects, collaborating with architectural and hardware manufacturing companies to optimize material efficiency.
Publications and Impact
In Metalenify, Stuart Rich shares his insights on structural metal design processes, material grades, and strategies for efficient shop production. His writing bridges the gap between raw artisan knowledge and modern industrial needs, making it a must-read for both budding DIY metalworkers and seasoned fabrication professionals.





