
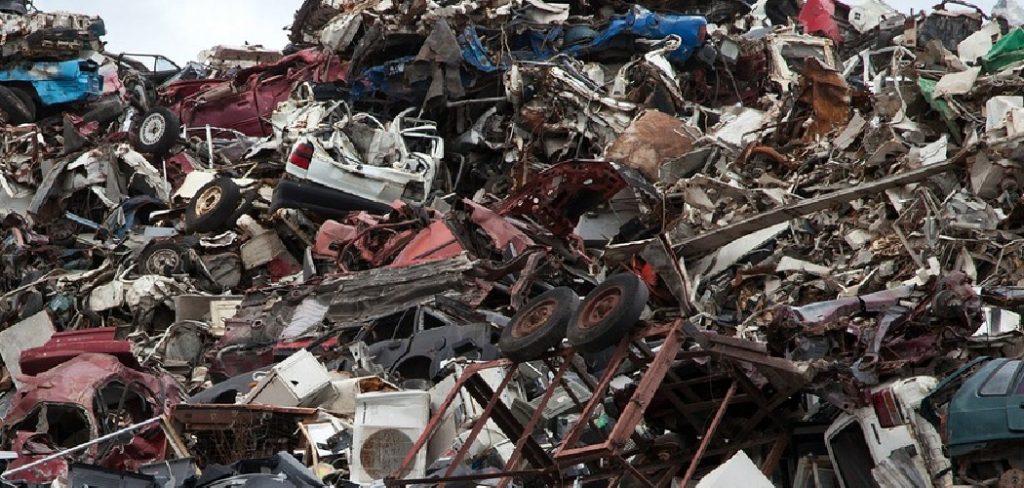
Sorting through a pile of old pipes, wires, and rusty parts can feel overwhelming. But knowing what each piece is made of can put real money in your pocket. Some metals sell for a few cents a pound, while others fetch dollars. The trick is learning to tell them apart.
This guide on how to identify scrap metal walks you through everything you need to know. By the end, you’ll be able to spot the difference between copper, aluminum, steel, and more—without any special training.
Let’s dig in.
What are the Benefits?
Learning to identify scrap metal pays off in more ways than one. Here’s why it matters.
- You earn more money. Scrap yards pay different rates for different metals. Copper can be worth several dollars per pound, while steel might only bring a few cents. If you mix them, you’ll often get paid the lowest rate. Sorting correctly means more cash for the same pile.
- You avoid getting shortchanged. Some buyers may lump your valuable metals in with cheaper ones. When you know what you have, you can speak up and make sure you’re paid fairly.
- You save time at the yard. Pre-sorted metal moves faster. Many scrap yards reward organized loads, and you’ll spend less time waiting around.
- You reduce waste. Recycling metal keeps it out of landfills and cuts the need for new mining. Every bit you correctly sort helps the environment.
- You build a useful skill. Once you learn the basics, you’ll start spotting valuable metal everywhere—in old appliances, broken tools, and renovation debris. It’s a handy skill for any homeowner or DIY fan.
What Will You Need?
You don’t need fancy equipment to get started. Most of these items are cheap or already in your garage.
Basic Tools:
- A Strong Magnet – The single most useful tool. It instantly separates magnetic metals (like steel) from non-magnetic ones (like copper and aluminum).
- A File or Sandpaper – Useful for scratching through rust or coating to see the true color underneath.
- A Small Scale – Helps you weigh your metals so you can estimate value.
- A Knife or Scraper – Good for testing softness and removing dirt.
- A Bar Magnet vs. A Rare-earth Magnet – A rare-earth magnet is stronger and gives clearer results.
Safety gear:
- Work Gloves – Scrap metal often has sharp edges and rust. Protect your hands.
- Safety Glasses – Bits of metal can fly when you cut or scrape.
- Sturdy Boots – Heavy pieces can fall, so cover your toes.
- A Dust Mask – Helpful if you’re cutting or grinding, which can release fine particles.
Gather these before you start. A little preparation makes the whole process safer and smoother.
10 Easy Steps on How to Identify Scrap Metal
Follow these steps in order. Each one narrows down what kind of metal you’re holding.
Step 1: Test It With a Magnet
Start with your magnet. Hold it against the metal. If it sticks, you have a ferrous metal—one that contains iron, like steel or cast iron. If it doesn’t stick, you have a non-ferrous metal, like copper, aluminum, or brass. This simple test splits your pile into two main groups right away. Non-ferrous metals are usually worth more, so set those aside.
Step 2: Look at the Color
Color tells you a lot. Clean the surface first if it’s dirty or rusty. Copper has a reddish-brown or pinkish tone. Brass looks yellow-gold. Aluminum is silvery-white and dull. Steel is gray. Cast iron is dark gray with a rough surface. If the metal is coated or painted, scratch a small spot to see the true color underneath.
Step 3: Check the Weight
Pick up the piece and feel its weight. Some metals are heavy for their size, while others feel surprisingly light. Aluminum is very lightweight—if a large piece feels almost empty, it’s probably aluminum. Copper, brass, and steel feel much heavier. Comparing two similar-sized pieces helps you judge density and rule out certain metals.
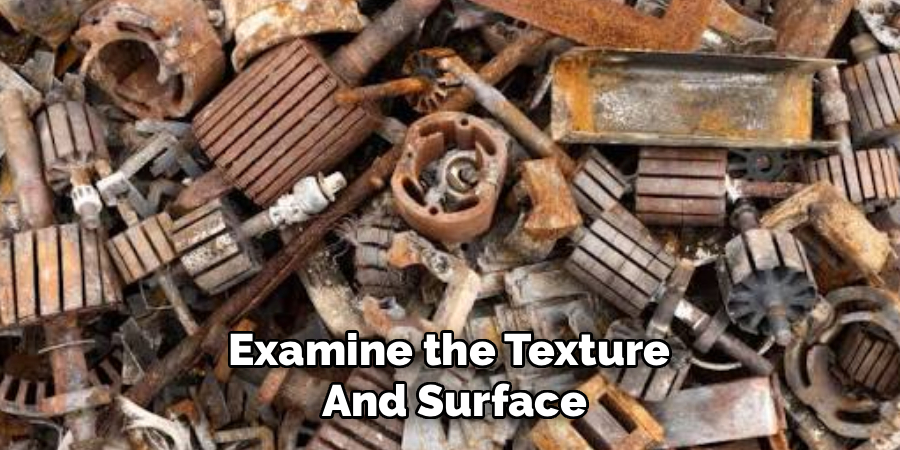
Step 4: Examine the Texture and Surface
Run your hand over the metal (with gloves on). Cast iron feels rough and grainy. Steel is smoother but can rust into orange-brown flakes. Copper develops a green coating called patina when it’s old. Aluminum often shows a dull, chalky white oxide layer. These surface clues help confirm what your color and magnet tests suggest.
Step 5: Do the Scratch Test
Use a file or knife to scratch a hidden spot. The color underneath the surface reveals the true metal. For example, a rusty piece might look brown on top but shine silver-gray when scratched—that’s steel. A green object might show bright copper underneath. This test cuts through corrosion and coatings that can fool you.
Step 6: Look for a Spark
If you have a grinder, lightly touch the metal to it and watch the sparks. Steel throws off bright, yellow-white sparks. Cast iron makes shorter, reddish sparks. Stainless steel produces fewer, duller sparks. Non-ferrous metals like copper and aluminum make almost no sparks at all. Do this carefully, wear your safety glasses, and keep flammable items away.
Step 7: Test the Sound
Tap the metal with a hard object and listen. Different metals ring differently. Brass and bronze make a clear, ringing tone. Cast iron sounds dull and flat. Steel rings with a higher pitch. This trick takes practice, but over time you’ll recognize the “voice” of common metals just by tapping them.
Step 8: Check for Magnetism in Stainless Steel
Stainless steel can be tricky. Most types are only slightly magnetic or not magnetic at all, even though they contain iron. If your magnet pulls weakly or not at all, but the metal looks shiny silver and resists rust, you likely have stainless steel. It’s worth more than regular steel, so don’t lump it in with your iron pile.
Step 9: Use the Bend or Malleability Test
Try gently bending a thin piece. Soft metals like lead and aluminum bend easily and stay bent. Copper is also fairly soft and flexible. Harder metals like steel resist bending and may snap. This helps you separate soft metals from hard ones, especially when color and weight aren’t enough.
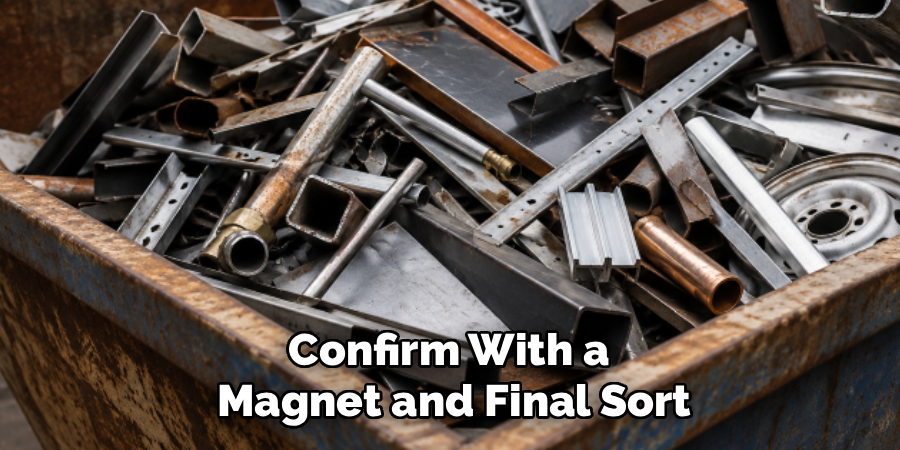
Step 10: Confirm With a Magnet and Final Sort
Go back through your sorted piles and double-check each group with your magnet and a quick color look. Group your metals by type: copper, brass, aluminum, steel, stainless steel, and so on. Keep them in separate containers or bins. A clean, sorted load makes selling faster and ensures you get the right price for each metal.
By following these steps, you can effectively sort and separate your metals for recycling. Remember to always wear protective gear, especially when handling sharp or potentially hazardous materials.
5 Things You Should Avoid
Even experienced scrappers make mistakes. Watch out for these.
- Don’t mix your metals. Throwing everything into one bin can get you paid the lowest rate. Always keep metals separated by type.
- Don’t skip safety gear. Rusty edges, flying chips, and heavy loads cause real injuries. Gloves and glasses are non-negotiable.
- Don’t trust color alone. Rust, paint, and patina can hide the true metal. Always scratch-test before you decide.
- Don’t ignore stainless steel. It looks like cheap steel but isn’t. Test the magnetism carefully so you don’t undersell it.
- Don’t handle live wires or sealed containers. Cutting into unknown tanks, cylinders, or wired components can be dangerous. When in doubt, leave it alone or ask an expert.
Frequently Asked Questions
- How Can I Tell Copper From Brass?
Both have a yellow or reddish tone, which makes them easy to mix up. Copper is more reddish-brown, while brass leans golden-yellow. Brass also tends to feel a bit lighter than pure copper. Scratch the surface to compare the true color underneath. Copper is usually worth more, so it’s worth getting this right. - Is Aluminum Worth Recycling if It’s So Cheap?
Aluminum pays less per pound than copper, but it’s everywhere and easy to collect. Cans, window frames, old gutters, and car parts add up quickly. Because it’s so light and common, gathering a large volume can still earn solid money. Plus, recycling aluminum saves a huge amount of energy compared to making it new. - Do I Really Need a Grinder for the Spark Test?
No, the spark test is optional. The magnet, color, and scratch tests handle most identification on their own. A grinder just gives extra confirmation for tricky pieces, like telling steel from cast iron. If you don’t own one, you can still sort accurately using the other steps in this guide.
Conclusion
Identifying scrap metal isn’t complicated once you know the basics. Start with a magnet to split ferrous from non-ferrous, then use color, weight, texture, and a few simple tests to narrow things down. Keep your metals sorted, stay safe, and you’ll get the most value from every load.
Ready to put this into practice? Grab a magnet, pull on your gloves, and start sorting that pile in the garage. The more you practice, the faster and sharper your eye will become—and the more your scrap will be worth.
Hopefully, this guide on how to identify scrap metal has helped demystify scrap metal and given you the tools to confidently sort and sell your own scrap.

About
Stuart Rich is a distinguished figure in the world of metalworking and fabrication, with a decade of expertise creating innovative and sustainable metal projects. His professional focus lies in merging traditional blacksmithing and machining with modern manufacturing techniques, fostering designs that are both practical and durable. As the author of Metalenify, Stuart Rich delves into the art and science of metallurgy and DIY metal creation, inspiring artisans, hobbyists, and industry professionals alike.
Education
RMIT University
(Melbourne, Australia)
Associate Degree in Engineering Technology (Mechanical / Manufacturing)
Focus on metallurgical properties, industry-driven projects, and practical metal craftsmanship. Gained hands-on experience with traditional machining and digital manufacturing tools, such as CAD, CNC software, and precision welding equipment.
Nottingham Trent University
(United Kingdom)
Bachelor’s in Product Design and Materials Engineering (Honors)
Specialized in product design with a heavy focus on blending creativity with metal production and fabrication techniques. Participated in real-world industry projects, collaborating with architectural and hardware manufacturing companies to optimize material efficiency.
Publications and Impact
In Metalenify, Stuart Rich shares his insights on structural metal design processes, material grades, and strategies for efficient shop production. His writing bridges the gap between raw artisan knowledge and modern industrial needs, making it a must-read for both budding DIY metalworkers and seasoned fabrication professionals.





