
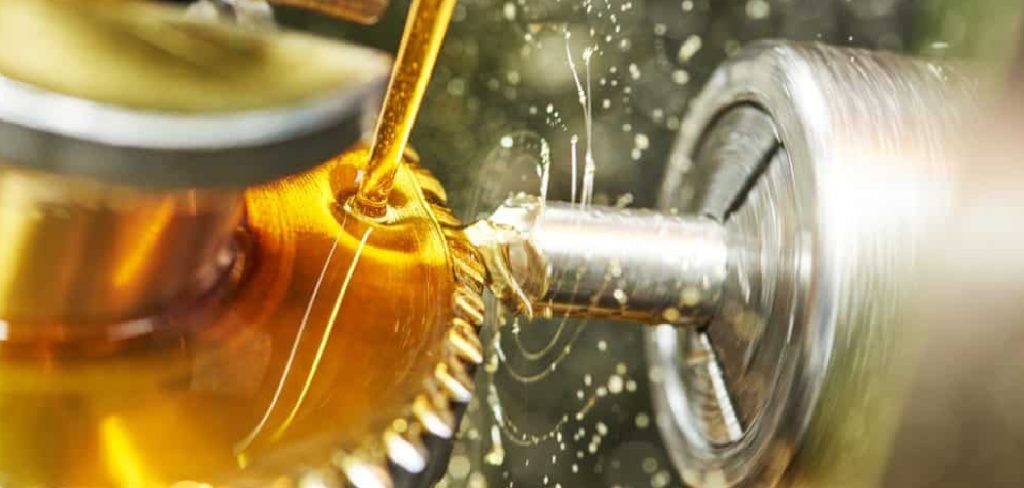
Lubricating gears properly requires cleaning the gear teeth thoroughly to remove old grease, selecting the correct industrial lubricant based on load and speed, and applying an even coat using a brush or spray system. Manually rotating the gears afterward ensures full coverage and helps prevent metal-on-metal friction.
Gears are easy to take for granted. They don’t announce themselves, they rarely demand attention, and most operators never think about them until something goes wrong. Then, suddenly, a seized gearbox halts an entire production line, and everyone wants to know why no one caught it sooner.
The short answer, more often than not, is inadequate lubrication.
Friction is the slow killer of mechanical systems. Left unchecked, it generates heat, accelerates surface wear, and eventually causes the kind of catastrophic failure that’s expensive to fix and impossible to ignore. A well-executed lubrication program won’t just extend the life of your gears—it may fundamentally change how often you’re dealing with unplanned downtime.
This guide on how to lubricate gears walks through the entire process: understanding your gear system, preparing safely, applying the right lubricant correctly, and building a maintenance habit that actually holds up over time.
What Do You Need to Know About Understanding Gear Systems?
Before reaching for a grease gun, it’s worth stepping back to identify exactly what you’re working with. Not all gear systems behave the same way, and applying the wrong lubricant—or the right one incorrectly—can cause as much damage as using none at all.
Open gear systems are exposed to the environment and subject to contamination from dust, moisture, and debris. They generally call for high-viscosity greases that adhere firmly to the tooth surface and resist being flung off during rotation. Enclosed gearboxes, by contrast, operate in a sealed housing and typically rely on fluid oil baths or splash systems to maintain a continuous film across the moving parts.
Gear geometry also matters. Worm gears, for instance, generate significantly more sliding friction than spur or helical gears, which means they often require lubricants specifically formulated with friction modifiers or compounded oils. Spur gears running at high speeds may perform better with a lighter synthetic fluid that dissipates heat quickly. The operating load, pitch line velocity, and ambient temperature all feed into what the right product actually looks like—so reviewing the original equipment manufacturer’s (OEM) specifications before making any decisions appears to be the most reliable starting point.
What Are the Essential Safety Precautions Before Lubricating Gears?
Any maintenance task on live machinery carries risk. Gear systems, in particular, involve pinch points, stored kinetic energy, and industrial chemicals—a combination that demands more than just a quick scan of the area before diving in.
Lockout/tagout (LOTO) procedures exist for a reason. Physically locking the power supply in the off position and attaching your identification tag prevents another worker from accidentally energizing the system while your hands are near the mechanism. This step is not optional, and no time pressure should ever justify skipping it.
Heavy-duty nitrile gloves protect the skin from prolonged contact with synthetic oils, which can cause chemical dermatitis over time. Safety goggles guard against splashes during application or when handling solvent degreasers. Spill containment materials—absorbent pads or kits—should be within reach before you open any access panels, not retrieved after the fact.
Good lighting is underrated in maintenance environments. A well-lit workspace makes it significantly easier to spot damage during inspection, apply lubricant evenly, and avoid the minor errors that compound into larger problems.
7 Step-By-Step Guidelines on How to Lubricate Gears
Step 1: Gather the Appropriate Tools and Lubricants
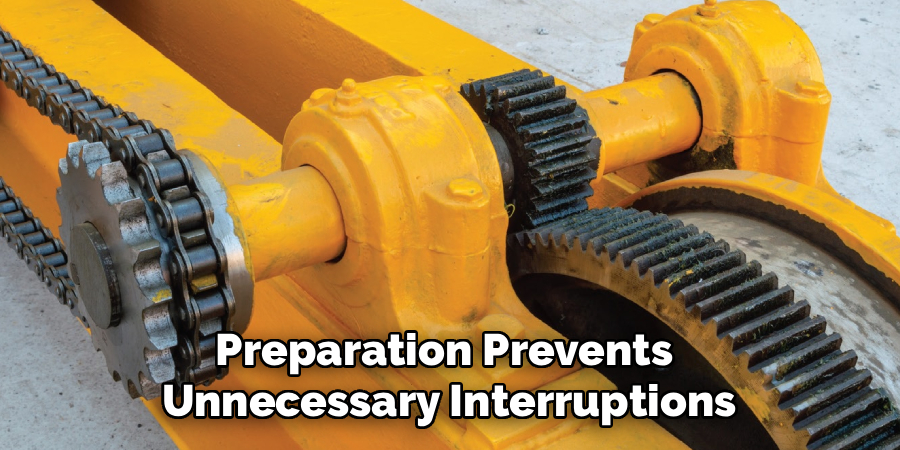
Preparation prevents unnecessary interruptions. Before opening the machinery, collect everything you’ll need: an industrial degreaser, lint-free shop rags, a stiff-bristled cleaning brush, the OEM-specified lubricant, and the appropriate application tool for that lubricant’s viscosity.
Whether you’re using a precision grease gun, an automatic spray applicator, or a hand brush depends largely on what you’re applying. Thicker greases generally require a gun or brush; lighter oils may lend themselves to spray application. Review the safety data sheet (SDS) for your chosen product to confirm ventilation requirements and confirm your PPE is appropriate before proceeding.
Step 2: Disconnect the Power and Secure the Machinery
Follow your facility’s LOTO procedure. Lock the power switches in the off position, apply your identification tag, and then wait. Heavy industrial gears can retain rotational momentum for several minutes after power is cut, and attempting to work on a system that’s still winding down is a straightforward way to get hurt.
For gear systems driven by electric motors, use a voltage meter to verify that power has fully dissipated before removing guards or panels. Secure any suspended loads or counterweights that could shift unexpectedly during maintenance.
Step 3: Clean the Gear Teeth Thoroughly
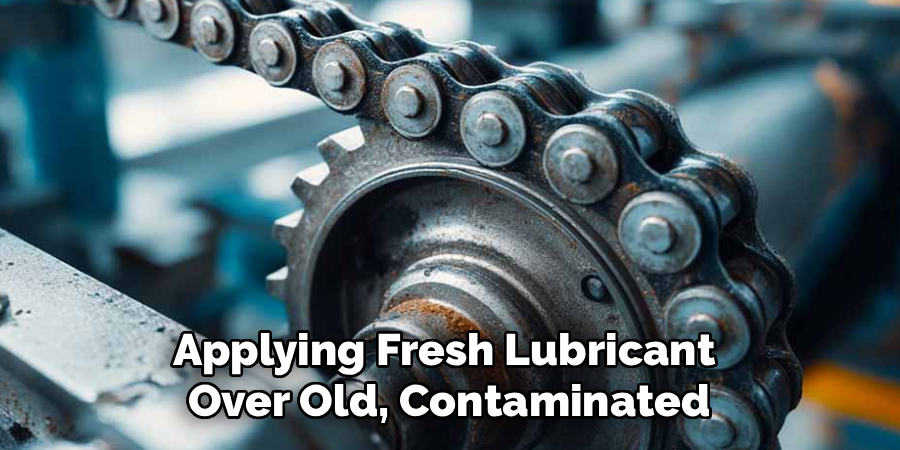
Applying fresh lubricant over old, contaminated grease doesn’t protect the gears—it traps abrasive particles against the metal and accelerates wear from the inside out. Apply industrial degreaser to the gear teeth, allow it to dwell for a few minutes to break down hardened sludge, then scrub using the stiff-bristled brush. Pay close attention to the tooth roots, where debris tends to collect and sit undisturbed.
Once the heavy buildup is removed, wipe the gears completely dry with lint-free rags. No solvent residue should remain on the metal surface—leftover degreaser will chemically degrade the new lubricant. The teeth should look bare and feel smooth before you move to the next step.
Step 4: Inspect the Gears for Existing Damage
With the gears clean and exposed, this is your best opportunity to assess their condition. Use a bright flashlight to examine the tooth surfaces for pitting, scoring, or heat discoloration. Catching these signs early allows you to schedule repairs before a gear fails mid-operation.
Uneven wear patterns across the teeth may suggest shaft misalignment or a failing bearing. Document any surface imperfections in your maintenance log and monitor them over subsequent inspections. Deep cracks, missing metal fragments, or severely chipped teeth are a different matter entirely—those findings warrant halting the process and consulting a mechanical engineer before anything else proceeds.
Step 5: Apply the Lubricant Evenly Across the Gear Teeth
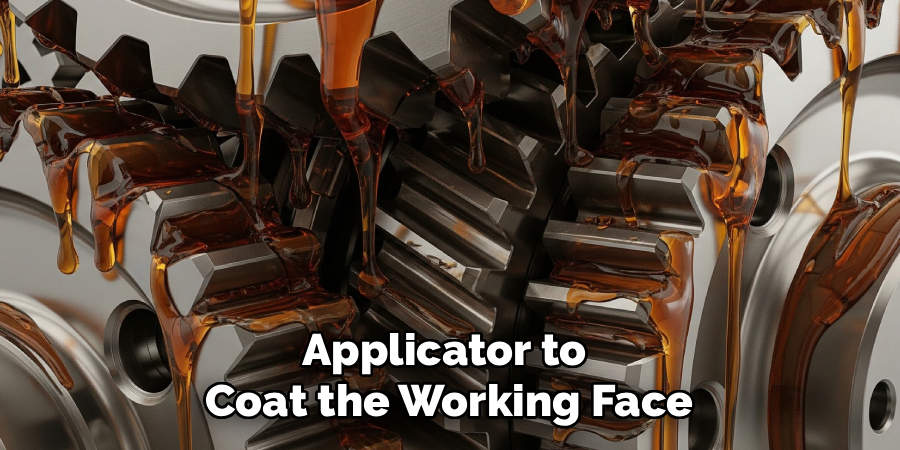
For open gear systems, use a brush or applicator to coat the working face of each tooth with a thin, consistent layer of grease. The goal is full coverage—not excess. Overloading the system pushes grease off the gears during rotation, creating a mess inside the housing and offering no additional protective benefit.
Enclosed gearboxes use a different approach. Pour liquid gear oil into the designated fill port slowly, using a funnel to prevent spills, until it reaches the level indicated on the sight glass or dipstick. Allow air bubbles to escape as you pour. If the oil runs off the metal too quickly rather than clinging to it, that’s a reasonable indicator that the viscosity may be too low for the application.
Step 6: Rotate the Gear System Manually to Distribute the Lubricant
Application alone doesn’t guarantee even coverage. The hidden contact points between meshing gear teeth only receive lubrication once the gears actually move. Manually rotate the primary drive shaft through several complete revolutions to push the grease or oil across the full pitch line and into the mating surfaces.
Listen during this step. Grinding, uneven resistance, or any irregularity in how the gears turn could indicate a dry spot, debris in the mechanism, or a deeper mechanical issue. After a few rotations, inspect the coating visually—any areas that look dry or under-covered should receive a small touch-up before the system is closed.
Step 7: Reconnect Power and Monitor the Gear Operation

Replace all guards, access panels, and safety covers. Remove your LOTO devices and restore power to the machinery. Where the machine allows it, start at low speed under no load, giving the lubricant a chance to warm slightly and distribute further before full operational demands are placed on the system.
Stay with the equipment for at least ten minutes after startup. Use an infrared thermometer to check the operating temperature, and listen for smooth, quiet rotation. Excessive heat, vibration, or a high-pitched whining noise after relubricating may suggest over-application or an underlying alignment issue worth investigating before the problem compounds.
Following these steps on how to lubricate gears can greatly extend the lifespan and efficiency of your equipment.
What Are the Most Common Mistakes to Avoid?
- Applying too much lubricant generates fluid friction and heat inside enclosed gearboxes
- Skipping the cleaning step traps abrasive contaminants under the new product
- Mixing synthetic and mineral-based oils can destabilize both fluids chemically
- Ignoring OEM viscosity recommendations leads to inadequate film thickness under load
- Bypassing LOTO procedures puts workers at direct risk of serious injury
How Do You Establish an Effective Maintenance Schedule?
OEM guidelines typically recommend visual inspections monthly and full lubricant replacements every 2,500 to 4,000 operating hours—but those numbers represent a baseline, not a universal prescription. Machines running in dusty, humid, or high-temperature environments may need servicing at significantly shorter intervals.
For large enclosed gearboxes, an oil analysis program adds a layer of precision that calendar-based schedules simply can’t match. Quarterly fluid samples can reveal chemical degradation and metallic wear particles, allowing maintenance teams to change the oil when it actually needs changing rather than defaulting to an arbitrary date.
How Do You Handle Troubleshooting Gear Lubrication Issues?
The lubricant itself often carries the earliest warning signs of a problem. Cloudy or milky gear oil suggests water contamination—that calls for an immediate flush and a close inspection of the housing seals. An overfilled oil reservoir may appear fine on paper but causes the fluid to churn at operating speed, generating excess heat through fluid friction rather than load.
Loud metallic grinding could indicate that the lubricant’s viscosity is too low to maintain a protective film under the system’s current load. Heavy metallic flakes in drained oil or grease point to active wear—at that stage, the question shifts from lubrication to whether the gears themselves need mechanical realignment or replacement.
What Are the Best Practices for Long Gear Life?
Store bulk lubricants in a climate-controlled environment. Temperature swings degrade chemical additives over time, even in sealed containers. Use color-coded transfer containers for different oil types to eliminate cross-contamination risk during application—it’s a simple precaution that prevents a surprisingly common error.
Desiccant breathers on enclosed gearboxes filter airborne moisture and particulate matter before it can reach the oil bath. Standardized training for all maintenance personnel ensures consistent application quality regardless of who’s performing the task on any given day.
Lubrication quality is cumulative. Small inconsistencies across dozens of maintenance cycles add up to either a reliable machine or an early replacement.
Frequently Asked Questions
Q1: What Is the Best Type of Lubricant for High-Speed Gears?
High-speed gears generally perform best with lower-viscosity synthetic oils. These fluids flow quickly enough to dissipate heat at high revolutions per minute. Applying heavy grease to high-speed components creates fluid drag, reduces efficiency, and tends to raise operating temperatures rather than control them.
Q2: How Often Should You Reapply Lubricant to Open Gear Systems?
Open gear systems may require reapplication weekly or even daily, depending on load conditions and exposure to environmental contaminants. Because the lubricant sits exposed to centrifugal forces, dust, and moisture, it degrades faster than sealed systems. Automated spray or drip systems are often worth considering for high-frequency applications.
Q3: Can You Mix Different Types of Gear Lubricants?
Different lubricant formulations use distinct additive packages that can react negatively when combined, leading to sludge formation and rapid viscosity loss. Mixing synthetic and mineral-based oils, in particular, appears to carry significant risk of chemical incompatibility. Always perform a complete system flush before introducing a new lubricant type.
Take Control of Your Gear Maintenance Strategy
Proper gear lubrication is less about following a checklist and more about building a maintenance culture that takes the small steps seriously—because those steps are what prevent the large, costly failures. Clean the gears before you lubricate them. Inspect before you close the system. Monitor after you start it back up.
These aren’t complicated principles. Applied consistently, they may extend the operational life of your mechanical systems considerably and reduce the kind of unplanned downtime that disrupts operations and inflates maintenance budgets. Thanks for reaidng this guide on how to lubricate gears.

About
Stuart Rich is a distinguished figure in the world of metalworking and fabrication, with a decade of expertise creating innovative and sustainable metal projects. His professional focus lies in merging traditional blacksmithing and machining with modern manufacturing techniques, fostering designs that are both practical and durable. As the author of Metalenify, Stuart Rich delves into the art and science of metallurgy and DIY metal creation, inspiring artisans, hobbyists, and industry professionals alike.
Education
RMIT University
(Melbourne, Australia)
Associate Degree in Engineering Technology (Mechanical / Manufacturing)
Focus on metallurgical properties, industry-driven projects, and practical metal craftsmanship. Gained hands-on experience with traditional machining and digital manufacturing tools, such as CAD, CNC software, and precision welding equipment.
Nottingham Trent University
(United Kingdom)
Bachelor’s in Product Design and Materials Engineering (Honors)
Specialized in product design with a heavy focus on blending creativity with metal production and fabrication techniques. Participated in real-world industry projects, collaborating with architectural and hardware manufacturing companies to optimize material efficiency.
Publications and Impact
In Metalenify, Stuart Rich shares his insights on structural metal design processes, material grades, and strategies for efficient shop production. His writing bridges the gap between raw artisan knowledge and modern industrial needs, making it a must-read for both budding DIY metalworkers and seasoned fabrication professionals.





