
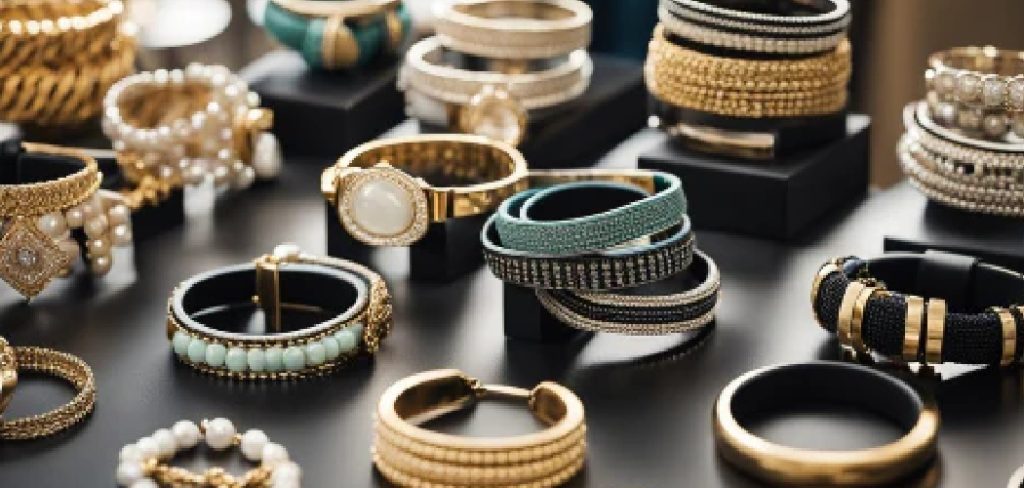
There’s something special about wearing a bracelet you made with your own hands. Metal bracelets feel sturdy, look polished, and carry a personal story that store-bought jewelry never could.
The best part? You don’t need a fancy workshop or years of training to get started. With a few basic tools, some quality metal, and a little patience, you can craft beautiful pieces right at your kitchen table.
This guide on how to make metal bracelets walks you through everything you need to know to make your first metal bracelet. We’ll cover the benefits of the hobby, the tools and materials you’ll need, and a clear ten-step process to follow. You’ll also learn the common mistakes to avoid and get answers to the questions beginners ask most.
What Are the Benefits?
Making your own metal bracelets offers more rewards than you might expect. Here are a few reasons this craft is worth your time.
- You save money over time. Handmade metal jewelry can be expensive to buy, but the raw materials are surprisingly affordable. Once you own the basic tools, each new bracelet costs only a few dollars in metal.
- You get full creative control. Want a specific width, finish, or stamped design? When you make it yourself, every detail is your choice. You can match a bracelet to an outfit, a personality, or a special memory.
- It’s a relaxing, hands-on hobby. Working with your hands and focusing on a project helps quiet a busy mind. Many crafters find metalwork calming and rewarding, much like gardening or woodworking.
- You can make thoughtful gifts. A handmade bracelet means more than something pulled off a shelf. Friends and family treasure jewelry that someone created just for them.
- You build a real skill. Each bracelet teaches you something new about shaping, finishing, and design. Over time, you can sell your work, take on custom orders, or simply enjoy growing your talent.
What Will You Need?
Before you begin, gather your supplies. You don’t need to buy everything at once, but these basics will set you up for success.
Materials:
- Metal blanks or strips (aluminum and copper are great for beginners; brass and sterling silver work well too)
- Fine and coarse sandpaper
- Polishing cloth
Tools:
- Metal shears or a jeweler’s saw for cutting
- A bracelet mandrel or a smooth cylindrical object for shaping
- A rawhide or nylon mallet (it shapes metal without leaving marks)
- Metal files (flat and half-round)
- Metal stamps and a steel bench block (optional, for designs)
- A permanent marker for measuring and marking
Safety Gear:
- Safety glasses to protect your eyes from flying bits of metal
- Work gloves for handling sharp edges
- A dust mask when sanding or polishing
Aluminum and copper are softer metals, which makes them easier to cut and bend. Start with these while you build your confidence, then move on to tougher metals as your skills improve.
10 Easy Steps on How to Make Metal Bracelets
Follow these steps in order. Take your time with each one, and don’t rush the finishing stages, since they make the biggest difference in the final look.
Step 1: Measure Your Wrist
Start by wrapping a flexible tape measure around your wrist. Add about half an inch to an inch for comfort, since the metal needs room to sit without pinching. For an open cuff style, you’ll want a slightly shorter measurement to allow for the gap. Write down your number so you can mark the metal accurately. Getting the size right now saves you from a bracelet that won’t fit later.
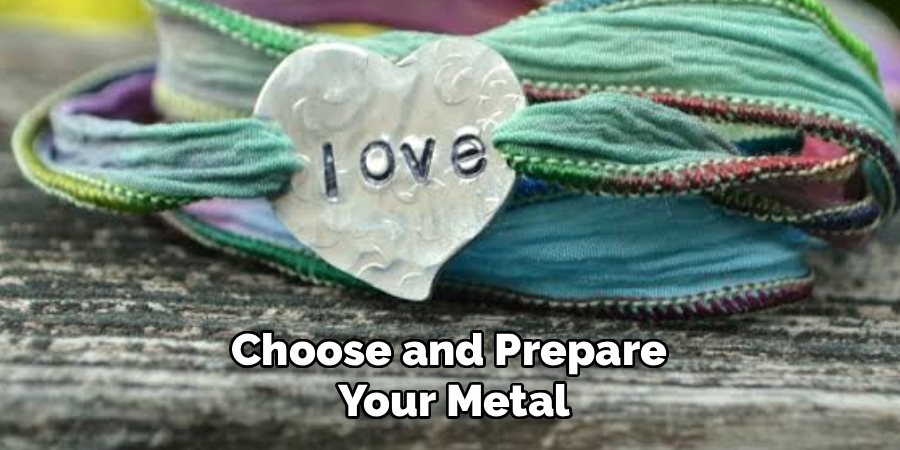
Step 2: Choose and Prepare Your Metal
Pick a metal strip that matches your skill level and style goals. A width of a quarter inch to half an inch works well for a first bracelet. Lay the metal flat on your work surface and wipe it clean. Inspect it for scratches or dents, since these will show in the finished piece. If your metal came with a protective film, peel it off before you start.
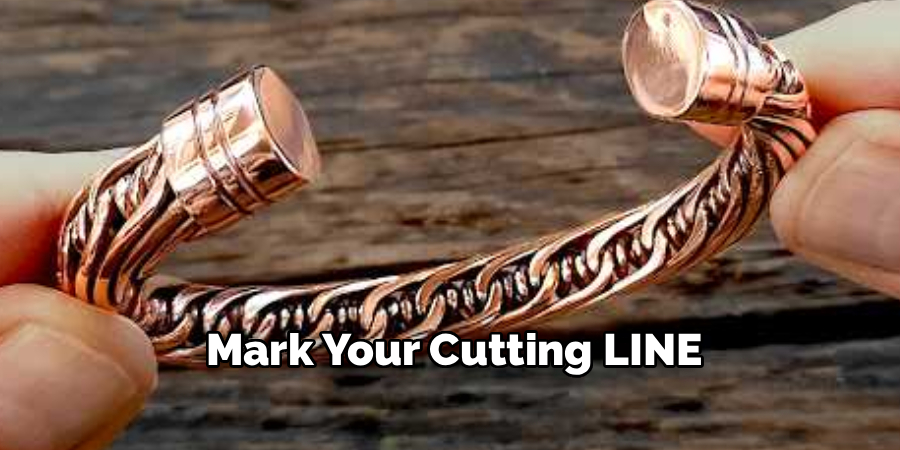
Step 3: Mark Your Cutting Line
Using your wrist measurement, mark the length you need with a permanent marker. Draw a clear, straight line where you plan to cut. A ruler or square helps keep the line accurate. Double-check your measurement against your written number before cutting. Remember the carpenter’s rule here: measure twice, cut once.
Step 4: Cut the Metal
Put on your safety glasses and gloves before you cut. Use metal shears for thin, soft metal or a jeweler’s saw for thicker pieces. Cut slowly along your marked line, keeping steady pressure. Let the tool do the work instead of forcing it. Metal edges are sharp right after cutting, so handle the piece carefully and keep your fingers clear of the blade.
Step 5: File the Edges Smooth
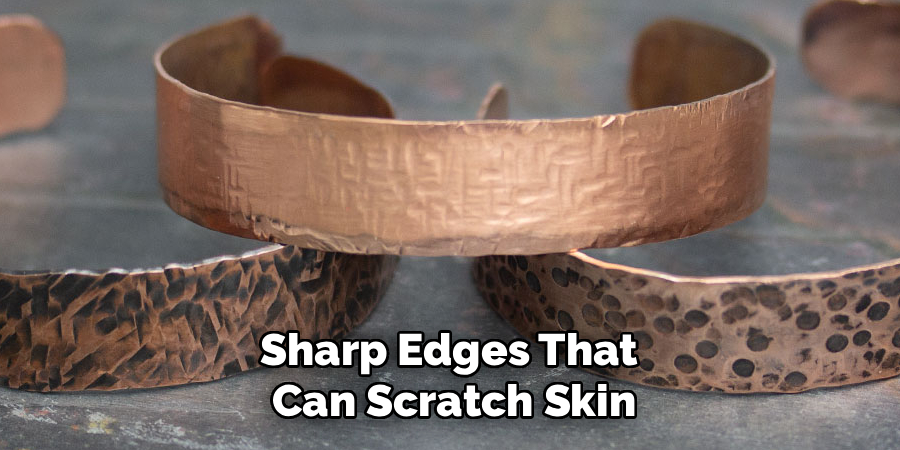
Freshly cut metal has rough, sharp edges that can scratch skin. Use a flat file to smooth the long edges and a half-round file for the corners. File in one direction with steady strokes rather than scrubbing back and forth. Run your finger gently along the edge to check for sharpness, but go slowly so you don’t get cut. Keep filing until every edge feels smooth and rounded.
Step 6: Sand the Surface
Sanding removes scratches and prepares the metal for a smooth finish. Start with coarse sandpaper to clear away marks, then switch to finer grits for a polished feel. Wear a dust mask during this step, since fine metal particles aren’t safe to breathe. Sand in long, even strokes that all go the same direction. The surface should look uniform and feel silky before you move on.
Step 7: Add a Design (Optional)
This is where your bracelet becomes truly yours. Place the metal on a steel bench block and use metal stamps to press letters, words, or patterns into the surface. Hold the stamp firmly and strike it once with a sharp, confident hammer blow. Practice on a scrap piece first to learn how much force you need. You can also etch lines or add texture with specialty tools for a unique look.
Step 8: Shape the Bracelet
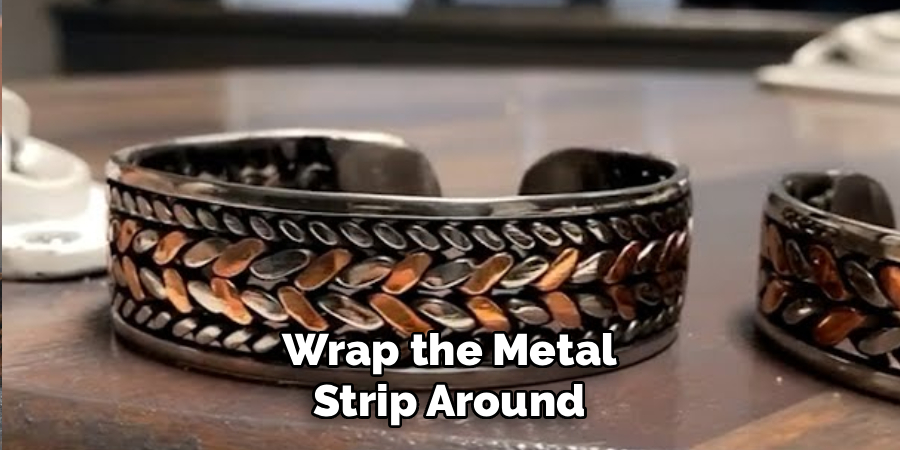
Wrap the metal strip around a bracelet mandrel or a smooth cylinder, like a rolling pin. Use a rawhide or nylon mallet to tap the metal into a curved shape. These soft mallets bend the metal without leaving dents or marks. Work gradually, shaping a little at a time and checking the curve as you go. Keep going until the bracelet matches the round shape of your wrist.
Step 9: Test the Fit
Slip the bracelet onto your wrist to check the fit and comfort. It should feel snug but not tight, with no edges digging into your skin. If it’s too loose, tap it gently to tighten the curve. If it’s too snug, open it up slightly on the mandrel. Adjust in small steps, since metal bends faster than you expect.
Step 10: Polish and Finish
The final polish brings your bracelet to life. Use a polishing cloth to buff the surface until it shines, working in small circles. For a brighter shine, apply a metal polishing compound and buff again. Wipe away any leftover residue with a clean cloth. Wear your dust mask if you use a rotary polishing tool, and keep loose hair and clothing away from any spinning parts. Once it gleams, your bracelet is ready to wear.
5 Things You Should Avoid
Steer clear of these common mistakes, and your projects will turn out far better.
1. Skipping safety gear. It’s tempting to rush, but flying metal bits and fine dust can harm your eyes and lungs. Always wear glasses and a mask when cutting, sanding, or polishing.
2. Rushing the filing and sanding. Many beginners hurry past these steps, then end up with rough edges and visible scratches. Slow, careful finishing makes the difference between amateur and professional results.
3. Using a metal hammer to shape. A steel hammer leaves dents and marks all over your bracelet. Always reach for a rawhide or nylon mallet when bending and shaping.
4. Guessing the measurements. A bracelet that’s too small won’t fit, and one that’s too large slides off. Measure your wrist carefully and write the number down.
5. Forcing the metal. Bending too hard or too fast can crack the metal or ruin your design. Work gradually and let the material move at its own pace.
Frequently Asked Questions
- What Metal is Best for Beginners?
Aluminum and copper are the friendliest choices for new crafters. Both are soft, which makes them easy to cut, file, and shape without special equipment. They’re also affordable, so mistakes won’t cost you much. Copper develops a lovely warm tone, while aluminum stays bright and lightweight. Once you feel confident, try brass or sterling silver for more advanced projects. - Do I Need Expensive Tools to Start?
No, you can begin with a small, affordable kit. The basics are metal shears, files, sandpaper, a mallet, and something cylindrical to shape around. You can find beginner sets online for a reasonable price. As your skills grow, you can add stamps, a mandrel, and polishing tools. Start simple, then invest in better equipment over time. - How Long Does It Take to Make One Bracelet?
A simple bracelet usually takes one to two hours from start to finish. The cutting and shaping go quickly, but careful filing, sanding, and polishing take the most time. Adding a stamped design will add another half hour or so. Don’t rush the finishing work, since it shapes the final result. With practice, you’ll naturally speed up.
Conclusion
How to make metal bracelets is a rewarding craft that rewards patience and care more than expensive gear or natural talent. You start with a simple strip of metal and, step by step, turn it into a piece of jewelry you’ll be proud to wear or give away. Along the way, you save money, sharpen a real skill, and enjoy the calm focus that handmade work brings.
Remember the essentials: measure carefully, cut and file with safety in mind, shape gently with a soft mallet, and take your time with the finishing. Avoid the common mistakes, wear your safety gear, and let each project teach you something new. Your first bracelet might not be perfect, and that’s perfectly fine. Every crafter improves with practice.
So gather your tools, pick out a metal you love, and give it a try. Before long, you’ll have a collection of bracelets that are entirely your own.

About
Stuart Rich is a distinguished figure in the world of metalworking and fabrication, with a decade of expertise creating innovative and sustainable metal projects. His professional focus lies in merging traditional blacksmithing and machining with modern manufacturing techniques, fostering designs that are both practical and durable. As the author of Metalenify, Stuart Rich delves into the art and science of metallurgy and DIY metal creation, inspiring artisans, hobbyists, and industry professionals alike.
Education
RMIT University
(Melbourne, Australia)
Associate Degree in Engineering Technology (Mechanical / Manufacturing)
Focus on metallurgical properties, industry-driven projects, and practical metal craftsmanship. Gained hands-on experience with traditional machining and digital manufacturing tools, such as CAD, CNC software, and precision welding equipment.
Nottingham Trent University
(United Kingdom)
Bachelor’s in Product Design and Materials Engineering (Honors)
Specialized in product design with a heavy focus on blending creativity with metal production and fabrication techniques. Participated in real-world industry projects, collaborating with architectural and hardware manufacturing companies to optimize material efficiency.
Publications and Impact
In Metalenify, Stuart Rich shares his insights on structural metal design processes, material grades, and strategies for efficient shop production. His writing bridges the gap between raw artisan knowledge and modern industrial needs, making it a must-read for both budding DIY metalworkers and seasoned fabrication professionals.





