
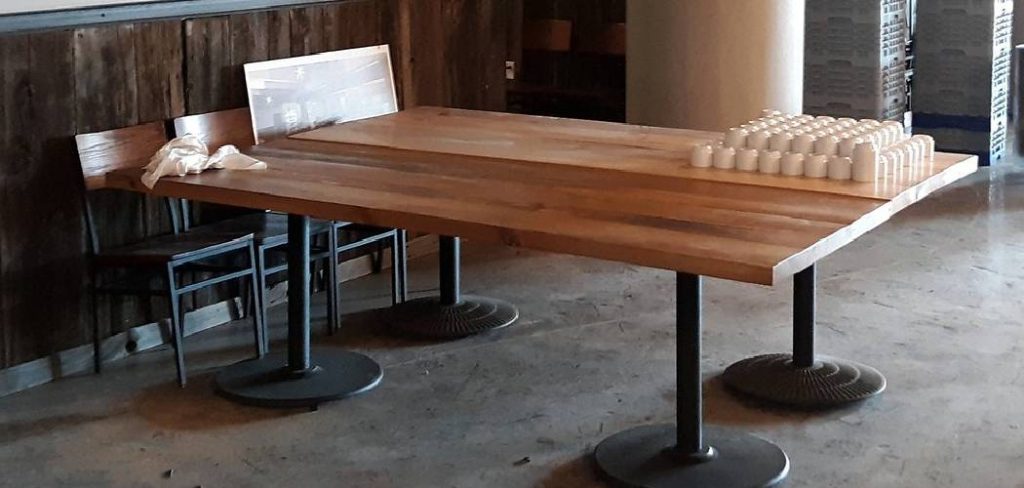
To make metal table legs, you’ll need steel tubing or angle iron, a saw or angle grinder, a welder, measuring tools, and finishing supplies. Cut the metal to size, weld it into shape, grind the rough edges, then prime and paint. With basic tools and a free Saturday, you can build sturdy custom legs at home.
Building furniture by hand scratches a particular itch. Metal legs, especially, hand a table that has an industrial look you rarely get from flat-pack alternatives. They hold up under weight, they last for years, and they cost a fraction of store-bought versions once you do the work yourself.
Never welded a thing in your life? That’s fine. Metal table legs happen to be one of the gentler entry points into metalworking, and the mistakes you’ll make early on are mostly forgivable. What follows is a walk-through of the whole process, from sourcing your steel to laying down that last coat of paint. By the end, you’ll have a set of legs ready to hold up your next build. In this guide on how to make metal table legs, we’ll cover everything from selecting the right materials to finishing techniques.
Tools and Materials You’ll Need
Get everything together before the sparks start flying. A properly arranged workspace makes the job safer and far less frustrating.
Materials:
- Steel tubing (square or round) or angle iron
- Metal floor protectors or leveling feet
- Welding wire or rods
- Metal primer and spray paint
- Sandpaper or a wire brush
Tools:
- Angle grinder or metal-cutting saw
- MIG or stick welder
- Measuring tape and a square
- Marker or soapstone for marking cuts
- Clamps to hold pieces in place
- Safety gear: welding helmet, gloves, and goggles
Match the steel to the table you have in mind. A coffee table gets along fine with thinner tubing. A heavy dining table, on the other hand, calls for thicker stock that won’t flex under a loaded surface.
7 Steps on How to Make Metal Table Legs
Work through these in order, and resist the urge to hurry. Rushed cuts and sloppy welds tend to show up later as wobble.
Step 1: Plan and Measure Your Design
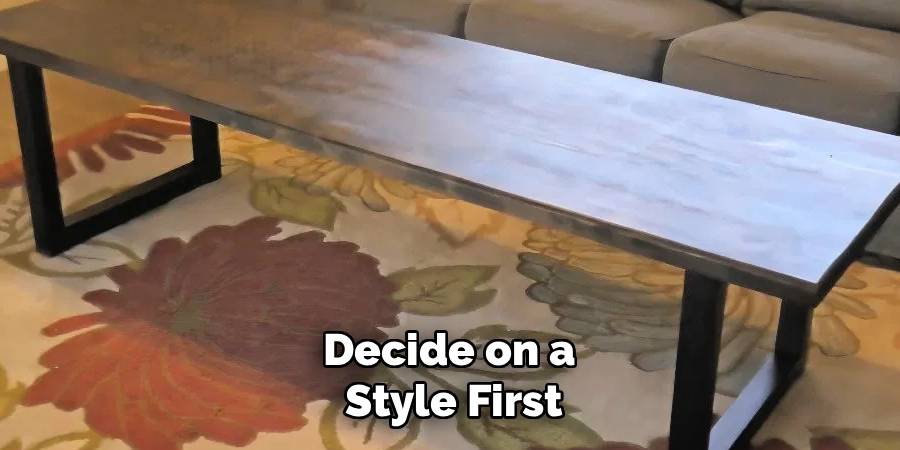
Decide on a style first. Hairpin legs, straight box legs, and trapezoid shapes each have their fans. Sketch the design on paper, then write down the exact measurements for every piece of metal you’ll cut.
Dining tables usually sit around 28 to 30 inches tall. Coffee tables land closer to 16 to 18 inches. Subtract the thickness of your tabletop from that total height; otherwise, the finished piece may end up taller than you planned.
Measure twice. A small error here could throw off the balance of the whole table, and there’s no easy way to add length back to steel you’ve already cut. Reach for a square to keep your angles honest.
Step 2: Mark and Cut the Metal
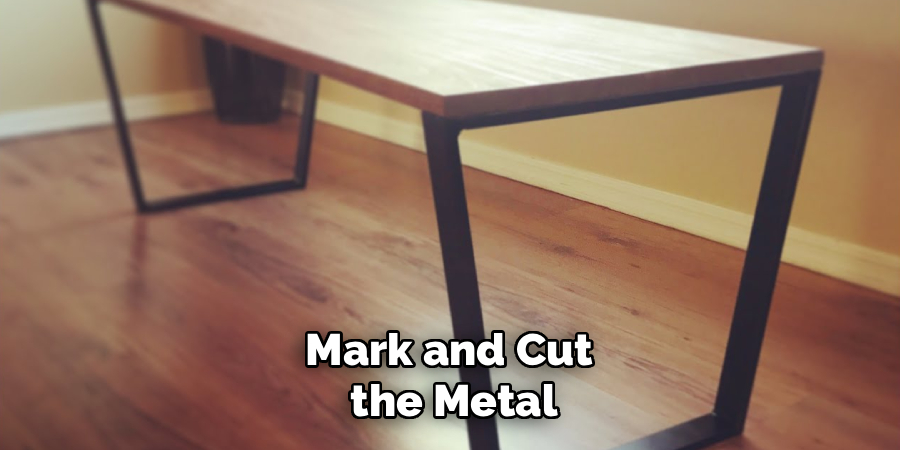
Lay the steel on a stable surface and mark your cut lines with a marker or soapstone. Compare each mark against your plan before the blade touches anything.
An angle grinder fitted with a cutting disc handles this well, as does a dedicated metal-cutting saw. Keep your glasses and gloves on the entire time. Sparks fly, and freshly cut edges bite.
Let the tool do the cutting. Push too hard and the blade may bind or kick back at you. With every piece cut, lay them out side by side and confirm the whole set matches your drawing before you go further.
Step 3: Clean and Prepare the Edges
Cut steel comes with rough edges called burrs. Smooth them down with a flap disc on your grinder or a plain metal file. This keeps your hands intact and gives your welds a cleaner surface to grab onto.
Wipe each piece with a clean rag to clear away grease, dust, and shavings. Welds laid over dirt tend to be weak, and they may crack down the line. A bit of degreaser or acetone does the trick.
Now dry-fit everything. Clamp the pieces into position and check the shape against your plan. Fixing alignment at this stage takes seconds. Fixing it after the metal is welded solid takes a grinder and a lot of regret.
Step 4: Weld the Pieces Together
Set up the welder and gear up fully, helmet included. Position your first two pieces, clamp them down hard, and check that the angles sit square.
Begin with small tack welds at each joint. These hold things in place and give you a chance to inspect the alignment before you commit. Spot a problem? Grind off the tack and reposition. No harm done.
Once the fit looks right, run full welds along each joint. A steady hand and an even pace give you a clean, strong bead. Let the metal cool on its own between welds, because rushing this could warp the steel.
Step 5: Grind and Smooth the Welds
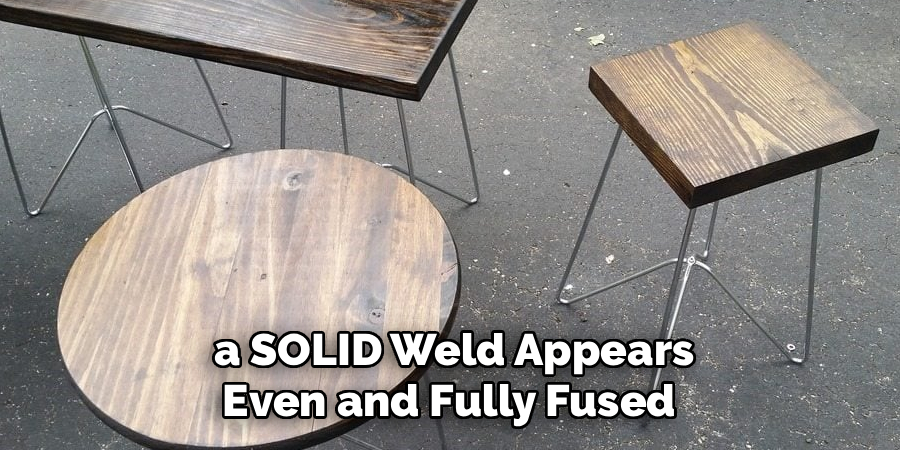
After the welds cool, look closely at each joint. A solid weld appears even and fully fused to the metal on both sides. Gaps or thin spots mean you should add more weld before you finish.
Take your grinder to the welds for that clean, professional finish. Go easy, though. Grind too deep and you may strip away enough material to weaken the joint you just made.
Run a hand over the cooled metal and feel for sharp spots. A smooth surface looks better, sure, but it also spares your floors from scratches and your sleeves from snags.
Step 6: Prime and Paint the Legs
A protective finish fends off rust and gives the legs a polished look. Start with a light sanding across the whole surface so the primer has something to hold.
Wipe the legs clean, then lay down a coat of metal primer. Let it dry fully, following whatever the can tells you. Primer builds the base that makes your paint last.
With the primer dry, add two or three thin coats of spray paint. Thin coats look sharper and shrug off chips better than one heavy layer ever will. Matte black, gunmetal gray, and bronze all read nicely for an industrial finish.
Step 7: Attach the Feet and Mount the Legs
Fit leveling feet or floor protectors to the bottom of each leg. They guard your floors and let you dial out any wobble on uneven ground. Most feet screw or hammer straight into the tubing.
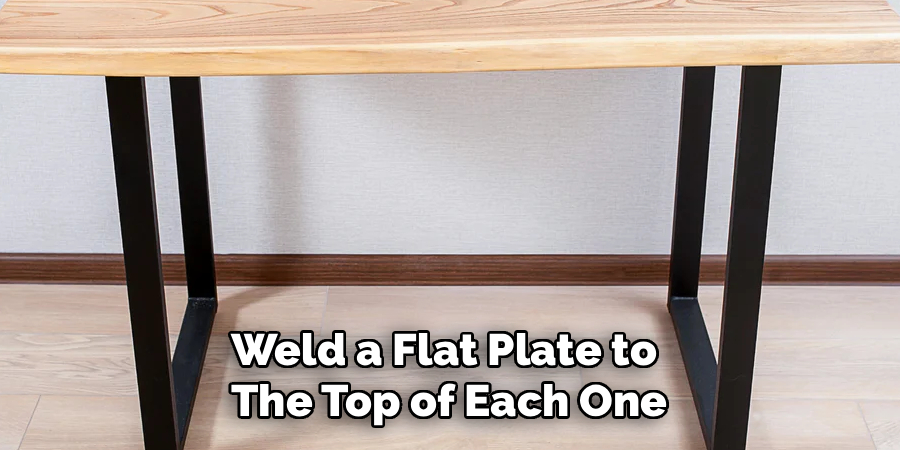
To mount the legs, weld a flat plate to the top of each one, or drill holes for screws. A mounting plate makes joining the legs to a wooden top fast and painless.
Set the legs on your tabletop, mark the screw holes, and fasten them tightly. Flip the table upright, give it a nudge to test for wobble, and step back to admire the thing you just made. Following these steps on how to make metal table legs will give you a sturdy and stylish table that will last for years to come.
Common Mistakes to Avoid
Skipping accurate measurements trips up more beginners than anything else, and the result is uneven legs and a table that rocks. Measure twice, cut once. Welding dirty metal causes its own trouble, since grease and rust quietly weaken the joints.
Painting in a hurry is another classic error. One thick coat drips and chips, so go with thin layers and let each one dry. And never weld without proper safety gear. The sparks and fumes aren’t a minor hazard.
Do You Need to Hire a Professional?
Most DIYers can pull this off, but the project doesn’t suit everyone. If you already own a welder and feel at ease around power tools, this is well within reach. The learning curve stays gentle, and early slip-ups are usually easy to undo.
A professional makes sense in a few situations, though. If you don’t own welding gear and only need one set of legs, paying a welder might cost less than buying tools you’ll barely touch again. Pros also turn out cleaner welds and tighter angles, which matters for high-end or commercial work. And for complicated designs or heavy tables expected to bear real weight, an experienced hand brings a peace of mind that’s hard to put a price on.
How Much Will It Cost?
Cost comes down mostly to the steel: how much and what kind. A basic set of legs in square tubing tends to run between $30 and $80 in materials. Thicker steel and specialty shapes climb from there.
Tools add to the bill if you’re starting from scratch. A decent angle grinder runs roughly $50 to $100. An entry-level MIG welder costs anywhere from $150 to $400. Primer, paint, and feet tack on another $20 to $40.
Ready-made metal legs often sell for $100 to $250 per set, so the DIY path pays for itself over time, especially once you start building more than one table.
Frequently Asked Questions
Can I Make Metal Table Legs Without a Welder?
Yes. Bolt-together leg kits, metal brackets, and screws all let you join pieces without a single weld. Pre-bent hairpin legs are a popular no-weld route that you simply screw onto the tabletop. These joints won’t match the strength of welded ones, but they hold up well for lighter tables. Bolted connections also come apart later, which helps if you move around a lot.
What Type of Metal is Best for Table Legs?
Steel wins most of the time. It’s strong, affordable, and easy to find. Square steel tubing gives a clean, modern look and carries weight well, which makes it a natural fit for dining tables. Aluminum weighs less and shrugs off rust on its own, though it’s softer and pricier. Stainless steel looks sleek and won’t corrode, but it costs more and welds with more difficulty. For most home projects, mild steel offers the best balance of strength, cost, and ease.
How Do I Stop Metal Table Legs From Rusting?
Rust prevention starts with a good finish. Sand the metal, brush on a quality primer, then add two or three coats of paint or a clear sealant. That barrier keeps moisture off the steel. Legs headed outdoors call for exterior-rated paint or powder coating, which holds up far longer. Wiping spills quickly and keeping the legs dry also does plenty to head off rust before it takes hold.
Start Building Your Own Metal Table Legs
There’s real payoff in this project, both in money saved and in the quiet satisfaction of using something you built. The right tools, careful measurements, and a little patience turn a plain slab of wood into a table that’s entirely yours. Start with a simple design, practice your welds on scrap before committing, and treat the early mistakes as part of the deal.
So gather your materials, clear a safe spot to work, and bring that table to life one weld at a time.

About
Stuart Rich is a distinguished figure in the world of metalworking and fabrication, with a decade of expertise creating innovative and sustainable metal projects. His professional focus lies in merging traditional blacksmithing and machining with modern manufacturing techniques, fostering designs that are both practical and durable. As the author of Metalenify, Stuart Rich delves into the art and science of metallurgy and DIY metal creation, inspiring artisans, hobbyists, and industry professionals alike.
Education
RMIT University
(Melbourne, Australia)
Associate Degree in Engineering Technology (Mechanical / Manufacturing)
Focus on metallurgical properties, industry-driven projects, and practical metal craftsmanship. Gained hands-on experience with traditional machining and digital manufacturing tools, such as CAD, CNC software, and precision welding equipment.
Nottingham Trent University
(United Kingdom)
Bachelor’s in Product Design and Materials Engineering (Honors)
Specialized in product design with a heavy focus on blending creativity with metal production and fabrication techniques. Participated in real-world industry projects, collaborating with architectural and hardware manufacturing companies to optimize material efficiency.
Publications and Impact
In Metalenify, Stuart Rich shares his insights on structural metal design processes, material grades, and strategies for efficient shop production. His writing bridges the gap between raw artisan knowledge and modern industrial needs, making it a must-read for both budding DIY metalworkers and seasoned fabrication professionals.





