
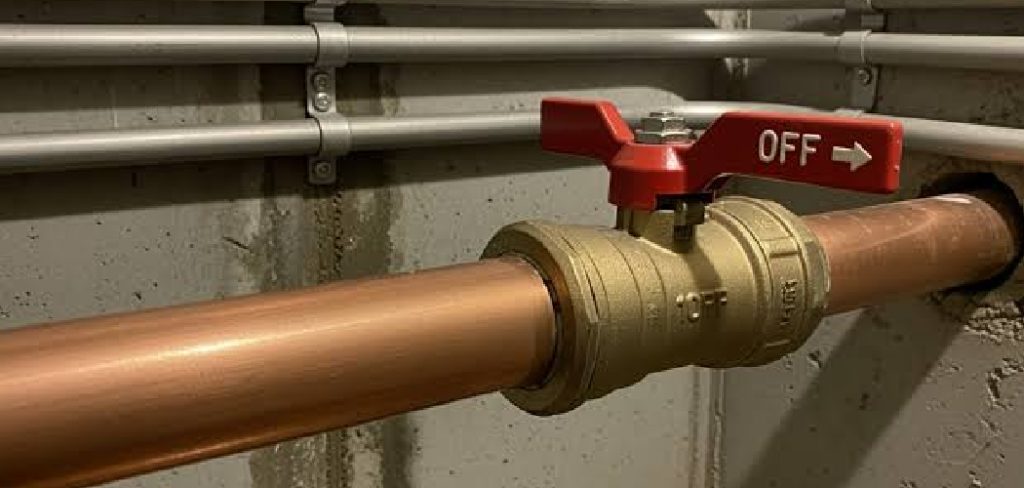
Melting brass at home or in a small workshop opens the door to a rewarding world of casting, recycling, and metalworking. Whether you want to turn old fittings into custom hardware, create decorative pieces, or recycle scrap into something useful, learning to melt brass is a valuable skill. But brass melts at high temperatures—usually between 900°C and 940°C (about 1,650°F to 1,720°F)—so the process demands real respect for safety.
Brass is an alloy made mostly of copper and zinc. That zinc content is exactly why you need to be careful. When heated, zinc can release fumes that are harmful to breathe.
This guide on how to melt brass safely walks you through everything from preparing your workspace to inspecting your finished pour.
What Are the Benefits?
Melting brass yourself comes with several real advantages. Once you understand them, you’ll see why so many hobbyists and small makers enjoy this craft.
- Recycling and saving money. Scrap brass is everywhere—old plumbing fittings, keys, decorative items, and worn-out hardware. Melting it down lets you reuse material you already own instead of buying new metal.
- Creative freedom. When you can melt and cast your own brass, you control the shapes you make. From belt buckles to small sculptures, the possibilities grow with your skills.
- Learning a valuable skill. Metalworking teaches patience, precision, and respect for materials. These skills carry over into many other hobbies and trades.
- Custom parts on demand. Need a specific bushing, knob, or bracket? Casting your own brass parts means you don’t have to wait for shipping or settle for the wrong size.
- A sustainable hobby. Reusing metal keeps it out of landfills and reduces the demand for newly mined resources. That’s a small but genuine environmental win.
In short, melting brass blends thrift, creativity, and practical problem-solving into one satisfying activity.
What Will You Need?
Before you light a single flame, gather all your equipment. Having everything ready prevents dangerous scrambling later. Here’s your checklist:
- A furnace or foundry. A propane or electric foundry designed for non-ferrous metals works best. These reach the temperatures brass requires.
- A graphite or clay-graphite crucible. This holds the brass during melting. Make sure it’s rated for the temperatures you’ll reach.
- Crucible tongs and a lifting tool. You need tongs sized to grip your specific crucible securely.
- A pouring shank or pickup tool. This lets you handle and pour the molten metal with control.
- Molds. Steel, graphite, or sand molds work for brass. Make sure they’re completely dry.
- Personal protective equipment (PPE). Heat-resistant gloves, a face shield, safety glasses, a leather apron, and respiratory protection rated for metal fumes.
- A flux. A suitable flux helps clean the melt and reduce oxidation.
- A metal skimming tool. Use this to remove dross from the surface.
- Brass scrap. Clean it first to remove paint, oil, or coatings.
- A fire extinguisher. Choose a Class D or appropriate dry-powder extinguisher for metal fires.
- A thermometer or pyrometer (optional but helpful). This helps you monitor temperature accurately.
Lay everything out within easy reach before starting. You should never have to walk away from a hot crucible to find a tool.
10 Easy Steps on How to Melt Brass Safely
Follow these ten steps in order. Each one builds on the last, so don’t skip ahead.
Step 1: Prepare and Clean Your Brass
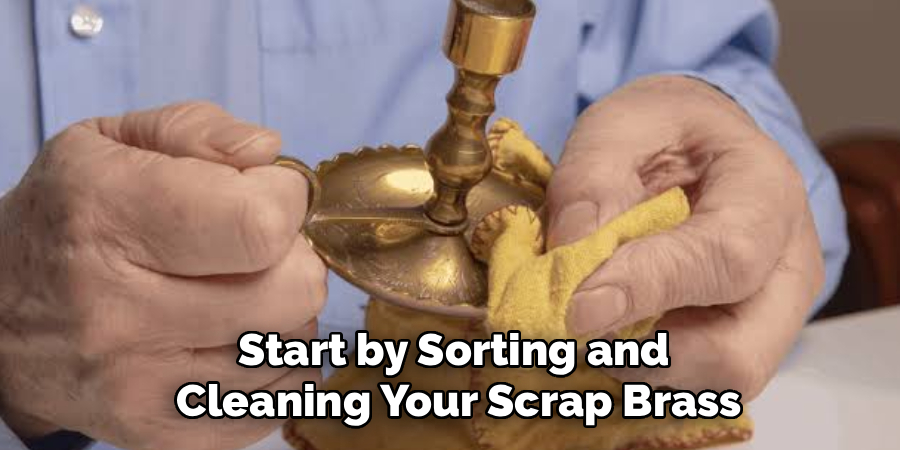
Start by sorting and cleaning your scrap brass. Remove any non-brass parts, such as steel screws, rubber seals, or plastic handles. Wipe away oil, dirt, and grease, since these can cause flare-ups or spitting when they hit the heat. If your brass has paint or a lacquer coating, sand or scrape it off, because burning coatings release toxic fumes. Break larger pieces into smaller chunks that fit comfortably in your crucible. Smaller pieces melt faster and more evenly. Clean, dry, properly sized brass is the foundation of a safe, successful melt, so don’t rush this stage.
Step 2: Set Up a Safe Workspace
Choose an outdoor area or a workshop with excellent ventilation. Zinc fumes from brass are dangerous indoors, so airflow is critical. Set your furnace on a level, fireproof surface like concrete or a steel table. Clear away anything flammable—rags, sawdust, paper, and chemicals—within at least a few meters. Make sure children and pets cannot wander into the area. Keep a clear, unobstructed path between your furnace and your molds so you never trip while carrying molten metal. Position your fire extinguisher within arm’s reach. A calm, organized space dramatically reduces your risk of accidents.
Step 3: Put On Your Personal Protective Equipment
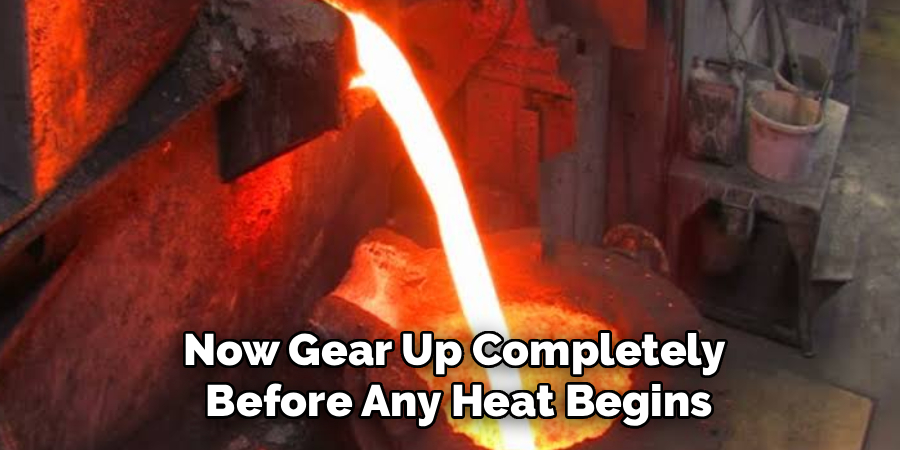
Now gear up completely before any heat begins. Wear a face shield over safety glasses to protect against splashes and intense light. Slip on heat-resistant gloves long enough to cover your wrists and forearms. A leather apron shields your torso and lap from sparks and spatter. Choose closed leather boots, never sneakers or sandals. Cover any exposed skin with natural-fiber clothing—cotton or wool—because synthetics can melt onto your skin. Finally, wear a respirator rated for metal fumes. Even with good ventilation, this extra protection guards your lungs against harmful zinc oxide vapors.
Step 4: Arrange and Inspect Your Tools
With your gear on, inspect every tool before use. Check your crucible for cracks or weak spots, because a failing crucible can spill molten brass without warning. Confirm your tongs grip the crucible firmly and that your pouring shank balances well. Make sure your molds are completely dry, since any moisture turns to steam instantly and can cause a violent eruption of metal. Preheat your molds gently to drive off hidden moisture. Lay out your skimmer, flux, and other tools in the order you’ll use them. A quick inspection now prevents dangerous surprises later.
Step 5: Heat the Furnace and Control the Temperature
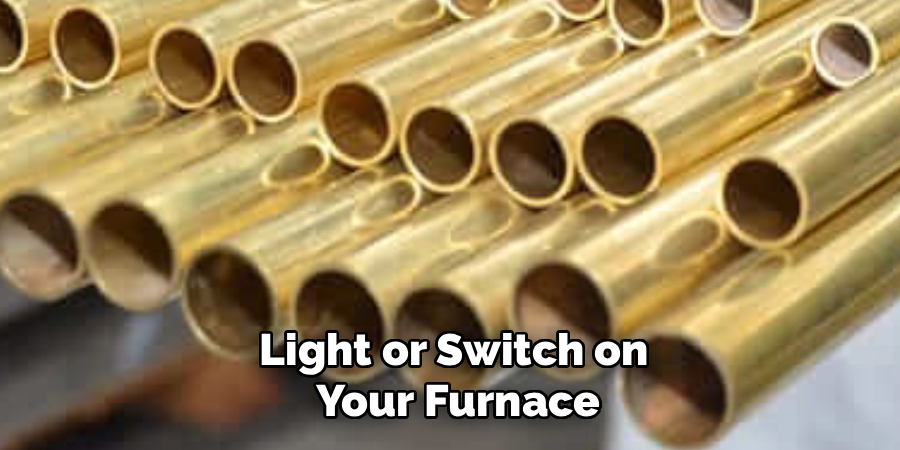
Light or switch on your furnace and let it warm up gradually. Place your empty crucible inside to preheat, which prevents thermal shock when you add metal. Once warm, add your brass scrap in batches rather than all at once. Brass melts around 900°C to 940°C, so monitor your temperature with a pyrometer if you have one. Avoid overheating, because excessive heat boils off more zinc and creates extra fumes. Aim for a steady, controlled climb to melting temperature. Patience here protects both your safety and the quality of your final casting.
Step 6: Handle the Molten Brass Carefully
As the brass turns liquid, treat it with maximum caution. Move slowly and deliberately—sudden movements cause splashes. Use your skimmer to remove the dross, the dirty layer that floats on the surface. Add a small amount of flux if needed to clean the melt further. Never lean directly over the crucible, since rising fumes and heat can harm you quickly. Keep your tools dry, because even a drop of water on the surface can trigger a dangerous reaction. Stay focused and steady; molten brass is unforgiving of careless handling.
Step 7: Pour the Brass into Your Mold
When your brass is fully molten and skimmed, prepare to pour. Grip the crucible firmly with your tongs and pouring shank, keeping a balanced stance. Move the crucible to your mold smoothly and steadily. Pour in one continuous, controlled stream from a low height to reduce splashing. Fill the mold completely but avoid overfilling. Keep your face and body to the side, never directly above the pour. If you feel any instability, stop and reset rather than risking a spill. A confident, careful pour gives you a clean casting and keeps you safe.
Step 8: Allow the Brass to Cool Properly
Resist the urge to touch or move your casting right away. Let the brass cool naturally inside the mold. Cooling times vary with size, but most small pieces need at least 20 to 30 minutes before handling. Never pour water on hot brass to speed cooling, because rapid temperature changes can crack the metal or cause dangerous spitting. Keep the area clear while the casting sets. Use your tongs to check the temperature from a distance before going closer. Patience during cooling protects both your hands and the integrity of your finished piece.
Step 9: Clean Up Your Workspace
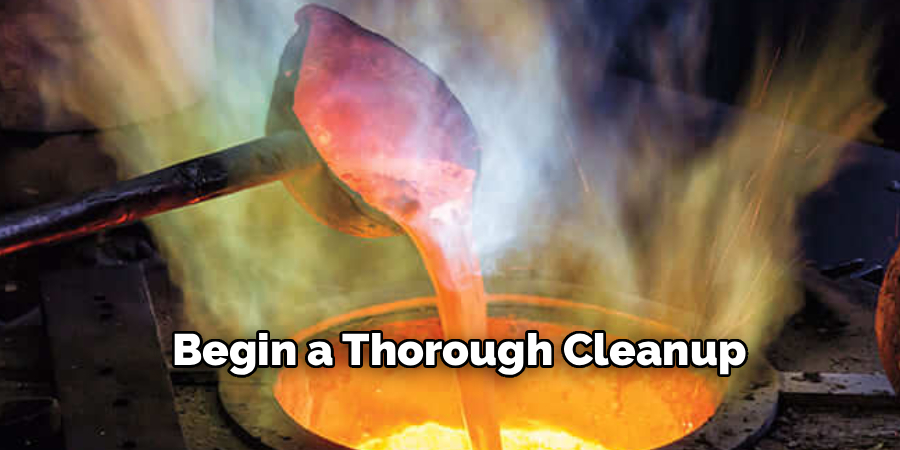
Once everything has cooled, begin a thorough cleanup. Shut down and let your furnace cool completely before storing it. Dispose of dross and waste material in a metal container, never in regular trash while still warm. Return tools to their proper places and check them for damage. Sweep up any debris and wipe down surfaces. Store your brass scrap and finished castings in labeled containers. A clean workspace isn’t just tidy—it sets you up for a safer, smoother session next time and prevents accidental fires from smoldering material.
Step 10: Inspect Your Finished Casting
Finally, examine your cooled brass piece closely. Look for cracks, air pockets, or incomplete fills, which signal issues with temperature or pouring. Remove the casting from the mold gently. Check for sharp edges or burrs that you’ll want to file down later. If the piece looks flawed, you can remelt and recast it. Note what went well and what didn’t, so you improve each time. This final inspection completes the process and turns your effort into a usable, quality result you can be proud of.
Conclusion
Melting brass safely is absolutely achievable for beginners, as long as you respect the heat and follow a clear process. The key lies in preparation: clean your scrap, set up a ventilated workspace, gear up properly, and inspect your tools before any flame appears.
Remember that the biggest dangers—toxic fumes, burns, and steam explosions—are all preventable. Good ventilation, full protective equipment, and dry tools eliminate most of the risk. Avoid the common mistakes we covered, take your time, and never cut corners around molten metal.
Hopefully, this guide on how to melt brass safely has given you a good introduction to the basics of metal casting.

About
Stuart Rich is a distinguished figure in the world of metalworking and fabrication, with a decade of expertise creating innovative and sustainable metal projects. His professional focus lies in merging traditional blacksmithing and machining with modern manufacturing techniques, fostering designs that are both practical and durable. As the author of Metalenify, Stuart Rich delves into the art and science of metallurgy and DIY metal creation, inspiring artisans, hobbyists, and industry professionals alike.
Education
RMIT University
(Melbourne, Australia)
Associate Degree in Engineering Technology (Mechanical / Manufacturing)
Focus on metallurgical properties, industry-driven projects, and practical metal craftsmanship. Gained hands-on experience with traditional machining and digital manufacturing tools, such as CAD, CNC software, and precision welding equipment.
Nottingham Trent University
(United Kingdom)
Bachelor’s in Product Design and Materials Engineering (Honors)
Specialized in product design with a heavy focus on blending creativity with metal production and fabrication techniques. Participated in real-world industry projects, collaborating with architectural and hardware manufacturing companies to optimize material efficiency.
Publications and Impact
In Metalenify, Stuart Rich shares his insights on structural metal design processes, material grades, and strategies for efficient shop production. His writing bridges the gap between raw artisan knowledge and modern industrial needs, making it a must-read for both budding DIY metalworkers and seasoned fabrication professionals.





