

A flawless, reflective finish on metal looks stunning, but achieving it takes patience and the right approach. If you’ve ever admired the gleaming rails on a yacht or the polished hardware on a boat, you’ve seen a mirror polish in action. Learning how to mirror polish marine grade stainless steel gives you the power to restore tired surfaces, protect against corrosion, and add serious visual appeal to your projects. This metal is built to survive salty air and harsh weather, which makes it a favorite for boats, outdoor fixtures, and coastal hardware.
The good news? You don’t need a professional workshop to get great results. With a steady hand, a few affordable tools, and a clear plan, anyone can transform a dull surface into a shining one. This guide walks you through every stage, from prep to final buff. We’ll keep things simple, explain each term as we go, and help you build confidence at every step. Whether you’re a first-timer or refreshing your skills, you’ll find practical, easy-to-follow advice here that delivers real shine.
Why Mirror Polishing Marine Grade Stainless Steel Matters
A mirror finish does more than look impressive. The smoother the surface, the fewer microscopic crevices where salt, dirt, and moisture can settle. This means better resistance to rust and pitting, which extends the life of your hardware in tough marine conditions. A polished surface is also far easier to clean, so you spend less time scrubbing and more time enjoying your boat or fixtures.
Beyond protection, there’s the obvious payoff: a brilliant, eye-catching shine that boosts the value and appeal of your equipment. Polished stainless steel signals quality and care, whether you’re maintaining a vessel or finishing a custom project. Mastering this skill saves money on professional services and lets you keep everything in top condition year-round, giving you reliable results you can be proud of.
Step-by-Step Guide To How to Mirror Polish Marine Grade Stainless Steel
Step 1: Gather Your Tools And Safety Gear
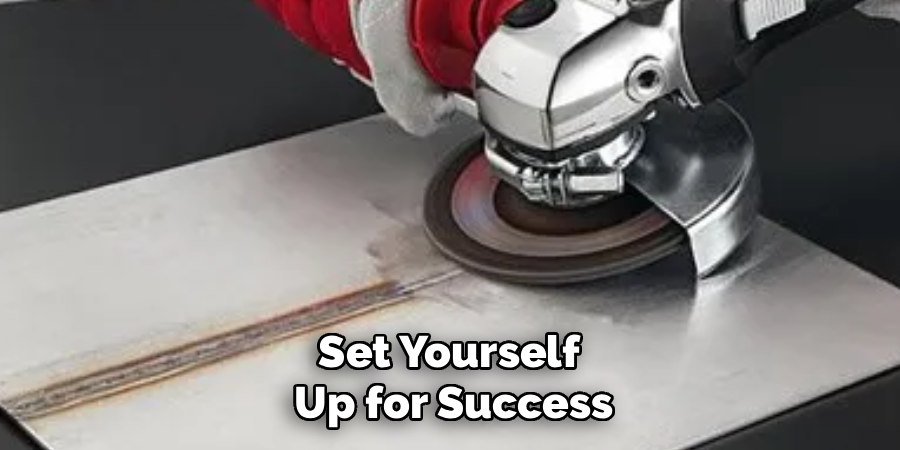
Before you start, set yourself up for success by collecting everything you need. You’ll want a variety of sandpaper grits ranging from coarse to ultra-fine, a power buffer or drill with polishing attachments, polishing compounds, clean microfiber cloths, and a steady work surface. Don’t forget safety gear: wear protective glasses, gloves, and a dust mask to shield yourself from fine particles and compound splatter. Working in a well-ventilated space matters too. Knowing how to mirror polish marine grade stainless steel safely starts with preparation, so take a few minutes to organize your station. A tidy setup helps you move smoothly from one stage to the next.
Step 2: Clean The Surface Thoroughly
Polishing over dirt or grease will only grind contaminants into the metal, so a deep clean comes first. Use warm water mixed with a mild degreaser to wipe down the entire surface, paying close attention to corners and seams where grime hides. Rinse well, then dry completely with a lint-free cloth. Any leftover moisture or residue can interfere with later steps and ruin your finish. Inspect the metal under good lighting to spot stubborn spots, oil films, or old polish. Taking the time to start with a spotless surface makes every following step easier and gives your final shine a clean foundation to build on.
Step 3: Sand With Coarse Grit To Remove Imperfections
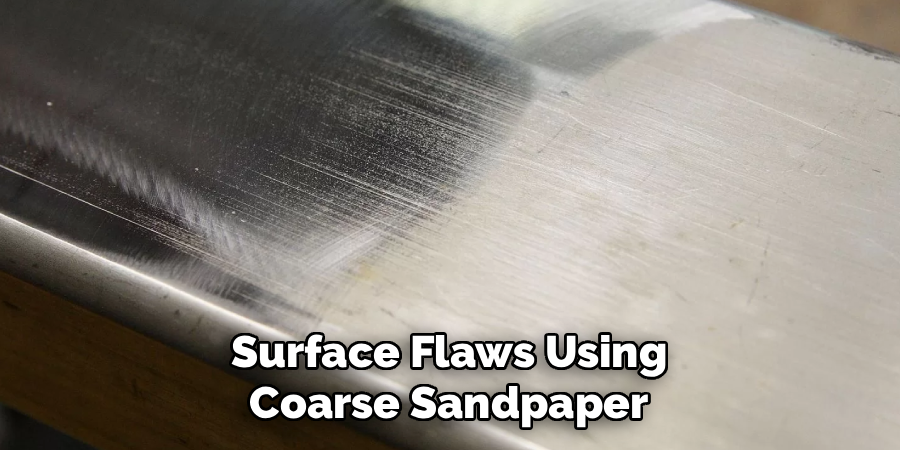
Now you tackle scratches, pitting, and surface flaws using coarse sandpaper, typically around 120 to 240 grit. Work in one consistent direction rather than circles, applying steady, even pressure across the metal. This stage isn’t about shine yet; it’s about creating a uniform surface by removing deeper imperfections. Keep the area slightly wet with water to reduce heat and clear away debris as you go. Check your progress often, and don’t rush. Once the visible scratches and rough patches blend into a single, even texture, you’re ready to move on to finer grits and a smoother result.
Step 4: Progress Through Finer Grits
This is where patience pays off. Move up gradually through finer sandpapers, such as 400, 600, 800, and then 1000 grit or higher. With each new grit, change your sanding direction by ninety degrees so you can clearly see when the previous scratches disappear. Wet sanding works best here, keeping the surface cool and the paper clean. Take your time and resist skipping grits, because jumping ahead leaves marks that show up later. By the end of this stage, the metal should look smooth and slightly glossy, setting the stage for the buffing that brings out true brilliance.
Step 5: Apply Cutting Compound With A Buffer
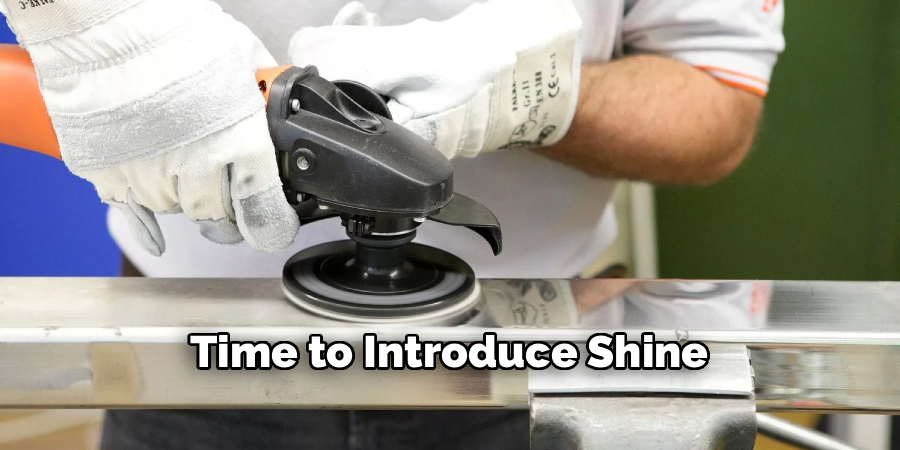
With your surface smooth, it’s time to introduce shine. Fit your buffer or drill with a firm buffing wheel and apply a cutting compound, which is a slightly abrasive polish designed to remove fine sanding marks. Run the buffer at a moderate speed and move steadily across the metal, letting the compound do the work rather than forcing it. Keep the wheel moving to avoid overheating any single spot. Wipe away residue with a clean cloth and inspect your progress. You should start seeing a noticeable glow forming, a clear sign your hard work in the sanding stages is paying off beautifully.
Step 6: Switch To Fine Polishing Compound
To reach that true reflective finish, swap your cutting compound for a finer polishing compound and use a fresh, soft buffing wheel. Mixing compounds on the same wheel can scratch the surface, so keep them separate. Apply light, even pressure and let the buffer glide smoothly across the metal. This stage refines the surface to a high gloss, removing the last faint haze left behind. Knowing how to mirror polish marine grade stainless steel to this level relies on clean tools and gentle, consistent motion. Take breaks to check your reflection in the metal, and keep buffing until the shine looks deep and clear.
Step 7: Finish, Inspect, And Protect
For the finishing touch, wipe the surface with a clean microfiber cloth to remove any remaining compound. Inspect under bright light from several angles to catch missed spots or light hazing, and re-buff those areas if needed. Once you’re satisfied with the reflection, apply a quality metal sealant or protective wax. This thin layer guards against fingerprints, water spots, and the corrosive effects of salty air, helping your finish last far longer. Regular light maintenance keeps it gleaming for years. Step back and admire your work, because you’ve just achieved a professional-quality mirror shine with your own hands.
Frequently Asked Questions
How Long Does The Polishing Process Usually Take?
The time depends on the size of the surface and its starting condition. A small fitting with light scratches might take under an hour, while a larger, heavily worn piece could need several hours spread across the grit stages. The sanding steps usually consume the most time, since rushing them affects your final shine. Set aside a relaxed afternoon and work patiently for the best, longest-lasting results.
Can I Get A Mirror Finish Without Power Tools?
Yes, you can achieve a mirror finish entirely by hand, though it requires more effort and patience. Hand sanding through progressively finer grits, followed by hand buffing with compound and a soft cloth, will produce excellent results on smaller items. Power tools simply speed things up and reduce fatigue on larger surfaces. For beginners working on modest projects, the manual approach is a budget-friendly way to learn the technique.
What Compounds Work Best On This Type Of Steel?
Look for compounds formulated specifically for stainless steel. A two-stage system works wonderfully: a cutting or “greaseless” compound to remove fine scratches, followed by a finishing polish for the high gloss. Many polishers favor white or green rouge for the final buff because they leave a bright, clear reflection. Always keep separate wheels for each compound to avoid cross-contamination that can dull or scratch your hard-earned finish.
How Do I Keep The Shine From Fading Over Time?
Protection and routine care make all the difference. After polishing, apply a metal sealant or specialized wax to shield the surface from moisture, salt, and fingerprints. Wipe the metal regularly with a soft, dry cloth, and rinse off salt spray after marine use. Avoid abrasive cleaners that scratch the finish. With this simple upkeep, your reflective surface can stay bright and corrosion-free for a very long time.
Is It Safe For Complete Beginners To Try?
Absolutely. This is a beginner-friendly skill as long as you respect basic safety and take your time. Always wear eye protection, gloves, and a dust mask, and work in a ventilated space. Start with a small, low-stakes piece to build confidence before tackling bigger projects. Follow each grit stage in order, and you’ll be surprised how quickly your skills and your results improve.
Conclusion
Achieving a brilliant, reflective finish is entirely within your reach, even if you’ve never tried it before. The secret lies in thorough preparation, patient sanding through each grit, and careful buffing with the right compounds. When you understand how to mirror polish marine grade stainless steel properly, you protect your hardware from corrosion, extend its lifespan, and give it a finish that genuinely turns heads. Each step builds on the last, so progress at your own pace and don’t skip the details that make all the difference.
Now it’s your turn to put this guide into action. Gather your tools, pick a small project to start, and enjoy the satisfying transformation from dull to dazzling. With practice, you’ll polish with confidence and create results worth showing off. Grab your supplies and get started today, your gleaming finish is waiting.

About
Stuart Rich is a distinguished figure in the world of metalworking and fabrication, with a decade of expertise creating innovative and sustainable metal projects. His professional focus lies in merging traditional blacksmithing and machining with modern manufacturing techniques, fostering designs that are both practical and durable. As the author of Metalenify, Stuart Rich delves into the art and science of metallurgy and DIY metal creation, inspiring artisans, hobbyists, and industry professionals alike.
Education
RMIT University
(Melbourne, Australia)
Associate Degree in Engineering Technology (Mechanical / Manufacturing)
Focus on metallurgical properties, industry-driven projects, and practical metal craftsmanship. Gained hands-on experience with traditional machining and digital manufacturing tools, such as CAD, CNC software, and precision welding equipment.
Nottingham Trent University
(United Kingdom)
Bachelor’s in Product Design and Materials Engineering (Honors)
Specialized in product design with a heavy focus on blending creativity with metal production and fabrication techniques. Participated in real-world industry projects, collaborating with architectural and hardware manufacturing companies to optimize material efficiency.
Publications and Impact
In Metalenify, Stuart Rich shares his insights on structural metal design processes, material grades, and strategies for efficient shop production. His writing bridges the gap between raw artisan knowledge and modern industrial needs, making it a must-read for both budding DIY metalworkers and seasoned fabrication professionals.





