
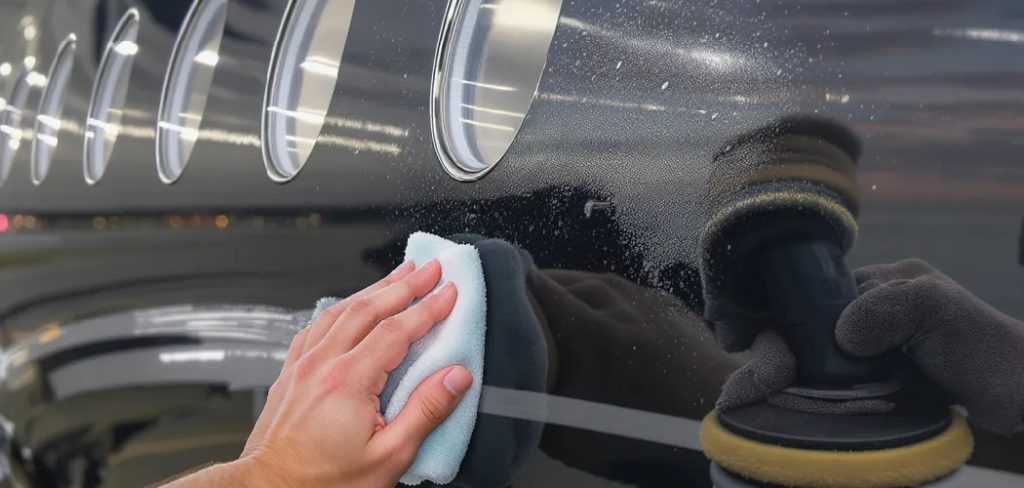
Aluminum is everywhere — wheels, exhaust tips, engine covers, cookware, custom fabrications — and when it’s polished correctly, it looks stunning. But getting that deep, reflective shine takes more than rubbing a surface with a cloth and some paste. Knowing how to polish aluminum to a mirror finish means understanding the process from cleaning through final protection, and respecting that each stage prepares the surface for the next.
Done right, the result is a surface that reflects like glass. Done wrong, you end up with swirl marks, uneven dullness, or a surface that oxidizes again within weeks. This guide walks you through every step with clear, practical instruction — whether you’re working by hand or with a basic polishing tool — so you get real, lasting results without wasting product or effort.
Why Polish Aluminum Matters
Aluminum oxidizes naturally when exposed to air and moisture. That white, chalky film that builds up on unprotected aluminum isn’t just cosmetic — it progressively degrades the surface if left untreated. Polishing removes that oxidation layer and restores the metal underneath to its brightest, most reflective state.
Beyond appearance, a properly polished and sealed aluminum surface is significantly easier to clean and more resistant to new oxidation. The polishing process also reveals surface defects — pitting, scratches, and corrosion — that you can address before they worsen. Whether you’re restoring wheels, detailing an engine bay, or working on a custom metal project, the process improves both the look and the longevity of the aluminum. Understanding the right sequence of steps is what separates a lasting mirror finish from a result that dulls again within days.
Step-By-Step Guide To How To Polish Aluminum To A Mirror Finish
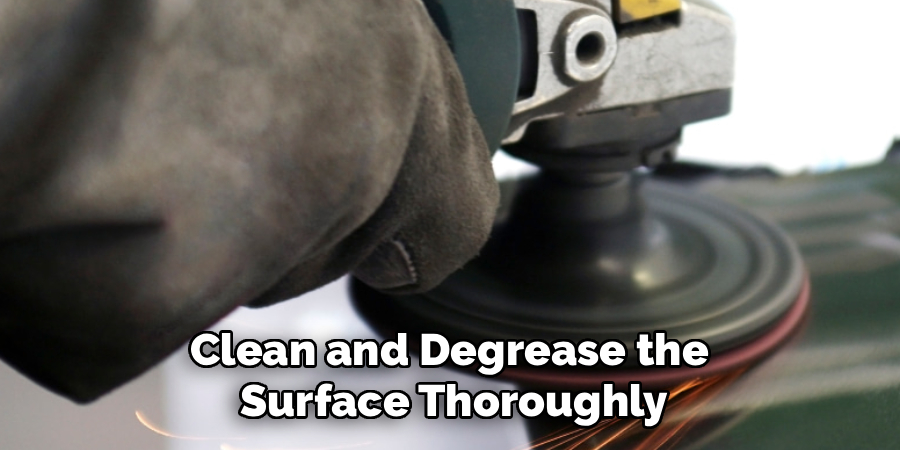
Step 1: Clean And Degrease The Surface Thoroughly
Before touching the aluminum with any abrasive, the surface must be completely clean. Grease, road grime, brake dust, and old wax all interfere with sanding and compounding — they contaminate your abrasives and can cause uneven cutting across the surface. Use a dedicated degreaser or a strong dish soap solution applied with a soft brush or cloth, then rinse thoroughly and dry completely.
Pay close attention to recessed areas, edges, and seams where grime accumulates. Any residue left behind at this stage will be worked into the surface during polishing. Starting clean isn’t optional — it’s the foundation every subsequent step depends on. If the aluminum is heavily corroded or has an oily film, repeat the degreasing step before moving forward.
Step 2: Check For Anodizing Or Protective Coatings
Not all aluminum is bare metal. Many manufacturers apply anodizing — an electrochemical surface hardening process — or clear coat finishes that change how the surface behaves. Polishing bare aluminum and polishing anodized or coated aluminum are entirely different tasks, and using the wrong approach strips protective layers without improving clarity.
To test, apply a small amount of metal polish to an inconspicuous spot and rub gently. If color transfers onto your cloth or the surface looks uneven, a coating is likely present. Anodized aluminum generally cannot be polished to a true mirror finish through abrasion alone. Identify what you’re working with before committing to a full polish — the wrong approach wastes time and can cause damage you can’t reverse.
Step 3: Sand Progressively To Remove Scratches And Oxidation
This is where the real work begins. Start with wet sandpaper at a grit appropriate to the surface condition — typically 400 grit for heavily scratched or pitted aluminum, or 600 to 800 grit for surfaces that are dull but not deeply damaged. Sand in consistent, overlapping strokes in one direction, keeping the paper wet throughout to prevent heat buildup and reduce metal loading on the paper.
Work through progressively finer grits — 800, 1000, 1500, 2000 — before moving to any compound. Each stage removes the scratches left by the previous one. Never skip grits to save time; the scratches from a coarser paper must be fully eliminated before moving finer, or they’ll remain visible beneath an otherwise glossy surface. Good lighting helps you confirm each grit stage is complete before advancing.
Step 4: Choose The Right Compound For Your Stage
Polishing compounds vary significantly in their cutting strength, and choosing the right one for each stage makes a measurable difference in results. After sanding, start with a cutting compound or a dedicated aluminum polishing compound with medium abrasive content — products like Mothers Mag or Flitz are popular choices for aluminum. These remove the fine scratches left by your final sanding stage.
Apply a small amount to a foam applicator pad or a clean cloth and work it into the surface using firm, circular or straight-line pressure. Avoid applying too much product at once — thin, controlled applications give you better feedback and less waste. Work in small sections so the compound doesn’t dry on the surface before you’ve finished working it in. Wipe residue completely before assessing the surface.
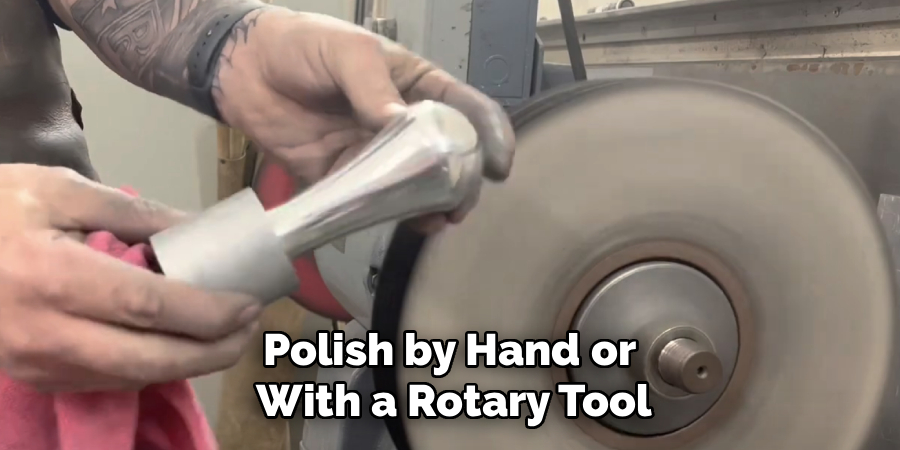
Step 5: Polish By Hand Or With A Rotary Tool — Carefully
A rotary polisher or drill-mounted polishing wheel dramatically speeds up the process, but it also introduces risk. Excess heat from a spinning pad can discolor aluminum, cause warping on thin sections, and create swirl marks that require going back to a finer sanding stage to correct. If you’re using a machine, keep the pad moving at all times and use a low-to-medium speed setting.
Hand polishing is slower but gives you full control, which matters on curved surfaces, edges, and smaller parts. Whether working by hand or with a machine, always wipe off compound residue completely between stages using a clean microfiber cloth. Residue left on the surface between compound stages contaminates the next product and makes it harder to assess your actual progress accurately.
Step 6: Final Finishing Polish
Once the cutting compound stage is complete and the surface looks uniformly bright with only very fine, hairline-level marks visible, switch to a fine finishing polish. These products contain ultra-fine abrasives designed to remove the last micro-scratches and bring out maximum reflectivity. Apply them the same way as the cutting compound — sparingly, in small sections, with light pressure.
Work the finishing polish until it becomes clear or nearly transparent on the surface, which indicates the abrasives have fully broken down and done their job. Buff off the residue with a fresh, clean microfiber cloth using light pressure. At this stage, avoid pressing hard — you’re refining, not cutting. Inspect the surface in natural light or under a bright lamp at an angle to confirm the reflection is consistent and free of dull patches.
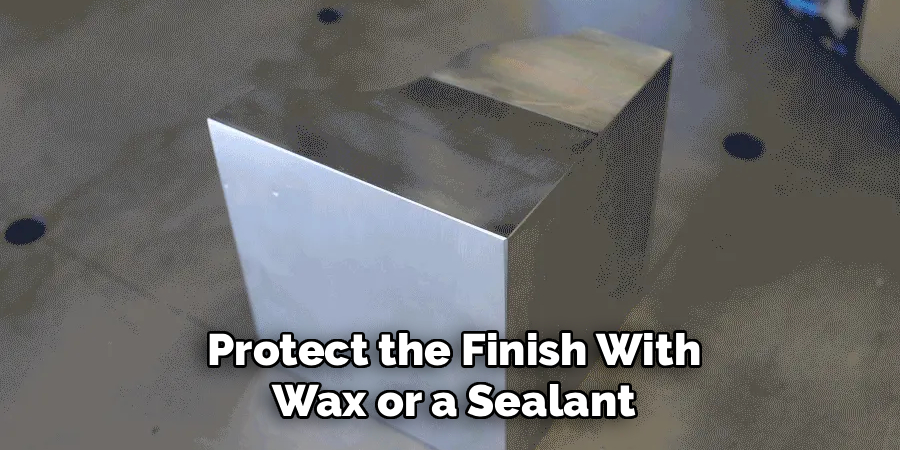
Step 7: Protect The Finish With Wax Or A Metal Sealant
A mirror-polished aluminum surface is beautiful — and completely unprotected. Bare polished aluminum oxidizes within days or weeks depending on its environment. The final step is applying a protective layer that seals the surface against moisture and oxygen. Carnauba wax works for low-heat applications like wheels and decorative trim. For exhaust components or engine parts, use a heat-resistant metal sealant rated for the temperatures involved.
Apply wax or sealant in a thin, even layer, allow it to haze, then buff off with a clean microfiber cloth. Reapply every few months or after washing to maintain protection. Without this step, all of your sanding and polishing work will need to be repeated far sooner than it should. Protection isn’t the last thing you do — it’s what makes the result worth the effort.
Frequently Asked Questions
Can I Polish Aluminum Without A Machine Polisher?
Yes, hand polishing produces excellent results, especially on smaller parts or curved surfaces. It takes more time and physical effort, but it gives you complete control over pressure and direction. Start with wet sanding, progress through compound stages, and finish with a fine polish applied by hand using a foam or microfiber applicator pad.
How Do I Know If My Aluminum Is Anodized?
Anodized aluminum has a consistent, slightly matte or satin appearance that doesn’t change when you rub a dry cloth across it. Applying a small amount of metal polish and rubbing gently will usually transfer color onto the cloth if anodizing is present. Bare aluminum responds to polish immediately, showing increased brightness even with light hand pressure.
What Causes Swirl Marks During Polishing?
Swirl marks come from inconsistent pressure, dirty pads, dry compound, or using a rotary tool at too high a speed. They’re essentially tiny circular scratches. Prevent them by keeping pads clean, working with slightly damp compound, maintaining consistent motion, and using lower machine speeds. If swirls appear, drop back one grit stage and rework that section before continuing.
How Often Should I Re-Polish Aluminum?
Frequency depends on the application and environment. Outdoor or vehicle-mounted aluminum exposed to moisture, heat, and road debris may need re-polishing every six to twelve months. Properly sealed indoor pieces can stay reflective for years. Regular waxing or sealant reapplication extends time between full polish sessions significantly by slowing oxidation buildup.
Is Aluminum Polish The Same As Chrome Polish?
No. Aluminum and chrome are different metals with different hardness levels and surface properties. Chrome polish is typically formulated to clean and protect a harder, plated surface, while aluminum polish is designed for a softer metal that scratches more easily. Using chrome polish on aluminum can be too aggressive. Always use a product specifically labeled for aluminum for the best and safest results.
Conclusion
Getting aluminum to a true mirror finish isn’t complicated, but it is methodical. Every stage — cleaning, sanding, compounding, finishing, and protecting — depends on the one before it being done correctly. Skipping steps, rushing through grits, or skipping the final protective coat will cost you more time in the end than doing it right the first time.
Understanding how to polish aluminum to a mirror finish means accepting that the process takes patience and that results vary depending on the surface’s starting condition, alloy type, and whether any factory coatings are present. Work carefully, inspect often, and protect your finished surface every time. The effort produces results that are genuinely worth it — and with good maintenance, they last.

About
Stuart Rich is a distinguished figure in the world of metalworking and fabrication, with a decade of expertise creating innovative and sustainable metal projects. His professional focus lies in merging traditional blacksmithing and machining with modern manufacturing techniques, fostering designs that are both practical and durable. As the author of Metalenify, Stuart Rich delves into the art and science of metallurgy and DIY metal creation, inspiring artisans, hobbyists, and industry professionals alike.
Education
RMIT University
(Melbourne, Australia)
Associate Degree in Engineering Technology (Mechanical / Manufacturing)
Focus on metallurgical properties, industry-driven projects, and practical metal craftsmanship. Gained hands-on experience with traditional machining and digital manufacturing tools, such as CAD, CNC software, and precision welding equipment.
Nottingham Trent University
(United Kingdom)
Bachelor’s in Product Design and Materials Engineering (Honors)
Specialized in product design with a heavy focus on blending creativity with metal production and fabrication techniques. Participated in real-world industry projects, collaborating with architectural and hardware manufacturing companies to optimize material efficiency.
Publications and Impact
In Metalenify, Stuart Rich shares his insights on structural metal design processes, material grades, and strategies for efficient shop production. His writing bridges the gap between raw artisan knowledge and modern industrial needs, making it a must-read for both budding DIY metalworkers and seasoned fabrication professionals.





