Preparing steel for painting means cleaning the surface, removing rust, sanding to create a workable texture, and applying a rust-inhibiting primer. Skip any of those steps and the paint will fail — sometimes within weeks.
Painting steel isn’t difficult, but it’s unforgiving. The surface has to be genuinely clean, not just visually clean. It needs mechanical texture so the primer has something to grip. And the primer itself has to cure before you touch it with a topcoat. Get those fundamentals right and the finish can last years. Cut corners and you’ll be stripping everything back and starting over sooner than expected.
This guide on how to prepare steel for painting walks through every step in the right order — from inspection through primer cure — along with the materials you’ll need, the mistakes most people make, and answers to the questions that come up most often.
What you’ll learn:
- How to assess steel before you touch it with a brush or grinder
- Which cleaning and rust-removal methods actually work
- Why primer application technique matters as much as product choice
- How to avoid the four most common prep failures
What Tools and Materials Do You Need?
Before you start, gather everything. Stopping mid-prep to hunt for the right sandpaper grit is how contamination and flash rust happen.
- Wire brush or wire wheel attachment for a drill
- Medium-grit and fine-grit sandpaper (80 to 120 grit)
- Degreasing cleaner or dish soap
- Mineral spirits, denatured alcohol, or acetone
- Clean, lint-free microfiber rags
- Rust converter or rust remover (optional but useful on older steel)
- Rust-inhibiting metal primer
- Safety goggles, nitrile gloves, and a dust mask
8 Steps on How to Prepare Steel for Painting
Step 1: Inspect the Steel Before You Do Anything Else
Start with a close visual pass over the entire surface. You’re looking for deep pitting, structural rust, areas where the metal feels soft or flakes under pressure, and any old coating that’s bubbling or separating. This assessment determines how much work you actually have ahead of you.
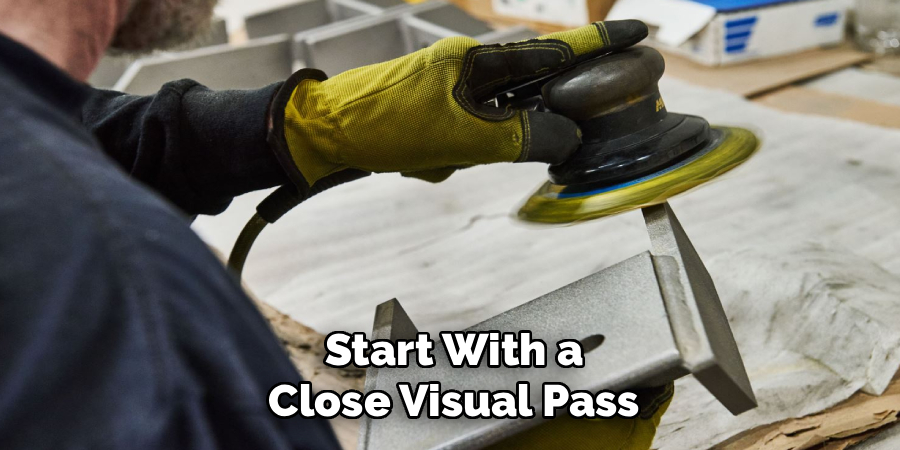
Light surface oxidation and a few scratches? Standard prep will handle it. But if the rust has eaten through the metal wall, painting over it solves nothing. Compromised sections may need to be cut out and patched before prep even begins. It’s worth being honest at this stage — discovering structural problems after you’ve primed is far more frustrating.
Step 2: Clean the Surface of Dirt, Grease, and Oils
Steel accumulates oils, environmental deposits, and grease in ways that aren’t always obvious. All of it interferes with adhesion. Use a heavy-duty degreaser or a strong dish soap solution and scrub the metal with a stiff brush, working into every corner and seam.
Rinse thoroughly with clean water, then dry the steel immediately — using clean rags, compressed air, or both. This is not optional. Bare steel begins to flash-rust within minutes of water contact. One area people overlook: fingerprints. Skin oils can prevent primer from bonding at a localized level, so handle the metal with gloves once it’s clean.
Step 3: Remove Loose Rust and Failing Paint
Now work through the surface mechanically. A wire brush handles light rust and loose flakes; for heavier scale, a wire wheel attached to a drill or an angle grinder is more practical. The goal isn’t a mirror finish at this stage — it’s removing everything that isn’t firmly bonded to the underlying steel.
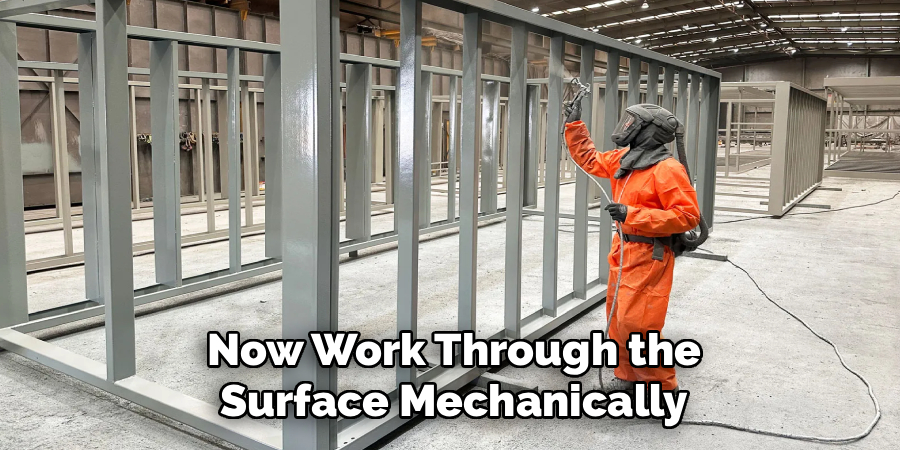
Painting over loose rust or bubbling paint is one of the most reliable ways to guarantee failure. The new coating bonds to the failing layer, not the steel, and peels off with it the moment temperature shifts or something makes contact. Work methodically, section by section, until you’re down to a stable base.
Step 4: Treat Remaining Rust Chemically
Mechanical removal gets the visible rust, but microscopic iron oxide often remains in pits and surface pores. A rust converter addresses this. Most commercial products use phosphoric or tannic acid, which react with iron oxide and convert it into a stable, paintable compound rather than leaving it to continue corroding underneath your finish.
Apply the converter to affected areas according to the product’s directions. Dwell times vary — typically 15 minutes to 24 hours — so read the label rather than guessing. Wipe away any excess residue afterward. This step may feel like overkill on lightly rusted surfaces, but it offers real insurance against rust creeping back under a fresh coat.
Step 5: Sand for Surface Profile
Once the rust is neutralized, sand the entire surface. This creates what’s often called a “mechanical tooth” — a microscopic roughness that gives primer something to physically anchor to. Without it, the coating sits on top of the metal rather than bonding to it.
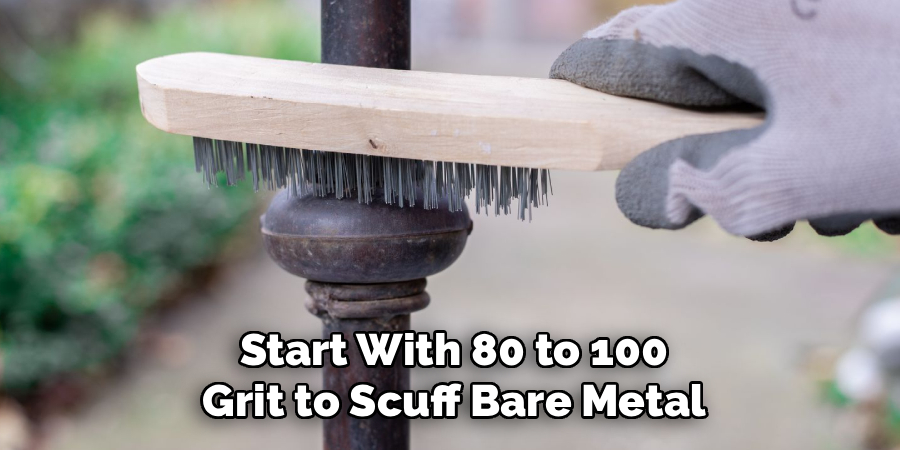
Start with 80 to 100 grit to scuff bare metal and feather out any remaining old paint edges so there are no abrupt transitions. Follow with 120 to 150 grit to smooth the deeper scratches and create a consistent profile. Pay extra attention to corners, welds, and edges — these areas tend to rust first and are easy to rush through. Brush off dust as you go so you can see what you’re actually working with.
Step 6: Wipe Down with Solvent
After sanding, the surface carries fine metal dust, residual paint particles, and likely traces of hand oils. Wipe it down thoroughly with mineral spirits, denatured alcohol, or acetone on a clean microfiber cloth. Work in sections and switch to a fresh part of the cloth frequently — wiping with a saturated rag just moves contamination around.
Wear clean nitrile gloves here. The whole point of this step is eliminating everything between the metal and the primer, and recontaminating with skin oils at the last moment defeats that. Once the solvent evaporates, move directly to priming. The window between clean bare steel and the onset of flash rust is shorter than most people expect.
Step 7: Apply a Rust-Inhibiting Primer
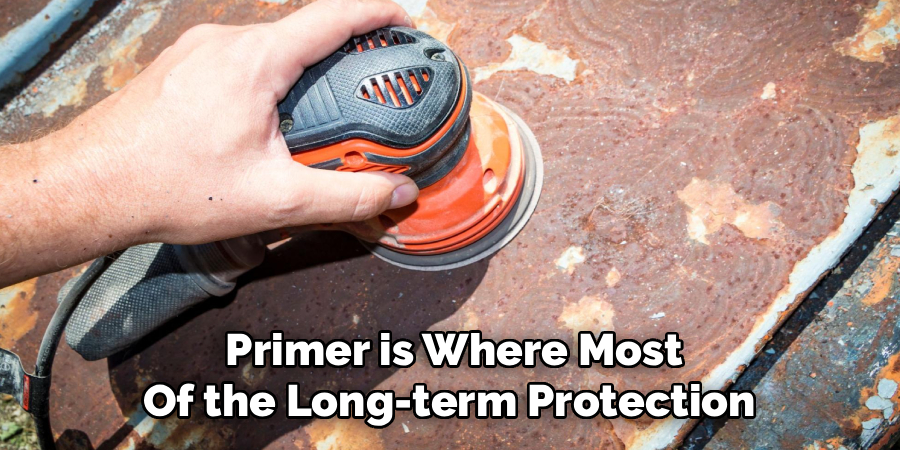
Primer is where most of the long-term protection actually comes from. It’s the bonding layer, the moisture barrier, and the first line of defense against corrosion — the topcoat mostly handles aesthetics and UV resistance. Choose a rust-inhibiting metal primer that’s chemically compatible with your planned topcoat, whether that’s enamel, epoxy, or polyurethane.
Apply in two light-to-medium coats rather than one heavy one. A thick single coat tends to sag, run, and cure unevenly. Let the first coat become tacky before applying the second. Give extra attention to sharp edges and pitted areas, which are prone to thin coverage and early corrosion. Spray application tends to produce the most even results on complex surfaces, but brush and roller both work well on flat sections.
Step 8: Let the Primer Cure Fully
“Dry to the touch” and “fully cured” are not the same thing, and this distinction matters more than people realize. A primer that feels dry may still be off-gassing solvents internally. Apply a topcoat too early and those trapped solvents have nowhere to go — the result is wrinkling, blistering, or a finish that never properly hardens.
Cure times depend on temperature, humidity, and the specific product. Check the manufacturer’s data sheet for the recommended recoat window. Keep the primed steel in a clean, dry, well-ventilated space while it cures — away from dust, condensation, and temperature extremes. Once it’s fully cured, the surface is ready for your topcoat.
Following these steps on how to prepare steel for painting will ensure a successful and long-lasting finish.
Frequently Asked Questions
Q1: Can You Paint Directly Over Rusted Steel?
Not over loose or flaking rust — there’s nothing stable for the paint to bond to. If the rust is light surface oxidation that resists mechanical removal, a rust converter can neutralize it and create a paintable surface. Once the converter cures and the rust converts to a stable compound, you can prime and paint over that area. The keyword is light. Significant active rust needs to come off first.
Q2: What Type of Primer Works Best on Bare Steel?
A dedicated rust-inhibiting metal primer, ideally one containing zinc or red oxide, tends to perform best. These formulations bond tightly to steel and provide a degree of galvanic protection — meaning they actively resist corrosion rather than just sealing the surface. Always verify compatibility between your primer and topcoat; epoxy primers, for instance, don’t pair well with all finish coats.
Q3: How Do You Prevent Flash Rusting After Sanding?
Move quickly. Wipe the surface with a fast-evaporating solvent like acetone rather than anything water-based, and apply the first coat of primer as soon as the solvent flashes off. In humid environments, the window between sanding and visible flash rust can be surprisingly short — sometimes under an hour. If you see a faint orange bloom before priming, that surface rust needs to be addressed before you continue.
The Prep Work Is What Makes the Paint Last
Steel painting isn’t complicated, but it rewards patience at each stage. Clean the surface properly, remove the rust mechanically and chemically, create a surface profile the primer can grip, and let each product cure on its own schedule. The topcoat gets noticed, but the preparation underneath is what actually determines how long the finish holds up.
Take the time to do it right once. The alternative — peeling, blistering, and stripping back to bare metal — costs far more in both time and materials. Thanks for reading this guide on how to prepare steel for painting.
About
Stuart Rich is a distinguished figure in the world of metalworking and fabrication, with a decade of expertise creating innovative and sustainable metal projects. His professional focus lies in merging traditional blacksmithing and machining with modern manufacturing techniques, fostering designs that are both practical and durable. As the author of Metalenify, Stuart Rich delves into the art and science of metallurgy and DIY metal creation, inspiring artisans, hobbyists, and industry professionals alike.
Education
RMIT University
(Melbourne, Australia)
Associate Degree in Engineering Technology (Mechanical / Manufacturing)
Focus on metallurgical properties, industry-driven projects, and practical metal craftsmanship. Gained hands-on experience with traditional machining and digital manufacturing tools, such as CAD, CNC software, and precision welding equipment.
Nottingham Trent University
(United Kingdom)
Bachelor’s in Product Design and Materials Engineering (Honors)
Specialized in product design with a heavy focus on blending creativity with metal production and fabrication techniques. Participated in real-world industry projects, collaborating with architectural and hardware manufacturing companies to optimize material efficiency.
Publications and Impact
In Metalenify, Stuart Rich shares his insights on structural metal design processes, material grades, and strategies for efficient shop production. His writing bridges the gap between raw artisan knowledge and modern industrial needs, making it a must-read for both budding DIY metalworkers and seasoned fabrication professionals.


