
Clean the surface gently to remove dirt and loose flaking without disturbing the aesthetic rust beneath. Neutralize any active oxidation, let the metal dry completely, then apply a quality clear coat or rust sealer to hold the finish in place.
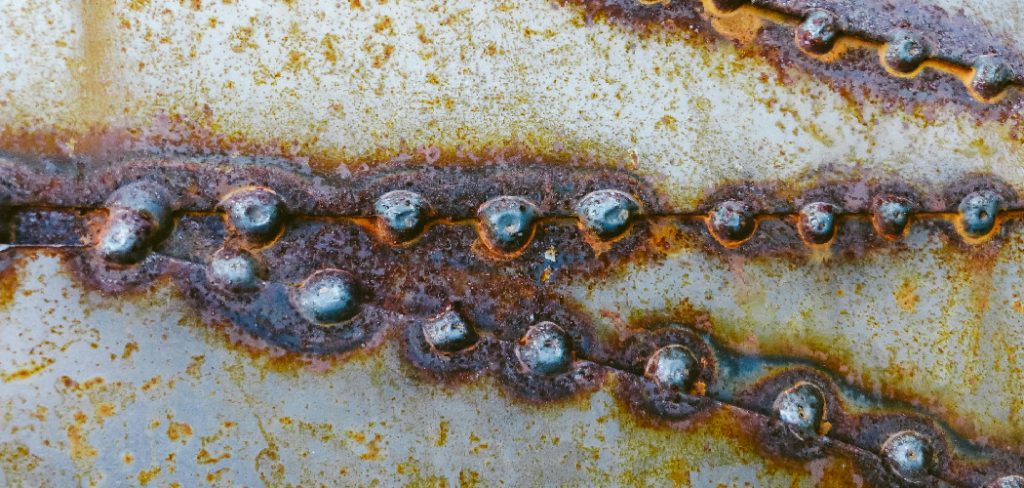
Rust patina has a way of telling stories that fresh paint simply cannot. That warm gradient from burnt orange to deep brown—built up over years of exposure—gives antique metal pieces, classic cars, and garden sculpture a visual weight that collectors and restoration enthusiasts genuinely value. Many people make an active choice to keep it rather than stripping the metal back to bare steel.
That said, preserving patina is not as simple as spraying something over the surface and calling it done. The wrong approach can destroy the very finish you are trying to protect. This guide on how to preserve rust patina on metal walks through what patina actually is, how to assess whether your piece is ready for preservation, and the seven practical steps that lock it in properly.
Here is what we will cover:
- Understanding rust patina and what separates it from destructive corrosion
- Timing your preservation correctly
- Assessing metal condition before you begin
- Tools and materials you will need
- A seven-step process from cleaning through ongoing maintenance
- Common mistakes and how to avoid them
- Adjustments for different object types
What Is Rust Patina and Why Should You Understand It?
Rust patina is a thin oxidized layer that forms on iron and steel surfaces after prolonged contact with moisture and oxygen. It tends to sit near the surface rather than penetrating deeply, and it typically displays warm tones ranging from bright orange to dark reddish brown. The key distinction worth understanding is that patina, as a concept, is surface-level—it may act almost as a partial barrier once it stabilizes.
Active, aggressive corrosion is a different matter entirely. That type of rust keeps eating inward, weakening the structure over time. Patina, by contrast, can be thought of as a record of the object’s exposure history—something worth preserving rather than removing. Recognizing which type you are dealing with before you begin is half the work.
When Is the Right Time to Preserve Rust Patina?
Timing matters here more than people expect. The right moment to seal patina is after the metal has reached the visual character you want, but before the oxidation begins causing structural problems like deep pitting or thinning walls. Once the rust starts compromising the metal’s integrity rather than just sitting on it, preservation alone will not be enough.
Vintage rat rods, antique farm equipment, and decorative metal art are particularly good candidates. The weathered look tends to increase their appeal and perceived value significantly. Leave them unprotected past that point, though, and the rust continues to spread. Sealing at the right time locks the current state in place.
How Do You Assess the Condition of the Metal?
Before reaching for any chemicals or sealers, take time to physically evaluate the piece. Tap the rusted areas gently with a screwdriver handle—solid metal produces a dull but firm sound, while weakened spots may feel hollow or give slightly under pressure. That simple test can tell you a great deal about what you are actually working with.
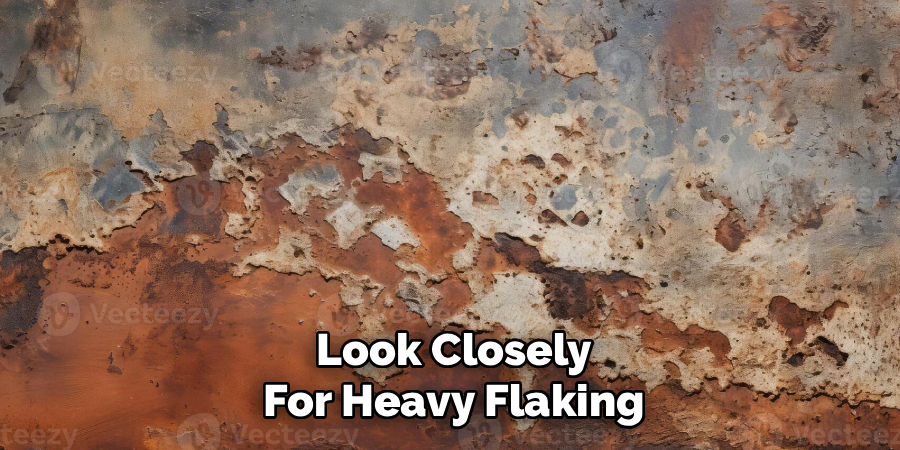
Look closely for heavy flaking, deep scaling, or areas where the rust appears to have eaten all the way through. Sections showing that level of damage may need structural repair before any preservation attempt makes sense. Sealing compromised metal just traps the problem rather than solving it.
What Tools and Materials Will You Need?
Having the right supplies before you start saves time and prevents the kind of missteps that come from improvising. Here is what to gather:
For Cleaning and Preparation:
- Stiff nylon brush or a soft wire brush
- Mild degreaser or dish soap
- Clean microfiber cloths
- Bucket of warm water
For Sealing:
- Rust neutralizer or phosphoric acid converter (optional but useful)
- Penetrating rust sealer
- Matte or satin clear coat rated for metal—aerosol or brush-on, depending on the scale of the project
Protective Gear:
- Safety glasses
- Dust mask
- Nitrile gloves
Aerosol clear coats work well for smaller pieces or touch-ups. For larger automotive projects, a spray gun gives more even coverage and better film thickness control.
7 Simple Step-By-Step Guidelines on How to Preserve Rust Patina on Metal
Step 1: How Do You Clean the Metal Surface?
Start by washing the piece to remove surface dirt, grease, and any environmental buildup that has accumulated over the years. Mix a small amount of mild dish detergent into warm water and work across the surface with a soft sponge or cloth.
The caution here is real: scrubbing too hard can pull away the outer patina layer along with the grime. Use a light touch. Rinse thoroughly with clean water once you are done, making sure no soapy residue remains—soap film interferes with sealer adhesion and can cause bonding failures later.
Step 2: How Do You Remove Loose Rust Flakes?
After cleaning, address any loose or powdery rust sitting on top of the tightly adhered patina. Put on your safety glasses and dust mask, then use a stiff nylon brush or the gentlest wire brush you have to lightly graze the heavily oxidized areas.
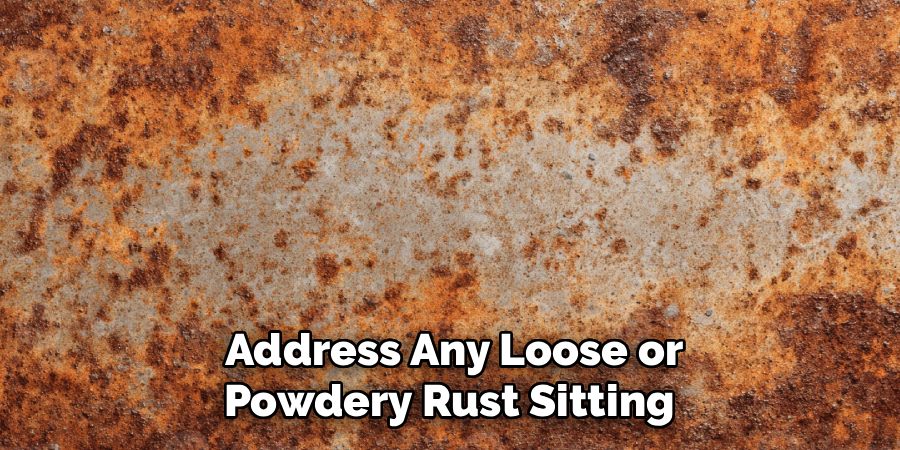
The goal is to knock off surface debris—not to strip the finish. Work methodically across the piece with a light hand, and periodically wipe the area with a dry microfiber cloth to check your progress. What should remain is firm, well-bonded rust with no loose material that might prevent the sealer from adhering.
Step 3: How Do You Neutralize the Rust?
This step is optional, but it tends to make a noticeable difference in long-term stability. A rust neutralizer—typically a phosphoric acid–based product—chemically reacts with iron oxide and converts it to a more stable compound, slowing further oxidation under the clear coat.
One important note: some commercial rust converters turn the treated area dark gray or black. Test the product in an inconspicuous spot first to confirm it will not shift the colors of your patina in a way you did not intend. Follow the manufacturer’s curing instructions carefully before moving to the next step.
Step 4: How Do You Dry the Metal Completely?
Moisture trapped beneath a clear coat is one of the most reliable ways to cause failure. Water expands as it heats, which pushes the coating off from beneath and causes blistering. This step deserves more patience than people usually give it.
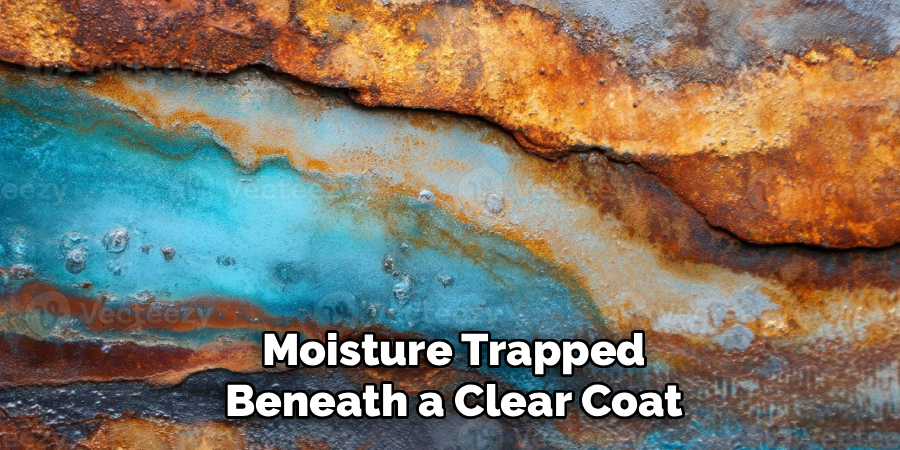
Place the piece in direct sunlight on a dry day, or use forced air—a leaf blower, air compressor, or heat gun—to move moisture out of seams, joints, and deep surface pits where water tends to pool. After that, allow at least 24 hours in a dry, reasonably climate-controlled space before proceeding. Rushing this step tends to show up as problems later.
Step 5: How Do You Apply a Rust Sealer?
A penetrating rust sealer is the first protective layer, and its job is to stabilize the porous surface of the patina so the topcoat has something solid to bond to. Apply a thin, even coat using a quality brush or spray gun, working it into the texture of the rust so it saturates the oxidation without pooling or running.
Thick, uneven application can look artificial once dry and may take much longer to cure properly. Let this layer dry completely in a ventilated space, following the curing time on the product label rather than guessing.
Step 6: How Do You Add a Clear Protective Clear Coat?
The clear coat is your primary barrier against moisture, oxygen, and UV exposure. Shake an aerosol can thoroughly, then apply a light misting coat from roughly eight to ten inches away from the surface. Do not try to cover everything in one pass.
Wait ten to fifteen minutes for the first coat to become tacky, then follow with two or three additional medium coats. A matte or satin finish generally suits preserved patina better than gloss—high gloss tends to make aged rust look artificially shiny, which undermines the whole aesthetic you are working to keep.
Step 7: How Do You Maintain the Preserved Metal Over Time?
Even a well-applied clear coat is not entirely permanent. Plan to inspect the piece every six to twelve months, looking for new orange rust spotting, any areas where the coating has begun to peel, or general dulling of the finish.
If you find a compromised area, lightly scuff the spot with a fine abrasive pad, clean it well, and apply a localized touch-up coat. Catching small issues early prevents them from spreading and keeps the overall finish intact without requiring a full redo.
Following these steps on how to preserve rust patina on metal objects will not only help maintain the unique appearance of your pieces but also protect them from further damage and prolong their lifespan.
What Are the Common Mistakes to Avoid When Preserving Patina?
The most frequent mistake is sealing metal that still has moisture in it. The result is almost always bubbling or peeling, sometimes within weeks. Second, using a high-gloss clear coat changes the character of the patina completely—the raw, earthy look disappears under a glossy film that reads as artificial.
Aggressive scrubbing during prep is another easy error to make. The impulse to clean thoroughly is understandable, but too much pressure removes the patina along with the debris. A light hand throughout the cleaning and flake-removal steps is worth repeating as advice, because the consequences of getting it wrong at that stage are not easily reversed.
How Do You Go About Preserving Patina on Different Metal Objects?
Different objects call for slightly different approaches. Large automotive builds—vintage trucks, rat rods—benefit from two-part automotive clear coats applied with a spray gun, which offer durability that aerosol cans alone may not fully match on surfaces exposed to road conditions.
Small indoor decorative pieces are a different situation. Boiled linseed oil or microcrystalline wax can be enough, and both options tend to preserve the natural texture of the metal rather than building up a distinct coating layer. Outdoor garden sculptures sit somewhere in between—they need UV-resistant matte polyurethanes that can handle sun, rain, and temperature swings without yellowing over a season or two.
Frequently Asked Questions About Preserving Rust Patina
Q1: Can You Stop Rust Without Removing the Patina?
Yes. Removing only the loose, crumbling debris and then sealing the surface with a penetrating clear coat effectively cuts off the metal’s access to fresh oxygen and moisture. That halts the oxidation process at its current stage, leaving the visual character of the patina intact while stopping the structural decay from continuing.
Q2: What Is the Best Clear Coat for Preserving Rust Patina?
A UV-resistant matte or satin clear coat tends to perform best—something like an automotive-grade 2K clear coat or a specialized penetrating product such as Penetrol. Matte finishes preserve the raw appearance of aged metal without adding a layer of artificial shine. If the piece will live outdoors, check that the product is explicitly rated for exterior exposure before purchasing.
Q3: How Long Does Preserved Rust Patina Last on Metal?
When prepared and sealed properly, preserved patina can realistically hold for five to ten years before any significant touch-up is needed. The actual lifespan depends heavily on the quality of the products used and where the object is kept. Indoor pieces sealed with wax or clear coat can hold up almost indefinitely under normal conditions, while outdoor pieces in harsh climates will likely need attention sooner—periodic inspection makes that easy to manage.
Concluding Thoughts on Rust Patina Preservation
Preserving rust patina is, at its core, about freezing a specific moment in the life of a metal object—holding it at exactly the point where age has given it character without letting deterioration take over. The process is patient work: careful cleaning, thorough drying, and thoughtful application of the right sealers in the right order.
Whether the piece is a rat rod body panel or a piece of garden sculpture, the same principles apply. Get the surface stable, keep moisture out, and revisit it periodically. Done well, this approach can keep the finish looking exactly as intended for years with minimal intervention. Thanks for reading this guide on how to preserve rust patina on metal.

About
Stuart Rich is a distinguished figure in the world of metalworking and fabrication, with a decade of expertise creating innovative and sustainable metal projects. His professional focus lies in merging traditional blacksmithing and machining with modern manufacturing techniques, fostering designs that are both practical and durable. As the author of Metalenify, Stuart Rich delves into the art and science of metallurgy and DIY metal creation, inspiring artisans, hobbyists, and industry professionals alike.
Education
RMIT University
(Melbourne, Australia)
Associate Degree in Engineering Technology (Mechanical / Manufacturing)
Focus on metallurgical properties, industry-driven projects, and practical metal craftsmanship. Gained hands-on experience with traditional machining and digital manufacturing tools, such as CAD, CNC software, and precision welding equipment.
Nottingham Trent University
(United Kingdom)
Bachelor’s in Product Design and Materials Engineering (Honors)
Specialized in product design with a heavy focus on blending creativity with metal production and fabrication techniques. Participated in real-world industry projects, collaborating with architectural and hardware manufacturing companies to optimize material efficiency.
Publications and Impact
In Metalenify, Stuart Rich shares his insights on structural metal design processes, material grades, and strategies for efficient shop production. His writing bridges the gap between raw artisan knowledge and modern industrial needs, making it a must-read for both budding DIY metalworkers and seasoned fabrication professionals.





