
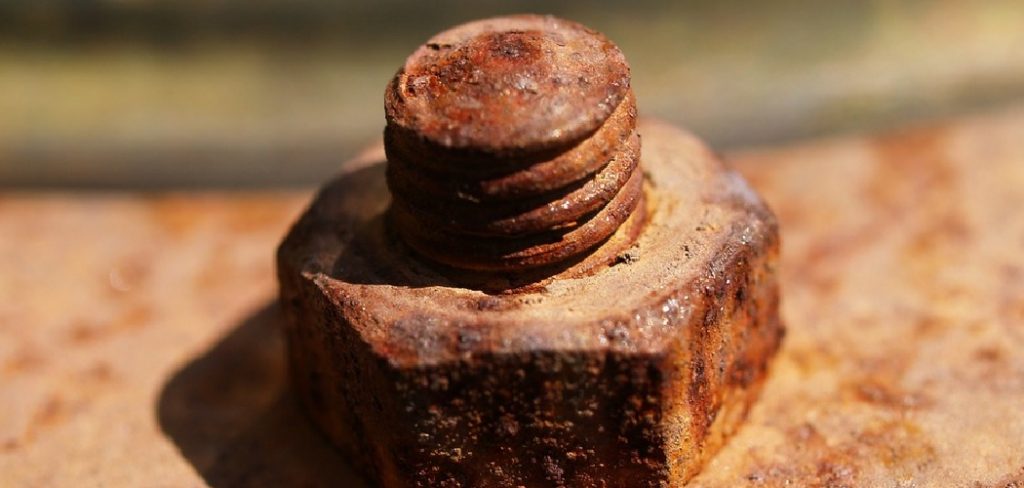
You know the feeling. The wrench spins, the bolt sits there smug and unmoving, and that little knot of frustration starts tightening in your chest. I’ve been there more times than I’d like to admit, usually crouched under a mower deck or hunched over an engine bay with grease working its way into my knuckles.
Here’s the good news, though. Learning how to remove a stripped bolt from metal is one of those skills that feels impossible right up until the moment it clicks. Then it becomes almost satisfying.
A stripped bolt is rarely the disaster it seems. It’s a puzzle, and most puzzles have more than one solution. With a basic toolbox and a little patience, you can usually back that stubborn fastener out without wrecking the surrounding metal.
This guide walks through why bolts strip, the gear that helps, and a step-by-step method you can lean on. By the end, you’ll have a real plan instead of a prayer.
What Does a Stripped Bolt Actually Mean?
The word “stripped” gets thrown around loosely. People use it for two very different problems, and confusing them sends you down the wrong path fast.
So let’s slow down and get precise. Understanding what failed first changes everything about your approach.
Stripped Head vs. Stripped Threads
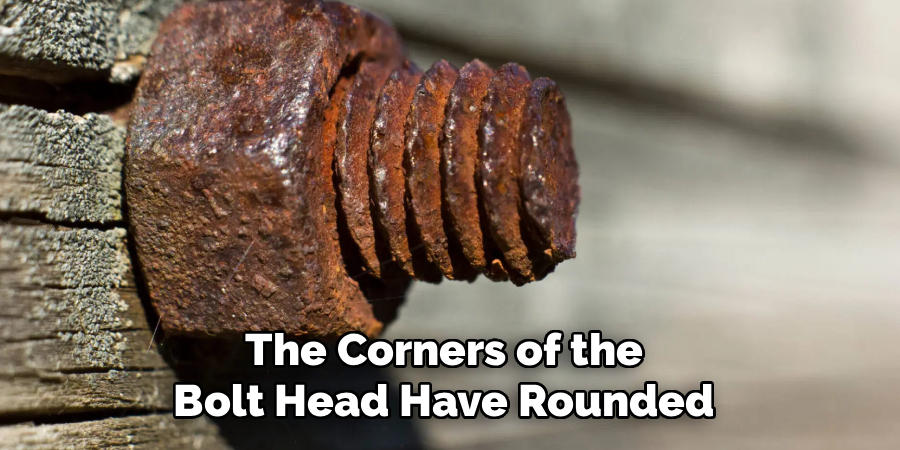
A stripped head is the one most folks mean. The corners of the bolt head have rounded off, or the recess inside a socket-head bolt has chewed itself smooth, and your tool just slips.
Stripped threads are a different animal. Here, the bolt head might be perfectly fine, but the threads inside the metal hole, or on the bolt itself, have given up.
The fix depends entirely on which part failed. A rounded head asks for a better grip; ruined threads often mean drilling and an extractor. Mix them up, and you’ll waste an afternoon.
Common Causes of Stripping
Most stripping traces back to small, avoidable habits. The wrong socket size sits a touch loose and rounds the corners over time.
Worn tools play a part, too. So does over-tightening, that macho extra pull that crushes soft metal. Rust creeps in, seizing things solid, and then someone applies force at an awkward angle, and the damage is done. Spotting these patterns in yourself is half the battle.
Tools and Materials You Will Need
You don’t need a professional shop to win this fight. You do, however, need a handful of the right items within arm’s reach before you start.
Gathering everything first saves you from running to the garage mid-job with oily hands. Trust me on that one.
Essential Hand Tools
The core kit is modest. A set of screw extractors, locking pliers or vise grips, a hacksaw, a decent hammer, and a quality set of sockets and wrenches will handle the majority of stripped bolts you’ll meet.
Each tool covers a different scenario. The pliers grab what’s exposed, the hacksaw carves a fresh purchase point, and the extractors bite into the worst cases.
Helpful Extras and Safety Gear
A few extras turn a hard job into a manageable one. Penetrating oil is the big one, alongside a drill with metal bits, a center punch, safety glasses, and gloves.
That eye protection isn’t optional, by the way. Metal shavings fly, and they fly toward your face more often than seems fair. A little preparation here prevents a trip to urgent care later.
Preparing the Bolt and Work Area
Rushing straight to the extraction is tempting. It’s also the fastest way to make things worse.
A few minutes of setup genuinely shifts the odds in your favor. Think of it as loading the dice before you roll.
Cleaning and Inspecting the Bolt
Start by clearing away the grime. Wipe off the grease, brush away the rust, and actually look at what you’re dealing with.
You can’t choose the right method blindly. Once the bolt is clean, the true condition of the head and how badly it’s chewed up becomes obvious. That single glance often decides your whole approach.
Applying Penetrating Oil
Penetrating oil works quiet miracles on corrosion. It seeps into the threads and breaks the bond rust has formed over months or years.
The catch is patience. Spray it on, then walk away for fifteen minutes, maybe longer on a really seized bolt. That soaking time may feel like wasted minutes, but it can mean the difference between a clean release and a snapped fastener.
How to Remove a Stripped Bolt From Metal: Step-by-Step Guide
This is the heart of it. Knowing how to remove a stripped bolt from metal comes down to working through escalating methods, starting gently and ramping up only when you need to.
Don’t skip ahead to the aggressive stuff. The early steps often solve the problem on their own, and they protect the metal around the bolt. Build momentum, and let each small win carry you forward.
Step 1: Assess the Damage and Choose Your Method
Take a real look first. Is the head merely rounded, or is it nearly smooth? Is the bolt protruding or sunk flush?
Your honest answer points you toward the right technique. A lightly worn head might surrender to pliers in seconds, while a fully rounded one may demand an extractor. Match the method to the damage, and you’ll save yourself grief.
Step 2: Try Locking Pliers or Vise Grips First
Always start with the simplest move. If any part of the bolt head sticks out, clamp your locking pliers onto it as tightly as they’ll go.
Then turn slowly, steadily, counterclockwise. The grip these pliers generate is surprising, and a low-effort win like this feels great when it works. It often does.
Step 3: Use a Rubber Band or Steel Wool for Extra Grip
Here’s a trick that sounds like nonsense until you try it. Press a wide rubber band, or a small wad of steel wool into the gap between your driver and the worn head.
That filler takes up the slop and restores some traction. It won’t conquer a badly stripped bolt, but for a head that’s just starting to round, it can buy back exactly the grip you lost.
Step 4: Cut a New Slot for a Flathead Screwdriver
When the head is too smooth for any socket, you can make your own grip. A hacksaw or a rotary tool carves a fresh slot straight across the bolt head.
Cut it deep enough to seat a sturdy flathead screwdriver. Then turn with firm, even pressure. This method may take some muscle, but it gives a slick head something to bite into again.
Step 5: Use a Bolt Extractor Socket
Bolt extractor sockets are built for this exact misery. Their inner teeth are designed to dig into a rounded head as you turn.
Tap the correct size on with a hammer so it seats firmly, then turn counterclockwise with a ratchet. The harder it grips, the deeper it bites. For many stripped bolts, this is the hero of the whole operation.
Step 6: Drill and Use a Screw Extractor
Now we reach the heavier artillery, reserved for bolts that refuse everything else. Center punch the exact middle of the bolt to keep your drill from wandering.
Drill a pilot hole, then thread a spiral screw extractor into it. As you turn the extractor counterclockwise, its reverse threads grab and back the bolt out. Go slow here; rushing snaps extractors, and a broken extractor is a far worse problem than the one you started with.
Step 7: Apply Heat for Seized Bolts
Heat is your friend when rust or thread locker has welded everything solid. A torch warms the metal, which expands and cracks that stubborn bond.
But please be careful. Keep flame away from fuel, oil, rubber, and anything that smolders, and let things cool before you grab them bare-handed. Used wisely, heat can free a bolt that seemed permanently fused.
Step 8: Remove the Bolt and Clean the Threads
Once the bolt breaks loose, ease it out the rest of the way by hand or with light tool pressure. Don’t force the final turns.
With the bolt gone, clean the threads in the hole. A thread chaser or tap clears out debris and rust so the hole is ready to accept a fresh fastener. This last step is easy to skip, yet it makes reassembly smooth instead of frustrating.
What to Do When the Bolt Breaks Off
Sometimes, despite your best efforts, the bolt snaps. The head pops off and leaves a stub buried in the metal.
Take a breath. A broken bolt feels like the end of the road, but it rarely is. You’ve just changed games, not lost.
Extracting a Flush or Recessed Bolt
A bolt that breaks level with the surface, or below it, calls for a slightly different touch. Center punch the remaining stub, then drill carefully down its center.
From there, a screw extractor usually does the work. The key is staying centered, since a crooked hole makes everything harder. Patience here pays off more than power.
When to Use a Left-Handed Drill Bit
Left-handed drill bits are a quiet secret weapon. They cut counterclockwise, which is the same direction you’d turn to loosen a bolt.
So as you drill into the broken stub, the bit’s own rotation often catches and spins the fragment free before you ever reach for an extractor. It feels like cheating. It isn’t.
Mistakes That Make a Stripped Bolt Worse
Plenty of bolts get destroyed not by the original problem but by the panicked response to it. Knowing the common traps helps you sidestep them.
I’ve made every one of these mistakes, usually more than once. Learning them the easy way beats learning them the way I did.
Rushing and Using Too Much Force
Impatience is the great enemy here. Throwing all your weight into a wrench tends to round a head further, not loosen it.
The same haste snaps extractors clean off inside the bolt. Slow, deliberate pressure almost always beats brute strength. The bolt isn’t going anywhere; you can afford the extra minute.
Skipping Lubrication and Heat
Ignoring penetrating oil and heat turns a five-minute fix into an hour-long wrestling match. These steps loosen the grip of rust before you apply force.
Skip them, and you’re fighting corrosion and metal at the same time. Give the oil time to work, and reach for heat on the truly seized cases. Your future self will thank you.
Preventing Stripped Bolts in the Future
The best stripped bolt is the one that never happens. A few small habits keep you out of this situation entirely.
Prevention isn’t glamorous. It is, however, far easier than extraction.
Using the Right Tools and Torque
Match your socket to the bolt precisely, every time. A loose fit is where rounding begins.
A torque wrench is worth its price, too. Over-tightening crushes threads and sets up the next failure, while proper torque holds firm without abuse. Tighten with intention, not with all your might.
Maintenance and Anti-Seize Tips
Rust does much of the damage long before you ever pick up a wrench. Clean threads and a dab of anti-seize compound keep corrosion from welding bolts in place.
This matters most for anything exposed to weather or moisture. A little maintenance now means the bolt comes out easily next year, instead of fighting you to the bitter end.
When to Call a Professional
Knowing your limits is its own kind of skill. There’s no shame in stepping back when the stakes climb too high.
Some jobs simply carry more risk than a DIY fix is worth. Recognizing that is wisdom, not weakness.
If a stripped bolt sits in an expensive component, threads into hardened steel, or hides in a cramped engine space where one slip could cause real damage, calling a pro may be the smart play. The cost of expert help often beats the cost of a ruined part. Asking for backup is a confident choice, not a failure.
Conclusion
So there it is. Knowing how to remove a stripped bolt from metal turns one of the most maddening moments in any repair into something you can actually handle.
The pattern is simple to remember. Prepare well, start with the gentlest method, and work your way up only as the bolt demands. Patience does more heavy lifting than force ever will.
You’ve got the full roadmap now, from a clean inspection to heat and extractors for the worst offenders. The next time a wrench spins uselessly in your hand, you won’t feel that old sinking dread.
You’ll feel ready. Grab your tools, trust the process, and go win that stubborn bolt.

About
Stuart Rich is a distinguished figure in the world of metalworking and fabrication, with a decade of expertise creating innovative and sustainable metal projects. His professional focus lies in merging traditional blacksmithing and machining with modern manufacturing techniques, fostering designs that are both practical and durable. As the author of Metalenify, Stuart Rich delves into the art and science of metallurgy and DIY metal creation, inspiring artisans, hobbyists, and industry professionals alike.
Education
RMIT University
(Melbourne, Australia)
Associate Degree in Engineering Technology (Mechanical / Manufacturing)
Focus on metallurgical properties, industry-driven projects, and practical metal craftsmanship. Gained hands-on experience with traditional machining and digital manufacturing tools, such as CAD, CNC software, and precision welding equipment.
Nottingham Trent University
(United Kingdom)
Bachelor’s in Product Design and Materials Engineering (Honors)
Specialized in product design with a heavy focus on blending creativity with metal production and fabrication techniques. Participated in real-world industry projects, collaborating with architectural and hardware manufacturing companies to optimize material efficiency.
Publications and Impact
In Metalenify, Stuart Rich shares his insights on structural metal design processes, material grades, and strategies for efficient shop production. His writing bridges the gap between raw artisan knowledge and modern industrial needs, making it a must-read for both budding DIY metalworkers and seasoned fabrication professionals.





