
You’ve wrestled the pulley off the shaft. The gear finally let go. And there it sits, that stubborn little half-moon of steel wedged into its slot, refusing to acknowledge all your hard work.
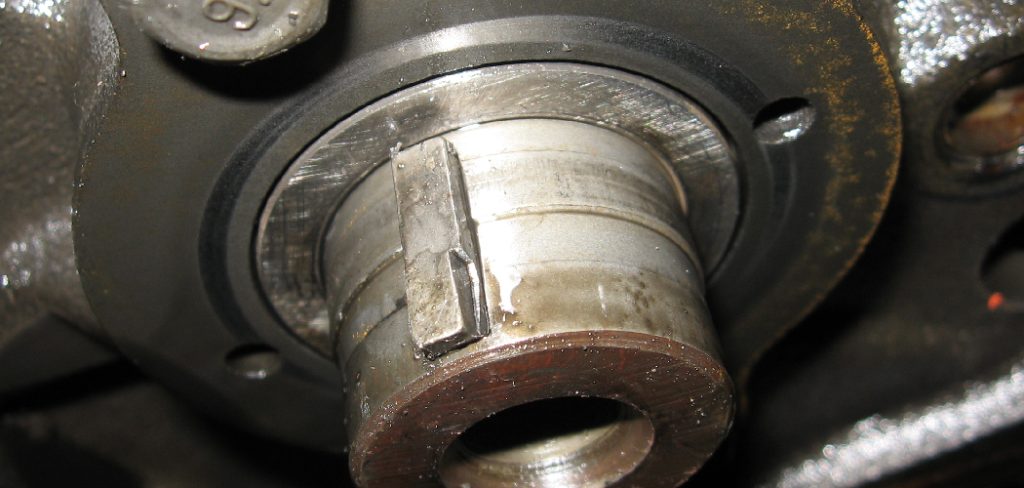
I remember the first time one of these stumped me. I stared at it as it owed me money, convinced I was missing some obvious trick.
The truth is gentler than that. Learning how to remove a woodruff key is one of those small skills that feels oddly satisfying once it clicks, and it protects both your shaft and the keyway from the kind of damage that turns a quick fix into a long afternoon.
This guide walks through what the part actually does, the tools that help, and a step-by-step method you can lean on. By the end, that tiny key won’t intimidate you in the slightest.
What Is a Woodruff Key and Why Does It Matter?
Before you start prying, it helps to understand what you’re dealing with. A few seconds of context here saves real frustration later.
The Role of a Woodruff Key
A woodruff key is that distinctive half-moon piece of metal seated in a curved slot. Its job is simple but important.
It locks a pulley, gear, or sprocket onto a shaft so the two spin together as one, instead of one part slipping while the other turns. Picture a key fitting snugly into matching grooves on both the shaft and the part riding on it. That tight fit is exactly why removal can feel like a fight.
Where You Will Find Woodruff Keys
These little keys turn up in more places than you might expect. Crankshafts and camshafts use them. So do water pumps, motor shafts, and the engines on countless lawn mowers sitting in garages everywhere.
Once you recognize the half-moon shape, you start spotting it across all kinds of machines. That familiarity matters because the removal approach stays much the same, no matter which device you’re working on.
Tools and Materials You Will Need
The right gear turns a maddening task into a smooth one. You don’t need anything exotic here, just a handful of items within easy reach before you begin.
Essential Hand Tools
A small set of basics covers most jobs. Needle-nose pliers and locking pliers give you grip, a small flathead screwdriver lets you lever, and a brass drift or punch paired with a light hammer lets you tap the key free without chewing up the surrounding metal.
That brass detail matters more than it sounds. Brass is softer than the shaft, so it nudges the key along without marring anything you want to keep intact.
Helpful Extras and Safety Gear
A few additions smooth out the rough spots. Penetrating oil loosens corrosion, a small file cleans up burrs, and emery cloth tidies the slot afterward.
Then there’s the gear that protects you. Safety glasses and gloves cost almost nothing and spare you a slipped tool or a bruised knuckle. A little preparation here genuinely pays off.
Preparing the Shaft and Keyway
Rushing straight to prying tends to backfire. A short setup phase shifts the odds in your favor, and it’s worth the couple of minutes.
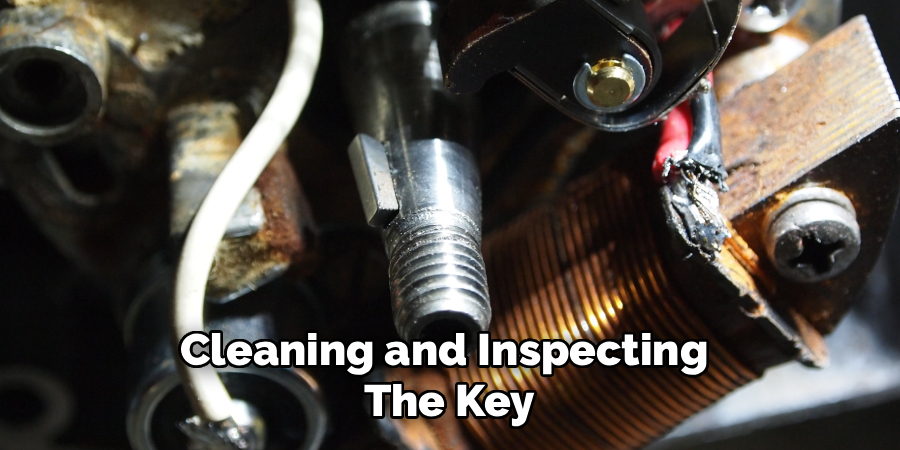
Cleaning and Inspecting the Key
Start by clearing away the grease and grime. Wipe everything down so you can actually see the key, the slot, and any rust or burrs holding things hostage.
You can’t choose a smart method blindly. Once the area is clean, the true condition of the key becomes obvious, and that single look often decides how gently or aggressively you’ll need to work.
Loosening Rust and Debris
If corrosion has crept in, penetrating oil is your quiet ally. Dab it around the key and into the slot, then give it a few minutes to seep down.
Patience is the whole point here. That short wait may feel like dead time, but it can be the difference between a clean lift-out and a gouged keyway you’ll regret.
How to Remove a Woodruff Key: Step-by-Step Guide
This is the heart of the job. Knowing how to remove a woodruff key really comes down to working through a sequence, starting with the gentlest move and only escalating when the key insists.
Resist the urge to jump ahead to force. The early steps solve most cases on their own, and they keep the shaft pristine. Let each small success carry you to the next.
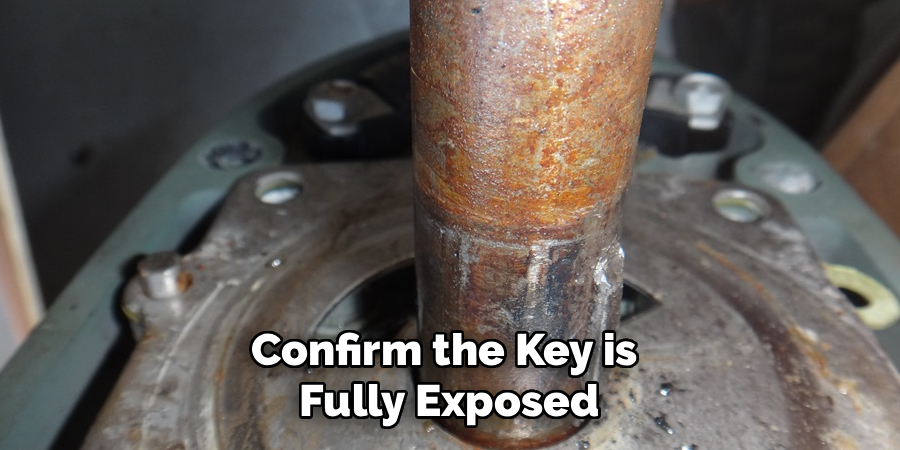
Step 1: Confirm the Key Is Fully Exposed
First, make sure nothing is pressing on the key. The pulley or gear should be completely off, leaving the key sitting free in its slot.
If anything is still bearing down on it, you’ll fight a losing battle. A truly exposed key has room to move, and that freedom is what makes everything that follows possible.
Step 2: Inspect How Tightly the Key Is Seated
Now gauge the situation. Is the key loose enough to wiggle, snug but willing, or seized solid by rust?
Your honest read here points you toward the right touch. A loose key may lift out with fingers alone, while a corroded one calls for oil and patience. Match your effort to what you actually see.
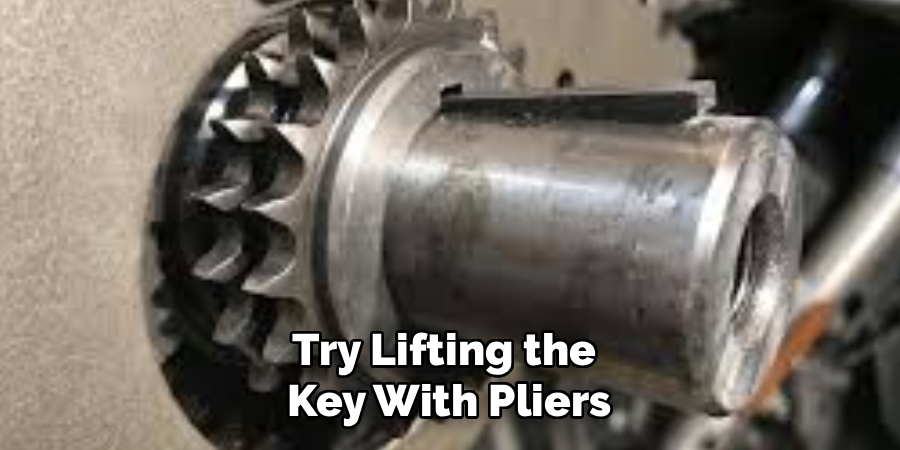
Step 3: Try Lifting the Key with Pliers
Always start with the simplest move. Grip the exposed edge of the key with needle-nose or locking pliers, getting as much purchase as the shape allows.
Then rock it gently upward. Many keys, especially those that aren’t badly corroded, ease right out with this small, low-stress effort. When it works, it’s the easiest win in the whole process.
Step 4: Pry the Key with a Flathead Screwdriver
When pliers can’t find a grip, a thin flathead screwdriver often can. Slip the tip under the edge of the key and lever it up slowly.
Lay a rag beneath the screwdriver to protect the shaft surface from scratches. Work gradually rather than forcing it in one heave, since steady pressure tends to coax the key out without bending it.
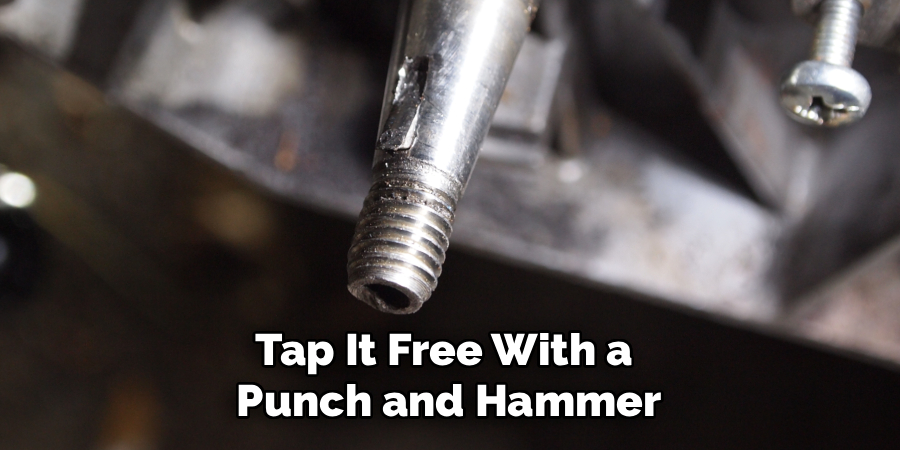
Step 5: Tap It Free with a Punch and Hammer
Some keys need a nudge from the side. Position your brass drift against the back edge of the key and give it light, controlled taps with the hammer.
The goal is persuasion, not violence. Small taps walk the key out of its slot bit by bit, and the soft brass keeps the shaft from picking up dents along the way.
Step 6: Work Stubborn Keys Loose with Penetrating Oil
If the key still won’t budge, corrosion is likely the culprit. Reapply penetrating oil, wait again, and then rock the key gently back and forth.
This back-and-forth motion helps the oil work deeper while breaking the grip of rust. It may take a few rounds of soaking and wiggling, but stubborn keys usually surrender to patience rather than power.
Step 7: Lift the Key Out and Inspect the Keyway
Once the key breaks loose, ease it the rest of the way out. Then take a moment to look it over.
Check the key for wear, rounding, or damage. While you’re at it, examine the keyway itself for burrs or rough spots that could interfere with the next key. This quick inspection often reveals why the removal was tough in the first place.
Step 8: Clean and Prepare for Reassembly
Finish by tidying everything up. File away any burrs you found, wipe the slot clean of debris, and run your finger along the keyway to feel for snags.
A clean, smooth slot lets the new or reused key seat perfectly. Skipping this step is tempting once the key is out, yet it’s what separates a job that goes back together easily from one that fights you again.
What to Do When the Key Is Stuck or Damaged
Sometimes a key just won’t cooperate. Maybe rust has welded it in place, or maybe it sheared off during removal. Either way, you haven’t reached a dead end.
Take a breath. A difficult key is a solvable problem, not a lost cause, and a slightly different approach usually does the trick.
Freeing a Seized or Corroded Key
A key frozen solid by rust asks for repeated effort. Soak it with penetrating oil, walk away, and come back to soak it again, letting time do part of the work.
Gentle heat can help too, since warmth expands the metal and loosens corrosion’s grip. Pair that with patient rocking, and a key that seemed permanently stuck will often give up its hold.
Removing a Sheared or Broken Key
When a key snaps and leaves a fragment in the slot, the goal shifts to extraction. A pick or a thin scribe can catch the broken edge.
Work it carefully, prying the piece up little by little. The keyway is what you’re protecting here, so slow, deliberate movements beat any attempt to muscle the fragment out in one go.
Mistakes That Make Removal Harder
Plenty of keys get harder to remove, not from the original problem, but from a hasty response to it. Knowing the common traps helps you avoid them.
I’ve made most of these myself, usually more than once. Learning them the easy way beats the alternative.
Forcing the Key with Too Much Pressure
Impatience is the usual villain. Heavy-handed prying gouges the shaft and bends soft keys, which only makes the next attempt worse.
Gentle, repeated effort almost always wins over brute force. The key isn’t going anywhere, so there’s no real cost to slowing down and protecting the metal around it.
Skipping Lubrication and Inspection
Ignoring the oil and the quick inspection turns a two-minute task into a long struggle. Penetrating oil loosens the grip before you ever apply force, and a glance at the slot tells you what you’re up against.
Skip both, and you’re working blind against corrosion at the same time. A little setup spares you a lot of grief down the line.
Tips for Easier Removal Next Time
A bit of foresight today makes the next job smoother. These small habits build accuracy and ease into your routine.
Applying Anti-Seize Before Reassembly
Rust does much of its damage long before you pick up a tool. A light coat of anti-seize on the key and keyway keeps corrosion from welding the parts together.
This matters most for anything exposed to moisture or weather. The dab takes seconds, and it means the key lifts out cleanly the next time instead of fighting you tooth and nail.
Choosing the Right Replacement Key
Fit is everything with these little parts. Match the replacement key precisely in size and material so it seats cleanly without slop or strain.
A properly matched key not only holds better, but it also comes out easier down the road. Guessing on dimensions, by contrast, tends to create the very stuck-key problem you just solved.
When to Call a Professional
Knowing your limits is a skill of its own. There’s no shame in stepping back when the stakes climb higher than a DIY fix is worth.
Some situations carry more risk than the job justifies. Precision machinery, a badly damaged keyway, or a shaft where one slip could cause costly harm all fall into that category.
If you find yourself in that territory, calling in someone with the right tools and experience may be the smart move. The cost of expert help often beats the cost of a ruined shaft. Asking for backup is a confident decision, not a failure.
Conclusion
So there it is. Knowing how to remove a woodruff key turns one of those small, fiddly obstacles into a quick task you can handle with confidence.
The pattern is easy to hold onto. Clean and inspect first, start with the gentlest method, and only reach for more force once the key truly demands it. Patience does more of the heavy lifting than muscle ever will.
You’ve got the full roadmap now, from a careful inspection to oil, heat, and the patient rocking that frees the worst offenders. The next time a stubborn half-moon of steel stares back at you from its slot, you won’t feel stuck.
You’ll feel ready. Grab your tools, trust the process, and lift that little key free.

About
Stuart Rich is a distinguished figure in the world of metalworking and fabrication, with a decade of expertise creating innovative and sustainable metal projects. His professional focus lies in merging traditional blacksmithing and machining with modern manufacturing techniques, fostering designs that are both practical and durable. As the author of Metalenify, Stuart Rich delves into the art and science of metallurgy and DIY metal creation, inspiring artisans, hobbyists, and industry professionals alike.
Education
RMIT University
(Melbourne, Australia)
Associate Degree in Engineering Technology (Mechanical / Manufacturing)
Focus on metallurgical properties, industry-driven projects, and practical metal craftsmanship. Gained hands-on experience with traditional machining and digital manufacturing tools, such as CAD, CNC software, and precision welding equipment.
Nottingham Trent University
(United Kingdom)
Bachelor’s in Product Design and Materials Engineering (Honors)
Specialized in product design with a heavy focus on blending creativity with metal production and fabrication techniques. Participated in real-world industry projects, collaborating with architectural and hardware manufacturing companies to optimize material efficiency.
Publications and Impact
In Metalenify, Stuart Rich shares his insights on structural metal design processes, material grades, and strategies for efficient shop production. His writing bridges the gap between raw artisan knowledge and modern industrial needs, making it a must-read for both budding DIY metalworkers and seasoned fabrication professionals.





